
Making homemade fruit leather is simple and fun! Start by prepping your fresh or frozen fruits, washing and cutting them as needed. Blend the fruit until smooth, then line a baking sheet with parchment paper. Spread the fruit puree evenly, aiming for about ⅛ inch thick. Dehydrate the puree in a low-temperature oven or dehydrator for 4 to 10 hours. Once it's slightly tacky but not sticky, allow it to cool before cutting into strips. Finally, store your fruit leather in airtight bags or containers for freshness. There's more to explore about flavors and techniques waiting for you!
Prep the Fruit
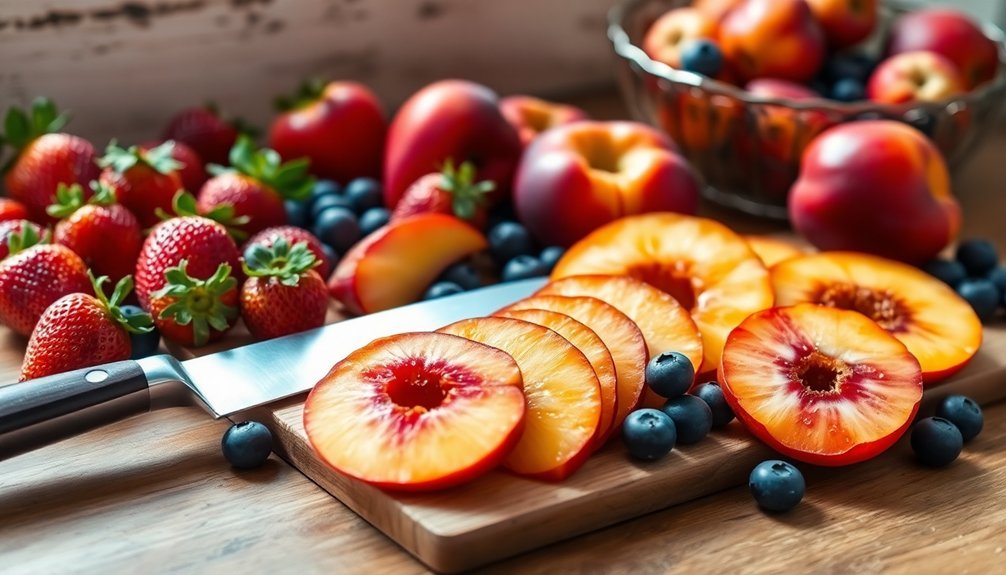
When prepping the fruit for homemade fruit leather, it's crucial to start with fresh, ripe options. Choose fruits like strawberries, apples, mangoes, or peaches, and aim for ones that are ripe or even slightly overripe, as they'll yield better flavor. Rinse the fruits thoroughly under cool running water to remove any dirt or debris.
If you're using hard-skinned fruits, peel them for a smoother texture; soft-skinned fruits can be used with or without peeling. Next, core and pit the fruits as needed, and remove any blemished or damaged parts. For fruits like berries, you won't need to chop them at all—just rinsing will suffice.
If you're working with canned or frozen fruits, strain excess liquid or thaw them beforehand. Cut the fruits into small to medium-sized chunks to speed up cooking and blending later on. If you're using strawberries, be sure to remove the leafy green tops and any stems. Additionally, using ripe fruits will enhance the overall flavor profile of your fruit leather.
Taking these steps will guarantee your fruit leather turns out delicious and smooth, setting a solid foundation for the next stages of your fruit leather-making process.
Blend the Fruit
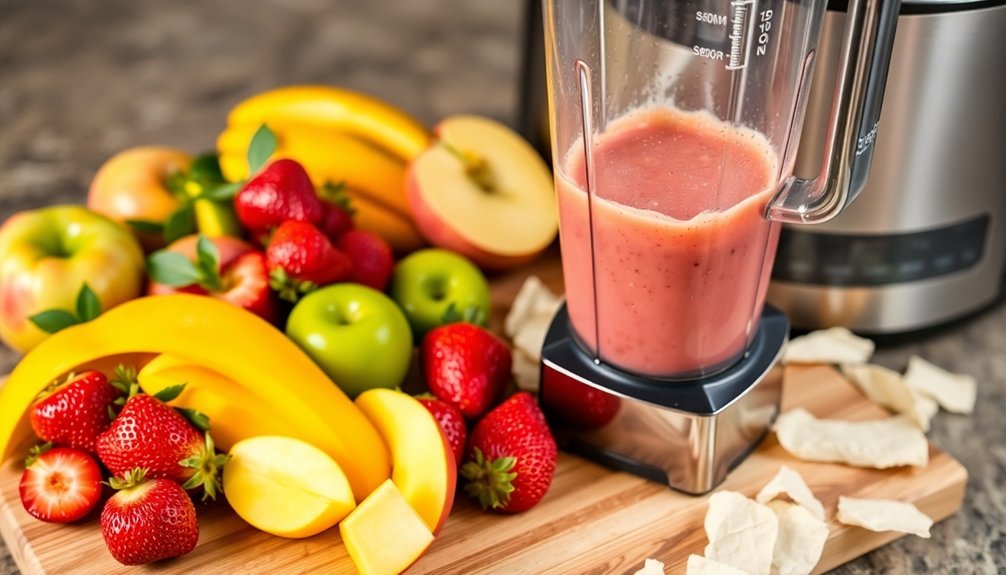
To create a smooth and flavorful fruit leather, start by blending your prepared fruit until it reaches a uniform consistency. You can use fresh or frozen fruits like strawberries, mangoes, blueberries, raspberries, or peaches. For the best flavor, opt for naturally sweet fruits like mango or peach. If you choose tart fruits, consider adding some sweetener to balance the taste.
Before blending, chop larger fruits into bite-sized pieces and wash or hull them as needed. If you're using frozen fruit, make sure to defrost it first. For an extra smooth texture, you might want to cook down the fruit with honey and lemon juice, but this step is optional.
When you're ready to blend, grab a blender, food processor, or immersion blender. Puree the fruit until it's completely smooth, making sure there are no lumps or chunks. If you prefer, pass the mixture through a colander or sieve to remove seeds. Additionally, making fruit leather at home allows you to avoid artificial flavors and preservatives, ensuring a healthier snack option.
Don't forget to add any extra sweeteners, like honey or lemon juice, and blend again to combine everything seamlessly. A uniform consistency is key for even dehydration!
Prepare the Baking Sheet
How can you guarantee your fruit leather bakes evenly? Start by preparing your oven. Preheat it to a low temperature, ideally between 150 and 170 degrees F. If your oven has a 'warm' setting, use that but keep a close eye on the temperature, as every oven can vary. A corded meat thermometer can help you monitor the heat and adjust as necessary for consistent results.
Next, line your baking sheet with parchment paper. This nonstick wrap keeps the fruit leather from sticking and is essential for easy removal. Avoid using wax paper, as it will melt in the oven. Make sure the parchment covers the entire baking sheet, securing it with tape if needed.
To promote even heating, check for hot spots in your oven. Rotate the baking sheet during baking if you notice uneven drying. You might also consider using a dehydrator rack or a baking sheet with raised edges to support your fruit leather. Additionally, remember that unsweetened applesauce serves as the main ingredient, contributing to the overall texture and flavor of the fruit leather.
Keep an eye on the baking process, checking the texture regularly to guarantee it dries properly without overheating. This careful preparation will set you up for delicious, evenly baked fruit leather!
Spread the Fruit Puree
Now that your baking sheet is ready, it's time to spread the fruit puree evenly.
Make sure to use an offset spatula to achieve a smooth layer and gently tap the sides to remove any air bubbles.
This step is essential for ensuring consistent drying and a delicious end result.
Even Spreading Technique
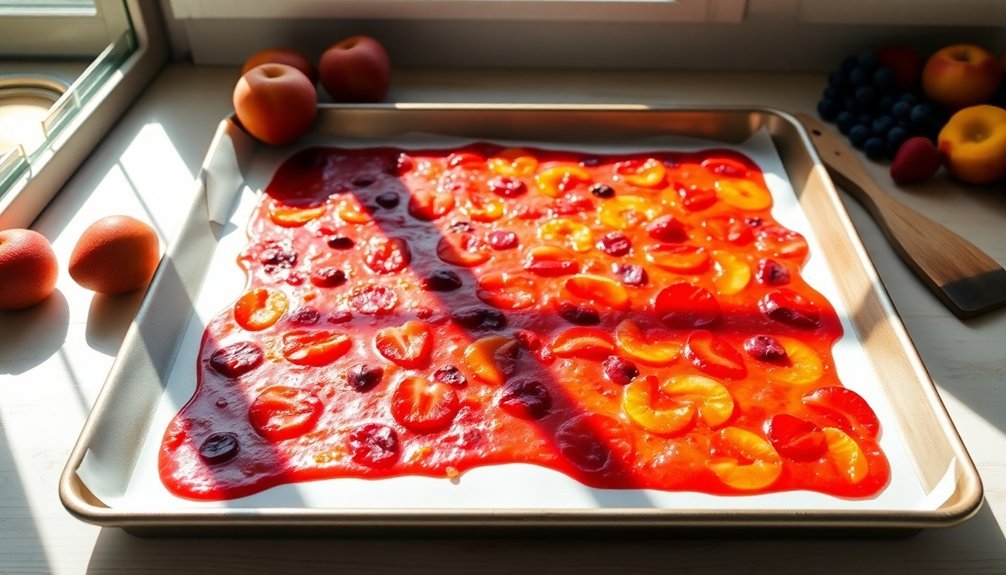
Achieving an even spread of fruit puree is essential for uniform drying and ideal texture in your homemade fruit leather. Start by pouring the smooth fruit puree onto a lined baking sheet, aiming for a thickness of about ¼″ to ⅜″. Use a spatula to spread the puree evenly across the sheet, making certain to cover the entire surface.
Pay special attention to the edges: make them slightly thicker than the center to counteract the faster drying that occurs at the edges. Avoid leaving holes or large clumps, as these can lead to uneven drying.
If you're using a dehydrator, consider rotating the trays halfway through the drying process to guarantee even results. If needed, use an offset spatula for final adjustments, smoothing out any inconsistencies. Gently tap the baking tray on the counter to settle the mixture and confirm an even distribution before baking or dehydrating.
Keep a close eye on the fruit leather while it dries, checking the thickness and adjusting as necessary. This attention to detail will help you achieve a consistent, delicious fruit leather that's ready to be enjoyed!
Air Bubble Removal
To guarantee your fruit leather turns out perfectly, removing air bubbles from the puree is essential.
Start by preparing your baking sheet: line it with parchment paper or a silicone mat, making sure the paper overhangs for easy removal. If you want, soak the parchment in water, dry it, and lay it down to avoid wrinkles. Secure it in place to prevent shifting as you work.
Next, pour the fruit puree onto the prepared sheet, aiming for a thickness of ¼″ to ⅜″. Use a spatula to spread it evenly, reaching the edges without leaving too much in the center. This helps prevent uneven drying.
After spreading, gently tap the sides of the baking sheet a few times. You can also bang the tray on the countertop to dislodge any stubborn air bubbles. For a final check, run a smooth, flat tool across the surface to ascertain it's even and bubble-free.
Once you've achieved a smooth finish, you're ready to dry the mixture. Remember, monitoring the baking process is key to achieving the perfect fruit leather!
Dehydrate the Fruit Puree
Dehydrating the fruit puree is an essential step in making homemade fruit leather, guaranteeing you achieve that perfect chewy texture.
To start, prepare your food dehydrator. Set it to 140-145°F for ideal drying, and line the trays with non-stick silicone mats or parchment paper.
When it's time to spread the puree, follow these tips:
- Pour and Spread: Pour the fruit puree onto the prepared trays and use an offset spatula or the back of a spoon to spread it evenly.
- Thickness Matters: Aim for a thickness of about ⅛ inch to prevent holes and uneven drying. Make certain the puree covers the entire surface without being too thick in the center.
- Timing Is Key: Drying time can vary from 4 to 10 hours depending on the fruit type. Check periodically to avoid over-drying, aiming for a slightly tacky texture without being sticky.
If you're using an oven, set it to 250°F and place the tray on the top rack.
Monitor it closely to guarantee your fruit leather turns out just right!
Cool and Cut the Fruit Leather
Once your fruit leather is done dehydrating, it's essential to let it cool completely to achieve the perfect texture.
This cooling process not only prevents stickiness but also makes handling easier when it's time to cut.
Use scissors or a pizza cutter to slice the leather into strips or fun shapes for storage.
Cooling Process Importance
Cooling the fruit leather is an important step that shouldn't be overlooked. Taking the time to cool it properly guarantees that it sets correctly, making handling much easier. If you skip this significant step, you risk tearing or breaking the leather when rolling or cutting it.
Here are some key points about the cooling process:
- Texture Maintenance: Cooling helps the fruit leather achieve a shiny, leathery feel while remaining just slightly sticky.
- Easy Peeling: Proper cooling allows the leather to peel off the parchment or plastic wrap without fuss.
- Moisture Control: It prevents the leather from sticking together when rolled up, guaranteeing each piece stays separate.
Make certain to cool your fruit leather for at least four hours, or even overnight, ideally at room temperature and away from direct heat. Larger batches may need additional cooling time.
Always check for dryness after cooling; a properly cooled piece shouldn't leave an indentation when pressed. This step is essential for achieving the right pliability, which makes your fruit leather easy to roll and store for later enjoyment.
Cutting Techniques Tips
After letting your fruit leather cool completely, it's time to cut it into your desired shapes. Start by ensuring that the leather is completely dry and not tacky; otherwise, it might tear when you cut. If it's still slightly moist, give it more time to dry.
Use a cutting board for support and a pizza cutter for clean, straight cuts. If you prefer, scissors can also work as an alternative.
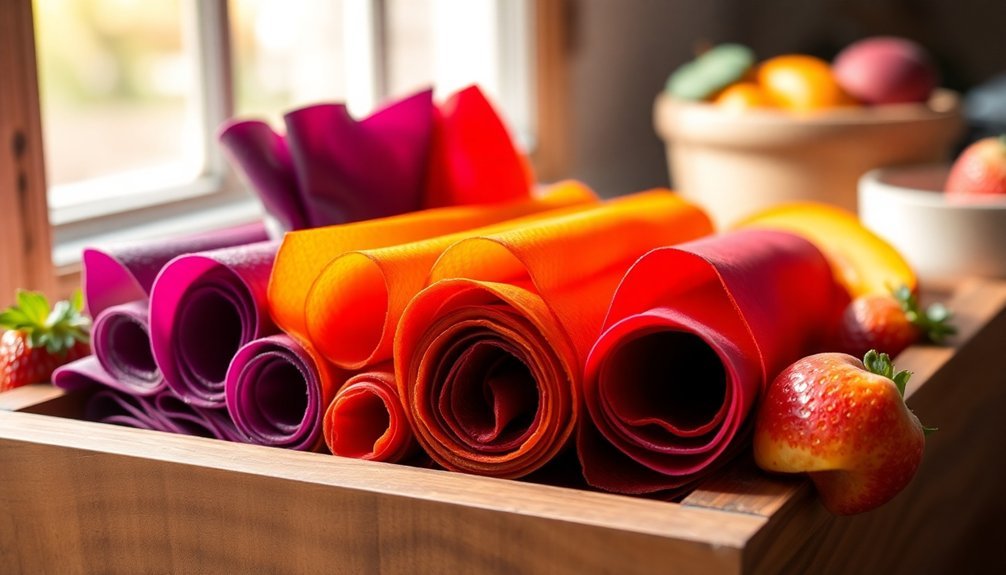
For traditional roll-ups, cut the leather into long strips. If you're looking for bite-sized snacks, go for squares or smaller pieces. A straight edge or ruler can help you achieve uniform strips.
Begin by cutting along the edges of the parchment paper to separate the leather easily. Once cut, you can roll up the strips with the parchment still attached for convenient storage.
To keep your fruit leather fresh, roll the cut strips tightly and secure them with a small piece of parchment or a rubber band. Store them in an airtight container in a cool, dry spot, and don't forget to label the containers with the fruit type and date made.
Enjoy your homemade fruit leather!
Store the Fruit Leather
Storing your homemade fruit leather properly is vital to maintaining its flavor and texture. The right storage method can prolong its shelf life and keep it tasting fresh. You have several options depending on how long you plan to keep it:
- Room temperature: Lasts 1-2 months.
- Refrigeration: Lasts up to 6 months.
- Freezing: Lasts up to 1 year.
Regardless of where you choose to store it, use airtight containers or zip-top bags to protect against moisture and air. You can wrap individual pieces in parchment or wax paper to prevent sticking.
For extra protection, consider vacuum-sealing or using Mylar bags.
When checking for spoilage, look for signs like mold or unusual odors. It's best to inspect your fruit leather regularly. If you notice any changes in texture or smell, it's time to discard it.
Frequently Asked Questions
Can I Mix Different Fruits Together for Fruit Leather?
Yes, you can definitely mix different fruits together for fruit leather! Combining various flavors creates unique tastes. Just balance high-water fruits with thicker ones for the right consistency and enhance with spices if you'd like.
How Do I Know When the Fruit Leather Is Done?
You'll know the fruit leather's done when it feels slightly tacky yet firm, bends easily, and peels off smoothly. Check for even dryness and verify there are no soft areas before removing it.
Can I Add Nuts or Seeds to the Fruit Leather?
Yes, you can add nuts or seeds to your fruit leather! Just sprinkle them on top of the puree before dehydrating, ensuring they're finely chopped for even distribution. They'll add great texture and flavor!
Is It Safe to Use Frozen Fruit for Making Leather?
Yes, it's safe to use frozen fruit for making leather. Just thaw it first, drain excess liquid, and guarantee proper prep. Following these steps, you'll create tasty, safe fruit leather you can enjoy.
What Are Some Good Flavor Combinations for Fruit Leather?
You'll love experimenting with flavors like strawberry-banana, peach basil, or mango habanero. Try mixing sweet and spicy combinations, or go for unique blends like strawberry with beets for a delicious twist on fruit leather.
In Summary
Now that you've followed these steps, you've got delicious homemade fruit leather ready to enjoy! It's a fun and healthy snack that you can customize with your favorite fruits. Just remember to store it properly to keep it fresh and tasty. Whether you're sharing with friends or keeping it all to yourself, you'll love the satisfaction of making it from scratch. So go ahead, grab a piece, and savor your tasty creation!


Leave a Reply