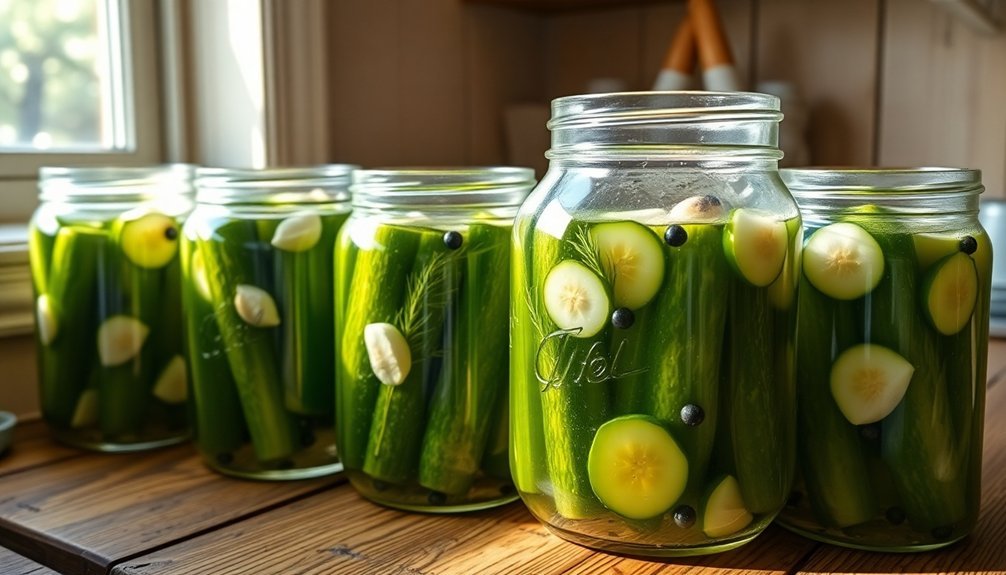
To make wild fermented pickles at home, you'll need fresh pickling cucumbers, non-iodized salt, and a clean glass jar with weights. Wash your cucumbers, trim the blossom ends, and pack them in the jar with garlic, dill, and spices like peppercorns and mustard seeds. Create a 5% salt brine by dissolving pure pickling salt in water, then pour it over the cucumbers until they're fully submerged. Keep the jar at 70-75°F and watch for bubbles, which signal active fermentation. Your pickles will be ready in 1-4 weeks, depending on your taste preferences – there's much more to mastering this ancient preservation technique.
Understanding Wild Fermentation Basics
When you create the right conditions, lactic acid bacteria take center stage. These beneficial microorganisms consume the natural sugars in your vegetables and produce lactic acid, which creates an environment where harmful bacteria can't survive. The natural probiotic content increases significantly during the fermentation process.
You'll need to maintain temperatures between 70-75°F for standard fermentation, though you can slow things down by keeping temperatures between 55-65°F.
To guarantee success, you'll want to keep your vegetables submerged beneath the brine using weights, creating an oxygen-free environment where fermentation thrives.
Keep your containers and tools clean, and regularly check for any surface scum or mold, removing it promptly if it appears.
Watch for signs that something's wrong, such as excessive softness, sliminess, or off-putting odors.
Once fermentation reaches your desired level, you can slow it down by refrigerating your pickles.
Essential Equipment and Ingredients
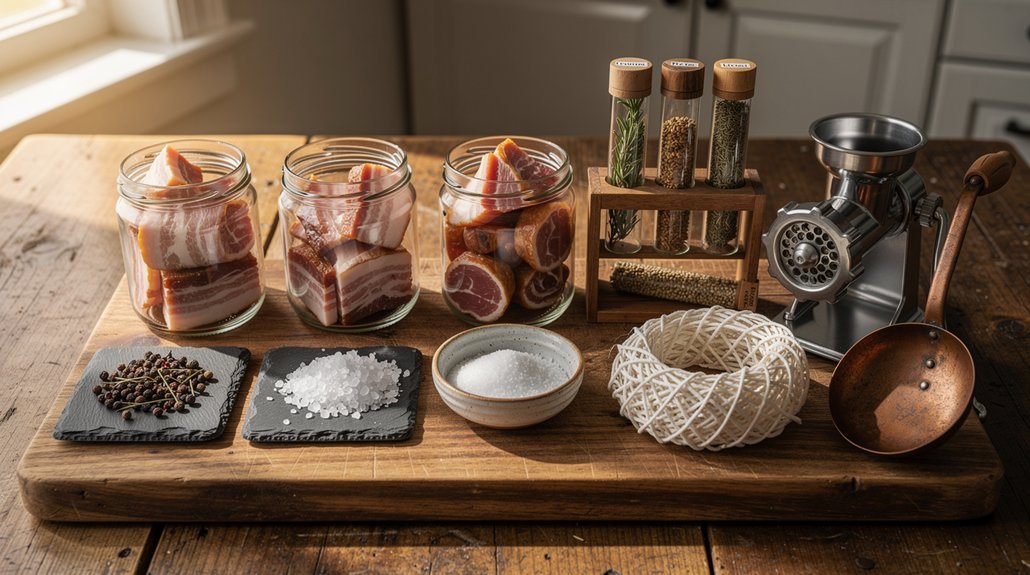
You'll need a few basic tools to get started with wild fermented pickles, including a fermentation container, weights to keep vegetables submerged, and measuring tools for precise salt ratios.
When selecting your salt, stick to non-iodized varieties like pickling salt, fine sea salt, or Himalayan pink salt to avoid cloudy brine and off-flavors. Traditional recipes have stood the test of time, being passed down through generations of pickle makers.
For the best results, choose firm, unblemished cucumbers and fresh herbs, particularly focusing on small- to medium-sized varieties like Kirby or Lebanese cucumbers that maintain their crunch during fermentation.
Basic Tools Needed
Before diving into wild fermented pickles, gathering the right tools and ingredients guarantees a successful fermentation process. You'll need specific cutting tools, storage containers, and fermentation accessories to create the perfect environment for your pickles.
| Essential Category | What You'll Need |
|---|---|
| Cutting Tools | Sharp knife, cutting board, grater, food processor (avoid for onions) |
| Storage Options | Glass jars, ceramic bowls, fermentation crock, weights |
| Fermentation Must-Haves | Airlocks, pH strips, fermentation weights, non-reactive lids |
Start with quality cutting and preparation tools – a sharp knife for chopping vegetables, a sturdy cutting board, and a reliable grater. A thorough hot water cleaning of all equipment before use is sufficient for preparing your fermentation vessels. You'll also need glass or ceramic mixing bowls to avoid unwanted metal reactions during fermentation. For storage, invest in glass canning jars or a fermentation crock, along with proper weights to keep vegetables submerged.
Don't forget the fermentation accessories that guarantee success. Air locks help manage gas buildup, while pH strips monitor acidity levels. Add bay leaves, grape leaves, or oak leaves for crispness, and remember to use non-iodized salt for your brine. Keep coriander seeds, spice cloves, fresh dill, and garlic handy for flavoring your pickles.
Pickling Salt Selection
For successful wild fermentation, selecting the right salt is absolutely vital. Pure pickling salt, made of sodium chloride without additives, is your best choice. It dissolves quickly and won't cloud your brine, guaranteeing crystal-clear pickles with consistent flavor.
While you can substitute kosher salt, you'll need to adjust your measurements carefully – use 1 1/2 cups of Diamond Crystal Kosher salt for every cup of pickling salt. Fine sea salt is another option, but you'll need to add 4 teaspoons more per cup to match pickling salt's concentration.
Don't use table salt, as its iodine and anti-caking agents will affect your fermentation and create cloudy brine.
Whatever salt you choose, maintaining a minimum 5% concentration is critical for proper fermentation. This concentration inhibits harmful bacteria while allowing beneficial bacteria to thrive. It also draws moisture from your vegetables through osmosis, creating the perfect environment for fermentation.
For the most accurate results, measure your salt by weight rather than volume. If you're using coarse salt, grind it finer to guarantee it dissolves completely in your brine.
Fresh Produce Guide
Success in wild fermented pickles begins with selecting the right produce and gathering proper equipment. Start with fresh, 4-inch pickling cucumbers and don't forget to remove their blossom ends to prevent mushiness. You'll want to avoid larger slicing cucumbers, as they'll become limp during fermentation. For variety, you can also pickle carrots, asparagus, cabbage, peppers, beets, and radishes.
Essential Equipment | Key Ingredients
—|—
Wide-mouth jars with lids | 2% salt brine solution
Fermentation or airlock lids | Garlic cloves (whole or minced)
Fermentation weights | Mustard seeds, peppercorns
Sharp knife and sanitizer | Bay leaves, fresh/dried dill
You'll need clean, wide-mouth jars equipped with fermentation lids to keep oxygen out. Don't forget fermentation weights to keep vegetables submerged in the brine – water-filled plastic bags work as alternatives. For equipment cleaning, use regular dish soap or specialized sanitizers like Star San. Consider adding grape leaves, oak leaves, or black tea for extra crunchiness through their natural tannins. Store your fermentation vessel in a warm area (70-75°F) away from direct sunlight, and remember to check for surface scum several times weekly.
Preparing Your Fresh Cucumbers

Properly preparing your cucumbers sets the foundation for delicious fermented pickles. Start by thoroughly washing your cucumbers, paying special attention to the stem area where soil and bacteria often hide. Trim off the blossom end and remove stems, leaving just a quarter-inch attached if you prefer.
Select only the freshest, firmest cucumbers, and discard any that show signs of damage or decay.
You'll need to decide on your preferred cucumber shape before proceeding. You can slice them into rounds, spears, or leave them whole – keeping in mind that whole cucumbers maintain their crispness longer. Whatever shape you choose, guarantee your cuts are uniform for even fermentation.
To enhance crunchiness, you've got two options: soak your sliced cucumbers in ice water for two hours, or place them in a colander with ice cubes for 20-30 minutes.
After draining thoroughly, pack your prepared cucumbers into sterilized jars, leaving an inch of headspace at the top. Don't overcrowd the jars, and make sure you'll be able to completely submerge the cucumbers in the pickling solution. If needed, use a fermentation weight to keep them under the brine.
Creating the Perfect Brine
When filling your jar, leave 1 to 1.5 inches of headspace at the top to prevent overflow during fermentation.
You'll need to keep the cucumbers fully submerged using a weight to prevent mold growth. Cover with a fermenting lid or loose regular lid to allow gases to escape while keeping oxygen out.
Place your jar in a warm spot between 65-75°F, away from direct sunlight.
Your pickles will take 3-5 days for half-sour or up to three weeks for full-sour results.
Spice and Flavor Combinations
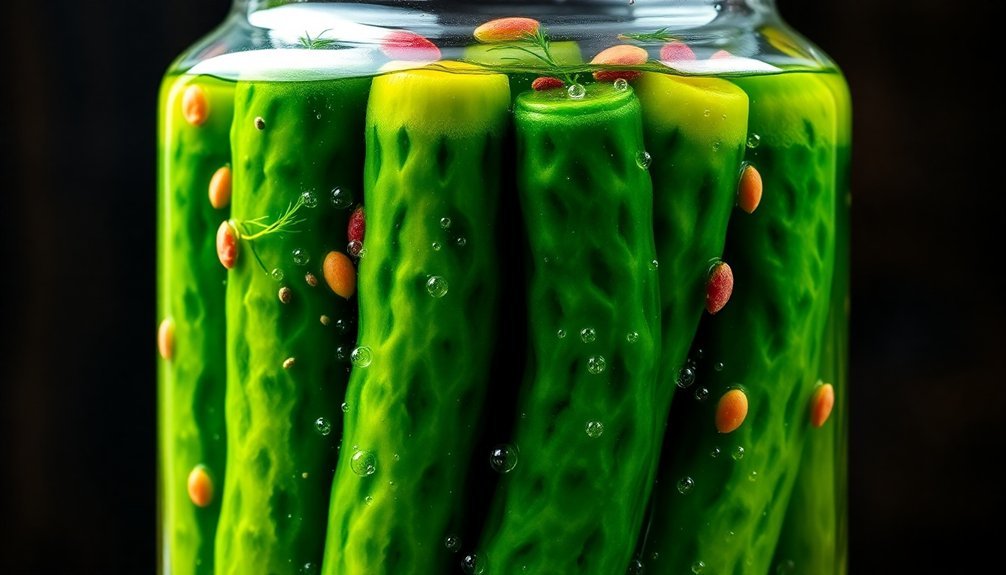
The perfect wild fermented pickle starts with a carefully balanced blend of spices and aromatics. For a traditional base, combine green peppercorns, roasted garlic granules, and both brown and yellow mustard seeds with coriander seeds and dill weed.
You'll want to add about 10-20 garlic cloves for intense flavor and 1-2 heads of fresh dill.
To maintain crispness in your pickles, you've got two options: bay leaves or grape leaves, which provide the necessary tannic acid. If you're looking to add heat, incorporate red chilies or chili flakes to taste.
For depth and complexity, you can include fennel seeds, allspice, and celery seeds. A good rule of thumb is to use 1 tablespoon of mustard seeds and 10 peppercorns per quart jar.
You can customize your blend by adding ground turmeric for freshness, whole allspice for depth, or dill seeds if fresh dill isn't available.
If you're interested in exploring alternatives to grape leaves, horseradish root provides similar tannic properties while adding a distinctive flavor.
Consider adding thinly sliced onions for an additional layer of savory complexity.
Monitoring the Fermentation Process
Successfully monitoring your fermented pickles requires daily attention to several key indicators. You'll need to watch for bubbles and gas production within the first few days, which signal active fermentation. When you notice bubbles forming, it's a sign that beneficial bacteria are thriving and producing CO2.
| Indicator | What to Look For | Action Required |
|---|---|---|
| Bubbles & Gas | CO2 formation, active bubbling | Confirm airlock/loose lid is working |
| Brine & Color | Cloudy liquid, duller colors | Monitor daily for normal progression |
| pH Level | Reading between 3-4.5 | Test with strips or digital meter |
As fermentation progresses, you'll notice the brine becoming cloudy and vegetables shifting to more muted colors – these are positive signs. You'll need to check pH levels regularly, aiming for readings below 4.5, ideally between 3 and 4. This acidic environment confirms food safety by preventing harmful bacteria growth.
Don't forget to use your senses during monitoring. Remove any surface scum or mold promptly, and check for a pleasant tangy aroma. The pickle's taste should be sour but enjoyable, never rotten or off-putting. Keep floating vegetables or spices submerged to prevent mold formation.
Storage and Preservation Methods
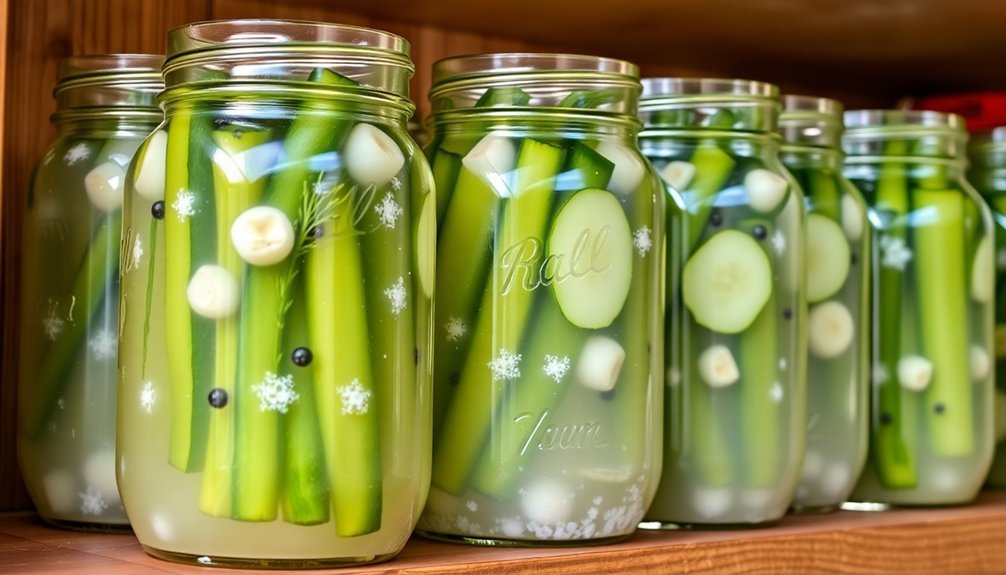
After your fermented pickles reach the desired flavor, you'll need to store them in the refrigerator to maintain their quality and extend their life for up to six months.
You can preserve your pickles even longer through proper canning techniques, which allow them to last up to a year when stored in a cool, dark place.
Whether you choose refrigeration or canning, always keep your pickles submerged in brine and regularly check for any surface mold to guarantee the best preservation results.
Refrigeration Best Practices
Properly storing your wild fermented pickles in the refrigerator marks an essential step in preserving their flavor, texture, and probiotic benefits. You'll want to maintain a temperature between 38°F and 45°F (3-8°C) to halt the fermentation process and extend shelf life.
Before refrigerating, verify you've removed any surface scum or mold and secured the lid tightly. Don't return the fermenting weight to the jar, but do keep the pickles submerged in their brine. Your pickles can last 4-6 months when stored correctly.
| Storage Element | Do's | Don'ts |
|---|---|---|
| Temperature | Keep at 38-45°F | Leave at room temp |
| Container | Use clean, sealed jars | Use damaged containers |
| Maintenance | Check regularly for spoilage | Ignore changes in appearance |
Monitor your pickles regularly for signs of degradation, such as softening, sliminess, or off-putting odors. While they'll continue to slowly ferment in the fridge, proper refrigeration helps maintain their quality. If you notice any concerning changes, it's best to discard the batch rather than risk consuming spoiled ferments. Remember to maintain consistent refrigerator temperatures and keep checking periodically to verify your pickles remain safe to eat.
Long-Term Preservation Methods
Long-term preservation of wild fermented pickles extends beyond basic refrigeration, offering multiple methods to maintain their crisp texture and tangy flavor for months or even years.
Your most reliable option is to can your fully fermented pickles using a boiling water bath canner, which creates a vacuum seal for extended shelf storage.
To can your pickles properly, you'll need to strain and heat the brine to boiling, simmering it for 5 minutes.
Pack your fermented pickles into clean jars, leaving a ½-inch headspace, and pour the hot brine over them.
Process pint jars for 10 minutes and quart jars for 15 minutes in your boiling water bath canner.
After processing, let the jars cool for 12-24 hours in a draft-free area.
You'll know they're properly sealed when the lid centers are indented.
For best results, store your sealed jars in a cool, dark place where temperatures don't exceed 80°F.
Remember to monitor your pickles during the preservation process – if you notice any softening, sliminess, or off odors, don't hesitate to discard them.
The ideal storage temperature range is 70-75°F to maintain quality.
Frequently Asked Questions
Can I Reuse the Brine From a Previous Batch of Fermented Pickles?
Yes, you can reuse pickle brine for new ferments. Add 1/2 cup to a quart jar, plus fresh salt and water. You'll want to use it within weeks and store it properly in the fridge.
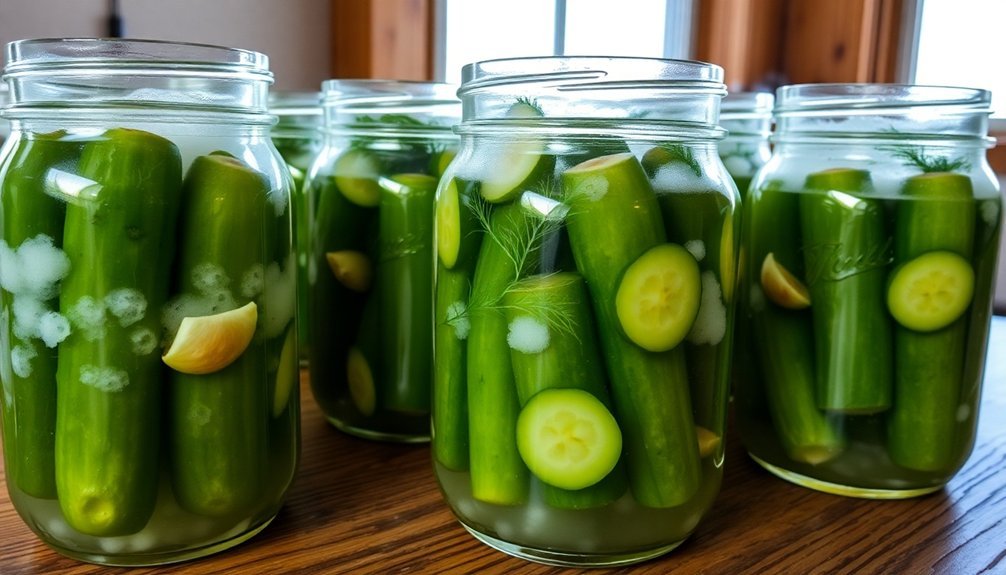
Why Do My Pickles Develop a White Film on the Surface?
The white film you're seeing is likely kahm yeast, caused by warm temperatures, low salt, or oxygen exposure. While it's not harmful, you can prevent it by using proper salt ratios and cooler fermentation conditions.
Is It Normal for the Brine to Become Cloudy During Fermentation?
Yes, it's completely normal for your brine to become cloudy during fermentation. You'll notice this happens as beneficial bacteria convert sugars to lactic acid – it's actually a sign of successful fermentation.
Can I Mix Different Sizes of Cucumbers in the Same Fermentation Jar?
You shouldn't mix different cucumber sizes in the same jar. They'll ferment at different rates, leading to inconsistent results. Instead, group similar-sized cucumbers together for even fermentation and better texture throughout.
What Happens if I Accidentally Use Iodized Salt Instead of Non-Iodized Salt?
Don't worry – your fermentation will still work fine with iodized salt. You might notice slight browning of the brine, but it won't affect the safety or fermentation process. Your pickles will be perfectly edible.
In Summary
Wild fermented pickles can't be beat for probiotic benefits and crisp, tangy flavor. You'll find making them at home is both rewarding and simple once you've mastered the basics. Remember to keep your ferments submerged, monitor regularly, and trust your senses. With practice, you'll develop a knack for knowing when they're perfectly done. Store your finished pickles in the fridge and enjoy them year-round.
Leave a Reply