Making your own apple pectin is a money-saving secret that transforms kitchen scraps into a natural jam thickener. You'll need under-ripe green apples like Granny Smith or Newton Pippin, using both peels and cores where pectin concentrates highest. Simply boil your quartered apples for 2-2.5 hours until mushy, then strain through cheesecloth without pressing. Test your pectin's strength using the alcohol or cold plate method before storing in sterilized jars. Your homemade pectin keeps for 6 weeks refrigerated or up to a year when properly canned. This traditional technique reveals centuries of jam-making wisdom waiting to be discovered.
Understanding Natural Apple Pectin
Natural apple pectin stands out as a remarkable substance found abundantly in apple cores and skins. When you extract this natural gelling agent, you're tapping into a powerful compound that's almost odorless and highly hygroscopic, meaning it readily absorbs moisture from its surroundings.
The pectin's unique chemical structure includes negatively charged hydrophilic particles, which give it its impressive gelling capabilities.
You'll find that apple pectin is classified as a high-methoxyl pectin, which means it needs specific conditions to work its magic. To activate its gelling properties, you'll need both sugar and acid, such as lemon juice or citric acid. This combination creates the perfect environment for the pectin to form the gel-like texture you're looking for in preserves and jams.
As a dietary fiber, apple pectin offers significant health benefits. Research has shown that it can help lower LDL cholesterol levels in individuals with mild hypercholesterolemia. You can boost your digestive health by incorporating it into your diet through various means.
Whether you're adding it to smoothies, baked goods, or preserves, you're getting a natural fiber that helps regulate bowel movements and keeps you feeling satisfied longer.
Selecting The Right Apples
With apple pectin's remarkable properties in mind, selecting the right apples for homemade pectin makes all the difference in your final product.
You'll want to focus on under-ripe, firm green apples, as they contain considerably higher pectin levels than their fully ripened counterparts. Varieties like Granny Smith, Shamrock, and Newton Pippin are ideal choices due to their natural acidity and high pectin content. Creating your own pectin helps achieve smooth, jiggly textures in preserves.
For the best results, opt for organic apples since you'll be using the peels and cores, where pectin concentrates most heavily. Conventional apples often carry pesticide residues on their skin, which could affect your pectin's quality.
If you're mixing varieties, maintain an 80/20 ratio of green to red apples to guarantee peak pectin yield.
Don't throw away those apple scraps! The peels and cores are actually pectin powerhouses, so you can save these parts from your regular apple uses.
If you're not ready to make pectin right away, store the scraps in your freezer until you've collected enough for a batch.
Crab apples are another excellent option, as they're naturally high in pectin and perfect for achieving a strong gel effect.
Kitchen Scraps To Liquid Gold
If you're not using your pectin immediately, you can preserve it through water-bath canning or freeze it for later use.
When properly stored in a cool, dark place, your homemade pectin will maintain its gelling properties for up to a year.
Preparing homemade pectin involves tart green apples, which are considered the best choice for extracting natural pectin.
Making Your Homemade Pectin Base
Creating your own pectin base starts with choosing the right apples.
You'll want to select tart, green varieties like Granny Smith, Shamrock, or Newton Pippin, focusing on unripe or young fruit for maximum pectin content. Don't discard the peels, cores, or scraps – they're rich in pectin and essential to the process.
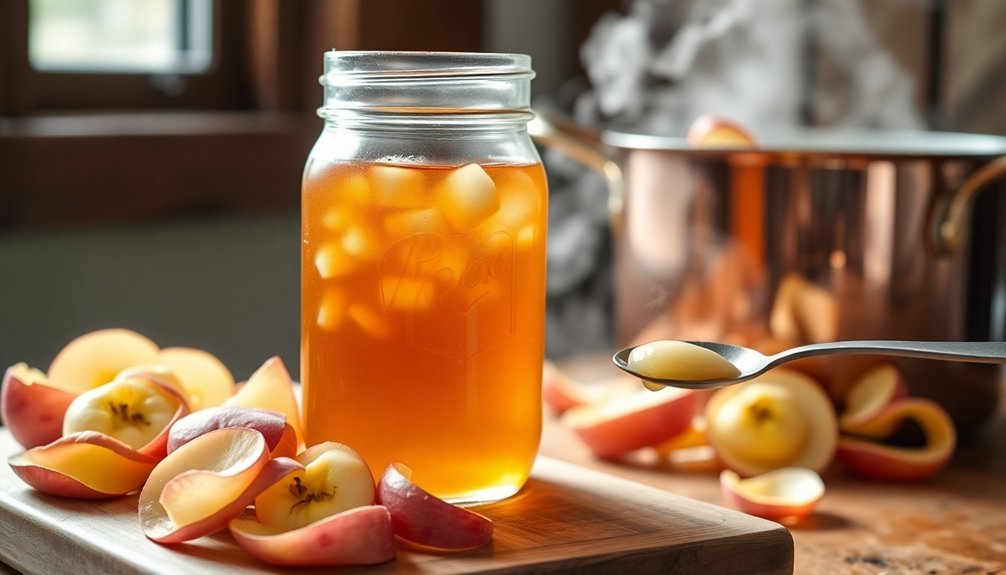
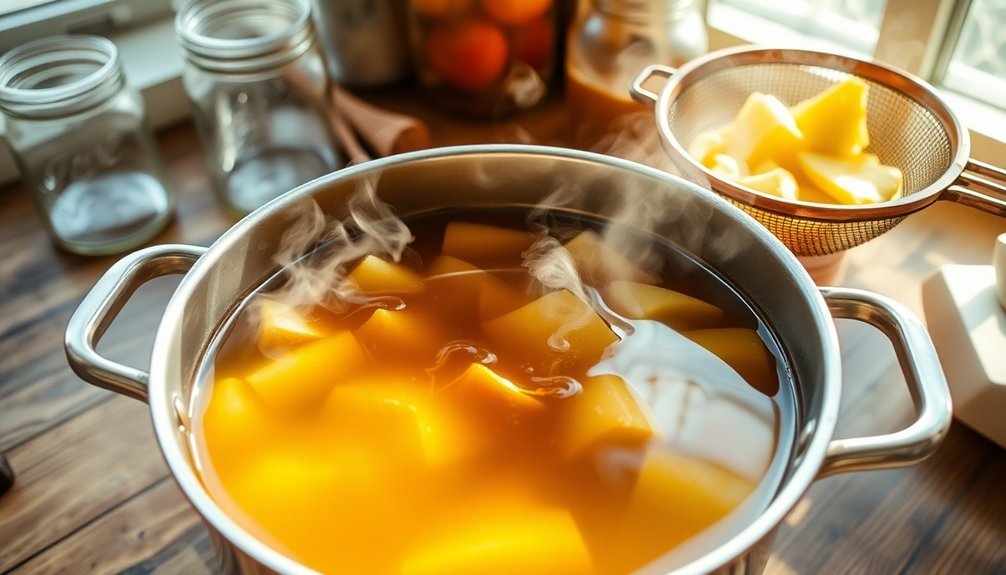
After washing and quartering your apples (leaving skins and seeds intact), place them in a pot with just enough water to keep them floating.
Bring the mixture to a boil over medium-high heat, then reduce to a simmer. You'll need to let it cook for 2-2.5 hours until the apples turn mushy and the liquid becomes amber.
Don't stir during cooking, as this can create unwanted sediment.
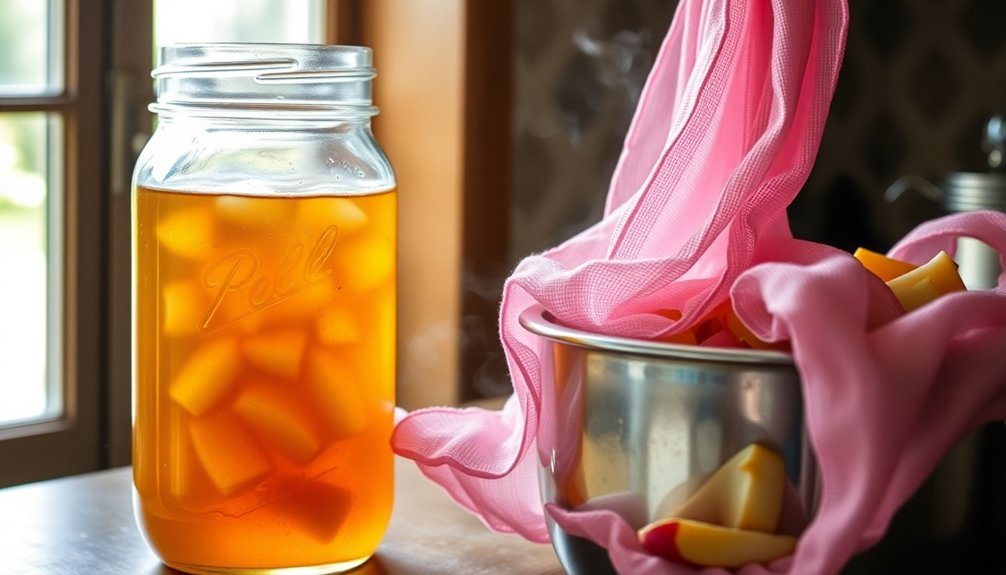
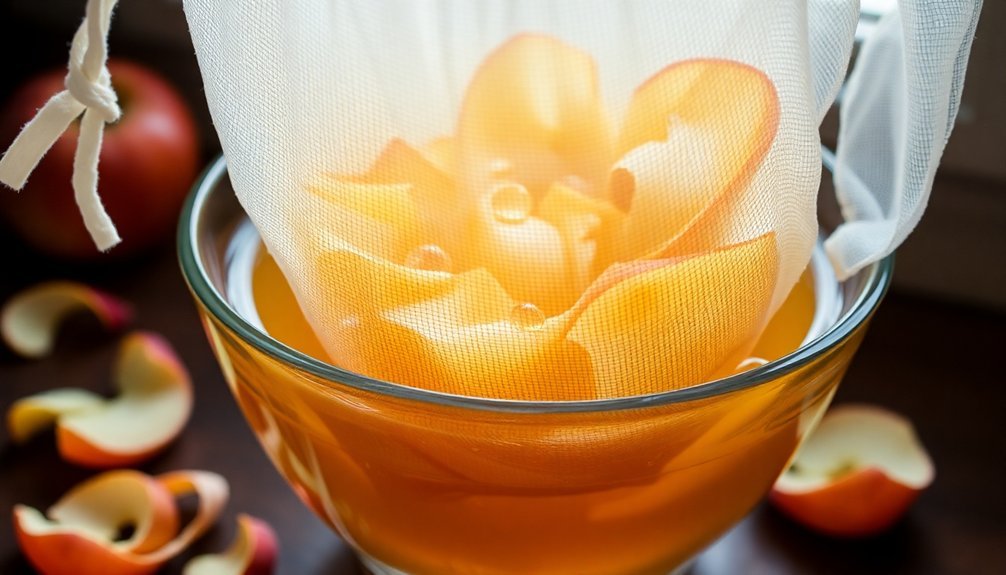
Once your mixture is ready, strain it through a sterilized cheesecloth or fine-mesh strainer.
Let it drip naturally for several hours – resist the urge to press the pulp. For the clearest results, filter the liquid a second time.
Finally, return the strained liquid to heat, simmer to concentrate it, and store in airtight containers or freeze in portions for future use.
Testing Pectin Strength
You'll need to verify your homemade pectin's strength before using it in your preserves, and the alcohol test offers a simple way to check by mixing a spoonful with rubbing alcohol to see if it clumps properly.
The cold plate test lets you confirm the setting ability by placing a cooled sample on a chilled plate and checking if it holds its shape.
For a quick assessment, you can also try the spoon drip method, where properly concentrated pectin will drip slowly and form thick, heavy drops rather than running off in a thin stream.
Alcohol Test For Strength
Testing your homemade pectin's strength requires a simple yet effective alcohol-based method. You'll need either 70% or 90% isopropyl alcohol and a small container to perform this essential test.
Mix one teaspoon of your cooled liquid pectin with one tablespoon of rubbing alcohol, then let it sit for about a minute to observe the results.
When you check the mixture, you're looking for specific signs that indicate pectin strength. If you can lift the entire mixture as a jelly-like mass with a fork, you've achieved perfect pectin strength.
When only portions of the mixture can be picked up, you've got medium-strength pectin that'll create a looser set. If nothing solidifies, your pectin's too weak, and you'll need to add more high-pectin fruit and continue cooking.
Cold Plate Setting Check
While the alcohol test offers one way to check pectin strength, the cold plate setting check provides a practical, hands-on method that's equally reliable.
You'll need to start with a plate that's been thoroughly chilled in your freezer until it's very cold to the touch.
To perform the test, spoon a small amount of your strained pectin mixture onto the cold plate and let it cool to room temperature.
Watch how the mixture behaves as it cools – if your pectin is properly concentrated, it should gel and hold its shape rather than remaining runny.
If you find that your pectin doesn't set properly, you'll need to continue boiling to concentrate it further.
You can repeat this test multiple times until you achieve the desired consistency.
For added confirmation, you can also use the wrinkle test on the same cold plate – push your finger through the cooled pectin, and it should wrinkle if it's ready.
Remember to keep your testing portions small to avoid wasting your pectin, and always verify your plate is cold enough before testing.
You can combine this method with other tests for the most reliable results.
Spoon Drip Method
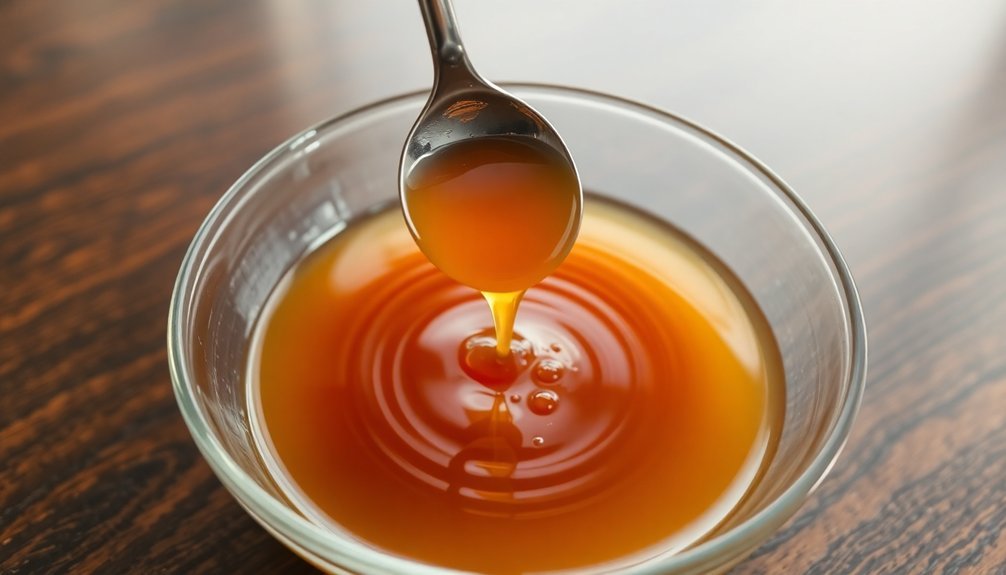
The spoon drip method comes down to observing how your homemade pectin drips off a cool metal spoon.
You'll need to dip a metal spoon into your boiling mixture and lift it out of the steam to watch how the liquid falls. When you first start, you'll notice the drops are light and syrupy.
As your pectin continues to cook, you'll see the drops become heavier. You've reached the jellying point when two drops merge and "sheet" off the spoon instead of falling as individual droplets. If you're seeing thin, watery drips, your pectin isn't ready yet.
When the drops become partly congealed before breaking from the spoon, you've completed the boiling process.
While this method doesn't require special equipment, it's less reliable than using a temperature test or refractometer. You'll want to remove your mixture from heat while testing to prevent overcooking.
Keep in mind that different fruit juices can affect the sheeting action differently, and elevation changes can impact your results. If you're new to pectin making, you might want to use this method alongside other testing approaches until you've gained more experience interpreting the results.
Storing Your Apple Pectin
Your homemade apple pectin needs proper storage to maintain its gelling power, whether you're planning to use it soon or save it for later projects.
For short-term storage, you can keep your pectin in sterilized jars in the refrigerator for up to 6 weeks, ensuring the containers are airtight and clearly dated.
If you want to preserve your pectin for long-term use, you can either freeze it in ice cube trays for up to a year or process it in a water bath canner for shelf-stable storage.
Short-Term Storage Methods
Proper storage of homemade apple pectin requires careful attention to both location and container selection. Your homemade pectin will last about six weeks when stored correctly in the refrigerator. To maintain its quality, transfer your freshly made pectin into sterilized glass jars and guarantee they're sealed tightly to prevent moisture absorption.
| Storage Method | Duration | Requirements |
|---|---|---|
| Refrigeration | 6 weeks | Sterilized glass jar |
| Room Temperature | Not recommended | N/A |
| Pantry Storage | Not recommended | N/A |
| Freezing | Optional | Freezer-safe container |
You'll want to keep your pectin away from direct sunlight and strong-smelling foods, as it can absorb odors easily. While you might use cheesecloth or a tea towel during the initial straining process, don't use these for storage. Instead, opt for airtight containers that'll protect your pectin from moisture and contamination.
Watch for any signs of spoilage before use, including mold, unusual discoloration, or off-putting odors. Remember that your pectin's effectiveness can diminish over time, which will affect your jam and jelly texture. If you're in a particularly warm or humid climate, refrigeration is essential for maintaining the pectin's gelling properties.
Long-Term Preservation Tips
Building on short-term storage methods, long-term preservation of homemade apple pectin offers several reliable options to extend its shelf life well beyond six weeks.
You'll find canning and freezing to be the most effective approaches, with canning providing up to a year of shelf stability and freezing maintaining quality for six months.
To can your pectin, you'll need to heat it to boiling, then pour it into clean pint jars with 1/2-inch headspace before processing in a boiling water bath for 10 minutes.
If you're at high altitude, remember to adjust your processing time accordingly.
For freezing, transfer your pectin to freezer-safe containers, leaving room for expansion.
For either method, you'll want to use sterilized containers and label them with the storage date.
Store your preserved pectin in a cool, dry place away from direct sunlight and strong odors.
You can test its potency before use by mixing a small sample with sugar and lemon juice – strong gelling indicates it's still effective.
If you notice any mold, unusual colors, or off-putting smells, it's best to discard the pectin and make a fresh batch.
Perfect Jam Setting Tips
For achieving the perfect jam set, mastering several testing methods and understanding key indicators is essential. You'll need to check the consistency using multiple approaches to guarantee success. Place heatproof saucers in your freezer before starting, as you'll use these for quick testing throughout the process.
When you think your jam's ready, perform the cold plate test by spooning a small amount onto your chilled saucer. After 30 seconds, push the jam with your finger – if it wrinkles, you've reached the setting point. You can also tilt the plate vertically; properly set jam should move slowly downward.
Watch for visual cues in your cooking pan. You'll notice the fast, frothy boil transform into a slower, more controlled one as the jam sets. The disappearance of tiny air bubbles is another reliable indicator.
While a candy thermometer reading of 104.5°C (220°F) can help, don't rely solely on temperature. If you're uncertain, it's better to undercook than overcook – you can always continue cooking, but overcooked jam becomes hard and overly sweet.
For consistent results, use fresh, slightly under-ripe fruit, and consider mixing low-pectin fruits with pectin-rich varieties.
Frequently Asked Questions
Can Homemade Apple Pectin Affect the Taste of My Jams?
No, you won't notice any significant flavor change in your jams when using homemade apple pectin. It's especially neutral when you use tart green apples and properly strain the mixture during preparation.
How Long Does Homemade Pectin Last When Stored Properly?
When you store homemade pectin properly, it'll last up to a year in the freezer, 6 weeks to several months in the fridge, or up to a year if canned. For best gelling results, use within 8 months.
Is It Safe to Use Bruised or Slightly Damaged Apples?
You shouldn't use bruised or damaged apples for making pectin, as they can introduce harmful bacteria and affect quality. Stick to fresh, under-ripe apples to guarantee safety and proper gel-setting properties in your final product.
Can I Mix Different Apple Varieties When Making Pectin?
Yes, you can mix different apple varieties when making pectin. You'll find that combining tart and sweet apples helps balance both flavor and pectin content. Remember, the key is using under-ripe fruits for best results.
What's the Minimum Amount of Apple Scraps Needed to Make Pectin?
While there's no strict minimum, you'll want at least 2-3 cups of apple scraps to make enough usable pectin. The more scraps you use, the more pectin you'll extract for your preserves.
In Summary
Making your own apple pectin puts you in touch with time-tested preserving methods while reducing waste. You'll find that transforming apple scraps into natural pectin isn't just economical – it's deeply satisfying. Once you've mastered this traditional technique, you'll never look at store-bought pectin the same way. Keep experimenting with different apple varieties and perfect your jam-making craft using this old-world secret.


Leave a Reply