To make professional sun-dried fruit leather, select ripe or slightly overripe fruits like berries or stone fruits, and wash them thoroughly. Blend your fruit into a smooth puree, adding honey or natural sweeteners to taste, plus lemon juice to prevent browning. Spread the mixture evenly (1/8 to 1/4 inch thick) on plastic-lined drying trays, and place in direct sunlight with good airflow. You'll need 6-8 hours of strong sun exposure, and temperatures should stay above 85°F. The leather is ready when it's pliable but not sticky. Discover how additional spices and fruit combinations can elevate your next batch.
Choosing Your Perfect Fruit
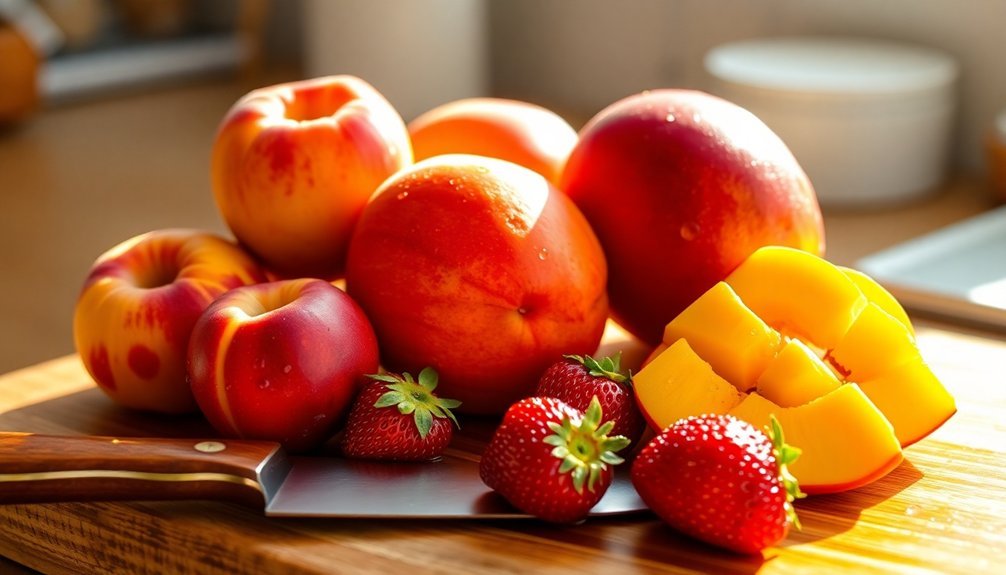
Every delicious fruit leather starts with selecting the right fruit. You'll want to choose fruits at their peak ripeness or slightly overripe to maximize flavor. Consider starting with berries like strawberries and blueberries, or stone fruits such as peaches and plums, which are excellent choices for beginners. You can create unique flavor profiles by mixing different fruit combinations together.
If you're working with high-water content fruits like watermelon or grapes, you'll need to combine them with drier fruits for better results. For structural integrity, include pectin-rich fruits like apples or plums in your mix – they'll help create a leather that won't crack.
When using berries with seeds, such as raspberries or blackberries, you might want to strain them through a fine sieve first.
You can use fresh, frozen, or canned fruits, but remember to drain excess liquid from frozen or canned varieties. If you're experimenting with bananas, don't use them alone – they're best combined with other fruits due to their high starch content.
For lighter colored fruits, add a splash of lemon juice to prevent browning. You can also incorporate applesauce as an extender to improve texture and reduce tartness in any fruit combination.
Essential Tools and Equipment
Creating homemade fruit leather requires three main categories of equipment: drying apparatus, preparation tools, and specialty accessories.
For drying, you'll need either a dehydrator or an oven. A dehydrator is ideal, operating at around 140°F with specialized trays. Popular models like American Harvest and LEquip offer excellent features for fruit leather making. If you're using an oven, you'll need an oven thermometer for precise temperature control and 13" x 15" baking pans with edges.
Your preparation tools should include a reliable blender for pureeing fruit, sharp knives for peeling and cutting, and measuring cups for accurate proportions. Don't forget a citrus juicer for adding lemon juice to prevent browning.
To guarantee your fruit leather doesn't stick, line your trays or pans with plastic wrap, parchment paper, or non-stick silicone mats. For consistent thickness, use craft wood spacers secured with masking tape.
If you're using an oven, proper air circulation is essential – set up fans when the door is propped open.
For the best results with either method, you'll want fruit leather dehydrator sheets or properly lined baking sheets. These surfaces guarantee even drying and make it easy to remove your finished leather without tearing.
Preparing the Fruit Base
The first step in creating fruit leather is selecting fresh fruits that are ripe or slightly overripe, as these will provide the best flavor and consistency.
You'll need to wash your chosen fruits thoroughly in cool water, then remove any peels, seeds, and stems before cutting them into chunks suitable for blending. Consider incorporating some high-pectin fruits to ensure proper texture in your final product.
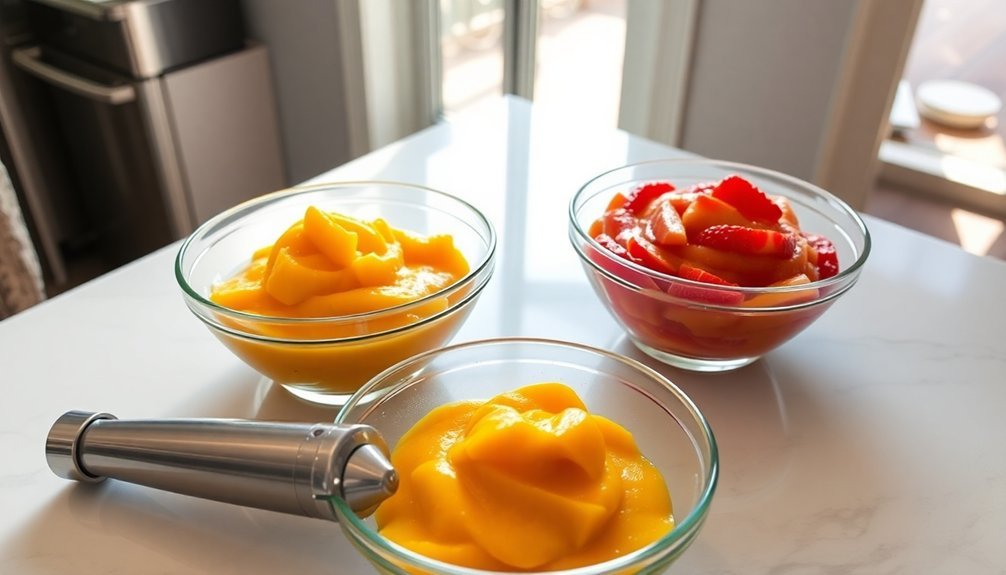
For each 13" x 15" fruit leather sheet, measure out 2 cups of prepared fruit and process it in your blender until you achieve a smooth, consistent puree.
Selecting Quality Fresh Fruits
Successfully making fruit leather starts with selecting high-quality, ripe fruits at their peak of freshness.
You'll want to choose fruits that are perfectly ripe, as they'll provide the best flavor and natural sweetness for your leather. Berries, stone fruits, and tropical fruits are all excellent choices for your fruit leather base.
If you're new to making fruit leather, start with fruits high in pectin like apples, plums, or currants, as they'll create a better texture and help the leather hold together.
You can also combine different fruits – just remember that watery fruits like melons, citrus, or grapes work best when paired with drier fruits to achieve the right consistency.
While bananas are great for adding texture, they're starchy and should be mixed with other fruits rather than used alone.
For each 13" x 15" sheet of fruit leather, you'll need about 2 cups of fruit.
If you're using light-colored fruits, add 2 teaspoons of lemon juice or 1/8 teaspoon of ascorbic acid to prevent browning.
You can adjust sweetness by adding ¼ to ½ cup of honey, corn syrup, or sugar per 2 cups of fruit.
Basic Fruit Processing Steps
Once you've selected your fruit, proper preparation forms the foundation of great fruit leather. Start by washing your fresh fruit thoroughly in cool water to remove dirt and contaminants.
You'll need to remove any stems, seeds, and peels, especially from tough-skinned fruits, though peeling soft-skinned varieties remains optional. Cut the fruit into manageable chunks for easier pureeing.
Place your prepared fruit in a blender or food processor, using about 2 cups for each 13×15-inch leather sheet. Blend until you achieve a smooth, uniform consistency.
If you're working with frozen or canned fruit, drain and save the liquid first, as you might need it to adjust the puree's thickness later.
For ideal results, you'll want to add some preservatives and sweeteners. Mix in 2 teaspoons of lemon juice or ⅛ teaspoon ascorbic acid per batch to prevent darkening, especially with light-colored fruits.
Add ¼ to ½ cup of honey, corn syrup, or sugar for every 2 cups of fruit. If you're watching calories, you can use saccharin-based sweeteners instead, but avoid aspartame as it loses sweetness during drying.
Natural Sweeteners and Flavors
While honey stands out as your best sweetener choice for fruit leather due to its crystal-preventing properties, other options like corn syrup and stevia can work effectively when you're seeking alternatives.
You'll get great results by combining complementary spices like cinnamon with apple-based leathers or ginger with tropical fruit blends.
To keep your lighter-colored fruits from browning during the drying process, you can add a splash of lemon juice or a pinch of ascorbic acid to your fruit puree.
Honey Vs Other Sweeteners
Sweetener selection plays an essential role in creating the perfect fruit leather texture and taste. Honey stands out as your best choice, starting with 2 tablespoons per batch. It not only prevents crystallization but also keeps your leather pliable while enhancing the fruit's natural flavors.
You'll appreciate its antioxidant properties and how it blends seamlessly with fruit purees.
If you're looking for alternatives, corn syrup works similarly to honey, ensuring a smooth texture and extended storage life. For low-carb options, you can use liquid stevia (specifically Stevia Glycerite) or Besti sugar substitute, though you'll want to adjust quantities carefully as the leather becomes sweeter during drying.
Agave nectar and maple syrup are viable options too, each bringing its unique flavor profile.
Avoid granulated sugar, as it tends to crystallize and make your leather brittle. Instead, consider using high-pectin fruits or adding applesauce to naturally boost sweetness.
When using sugar alternatives like Splenda or saccharin-based sweeteners, remember they'll help reduce tartness without adding calories, but be aware that aspartame may lose its sweetness during the drying process.
Spice Blend Combinations
Transforming your fruit leather into a gourmet treat starts with the right spice blend combinations. You'll find that warm spices like allspice, cinnamon, cloves, and nutmeg work wonderfully together, especially when you're making apple or pear leather. For a classic autumn flavor, try using pumpkin pie spice in your recipes.
If you're looking for bright, fresh notes, combine citrus elements with herbs. You can add lemon or lime juice and peel to your fruit puree, then enhance it with fresh mint leaves.
For more adventurous combinations, try pairing basil leaves with peach or blueberry leather, or experiment with tarragon when making pineapple leather. Sage leaves complement both raspberry and pineapple varieties, while a pinch of cayenne pepper can add unexpected depth to grape leather.
Don't forget about natural sweeteners and flavor enhancers. You can use stevia glycerite as a sugar-free option, or add depth with extracts like almond, orange, or vanilla.
For additional texture and nutritional benefits, sprinkle chia seeds into your puree before drying. You'll find that habanero adds an exciting kick to tropical fruit combinations when used sparingly.
Preventing Fruit Discoloration
Keeping your fruit leather vibrant and appetizing requires specific steps to prevent discoloration. For every 2 cups of light-colored fruit, you'll need to add 2 teaspoons of lemon juice. This simple addition helps preserve the natural color of fruits like apples, pears, and peaches, preventing them from turning dark and unappealing.
If you don't have lemon juice on hand, you can use ascorbic acid as an alternative. Add 1/8 teaspoon (375mg) for every 2 cups of fruit. For even better results, consider using both lemon juice and ascorbic acid together, as they work in tandem to maintain your fruit's natural appearance and texture.
When selecting sweeteners, opt for honey or corn syrup instead of regular sugar. These natural options won't crystallize over time, making them ideal for longer storage. While saccharin-based sweeteners can reduce tartness without adding calories, avoid aspartame as it loses sweetness during the drying process.
Before adding any preservatives, verify you've properly prepared your fruit by washing it in cool water, removing peels and seeds, and pureeing it until smooth. Add liquid if needed to achieve a pourable consistency.
Setting Up Your Drying Station
Preparing your drying station properly is essential for creating successful fruit leather. Start by selecting either a 13" x 15" baking pan or dehydrator trays as your base. Line your chosen surface with plastic wrap or silicone mats, leaving a one-inch border for the puree to spread during drying.
If you're using an oven, verify it can maintain 140°F and prop the door open 2-6 inches for proper air circulation. For dehydrators, use the manufacturer's plastic sheets or line the trays with plastic wrap. In both cases, you'll want to maintain low humidity and consider using a fan to move moist air away from your fruit leather.
| Equipment Type | Temperature Setting | Air Circulation Needs | Surface Prep |
|---|---|---|---|
| Dehydrator | 140°F constant | Built-in fan | Plastic sheets/wrap |
| Home Oven | 140°F with thermometer | Prop door + external fan | Lined baking pan |
| Convection Oven | 140°F constant | Built-in fan system | Lined baking pan |
| Commercial Dryer | 140°F precise control | Multiple fan settings | Special trays |
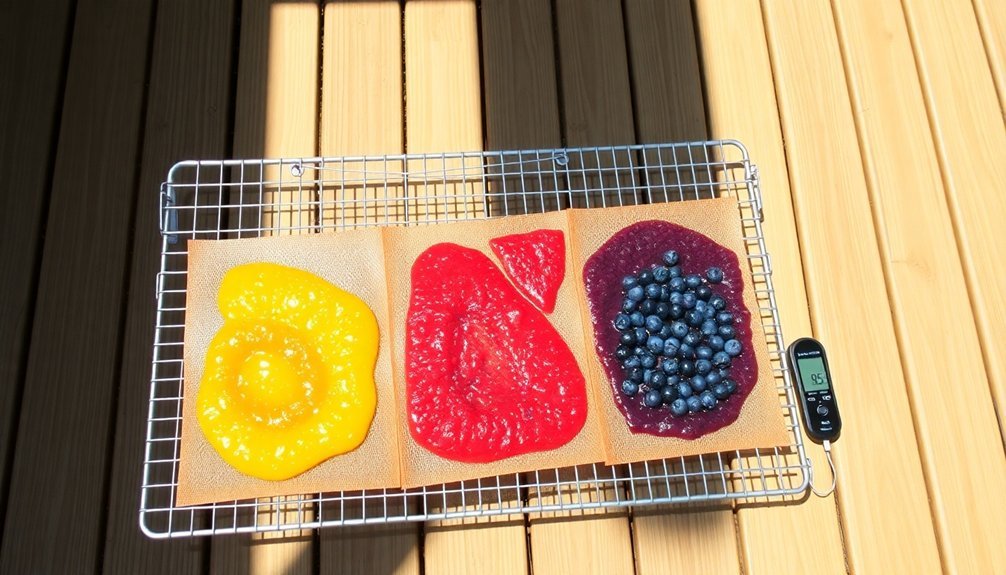
Pour your puree to a thickness of 1/8 to 1/4 inch, using 2-3 cups per tray. Spread it evenly, avoiding the edges, and tilt the tray to verify uniform coverage.
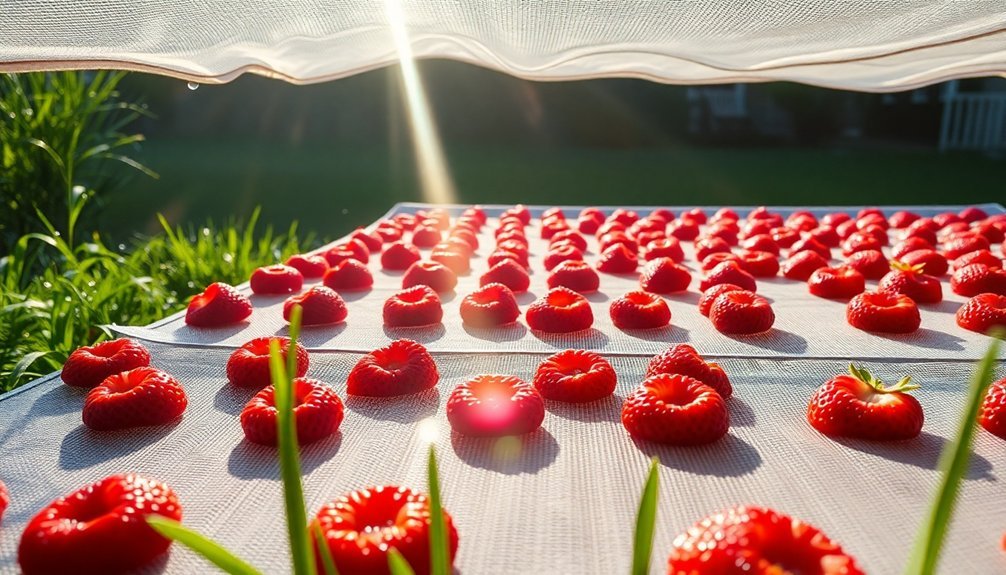
Sun Drying Best Practices
The art of sun drying fruit leather demands careful attention to both preparation and protection. Start by selecting high-pectin fruits and pureeing them to the right consistency, adding water or fruit juice if needed. Don't forget to mix in lemon juice to prevent darkening, and consider adding honey or maple syrup if you're using tart fruits.
Once you've prepared your puree, protect your fruit leather by covering the drying tray with cheesecloth or breathable fabric. Secure it tightly with weights or clips, ensuring it doesn't touch the leather's surface.
You'll need to monitor the drying process throughout the day, moving the tray to follow the sun's path for consistent exposure. Remember to bring your trays inside at night to avoid moisture and insects.
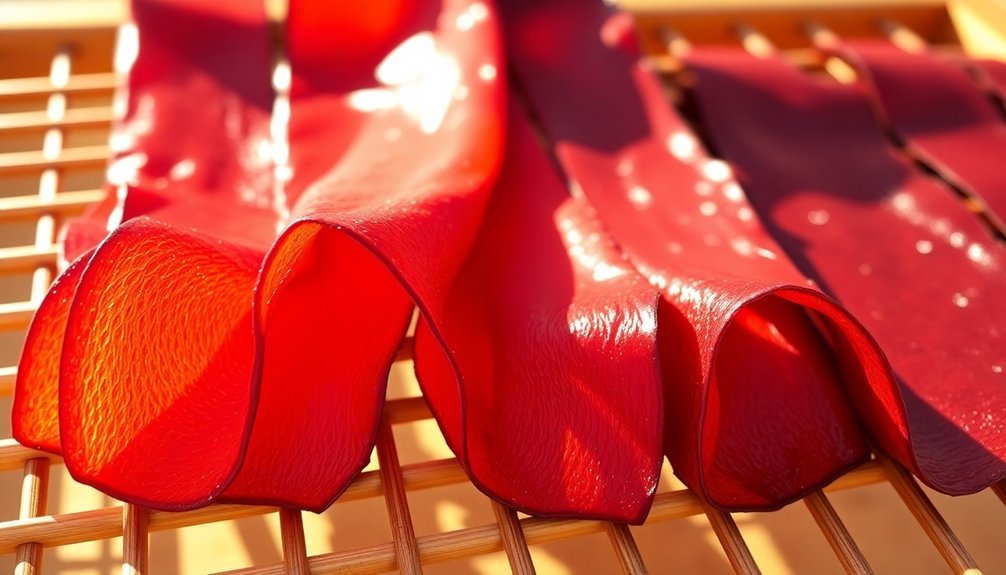
To determine if your fruit leather is done, check for any remaining wet spots – it should be dry but still flexible. Let it cool completely before testing, as the texture will change.
When it's ready, carefully peel it off the sheet, roll it up, and cut it into your desired shapes. Store your finished fruit leather in an airtight container at room temperature, or refrigerate for extended shelf life.
Weather and Timing Considerations
Successful sun drying requires precise weather and timing to achieve the perfect fruit leather. You'll need hot, sunny days with temperatures above 85°F and low humidity levels. Before starting, check the weather forecast to verify there's no rain predicted for at least the next day, as moisture can quickly spoil your fruit leather.
Start your drying process early in the morning to maximize sun exposure. You'll want to place your fruit leather in an area that receives full sunlight, particularly during the afternoon hours when the sun is strongest. Plan for a drying period of 1-2 days, keeping in mind that thinner layers will dry faster than thicker ones.
Don't forget about nighttime protection. You'll need to bring your fruit leather indoors when the sun sets to prevent moisture condensation. If you must leave it outside, cover it with a breathable cloth supported above the surface to keep bugs away while maintaining airflow.
When morning comes, inspect your fruit leather for any signs of mold before continuing the drying process. Remember that while sun drying takes longer than using an oven or dehydrator, the results can be just as rewarding.
Testing for Proper Dryness
Testing your sun-dried fruit leather for proper dryness calls for both visual inspection and tactile examination. Start by checking for wet spots or soft areas across the surface. The leather shouldn't be sticky or tacky but should maintain a slightly pliable texture. As you inspect, you'll notice proper drying begins from the outer edges and moves toward the center.
When you touch the center, it shouldn't leave an indentation or feel sticky. Try folding the leather in half – it shouldn't stick to itself. The texture you're looking for should resemble soft kid leather, flexible but not soggy. If you cut a piece in half, you shouldn't see any visible moisture inside.
During the drying process, you'll want to check periodically to verify even drying. Once you think it's ready, let it cool for 30-60 minutes before packaging.
When you wrap it in plastic, do so while it's still slightly warm, but be careful not to package too soon, as this can trap unwanted moisture. After wrapping, monitor for any condensation or mold development during the cooling process.
Storage and Preservation Methods

Store your fruit leather in airtight, food-grade containers like glass jars or vacuum-sealed bags to maintain freshness and prevent moisture absorption.
You'll get the best results by cutting your leather into portions and separating layers with wax paper or plastic wrap before storing.
For extended shelf life, keep your fruit leather in the refrigerator for up to 6 months or freeze it for up to a year.
Proper Storage Containers
Proper storage containers play an essential role in preserving your homemade fruit leather's freshness and quality. You'll want to choose airtight, moisture-proof containers to guarantee your fruit leather stays fresh for as long as possible. Glass jars, freezer bags, and freezer storage containers are all excellent options for storing your homemade treats.
Before placing your fruit leather in these containers, you'll need to wrap it properly. Roll your fruit leather while it's still warm using plastic food storage wrap, making sure to leave 1-2 inches of extra wrap at each end. Twist these ends tightly to create a secure seal.
Don't use waxed paper or aluminum foil, as they won't protect against moisture.
Once wrapped, place your fruit leather in your chosen container and store it in a cool, dark place. If you live in a warm or humid climate, you'll want to keep it in the refrigerator. For long-term storage of up to one year, use your freezer.
Remember to label your containers with dates and contents, and store them away from direct sunlight. Keep the fruit leather in a single layer to prevent sticking, and check periodically for any signs of moisture or spoilage.
Shelf Life Tips
Now that you've chosen the right containers, understanding how long your fruit leather will last is key to enjoying it at its best. Your homemade fruit leather can last 1-2 months at room temperature, but you'll get up to 6 months when refrigerated and a full year if frozen.
Store your fruit leather in a cool, dry place between 60°F and 70°F (15°C to 21°C) for ideal room temperature storage. If you've added nuts or seeds, plan to consume it within three weeks unless you're freezing it.
You'll want to keep it away from direct sunlight and avoid moving it between different temperature environments repeatedly.
To maximize shelf life, make certain your fruit leather is properly dehydrated, as excess moisture will promote mold growth. When handling, use clean, dry hands to prevent contamination.
It's smart to pre-cut your fruit leather into portions before storage to minimize exposure each time you access it. Check periodically for any signs of spoilage, such as mold or unusual odors.
If you've frozen your fruit leather, always thaw it in the refrigerator to prevent condensation from forming.
Common Troubleshooting Tips
Creating perfect fruit leather can present several challenges, but most common issues have simple solutions. If you're experiencing uneven drying, use an offset spatula to spread your puree about 1/4-inch thick, making it slightly thinner in the center and thicker at the edges. Remember to rotate trays during the drying process to guarantee uniform results.
For brittle leather that's dried too much, you can mist it with water to restore pliability. Adding applesauce or instant pectin during preparation helps prevent brittleness in the first place.
| Problem | Solution |
|---|---|
| Tart Flavor | Add honey (1 tsp per cup puree) |
| Bland Taste | Mix sweet and tart fruits |
| Color Issues | Add lemon juice (1/2 tsp per cup) |
| Sticky Patches | Continue drying until uniform |
To prevent mold and insect issues, confirm your leather is completely dry before storage. Condition it by placing it in a sealed jar for a week, checking daily for condensation. If you notice moisture, return it to the dehydrator for 15-30 minutes. Start your drying process early in the day to minimize exposure to evening moisture.
Frequently Asked Questions
Can I Use Overripe Fruits to Make Fruit Leather?
Yes, you can definitely use overripe fruit to make fruit leather! It's actually ideal since overripe fruits are softer and easier to puree. You'll get great results and prevent food waste at the same time.
How Long Can Homemade Fruit Leather Last Without Refrigeration?
Your homemade fruit leather can last 1-2 months without refrigeration when you store it properly in an airtight container at room temperature (60-70°F). Keep it in a cool, dry place away from sunlight.
Is It Safe to Dry Fruit Leather in a Car on Hot Days?
You shouldn't dry fruit leather in a car. The inconsistent temperatures, poor air circulation, and trapped heat can lead to spoilage or harmful bacteria growth. It's safer to use traditional drying methods instead.
Can I Use Artificial Sweeteners Instead of Honey or Corn Syrup?
You'll face challenges using artificial sweeteners since they don't preserve well during drying and can affect texture. They'll also make your fruit leather less pliable and may lose sweetness. Stick with honey or corn syrup instead.
Does Fruit Leather Maintain the Same Nutritional Value as Fresh Fruit?
No, your fruit leather won't have identical nutrition to fresh fruit. While it retains many vitamins and minerals, you'll get less fiber, water content, and some nutrients are reduced during the drying process.
In Summary
You're now equipped to create delicious, homemade fruit leather that rivals store-bought versions. With your fresh ingredients, proper equipment, and newfound knowledge of drying techniques, you'll be turning seasonal fruits into shelf-stable snacks in no time. Don't forget to experiment with different fruit combinations and natural sweeteners to discover your favorite flavors. Happy drying, and enjoy your healthy, homemade treats!


Leave a Reply