Building your own backyard BBQ smoker requires basic tools like a MIG welder, angle grinder, and drill, plus key materials including a 55-gallon steel drum or 250-gallon propane tank. You'll need to choose between offset, vertical, or reverse flow designs based on your cooking needs and available space. For proper heat distribution, construct your firebox at one-third the size of your cooking chamber using ¼-inch thick steel plates. Don't forget essential components like thermometers, smokestacks, and well-sealed doors with dampers. Following proper safety guidelines and construction techniques will guarantee your custom smoker delivers mouth-watering results for years to come.
Essential Tools and Materials List
What's needed to build a backyard BBQ smoker? You'll need to start with the core components: a 55-gallon steel drum or 250-gallon propane tank that's food-grade quality, along with 1/4" steel plates for the firebox and steel tubing for frames.
Don't forget steel grating or wire racks for your meat shelves and a dedicated charcoal grate. Regular maintenance cleaning will extend the life of these components.
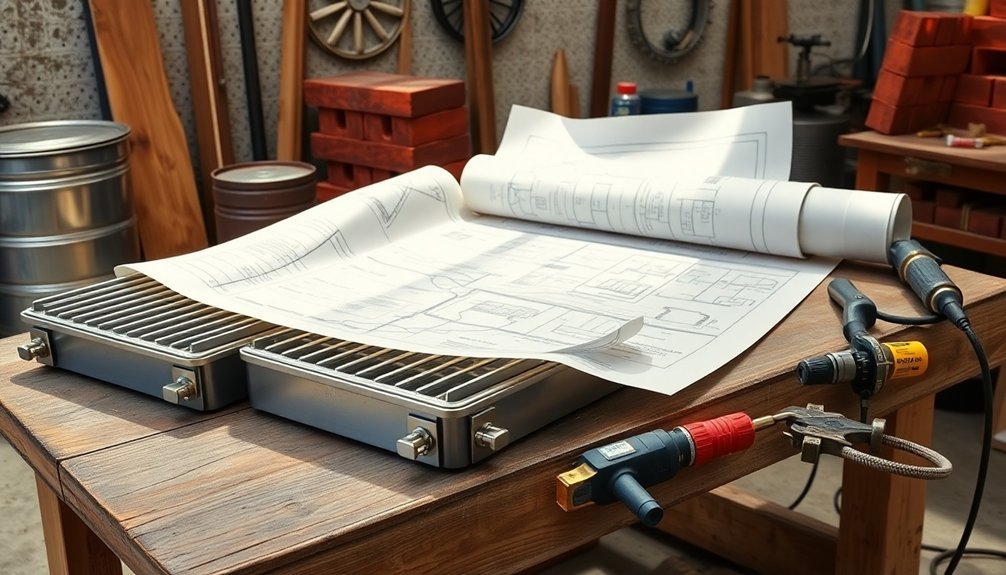
For construction, you'll require a MIG welder, drill with metal bits, and an angle grinder with cut-off wheels. You'll also need a jigsaw or reciprocating saw for cutting openings, plus clamps and welder's magnets to hold pieces in place during assembly.
A sabre saw and metal cutting chop saw can make precision cuts easier.
Your smoker won't be complete without essential components like a reliable thermometer, smokestack pipe for proper ventilation, and tight-fitting doors with dampers to control airflow.
Include ceramic insulation or firebricks for heat retention, and round stock or tubing for hinges and handles.
Finally, you'll want fireproof board for structural support and space for your smoking fuel: lump charcoal and seasoned hardwoods like oak and apple.
Planning Your Smoker Design
When building your backyard BBQ smoker, you'll first need to decide between traditional design styles like offset, vertical, or reverse flow smokers, as each offers distinct advantages for different cooking methods.
The construction process requires minimal DIY skills, making it an achievable project for most homeowners without specialized equipment like welding tools.
Your choice of style will directly impact the materials needed and construction approach, whether you're planning to use plywood and timber for a traditional build or opting for steel construction.
Consider your available space and typical cooking needs to determine the right size, keeping in mind that a standard 10-cubic-foot chamber with multiple racks works well for most home smoking projects.
Choose Your Smoker Style
Selecting the right smoker style is an essential first step in your BBQ smoker project. You'll need to choose between four main types, each with distinct advantages for your backyard cooking needs.
The Upright Drum Smoker (UDS) offers the simplest and most cost-effective option. You'll need a 55-gallon steel drum for the cooking chamber, making it perfect if you're working with a limited budget and space.
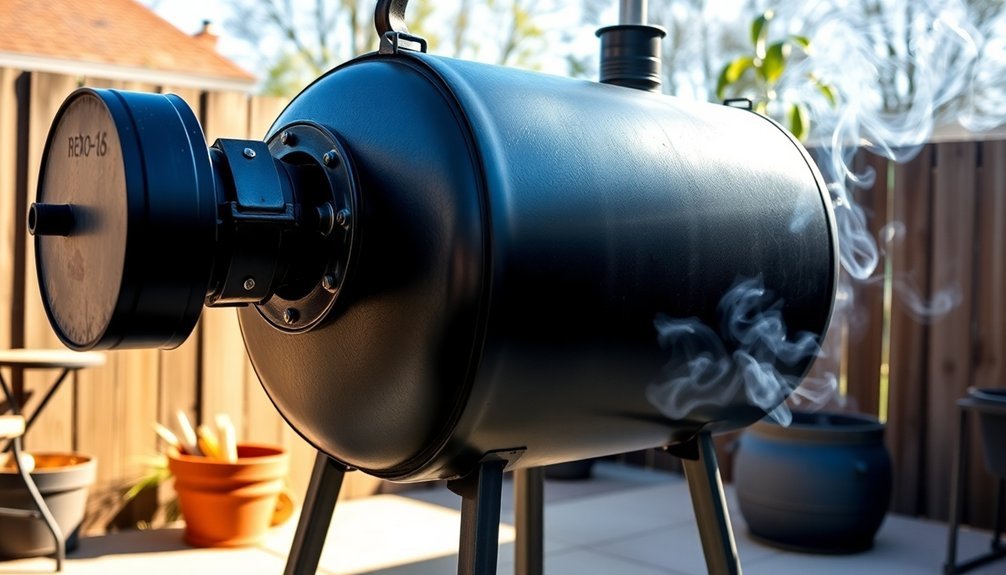
For mobility, consider a trailer-mounted smoker using an old propane tank – it's ideal if you plan to transport your smoker to different locations and includes a large smokestack for excellent airflow. This design is also great for whole-hog barbecue and large catering events.
If you're looking for a permanent solution, build a brick smoker. It provides multiple cooking levels with metal grates and features a hinged metal lid for easy access.
For cold smoking foods like cheese or fish, opt for a cold smoker design with removable panels and wood construction.
Remember to match your choice with your available materials. Steel tanks need at least 3/16" gauge thickness for the firebox, while brick structures require fire-brick lining.
Each style needs proper ventilation through a 6"-10" diameter smokestack for clean burning.
Sizing For Your Needs
A properly sized smoker guarantees efficient cooking and perfect heat distribution for your BBQ projects.
You'll need precise measurements of your smoker chamber, starting with the width from left to right, including protruding parts like handles and control knobs. Then measure the depth and height, considering breathability needs for your smoker cover.
Your firebox should be approximately one-third of your cooking chamber's volume, using ¼-inch thick steel for construction. For a large backyard offset, aim for a firebox that's 24-28 inches long to maintain consistent heat without frequent refueling.
The smokestack height, typically 40-50 inches for horizontal offset smokers, plays an essential role in proper draft and airflow.
Important sizing considerations for peak performance:
- Calculate your chamber volume by multiplying length, width, and height to determine the appropriate firebox size.
- Design your smokestack with a round interior to reduce drag and guarantee efficient airflow.
- Plan integration points between components, guaranteeing adequate openings between the firebox and cooking chamber, with proper grease management systems in place.
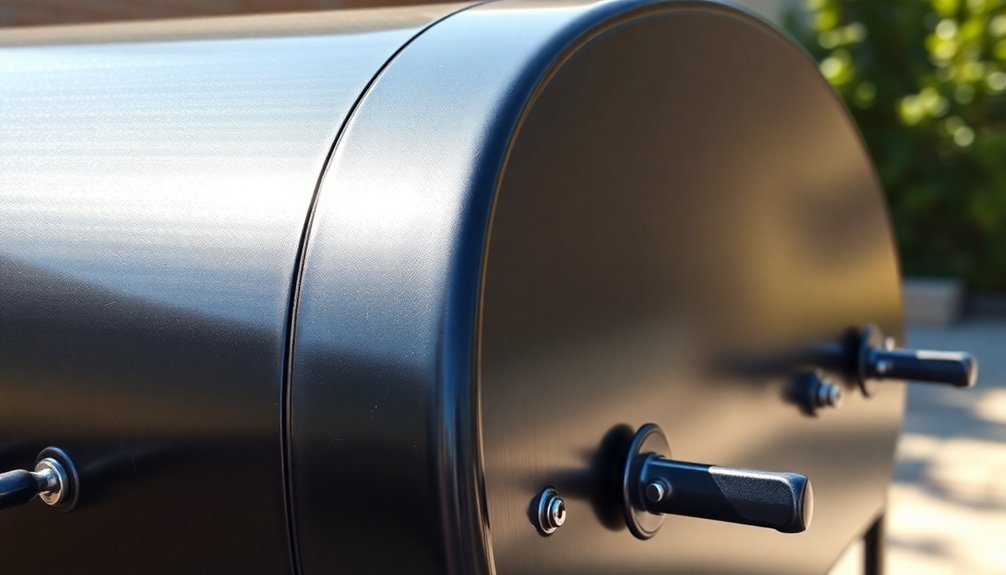
Selecting The Right Metal Chamber
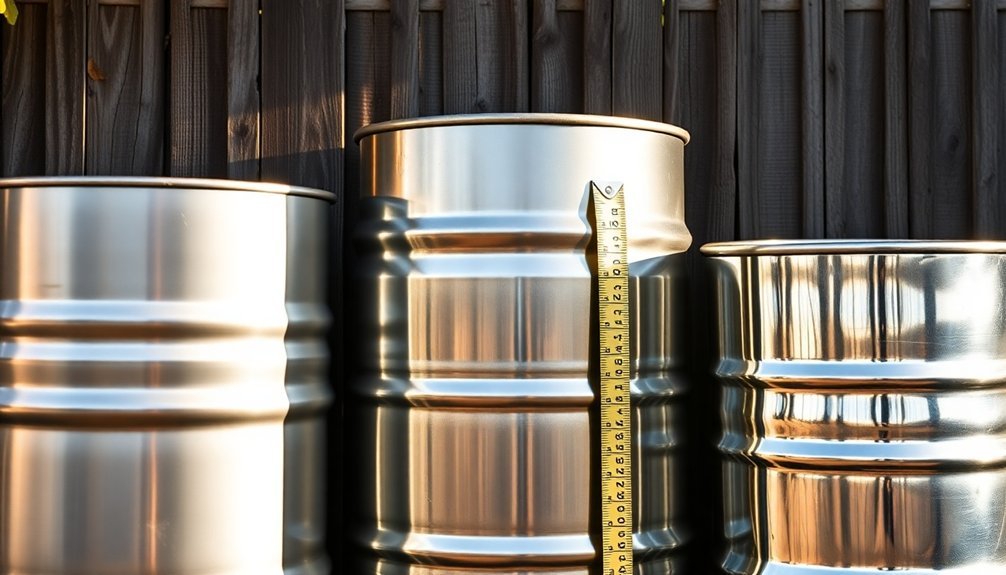
The right metal chamber forms the heart of your backyard BBQ smoker, determining its performance, durability, and efficiency. You'll find three main metal options to evaluate: stainless steel, aluminum, and standard steel.
Stainless steel stands out as the premium choice. It's excellent at retaining heat, won't corrode easily, and you'll find it's simpler to clean. If you're feeling creative, you can even repurpose an old stainless steel keg. While it's pricier, its durability makes it worth the investment.
If you're looking for a budget-friendly option, aluminum might catch your eye. It's lightweight and easy to handle, but you'll need thicker walls to compensate for its poor heat retention. Remember that it's more prone to corrosion, though anodized aluminum offers better protection.
Steel, particularly in barrel smokers, provides a middle-ground solution. You'll want to use ¼" thick steel for ideal heat retention.
Think about adding ceramic insulation to improve efficiency and prevent warping. When building your smoker, make sure proper gaps for welding to strengthen the joints.
Whatever metal you choose, match the chamber size to your intended use.
Building The Firebox Assembly
Building a robust firebox assembly demands careful attention to material selection and precise construction techniques. You'll want to use at least 3/16" steel plate, though 1/4" is ideal for maximum heat retention and efficiency. The firebox should be approximately one-third the size of your main cooking chamber to guarantee proper heat and smoke flow.
Start your construction by cutting the steel plates to size using a metal cutting saw or torch. Before welding, verify your pieces fit together properly, leaving small gaps for complete weld penetration. Use a MIG or wire feed welder to tack the pieces together, then complete full welds along all seams for maximum strength.
- Install the firebox door hinges first, then add your damper door for temperature control.
- Create a fire basket from expanded metal to contain your fuel and improve airflow.
- Line the bottom with firebrick to enhance heat retention and protect the base plate.
Once assembled, add your vents and smoke stack for proper airflow management. Consider adding ceramic insulation to improve heat retention, and finish with high-temperature paint to protect your firebox from the intense heat it'll endure.
Welding Safety Guidelines
Before striking your first arc, you'll need proper protective equipment including a welding helmet, flame-resistant gloves, and safety glasses to shield yourself from sparks and UV radiation.
Set up your work area with adequate ventilation and keep pressurized gas cylinders secured and away from heat sources during the build.
Always keep a fire extinguisher within reach and remove flammable materials from your workspace, as welding sparks can travel up to 35 feet and smolder long after you've finished working.
Proper Protective Equipment
Safety requirements for welding demand extensive protective gear to shield your body from hazardous conditions.
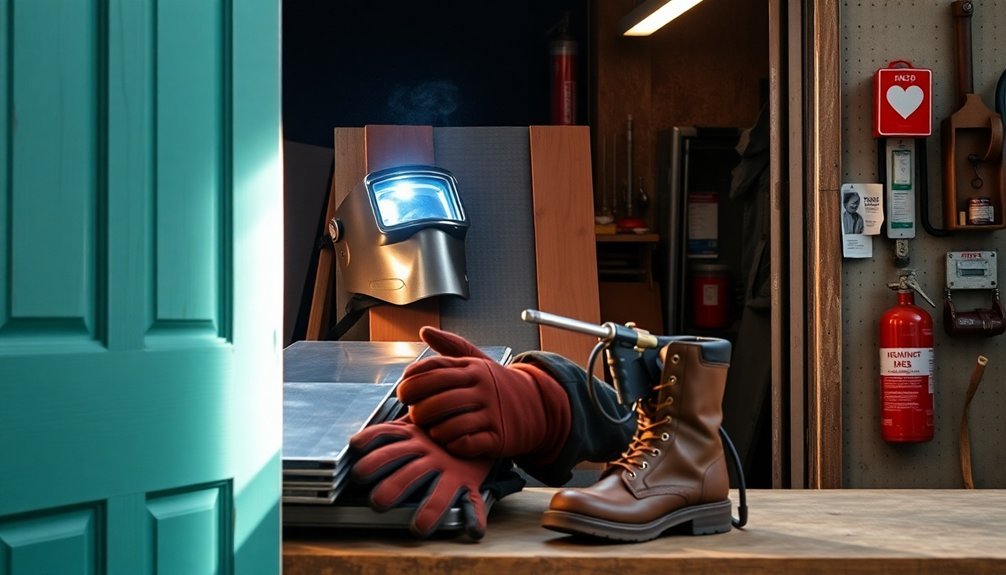
You'll need a welding helmet with an auto-darkening lens to protect your eyes and face from intense UV radiation and sparks. Your hands and wrists must be covered with specialized welding gloves designed to withstand high temperatures and molten metal splatter, while a flame-retardant jacket provides essential protection for your upper body.
- Always wear safety glasses with side shields under your welding helmet – they're your backup protection against flying particles and debris that could compromise your vision.
- Don't forget steel-toed boots to protect your feet from heavy falling objects and hot metal, guaranteeing they're made of flame-resistant materials.
- Use a respirator mask in poorly ventilated areas or when working with materials that produce toxic fumes.
Before starting any welding work, verify you've cleared the area of flammable materials and positioned a fire extinguisher within easy reach.
Your welding station should include fire-resistant barriers or welding blankets to contain sparks and hot metal debris.
Remember to stay upwind of welding fumes and maintain proper ventilation throughout your work session.
Ventilation and Gas Safety
Proper ventilation stands as your primary defense against the dangerous fumes and gases produced during welding. When building your BBQ smoker, you'll want to set up your workspace to maximize air flow and minimize exposure to hazardous fumes. If you're welding indoors, use local exhaust ventilation systems and position yourself so that fumes are pulled away from your breathing zone.
| Safety Measure | Implementation |
|---|---|
| Indoor Welding | Use powered air respirators and local exhaust systems |
| Outdoor Welding | Stay upwind and utilize natural drafts |
| Confined Spaces | Never weld without mechanical ventilation |
For outdoor welding, you'll need to stay upwind of your work area and take advantage of natural air currents. Don't forget that even in open spaces, you should avoid areas where fumes can become trapped. Keep an eye on weather conditions, as they can affect how fumes disperse.
Be particularly cautious of gases like argon and carbon dioxide, which can displace oxygen in poorly ventilated areas. If you're working in a garage or workshop, make certain you've got proper ventilation equipment installed and maintain good airflow throughout your workspace. Consider using gas detectors for added safety, especially in semi-enclosed areas.
Fire Prevention Measures
Four essential fire prevention measures form the foundation of safe welding practices when building your BBQ smoker.
You'll need to create a thorough fire safety plan that identifies potential hazards and establishes clear emergency procedures.
When welding components of your smoker, maintain a well-organized workspace free from flammable materials and unnecessary equipment.
Set up proper screening barriers and welding curtains to contain sparks and protect anyone in the vicinity from harmful UV rays.
Before you begin welding, verify you're equipped with proper PPE, including a welding helmet with appropriate filter plates and a full face shield.
Don't forget to mark clear evacuation routes and keep a fire extinguisher within arm's reach at all times.
- Position your welding area away from flammable materials, using non-flammable borders to create a safety perimeter.
- Keep your workspace organized with clearly labeled equipment and maintain clean welding surfaces free from toxic coatings.
- Install protective screens or curtains around your welding area to contain sparks and shield others from arc rays.
Remember to regularly inspect your safety equipment and maintain documentation of your fire prevention procedures throughout the smoker build process.
Temperature Control System Installation
Installing a temperature control system transforms your basic smoker into a precision cooking machine.
You'll need to start by connecting the controller adapter to one of your smoker's bottom vents. Make sure to close all other bottom vents, as the controlled vent will be your sole source of air intake. Keep your top vent slightly open to maintain proper airflow.
Mount your controller using the specific bracket system it comes with, whether it's a thumb bolt, toggle bolt, or flat plate design. If you've got a WiFi or Bluetooth-enabled controller, follow the setup instructions to connect it to your mobile device. This will let you monitor temperatures remotely and receive notifications about your cook.
Install the temperature probe carefully, making sure it's properly positioned to read the cooking chamber temperature accurately. Some modern controllers include lid sensors that'll detect when you open the smoker and automatically adjust the fan operation.
Once everything's connected, you can set your target temperature and let the controller manage the fan speed to maintain steady temperatures. The controller will increase or decrease airflow automatically based on the difference between your current and target temperatures.
Grate and Rack Construction
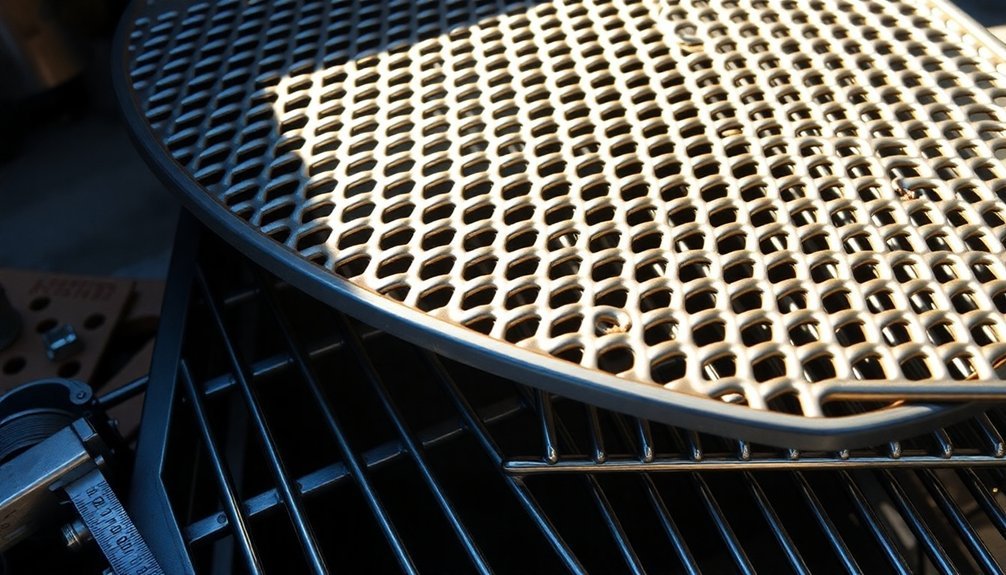
Your grate and rack construction starts with choosing between carbon steel for superior heat conductivity or stainless steel for durability and low maintenance.
You'll need to space your grates properly using either expanded sheet metal or perforated sheets, supported by angle iron frames at intervals that prevent sagging under heavy loads.
Setting up distinct temperature zones across your grates will let you cook different foods simultaneously by positioning them closer to or farther from your heat source.
Choosing Grate Materials
Selecting the right grate material for your BBQ smoker can greatly impact your cooking results and maintenance routine.
You'll primarily choose between carbon steel and stainless steel, each offering distinct advantages. Carbon steel excels in heat conduction and distribution, creating those perfect char marks you're looking for, but it's more prone to rust and requires regular maintenance. Stainless steel, while pricier, offers better corrosion resistance and demands less upkeep.
Consider these key factors when choosing your grate material:
- Durability vs. Cost – Stainless steel's longevity might justify its higher initial investment, while carbon steel offers a budget-friendly alternative if you don't mind the maintenance.
- Cooking Style – If you're after prominent sear marks and even heat distribution, carbon steel's superior heat conductivity makes it your best choice.
- Maintenance Time – If you prefer spending less time on upkeep, stainless steel's rust resistance and easier cleaning process will suit your needs better.
For construction, you can opt for expanded sheet, perforated sheet, or bar stock methods.
Each approach offers different benefits regarding rigidity, heat distribution, and ease of installation.
Proper Grate Spacing
Proper grate spacing serves as a critical foundation for any BBQ smoker's performance and functionality. When you're planning your grate layout, maintain at least 24 inches between the bottom of your charcoal basket and the lowest cooking grate.
You'll also need to guarantee 1-inch clearance under the ash pan and 1.5 inches under the charcoal basket for ideal airflow.
For multiple cooking grates, space them 4-6 inches apart to allow even heat distribution and easy access during cooking. You'll want to mount your grates on sturdy, parallel supports made from angle iron or square tubing, welded perpendicular to the smoker's door.
Make sure these supports are securely fastened to handle the weight of both the grates and your food.
When installing your grates, consider using adjustable brackets or bolts to modify their position as needed. Keep the gap between the grates and smoker walls minimal to prevent heat loss and maintain proper smoke circulation.
If you're using expanded metal grates, they'll need a rectangular frame for support, welded carefully to prevent warping. Remember to keep your grates level for consistent cooking temperatures across the entire surface.
Temperature Zone Setup
Temperature control mastery begins with strategically constructed grates and racks that create distinct cooking zones. You'll want to build your grates using expanded metal welded to angle iron brackets, guaranteeing they're supported both parallel and perpendicular within your cook chamber. This foundation allows you to establish reliable temperature zones by placing charcoal strategically on one side while leaving the other empty for indirect cooking.
To maximize your cooking control, you'll need to coordinate your grate setup with proper damper management and firebox configuration. Position your fire closer to the firebox door to promote even convection heating, and line your firebox with fire-brick or ceramic insulation to maintain consistent temperatures.
- Create a hot zone for searing by clustering your charcoal on one side of the grill, while keeping the opposite side clear for cooler, indirect cooking.
- Support your grates with square tubing and angle iron brackets to guarantee they can handle heavy loads while maintaining proper airflow.
- Leave small gaps between doors and expanded metal to increase your total cooking area while maintaining temperature control.
Sealing and Insulation Methods
For a successful BBQ smoker, effective sealing and insulation methods make all the difference between mediocre and mouth-watering results.
You'll need to focus on two key areas: properly sealing the door and insulating the entire unit to maintain consistent temperatures.
Start by sealing your smoker's door using high-heat silicone rubber and self-adhesive gaskets.
Apply a single bead of silicone where the door meets the chamber, using wax paper to spread it evenly. You can add multiple gasket layers if needed, and RTV silicone can provide additional sealing along the edges.
For insulation, you've got several effective options. An insulating jacket made from aluminum-covered fabric works well for vertical smokers, while insulation blankets suit both vertical and horizontal designs.
Welding blankets, made from synthetic fire-resistant fibers, offer another reliable solution. For maximum heat retention, consider using cement boards in combination with these materials.
Choose your insulation materials carefully. Mineral wool products like Roxul handle high temperatures well, while Fiberfrax Durablanket provides excellent heat resistance.
Avoid polystyrene sheets, as they'll melt under intense heat. Instead, opt for THERMAX sheathing if you need rigid insulation.
Paint and Finishing Steps
With your smoker sealed and insulated, it's time to protect and beautify its exterior. Start by thoroughly preparing the surface using sandpaper, wire brush, and a coarse plastic pad to remove rust and grease.
Clean the surface with paint prep product or acetone, and apply rust dissolver gel if needed. After fine sanding, you'll create a smooth foundation for the paint.
Next, apply a rust reformer or high heat primer to convert and seal any remaining rust. This essential step creates a stable surface and prevents future rust formation. Make sure to let each primer coat dry completely according to the manufacturer's instructions.
For the best painting results:
- Start with a light mist coat of high temp paint and let it set
- Apply multiple thin coats rather than one thick layer, allowing proper drying time between applications
- Use a spray can trigger tool for even coverage and professional results
Finally, cure the paint by building a small fire and gradually increasing the temperature. Maintain medium-high heat for about an hour.
You'll notice some off-gassing, which is normal. Don't use your smoker for cooking until the paint has fully cured.
Test Run Procedures
Testing your new smoker properly guarantees reliable performance and consistent results in future cooking sessions. You'll need to start with a thorough inspection of all components and clean every surface with mild soap and water. After drying, apply a thin coat of cooking oil to prevent rust formation.
Position your smoker on level ground and open all vents fully before starting the initial heating process. Heat the unit to 250°F and maintain this temperature for 2-3 hours to properly season the cooking chamber and eliminate any manufacturing residues.
| Testing Phase | What You'll Learn |
|---|---|
| Temperature Control | How quickly your smoker responds to vent adjustments |
| Heat Distribution | Where hotspots exist using the bread test method |
| Smoke Management | How smoke flows through your chamber |
| Fuel Efficiency | How long your charcoal or fuel source lasts |
Use a reliable thermometer to monitor temperatures and conduct the bread test to identify hotspots. Place slices in a grid pattern across your cooking surface and document the browning pattern. You'll want to maintain detailed notes about vent positions and fuel amounts that achieve your target temperatures. Address any leaks you discover, as they'll affect your temperature control and smoking efficiency.
Frequently Asked Questions
How Long Should I Cure My Smoker Before Cooking the First Meal?
You'll need to cure your smoker for 1-4 hours at 275-300°F minimum. Run it through a complete cooking cycle without food, and when you can't smell oil anymore, just smoke, you're ready to cook.
Can I Use My Smoker During Winter in Below-Freezing Temperatures?
Yes, you can smoke in freezing temperatures, but you'll need more fuel and careful temperature management. Use a smoker jacket, find a sheltered spot, and expect longer cooking times in cold weather.
What Types of Wood Produce the Least Creosote Buildup?
You'll get less creosote using well-seasoned softwoods since they burn hotter and faster. While oak and madrone can create more buildup, it's not just wood type – proper airflow and hot fires matter most.
How Often Should I Replace the Internal Gaskets and Seals?
You'll need to replace your smoker's gaskets every few years, depending on usage. Watch for signs like smoke leaks, hardened material, or lid sticking. Heavy use or high-heat cooking requires more frequent replacements.
Will a DIY Smoker Maintain Resale Value Compared to Commercial Models?
Your DIY smoker typically won't retain value like commercial models, but using quality materials and proper maintenance can help. You'll see better resale value with features like stainless steel components and professional-grade construction.
In Summary
You've now got all the knowledge needed to build your own backyard BBQ smoker. With proper safety precautions, the right materials, and careful attention to detail, you'll be smoking delicious meats in no time. Remember to seal all joints properly, cure your paint finish thoroughly, and always conduct a test run before cooking. Soon you'll be the neighborhood pitmaster with your custom-built smoker.


Leave a Reply