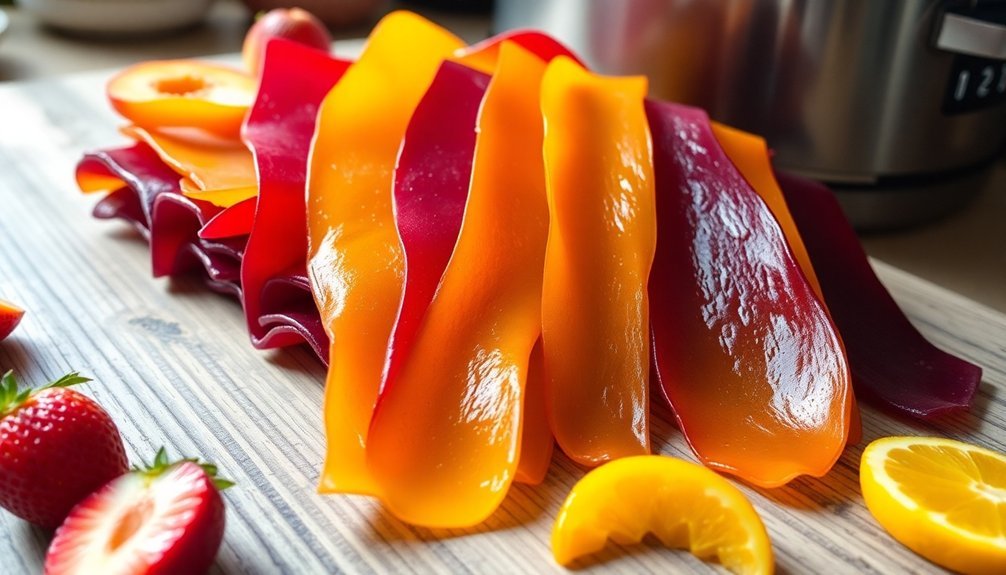
You can easily make delicious, sugar-free homemade fruit leather that's packed with nutrients and flavor. Start by choosing ripe fruits rich in pectin, like berries and stone fruits, to achieve that chewy texture. Puree your selected fruits in a high-quality blender, strain for a smooth consistency, and spread the mixture on dehydrator trays. Dehydrate at low temperatures to preserve those essential nutrients. After drying, let it cool to avoid stickiness, then store it in airtight containers away from sunlight. You'll be amazed at how simple it is, and there's more to discover about flavor options and storage tips!
Benefits of Homemade Fruit Leather
Homemade fruit leather offers a delicious way to enjoy the nutritional benefits of fresh fruits while providing a range of advantages that store-bought snacks simply can't match.
You'll find that it's rich in vitamins and minerals, packed with antioxidants, and high in fiber, which helps support your digestive health and keeps you feeling full longer. Unlike commercial options, homemade fruit leather retains the natural nutrients from the fruits, ensuring you're getting the best for your body. Additionally, the high fiber content in fruit leather contributes to its ability to promote fullness and reduce hunger.
You also gain control over the ingredients, allowing you to use fresh, ripe fruits without any additives. There's no need for artificial colors, flavors, or preservatives. If you want, you can sweeten it naturally with honey or agave syrup, tailoring it to your taste preferences and dietary needs.
Another great perk is the long shelf life. When stored properly, homemade fruit leather can last for weeks or even months without refrigeration, making it perfect for meal prepping or on-the-go snacking.
It's lightweight and compact, ideal for active lifestyles. Plus, it's a fun, educational activity for the whole family, promoting healthy eating habits while reducing food waste!
Choosing the Right Fruits
When it comes to choosing the right fruits for your homemade fruit leather, selecting the best options can greatly enhance both flavor and texture.
You'll want to contemplate fruits that are rich in pectin, as they guarantee good bonding and a perfect chewy consistency. Here's a quick guide to help you pick the right fruits:
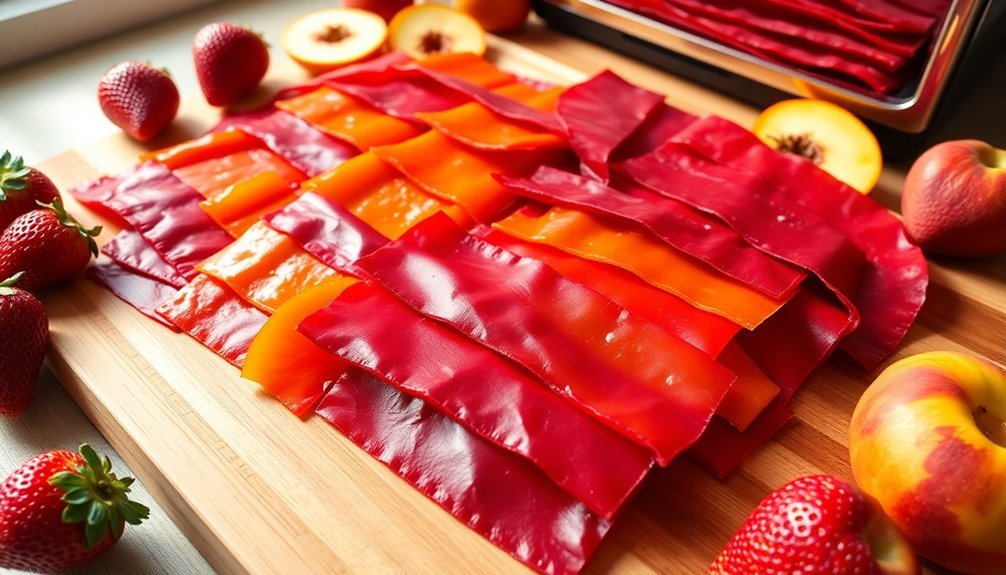
- Berries: Strawberries, blueberries, and raspberries offer vibrant flavors and work well together.
- Stone Fruits: Apricots, plums, and peaches add sweetness and smooth texture.
- Tropical Fruits: Mangos and pineapples bring a tropical flair, but make sure to prepare them properly.
- Other Fruits: Apples and pears are excellent choices due to their natural pectin content. High water content fruits should be combined with drier fruits to achieve the best results.
Also, be cautious with fruits high in water, like melons and citrus, as they can affect the final product's quality.
Aim for perfectly ripe fruits, and remember to wash, peel, or seed them as necessary.
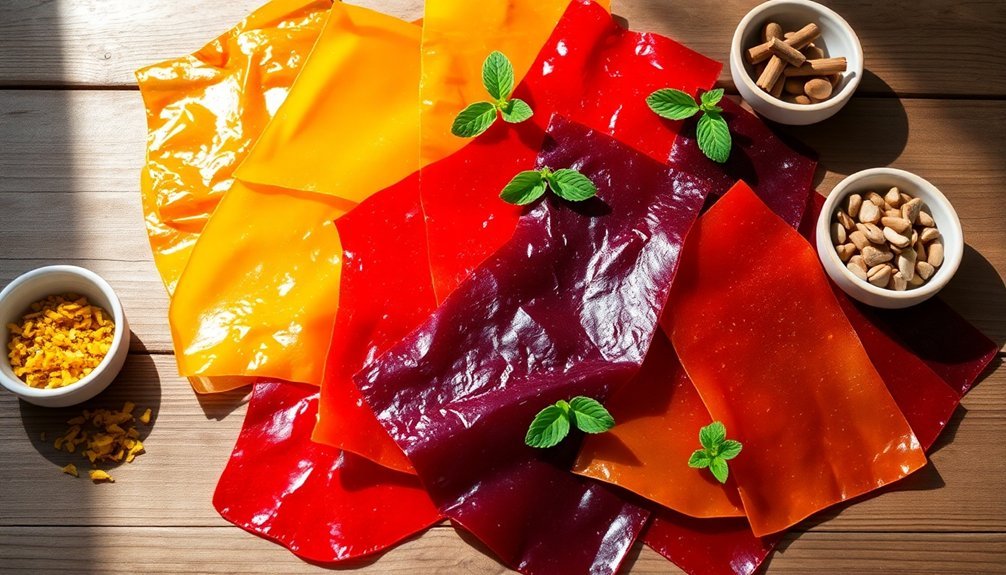
Optional Ingredients for Flavor
To elevate the flavor of your fruit leather, consider incorporating optional ingredients that can add depth and complexity. Sweeteners like raw honey and erythritol can bring sweetness, but remember to use them sparingly due to their intensity.
If you prefer a more natural option, sucanat or granulated sugar can be blended into the fruit puree to your taste. For an extra fruity kick, white grape juice concentrate can be a great addition, especially when combined with pectin.
Spices can also enhance your fruit leather's taste. A dash of cinnamon works wonders with apple or peach flavors, while fresh ginger introduces a unique zest. Nutmeg can add warmth, and both vanilla and almond extracts offer a delightful twist to your blend.
To preserve color and freshness, consider adding lemon juice or ascorbic acid, especially if you're using fruits that brown easily. This not only keeps your fruit leather looking vibrant but also helps maintain its flavor integrity. Additionally, remember that using fresh fruit is the key to achieving a healthy snack option.
With these optional ingredients, you can customize your fruit leather to suit your palate while keeping it healthy and delicious!
Preparation of Fresh Fruit
Selecting the right fruit is essential for making delicious fruit leather, so aim for fresh, ripe, or slightly overripe options to achieve the best flavor and texture. You can experiment with different combinations, but here are some tips to guide you:
- Choose a Variety: Mix fruits that complement each other, like blueberries and raspberries or peaches and raspberries.
- Thaw Frozen Fruit: If you opt for frozen fruit, confirm it's fully thawed and drained to avoid excess moisture.
- Prep Soft Fruits: For fruits like apricots, simply pit them before blending—there's no need for extensive chopping.
- Wash Thoroughly: Rinse your selected fruit under running water to remove any dirt, then dry it to prevent moisture from interfering with the drying process.
Avoid unripe fruit, as it can lead to a lackluster flavor and texture.
By following these steps, you'll set yourself up for a successful fruit leather-making experience.
Pureeing and Straining Techniques

When you're ready to puree your fruit, choosing the right blender can make all the difference in achieving a smooth texture.
A high-quality blender or food processor will guarantee you get rid of any chunks, which is key for an even dehydration process.
After blending, don't forget to strain the puree to remove any seeds or unwanted particles for that perfect fruit leather consistency.
Choosing the Right Blender
A good blender is essential for making homemade fruit leather, as it helps achieve the smooth purees needed for a consistent texture.
When choosing the right blender, consider these options:
- High-Power Blender: Ideal for breaking down tough fruits quickly, guaranteeing a smooth finish.
- Stand Blender: Great for blending larger quantities, providing even consistency in your mixtures.
- Immersion Blender: Perfect for small batches, it's easy to clean and convenient for blending directly in a bowl or pot.
- Food Processor: Effective for pureeing larger amounts, making it a versatile choice for various recipes.
When selecting a blender, keep an eye on key features. Look for high power and multiple speed settings to enhance efficiency, and verify the blade design can handle different fruit textures.
Don't forget about capacity; choose one that can accommodate your recipe needs.
Finally, prioritize ease of use and maintenance, opting for models with durable materials and easy-to-clean designs.
With the right blender, you'll be well on your way to creating delicious homemade fruit leather!
Straining for Smooth Texture
How can you guarantee your homemade fruit leather has the smooth texture you desire? Start by selecting ripe or slightly over-ripe fruit, as this assures the best flavor and consistency. Wash the fruit in cool water, removing any dirt and blemishes. If you're using tough-skinned fruit, peel it—this step is optional for soft-skinned varieties but can improve smoothness. Pit, core, and destem the fruit as needed.
Next, puree your fruit using a blender or food processor until it's completely smooth. If the puree seems too thick, add a splash of water or fruit juice to achieve your desired consistency. For canned fruits, strain out excess liquid before pureeing, and consider mixing fresh, frozen, or canned fruits to balance flavor and texture.
To enhance smoothness, use a fine-mesh strainer or cheesecloth to remove any pulp or seeds. Incorporating high-pectin fruits like apples or plums can also contribute to a pliable texture.
Finally, a splash of lemon juice not only prevents browning but also brightens the flavor. Now you're ready to create fruit leather that's both delicious and smooth!
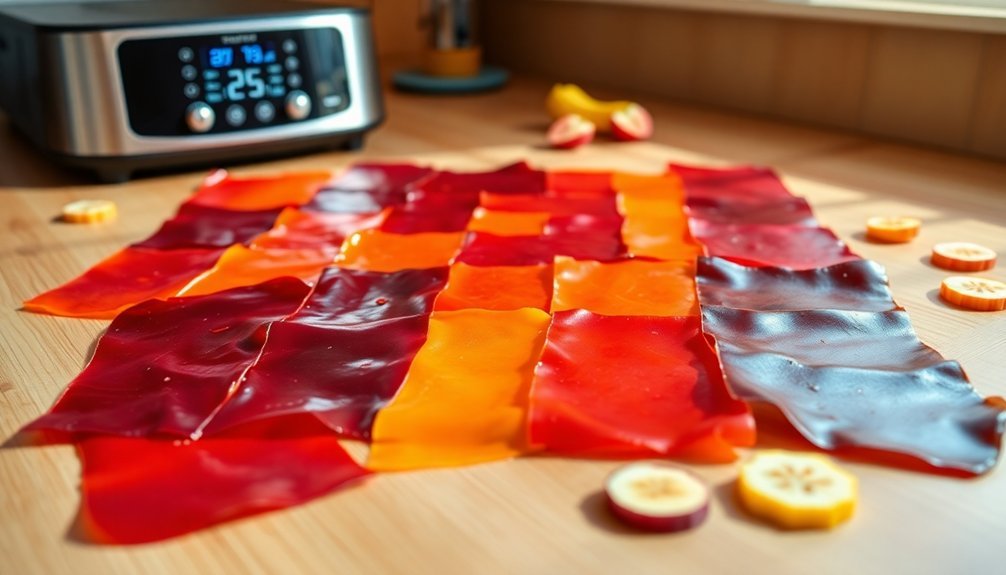
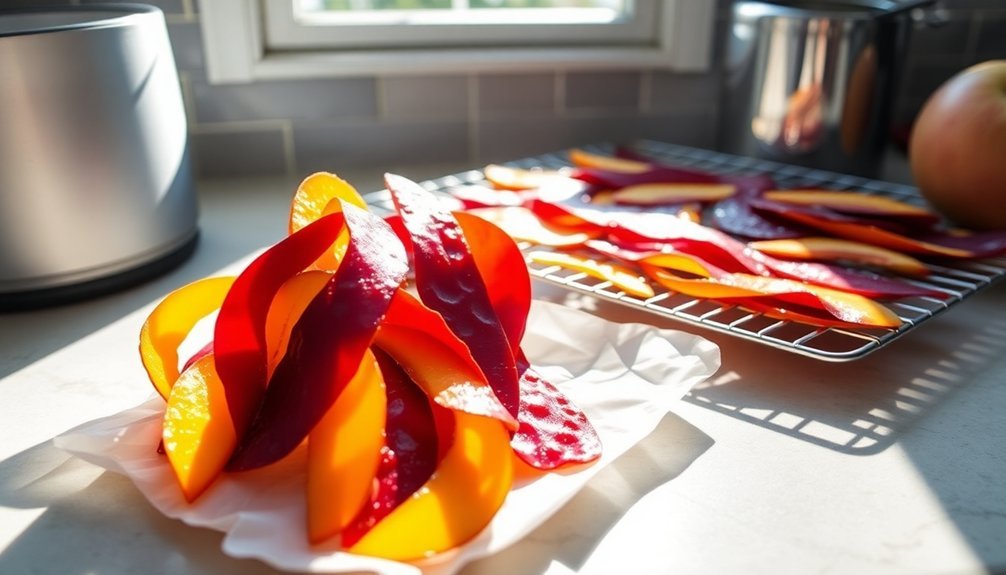
Dehydration Methods Explained
Dehydrating fruit is an effective way to preserve its flavor and nutrients while creating a delicious snack. To achieve the best results, follow these essential steps for setting up your dehydrator and preparing your fruit:
- Dehydrator Setup: Use a dehydrator with trays designed specifically for fruit leather. Line these trays with paraflexx sheets, parchment paper, or silpat. Avoid wax paper and foil.
- Fruit Selection: Choose fresh, canned, or frozen fruit. Combine high-water fruits like melons with drier ones for balanced texture. Make sure to remove stems and blend the fruit into a smooth puree.
- Spread the Puree: Pour the puree onto the trays, spreading it evenly to a thickness of about ⅛ to ¼ inch. Each tray can typically hold 2-3 cups of puree.
- Dehydration Process: Set the dehydrator to 135°F to 145°F. Drying time will vary from 6 to 14 hours, so check after 6 hours for dryness by pressing the leather gently.
Baking Temperature and Time
When making homemade fruit leather, getting the baking temperature and time just right is essential for achieving the perfect texture and flavor. Aim for an ideal temperature range of 135-150°F (57-65°C) for peak drying. If your oven doesn't go that low, prop the door open with a wooden spoon to help lower the temperature.
Use the lowest setting available and position your oven racks in the upper and lower middle positions to guarantee even drying.
The dehydration time varies based on temperature and the thickness of your fruit puree. At 140°F (60°C), expect it to take around 8-12 hours, while at 150°F (65°C), it's about 5-8 hours. If you set your oven to 170°F (75°C), you can reduce the time to just 3-5 hours, but be cautious—higher temperatures may lead to over-drying.
Keep in mind that thicker purees require longer drying times. It's wise to check on your fruit leather starting at around 4 hours, and occasionally allow steam to escape to aid in the drying process.
Testing for Doneness
To guarantee your homemade fruit leather is ready, you'll want to test it for doneness using several methods. This confirms you achieve that perfect texture and flavor. Here are four reliable techniques:
- Touch: The fruit leather should feel slightly tacky but dry. If it's wet or sticky, continue drying. A smooth texture indicates it's fully dry.
- Appearance: Finished leather will be translucent and pliable with a consistent color. When you peel it from the parchment paper, the underside should be shiny and free of moisture.
- Peel and Lift: Gently lift the fruit leather off the silicone sheet or parchment paper. It should come off easily in one large sheet or may tear slightly. If it sticks, it's likely still too moist.
- Time and Consistency: Drying can take anywhere from 4 to 12 hours. Check for doneness every 4 hours. The leather is ready when it's set in the center and no longer sticky.
Cooling the Fruit Leather
After you've removed the fruit leather from the dehydrator or oven, let it cool to room temperature before you handle it.
This cooling time is essential; it helps you check the texture and prevents any stickiness.
Once it's cool, you can cut or roll it without worrying about misshaping your delicious treat.
Cooling Time Importance
Cooling the fruit leather is essential for achieving the right texture and ensuring it's ready for storage. If you skip this step, you might end up with a product that doesn't meet your expectations. Here's why cooling matters:
- Final Texture: Cooling allows the fruit leather to set, reaching its desired pliability and flexibility.
- Doneness Check: The texture of dehydrated foods changes after cooling. If you check while it's warm, it may look underdone or overdone.
- Identifying Issues: Cooling helps you spot any sticky or soft spots that aren't obvious when warm, ensuring a consistent texture throughout.
- Storage Readiness: Properly cooled fruit leather stores better at room temperature or in the fridge, reducing the risk of spoilage and extending its shelf life.
Handling After Cooling
Once the fruit leather has cooled completely, it's time to check for doneness and prepare it for storage. Lift the fruit leather off the silicone sheet; it should come off in one large sheet or tear slightly but remain dry and smooth to the touch. If it feels tacky or soft, it needs more drying time. Make sure it doesn't crumble or get gummy when cut, which signals it's just right.
Using a pizza cutter or sharp knife, cut the leather into strips about 4-6 inches long and 1 inch wide. Want to add some fun? Use a cookie cutter to create cute shapes!
To prevent sticking, cut a strip of parchment paper to roll up the fruit leather. When rolling, use a piece of parchment paper that's slightly larger than the leather for easy handling. Apply gentle pressure while rolling to avoid air bubbles.
If you prefer folding, make sure your cuts are clean and even, especially along the edges. Once rolled or folded, store your fruit leather in an airtight container, and watch it last longer while keeping its delightful texture!
Storage Recommendations
To keep your homemade fruit leather at its best, proper storage is essential. Follow these recommendations to guarantee your tasty treats stay fresh and delicious:
- Choose the Right Environment: Store your fruit leather in a cool, dry place away from direct sunlight. Ideal temperatures are between 60°F and 70°F (15°C to 21°C).
- Use Airtight Packaging: Protect your fruit leather from air and moisture by using airtight containers or zip-top bags. Wrap individual pieces in parchment or plastic wrap for added protection.
- Consider Refrigeration or Freezing: Refrigeration can extend the shelf life to 6-12 months, while freezing can keep it good for about a year.
- Check for Spoilage: Periodically inspect your stored fruit leather for signs of mold or off-odors.
Handle it with clean, dry hands to prevent contamination.
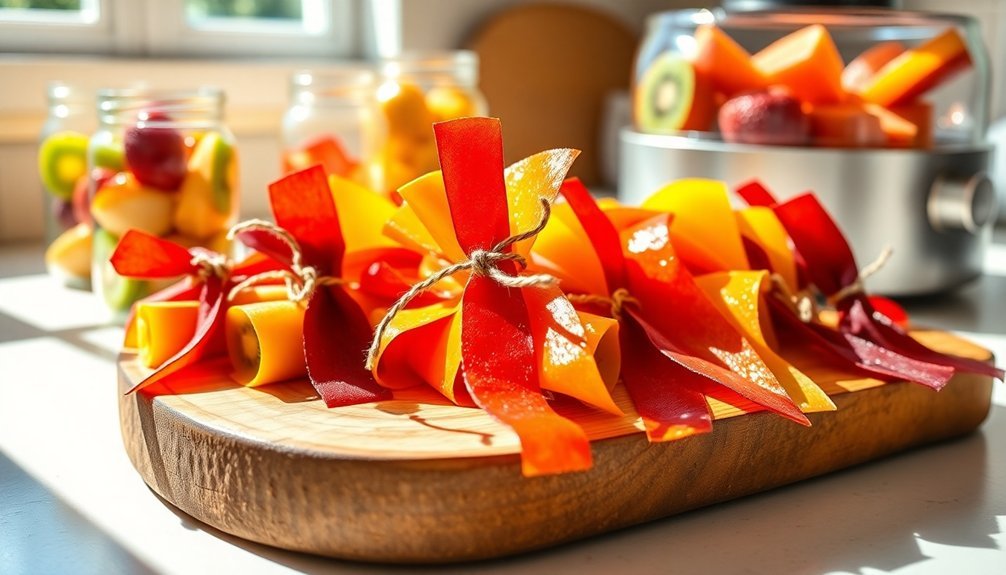
Cutting and Rolling Techniques
After your fruit leather has cooled to room temperature, it's time to tackle the cutting and rolling process. Start by placing your fruit leather on a cutting board. You can use a pizza cutter or a sharp knife to cut it into strips. Aim for strips that are about 4-6 inches long and 1 inch wide. If your fruit leather is a bit tough, you might need to apply more force to cut through it completely.
For a different approach, sharp kitchen scissors can also do the trick, just make sure they're sharp to prevent tearing.
Once you've cut your strips, rolling them up is next. Roll them tightly to help maintain their shape. You can use parchment paper or craft paper to secure the rolls, fastening them with tape or a sticker.
Before rolling, verify the fruit leather is completely dry to avoid any stickiness. Check for any excess moisture at the edges, and make sure your rolling surface is clean and dry. This will help you achieve a smooth roll and make storage easier.
Enjoy your homemade fruit leather as a tasty snack!
Storage Tips for Freshness
Proper storage is key to keeping your homemade fruit leather fresh and flavorful. To maximize its shelf life and maintain its taste, follow these essential tips:
- Choose the Right Environment: Store your fruit leather in a cool, dry place, ideally between 60°F and 70°F (15°C to 21°C). Avoid direct sunlight and high humidity to prevent moisture absorption.
- Use Proper Containers: Opt for airtight containers or vacuum-sealed bags to protect your fruit leather. If stacking layers, place parchment paper between them to prevent sticking. Confirm all containers are clean and dry before use.
- Consider Refrigeration or Freezing: You can refrigerate your fruit leather for up to 6 months or freeze it for up to a year. If you freeze it, thaw it in the refrigerator to avoid condensation that can lead to spoilage.
- Monitor for Spoilage: Regularly check your stored fruit leather for any signs of mold or off-odors. If you find any affected pieces, discard them immediately.
Frequently Asked Questions
Can I Use Frozen Fruit for Making Fruit Leather?
Yes, you can use frozen fruit for making fruit leather! Just thaw and drain it first, then blend it smooth. The process is similar to using fresh fruit, so you'll get delicious results.
Is Fruit Leather Safe for Toddlers to Eat?
Yes, fruit leather can be safe for toddlers if made with wholesome ingredients. You should ascertain it's made from fresh, organic fruits without added sugars or preservatives, promoting healthier eating habits for your little one.
How Do I Prevent Fruit Leather From Sticking?
To prevent fruit leather from sticking, use powdered sweeteners instead of liquids, guarantee the mixture is well blended, and dry it thoroughly. Also, consider combining high and low moisture fruits for better consistency.
Can I Add Vegetables to My Fruit Leather Recipe?
Yes, you can add vegetables to your fruit leather recipe! Cook and blend them with fruits for a tasty mix. Carrots, zucchini, and pumpkin work well, enhancing flavor and nutrition without overpowering the sweetness.
What Fruits Work Best for a Chewy Texture?
For a chewy texture, you'll want to use fruits like strawberries, currants, and plums. These fruits naturally bond well and create that desired consistency, ensuring your fruit leather turns out deliciously chewy and satisfying.
In Summary
Making homemade fruit leather is a fun and rewarding way to enjoy healthy snacks without added sugar. By choosing the right fruits and experimenting with flavors, you can create delicious treats tailored to your taste. Remember to check for doneness and store your fruit leather properly to keep it fresh. With these simple steps, you'll have a nutritious, flavorful snack that's perfect for on-the-go or sharing with friends and family. Enjoy your homemade creation!


Leave a Reply