Start your kimchi journey by properly preparing your vegetables. You'll need to cut Napa cabbage and onions into manageable pieces, grate daikon radish and carrots into thin strips, and finely chop garlic and ginger. Mix these ingredients thoroughly in a large bowl using your hands, gently crushing the vegetables to release their natural juices – this takes about a minute. Let everything soak for 15 minutes, then mix again for another minute. For the salting process, you'll use kosher or sea salt to create a proper brine that'll kickstart your fermentation adventure.
Essential Ingredients and Tools
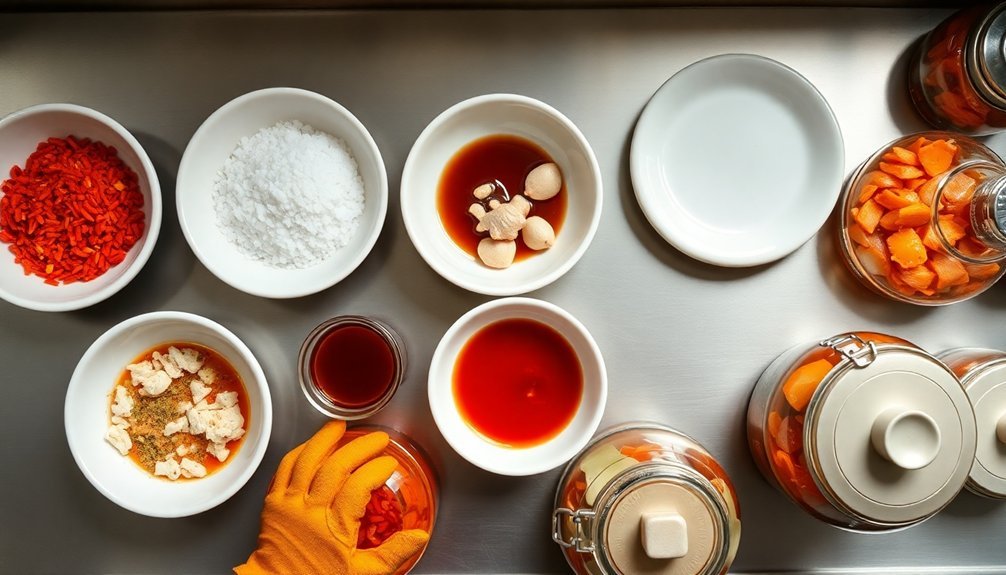
Making authentic kimchi requires specific ingredients and specialized tools to achieve the perfect fermentation. Traditional kimchi has developed into over 180 varieties across Korea's rich culinary history.
You'll need approximately 4 kg of napa cabbage as your base, complemented by Korean radish, chives, carrots, and onions in precise measurements. The signature red color and spicy flavor come from gochugaru (Korean chili flakes), while the umami depth develops from fish sauce and salted fermented shrimp.
For proper fermentation, you'll want to invest in the right containers. Choose between wide-mouth Mason jars, E-Jen Kimchi Containers with airlocks, or traditional Korean onggi. Don't forget to get fermentation weights and sealing lids to keep your kimchi submerged and properly sealed during the process.
You'll also need basic kitchen equipment like a saucepan for making the glutinous rice paste, a blender for processing ingredients, and a colander for draining the salted cabbage. Keep disposable gloves handy for mixing and handling the kimchi paste. For accurate measurements, you'll require measuring cups and spoons to maintain the proper ratio of seasonings, which is essential for successful fermentation.
Preparing Fresh Vegetables
Prior to beginning the fermentation process, proper vegetable preparation stands as the foundation of exceptional kimchi. You'll need to start by cutting your cabbage and onion into small pieces, making sure to separate and inspect each cabbage leaf for insects or signs of disease. Remove any damaged parts you find during this inspection.
For the supporting vegetables, you'll want to grate both daikon and carrot, while finely chopping garlic and ginger for the seasoning paste.
Slice your cucumber and daikon radish into thin 1/8-inch pieces, and prepare your scallions by trimming the roots and tops before cutting them both crosswise and lengthwise.
Once you've prepared all vegetables, combine them in a large bowl. You'll need to crush and mix them with your hands for about a minute to release their natural liquids. Using approximately 20 grams of salt per kilogram of vegetables will help draw out moisture effectively.
Add your seasoning paste and fish sauce, ensuring thorough incorporation throughout the mixture.
Finally, pack your vegetable mixture into jars, making sure to compress well to remove air pockets. Insert a weight to keep the vegetables submerged in their liquid, and leave the jar slightly loose to allow for gas release during fermentation.
Salt Brining Process
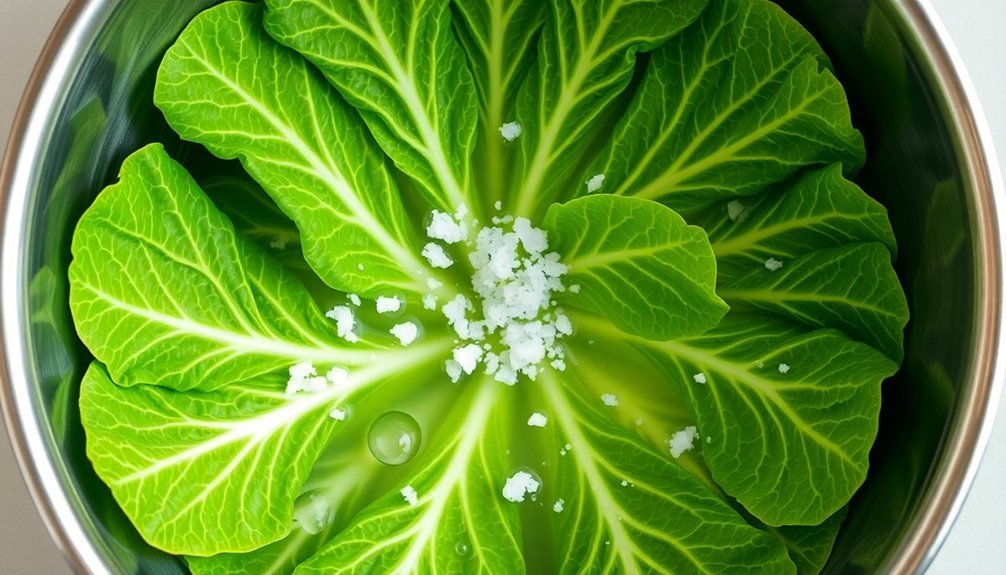
The salt brining process forms a crucial step in kimchi fermentation, transforming raw vegetables into the perfect foundation for your fermented masterpiece.
You'll need to start with the right ingredients: natural sea salt or kosher salt without additives, and filtered water free from chlorination. For a whole Napa cabbage, combine 6 cups of filtered water with ¾ cup of coarse sea salt. Rotating the cabbage every few hours ensures even brining throughout the process.
Begin by dissolving the salt in your filtered water completely. You'll then submerge your cabbage in this brine, ensuring each leaf gets thoroughly coated. After soaking, lift the cabbage and let it drip briefly before rinsing.
For other vegetables like radish and carrots, you'll want to soak them for about an hour in the salt water solution.
Once you've completed the brining, rinse your vegetables thoroughly to remove excess salt. You're now ready to mix them with your kimchi paste and begin the fermentation process.
Place your mixture in a fermentation container, making sure it's properly covered and weighted. You'll need to monitor the fermentation daily, tasting as you go, until you've achieved your desired flavor profile.
Creating Kimchi Paste Base
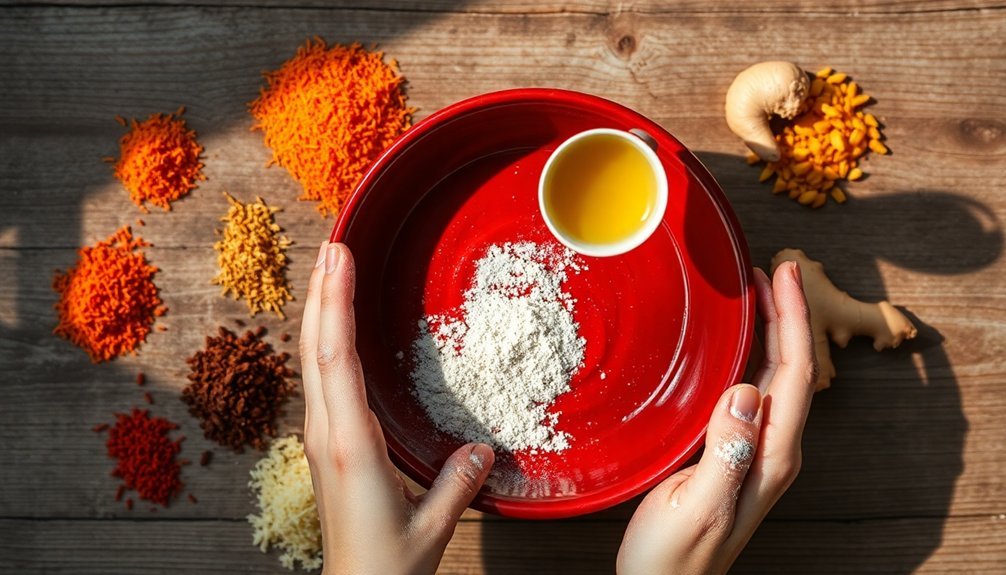
You'll start your kimchi paste by creating a glutinous rice flour slurry, cooking it with water until it thickens into a glossy paste that serves as your base.
Your next step involves incorporating essential Korean spices, particularly gochugaru (Korean red pepper flakes), which gives kimchi its signature heat and rich red color. The versatility of kimchi allows for creating over 200 different varieties using various vegetables and seasonings.
This spiced rice paste mixture will then become the foundation for blending in your aromatics like garlic, ginger, and fermented seafood ingredients.
This method ensures that the long paragraph is broken into manageable and readable sections.
For automated tools to achieve this, you can use services like the "Split Text into Paragraphs Tool" described in or , where you can paste the text and adjust settings to automatically insert paragraph breaks based on sentence structure or other specified criteria.
Rice Flour Paste Basics
Creating a proper rice flour paste forms the cornerstone of traditional kimchi preparation. You'll need to start by combining 2 tablespoons of sweet rice flour with 1.5 cups of water in your saucepan.
Cook this mixture over medium heat while stirring occasionally until it thickens, which typically takes 5-10 minutes.
As you cook the paste, you'll notice it becoming thicker and slightly translucent. It's vital to stir constantly once thickening begins to prevent any lumps from forming. This paste-making technique has been an essential part of Korean kimchi tradition for hundreds of years.
Once your paste reaches the right consistency, transfer it to a mixing bowl and let it cool completely before proceeding with the next steps.
After cooling, you'll combine the rice paste with essential ingredients like garlic, ginger, onion, and Korean chili flakes (gochugaru). You can use a blender to create a smooth mixture of the aromatics before adding them to your paste.
Mix in Korean radish, carrots, and chives thoroughly until you achieve a smooth, well-combined consistency. The resulting paste should be evenly mixed and ready for your kimchi assembly process.
Essential Spice Combinations
To make traditional Korean kimchi, several key ingredients and steps are essential:
Ingredients
- Napa Cabbage: This is the most commonly used vegetable for kimchi, although other vegetables like carrots, radish, and turnip can also be used.
- Gochugaru (Korean Chili Flakes): This is a crucial ingredient that provides the heat and distinctive red color to kimchi. Gochugaru has a mild to moderate spicy taste with a hint of sweetness and a slight smoky flavor that distinguishes it from other chili powders.
- Sweet Rice Flour: This is used to make a paste that acts as a thickener for the kimchi sauce, helping it stick to the cabbage leaves.
- Umami Ingredients: Fish sauce, salted shrimp, or miso paste are commonly used to add depth and umami flavor to kimchi. For vegetarian versions, alternatives like soy sauce or liquid aminos can be used.
- Aromatics: Garlic, ginger, and green onions are blended into the kimchi paste to create the foundational pungent and tangy flavors. Adding cracked ginger enhances the overall aromatic profile of the kimchi.
Preparation
- Make the Kimchi Sauce:
- Combine sweet rice flour and water to create a smooth, loose paste. Heat the mixture to a simmer and whisk until it thickens.
- Remove from heat and stir in gochugaru. The chili flakes will bloom as the mixture cools.
- Add umami ingredients such as fish sauce, salted shrimp, or miso paste.
- Mix with the Cabbage and Vegetables:
- Combine the cabbage, carrots, radish or turnip, Asian pear, garlic, and ginger in a large bowl.
- Pour the kimchi sauce mixture into the bowl and rub it into the vegetables thoroughly with your hands to ensure complete coverage.
- Fermentation:
- After mixing, taste and adjust the seasoning as needed.
- Store the kimchi in a cool, shaded place or refrigerate it to allow for slow fermentation. This helps preserve the kimchi and enhances its flavor over time.
Notes on Gochugaru
- Gochugaru comes in two main types: finer Korean chili powder and coarser Korean chili flakes. The finer version is used for gochujang and some side dishes, while the coarser version is more versatile and commonly used for kimchi and other Korean dishes.
- Proper storage is crucial to maintain the quality of gochugaru. It should be kept in an airtight container in a cool, shaded place or in the fridge to prevent it from becoming moldy.
Mixing Seasonings and Spices
Before diving into fermentation, mastering the seasoning blend will determine your kimchi's signature taste. Adding apple cider vinegar provides an essential tangy element to complement the spices.
Start by creating a glutinous rice flour paste with water, letting it cool before incorporating your gochugaru. You'll want to adjust the amount of these Korean chili flakes (2-6 tablespoons) based on your preferred spiciness level.
Mix your core ingredients by combining minced garlic and ginger with fish sauce and sugar. The fish sauce not only adds depth but also speeds up the fermentation process. You'll need to balance these flavors carefully, as each component plays a vital role in the final taste.
Use fine sea salt to enhance flavors and control fermentation.
Add julienned carrots and Korean chives for texture and subtle heat.
Incorporate salted fermented shrimp for deeper umami notes.
Maintain a 1:1.25 ratio of water to salt for additional brine if needed.
Remember that your seasoning paste's thickness comes from the glutinous rice flour, not regular rice flour. You can control fermentation speed by adjusting the amount of chives, while ensuring all ingredients are thoroughly combined for even distribution of flavors.
Assembling the Kimchi Layers
When you're ready to assemble your kimchi, start by spreading the prepared cabbage leaves in manageable layers while applying the kimchi paste evenly between each leaf.
You'll want to gently press down as you fill your container, ensuring there aren't any air pockets that could affect fermentation.
For the most flavorful results, make sure you're distributing the seasonings uniformly throughout the layers, paying special attention to coating both sides of each cabbage leaf. This traditional preparation method can keep your kimchi fresh for up to two full years when properly refrigerated.
Layer Distribution Techniques
The proper layering of ingredients forms the foundation of traditional kimchi fermentation. You'll start by salting your cabbage leaves and letting them rest for an hour, then gently mixing and resting for another hour.
After removing the tough stem parts, carefully separate the cabbage layers without breaking them.
Apply a thin, uniform layer of paste between each cabbage leaf, guaranteeing even distribution for consistent flavor.
You'll want to incorporate additional vegetables for texture and taste.
- Fold inner cabbage leaves in half (except for Napa cabbage, which stays stacked)
- Wrap the outer two cabbage leaves around the bundle to secure everything
- Add your prepared vegetables: radish, carrots, scallions, and garlic between layers
- Press down firmly to eliminate air pockets as you stack in the jar
Remember to mix ingredients thoroughly by hand to achieve uniform coverage. As you pack the kimchi down, liquid will form above the vegetables.
Guarantee your jar is secured but not too tight – this allows fermentation gases to escape while maintaining proper conditions for the aging process, which can last anywhere from days to years.
Proper Filling Methods
Proper filling methods make or break your kimchi's fermentation success. You'll need to start with well-prepared cabbage quarters that have been properly soaked and salted. Before you begin filling, make certain you've mixed your kimchi paste thoroughly, combining the essential ingredients like gochugaru, fish sauce, and fermented shrimp with your julienned vegetables.
| Step | Action | Purpose |
|---|---|---|
| 1 | Wear gloves | Protect hands from spicy paste |
| 2 | Spread paste between leaves | Make certain of even distribution |
| 3 | Fold leaves toward core | Create compact quarters |
When you're ready to fill, put on your gloves and start spreading the kimchi paste between each cabbage leaf. Make sure you're pressing the paste into the leaves thoroughly, paying special attention to even distribution. As you work, fold each leaf toward the core, creating neat, compact quarters that will ferment uniformly. Place your filled quarters into your chosen container – whether it's a traditional onggi, jar, or plastic container. You'll want to leave them at room temperature for 1-2 days to initiate fermentation. Once you see bubbles forming on top, transfer your kimchi to the refrigerator to slow the fermentation process.
Seasoning Between Layers
Successful kimchi layering relies on three essential components: precise seasoning distribution, consistent layer thickness, and proper air pocket elimination.
After you've prepared your seasoning base by blending fish sauce, Korean chili powder, garlic, ginger, and white onion, you'll need to apply it methodically between the cabbage layers.
Start by wearing gloves and working with your quartered cabbage. Spread the seasoning paste on each leaf, moving from the root end outward. You'll want to insert the paste between every 2-3 layers of leaves, guaranteeing you're maintaining even coverage throughout.
Here's what to focus on during the layering process:
- Keep your layer thickness consistent to promote uniform fermentation
- Press down firmly after each layer to eliminate trapped air pockets
- Apply seasoning paste generously between layers, but don't oversaturate
- Save the outermost leaves to create a protective covering
Once you've completed the layering, wrap the kimchi with the reserved outer leaves and press down one final time. This technique guarantees proper fermentation at the ideal temperature of 65°F and creates the perfect environment for developing traditional kimchi flavors.
Fermentation Time and Temperature

Mastering kimchi fermentation hinges on two critical factors: time and temperature. You'll want to maintain an ideal temperature of 65°F (18.3°C), though anywhere between 60°F-70°F (15.5°C-21.1°C) will work effectively.
At room temperature, initial fermentation takes 2-8 hours, during which you should check for bubbles and a developing sour aroma.
You'll need to monitor your kimchi daily by pressing down the cabbage and checking for tiny bubbles rising when you tap the jar. Keep all vegetables submerged under the brine to prevent mold formation.
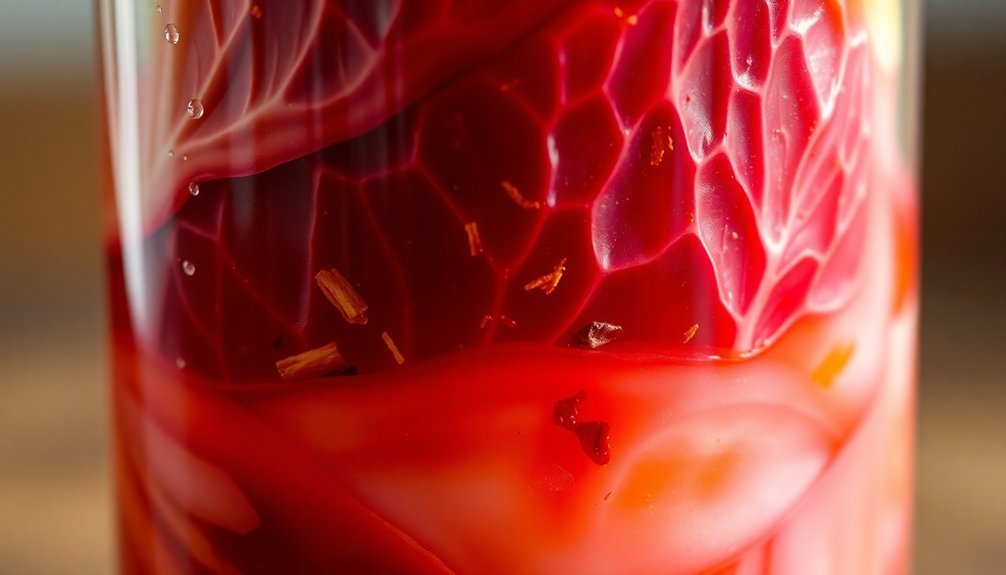
As fermentation progresses, you'll notice overflow and increasing bubbliness – these are positive signs that the process is working.
The total fermentation period can last anywhere from 2 days to 3 weeks, depending on your desired tanginess. Once you've achieved your preferred flavor, move the kimchi to the refrigerator. This slows down fermentation but allows flavors to continue developing.
Remember to either use a loose lid or "burp" your container weekly to release built-up gases. If you're fermenting in warmer conditions above 70°F (21.1°C), expect faster fermentation but potentially less complex flavors.
Storage Container Selection
When you're choosing a kimchi fermentation container, opt for modern vessels made from BPA-free polypropylene mixed with natural clay, as they combine the breathability of traditional *onggi* with easier maintenance.
The container's size and shape will directly impact your fermentation success, so select one that's both appropriately sized for your batch and features a double-lid system to maintain an anaerobic environment.
Your container should also include an adjustable inner lid to keep vegetables submerged and an air vent to prevent brine overflow, making the fermentation process more controlled and reliable.
Best Container Materials
The choice of container materials plays a pivotal role in kimchi fermentation success. When selecting your fermentation vessel, you'll want to focus on materials that allow proper breathability while maintaining a controlled environment.
Traditional clay earthenware pots (onggi) remain a top choice, but modern alternatives like polypropylene mixed with Korean red clay offer similar benefits with added convenience.
For best fermentation results, consider these essential material characteristics:
- Food-grade polypropylene with BPA-free certification guarantees your kimchi stays safe and toxin-free throughout the process
- Stainless steel containers with air valves provide excellent durability while maintaining proper gas exchange
- Traditional onggi or clay-mixed containers offer natural breathability that's perfect for authentic fermentation
- Containers with silicone seals and gaskets prevent unwanted air infiltration while allowing CO2 release
You'll want to prioritize containers that feature transparent lids for easy monitoring and inner vacuum mechanisms to keep your kimchi submerged. The material should also resist stains and odors while being dishwasher-safe for convenient cleaning.
Whether you choose modern or traditional materials, guarantee your container includes proper air release valves to prevent pressure buildup during fermentation.
Size and Shape Matters
Beyond material selection, choosing the right size and shape for your kimchi container directly impacts fermentation success. You'll want to select a container that allows for 80-90% filling capacity, which promotes the best fermentation conditions.
Containers ranging from 1.7L to 45L offer flexibility for different batch sizes, whether you're making a small family portion or preparing for long-term storage.
Look for containers with double-lid technology and adjustable inner lids that create an oxygen-free environment while preventing ingredients from floating. The design should include breathing valves to manage fermentation gases effectively.
Traditional Korean "onggi" principles inspire modern containers, combining breathability with practical features like easy-grip handles and dishwasher-safe materials.
When selecting your container's size, consider both your storage space and usage patterns. You'll need enough room for the fermentation process while guaranteeing the container fits in your refrigerator, where you'll store the kimchi at around 4°C to slow fermentation.
Monitoring Fermentation Progress
Successfully monitoring your kimchi's fermentation progress requires understanding key visual, aromatic, and textural changes throughout the process.
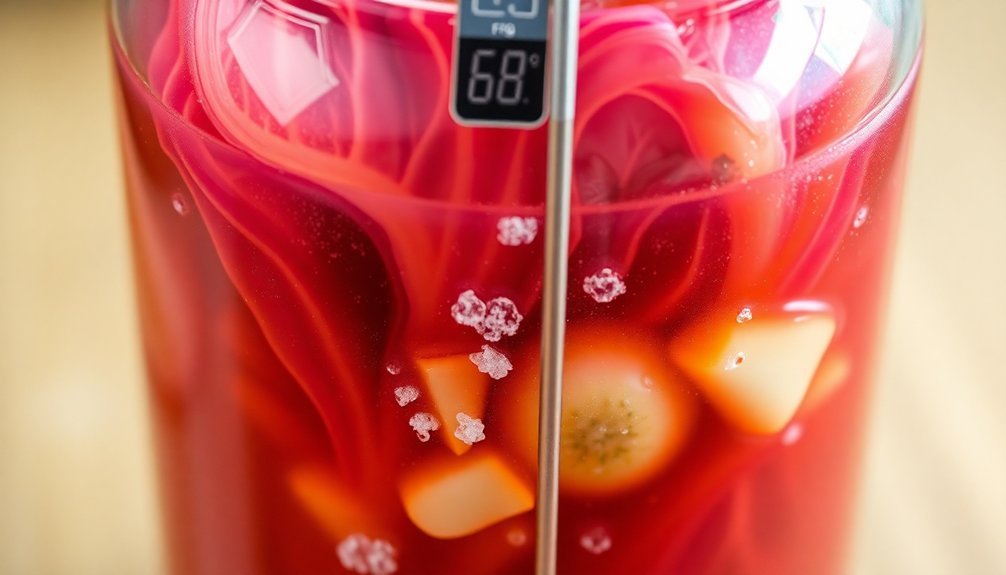
You'll notice fermentation starting within 1-2 days at room temperature, with bubbles forming both on the surface and beneath when you press down with a spoon.
The ideal fermentation temperature is around 68°F, though higher temperatures will speed up the process while cooler ones slow it down. Keep your container filled to about 2/3 capacity to allow for expansion, and guarantee it's sealed properly to encourage brine formation.
Key indicators that your kimchi is fermenting properly:
- Bubbles appear when pressing down with a spoon
- The aroma becomes increasingly sour
- The vegetables become firmer and more tangy
- The color deepens and becomes more uniform
You'll need to regularly check and press down the kimchi to manage fermentation and prevent overflow. Once you're satisfied with the fermentation level, store your kimchi in the refrigerator to slow down the process.
With proper maintenance and storage in non-reactive containers, your kimchi can last up to a year in the fridge.
Long-Term Preservation Methods
While kimchi can last 3-6 months when properly stored, you'll want to check it regularly for signs of spoilage.
Don't worry about increasing sourness – that's a natural part of the fermentation process. However, if you spot any mold, you must discard the batch immediately.
Remember that freezing isn't recommended as it kills beneficial probiotics and damages the texture.
For the best results, maintain consistent storage conditions and avoid exposing your kimchi to air whenever possible.
Frequently Asked Questions
Can I Make Kimchi Without Fish Sauce for a Vegetarian Version?
Yes, you can make delicious vegetarian kimchi! Replace fish sauce with soy sauce and sea kelp for umami flavor. You'll still get the same probiotic benefits and authentic taste through proper fermentation.
Why Does My Kimchi Sometimes Develop a Fizzy, Effervescent Taste?
Your kimchi's fizzy taste comes from active fermentation, where beneficial bacteria produce CO2. It's completely normal and shows your kimchi's fermenting properly. The warmer the temperature, the fizzier it'll become.
Is It Normal for Kimchi to Have a Slight Alcoholic Smell?
While it's not typical, you might notice a slight alcoholic smell in your kimchi. It's usually caused by yeast growth during fermentation, but don't worry – it's safe unless there's an overwhelming alcohol odor.
Can I Use Regular Table Salt Instead of Korean Sea Salt?
You can use table salt, but you'll need to reduce the amount since it's more concentrated than Korean sea salt. Keep in mind it may affect your kimchi's texture and fermentation speed.
What Should I Do if White Mold Appears on Top?
If you spot white mold, remove it immediately along with any affected parts. Check your brine levels, make sure everything's submerged, and tighten the lid. If it's just kahm yeast, you can safely skim it off.
In Summary
You'll find kimchi-making becomes second nature with practice. Once you've mastered the basics of vegetable preparation and fermentation timing, you can experiment with different ingredients and spice levels to create your own signature blend. Remember to trust your senses – the bubbling sound, tangy aroma, and bright color will tell you when your kimchi has reached its peak fermentation.


Leave a Reply