Making jam like your great-grandmother did connects you to cherished family traditions while creating a superior product. You'll avoid artificial preservatives and control the sugar content by using simple ingredients: just fresh seasonal fruit, sugar, and natural pectin. Traditional slow-cooking methods develop richer flavors and better texture than quick modern recipes, while time-tested tools like maslin pans guarantee consistent results. Beyond the practical benefits, old-fashioned jam-making strengthens family bonds as you share stories and skills across generations. There's something deeply satisfying about preserving fruit the way your ancestors did, and their time-honored techniques hold more wisdom than you might expect.
The Lost Art of Preservation
Drawing from ancient wisdom, food preservation stands as one of humanity's most essential innovations. While you might take your refrigerator for granted today, your ancestors relied on ingenious methods like drying, curing, and fermenting to keep their food edible through lean times.
These techniques, perfected over thousands of years, didn't just prevent spoilage—they created unique flavors and often enhanced nutritional value. The art of preservation includes using seasonal fresh fruit to ensure the best possible results.
You'll find that traditional preservation wasn't just about sustaining life; it was a communal activity that strengthened family bonds and preserved cultural heritage. When you make jam like your great-grandmother did, you're not only creating food—you're participating in a ritual that has connected generations.
The process involves precise techniques passed down through family recipes, each step carrying the wisdom of those who came before.
These time-tested methods remain relevant today. Whether you're using salt to cure, sugar to preserve fruits, or vinegar for pickling, you're tapping into techniques that date back thousands of years.
The beauty of these traditional methods lies in their simplicity and effectiveness—they've kept communities fed and cultures intact through countless seasons of abundance and scarcity.
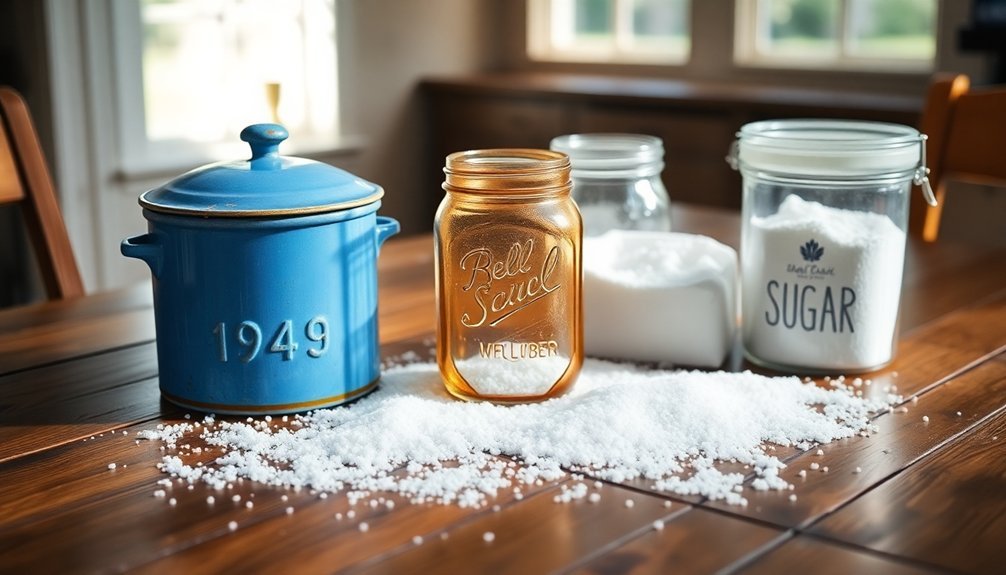
Simple Ingredients, Timeless Results
The beauty of traditional jam-making lies in its remarkably simple ingredients: fresh fruit, sugar, and natural acid work together to create something extraordinary.
Small batches are perfect for beginners, typically using about 1 kg of fruit to make 2-4 jars.
You'll find that almost any fruit can become the star of your homemade jam, from classic strawberries and raspberries to unexpected choices like courgettes. Whether you're using fresh seasonal picks or frozen alternatives, the process remains the same.
You'll need to maintain a careful balance of ingredients. Sugar isn't just for sweetness – it's your primary preservative, typically matched with fruit in a 1:1 ratio. For your jam to stay shelf-stable, aim for at least 75% sugar content.
The acid component is equally essential, working to release the fruit's natural pectin. If you're working with low-acid fruits, you can add about 60ml of lemon juice per kilo of fruit to help achieve the perfect set.
Don't forget the practical essentials: a non-reactive saucepan to maintain your jam's color and flavor, and proper jars with tight-fitting metal lids for storage.
A small pat of butter can prevent unwanted foaming during the boiling process, while commercial pectin can boost setting power when needed.
Natural Pectin From Fresh Fruit
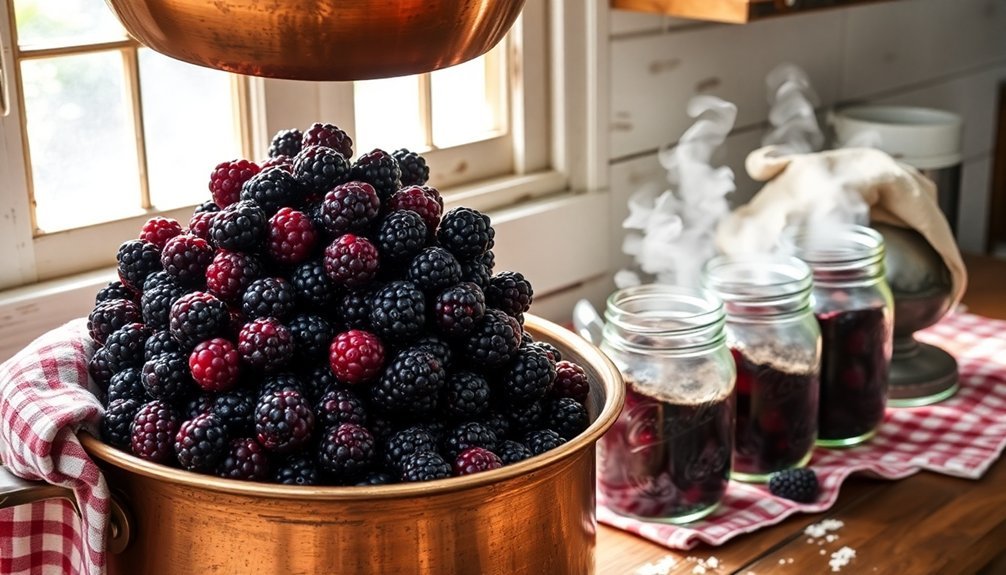
Understanding natural pectin can transform your jam-making from good to exceptional. When you're selecting fruit for jam, remember that nature has already provided the perfect gelling agent. High-pectin fruits like apples, citrus, and quince can be your secret weapons, while common berries and peaches need a bit more help to achieve the right consistency.
You'll get the best results by combining different fruits and considering their ripeness levels. Mix underripe fruit (which has more pectin) with fully ripe fruit in a 1:2 ratio to balance flavor and setting power. You don't need commercial pectin if you're strategic about your fruit combinations. Less sugar is needed when using naturally high-pectin fruits.
Here's how to maximize natural pectin in your jam:
- Pair low-pectin berries with diced apple or citrus peel for natural thickening.
- Use a combination of ripe and slightly underripe fruit to guarantee proper setting.
- Add acid (lemon juice) toward the end of cooking to activate the pectin without breaking it down.
Remember to heat your fruit mixture gently – a slow simmer will extract pectin from cell walls while preserving its gel-forming properties. You'll know you've succeeded when the jam mounds on a cold spoon.
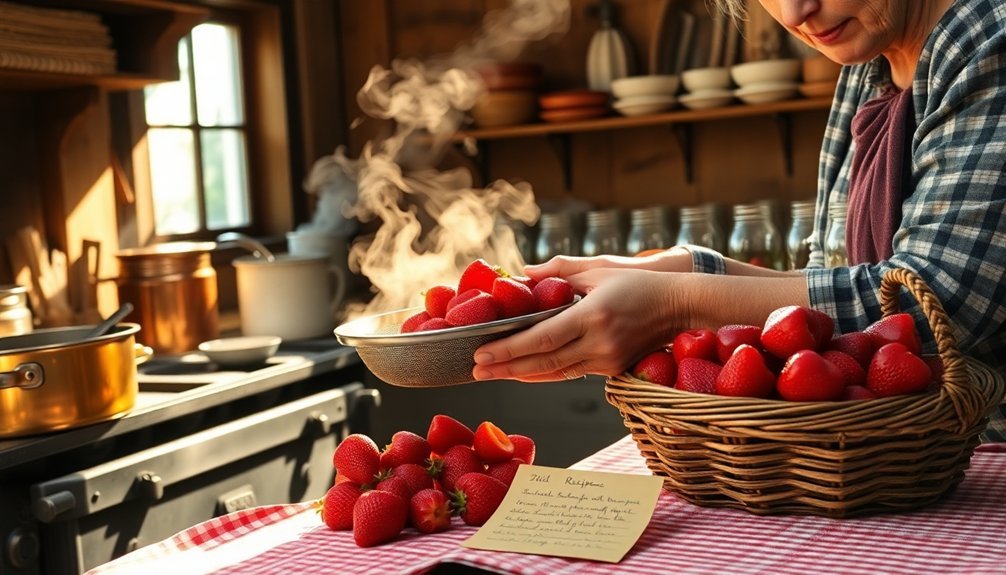
Seasonal Fruit Selection Matters
When you choose fruits at their seasonal peak, you're capturing nature's flavors at their most intense, just like your great-grandmother did.
By following the natural rhythm of harvest times, you'll find peaches bursting with sweetness in summer and crisp apples perfect for jam-making in autumn.
Your local farmers' markets offer the freshest seasonal picks, ensuring your homemade jams carry the true essence of each season while supporting your community.
Fresh Means Peak Flavor
Making exceptional jam consistently depends on selecting fruits at their seasonal peak. When you use fresh, seasonal produce, you're getting fruits that contain the perfect balance of natural sugars and acids.
These fruits are bursting with intense flavors and vibrant characteristics that you simply can't match with out-of-season alternatives.
You'll notice that seasonal fruits are naturally juicier and have higher levels of natural pectin, which helps your jam achieve that ideal consistency without relying on commercial additives.
Working with peak-season produce means you're capturing the fruit at its nutritional zenith, preserving essential vitamins and antioxidants in your finished product.
- Peak-season fruits provide maximum juice content and ideal sugar-acid balance, resulting in superior flavor development
- Natural pectin levels are highest during peak ripeness, improving jam set and reducing the need for artificial thickeners
- Seasonal fruits offer more intense flavor profiles and richer colors, creating jams that taste authentically like the fruit they're made from
When you choose fruits at their seasonal best, you're following in your great-grandmother's footsteps, creating preserves that capture nature's flavors at their most sublime.
Nature's Perfect Timing
Success in jam-making starts with mastering nature's perfect timing. You'll achieve the best results by harvesting fruit at the beginning of its season when pectin and acid levels are ideal. This timing is essential because fruits from the same bush can vary considerably in ripeness and flavor throughout the harvest period.
Don't wait to process your fruit – jam it as soon as possible after picking to capture those bright, complex flavors. While you might be tempted to use fully ripened fruit, slightly under-ripe fruit actually contains more pectin and acid, which will give your jam better texture and taste.
If you wait until the fruit is overripe, you'll lose these vital components and end up with loose, leathery-textured preserves.
Remember that weather conditions affect each batch's characteristics, so you'll need to adjust your recipe accordingly. Different varieties have distinct pectin levels and flavor profiles, requiring varying amounts of sugar and lemon juice.
Local Harvest Benefits
The bounty of local harvests transforms ordinary jam into extraordinary preserves. When you select locally grown fruits for your jam-making, you're not just getting superior ingredients – you're participating in a practice that benefits both your preserves and your community.
Local fruits are picked at peak ripeness, ensuring your jams capture the fullest flavors and highest nutritional content possible. Your jam-making efforts support a sustainable food system that makes a real difference. By choosing local produce, you're helping reduce transportation emissions while supporting farmers in your area.
The fruits you'll use haven't traveled thousands of miles, meaning they retain more vitamins and minerals that'll end up in your finished preserves.
- Quality Assurance: Locally harvested fruits are fresher, maintaining better texture and natural sweetness for your jams
- Community Impact: Your purchases directly support local farmers and strengthen the regional economy
- Environmental Benefits: Shorter travel distances mean reduced carbon emissions and less packaging waste
Using local harvests for your jam-making connects you to seasonal rhythms while ensuring you're creating preserves with the freshest, most flavorful ingredients available – just like your great-grandmother did.
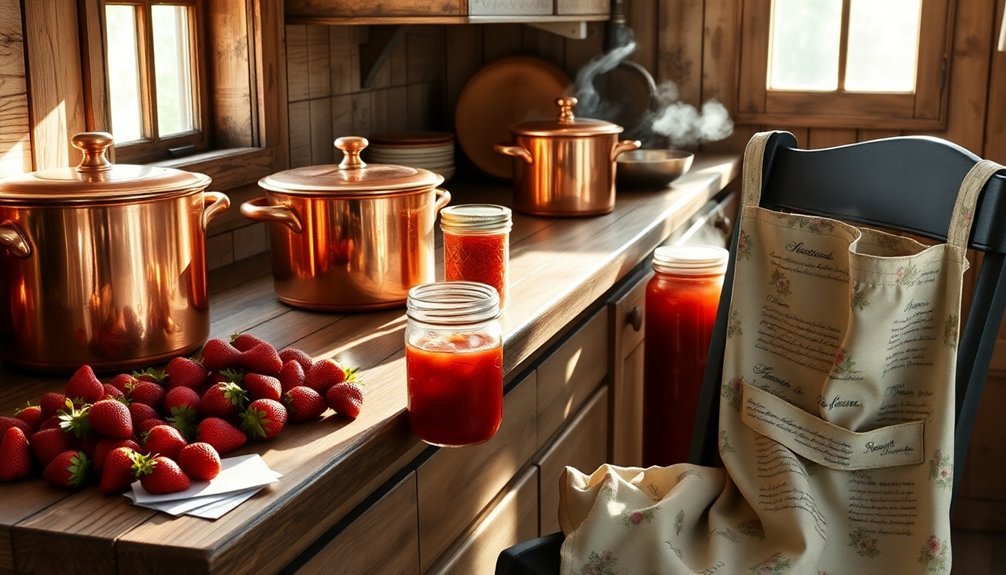
Traditional Tools and Equipment
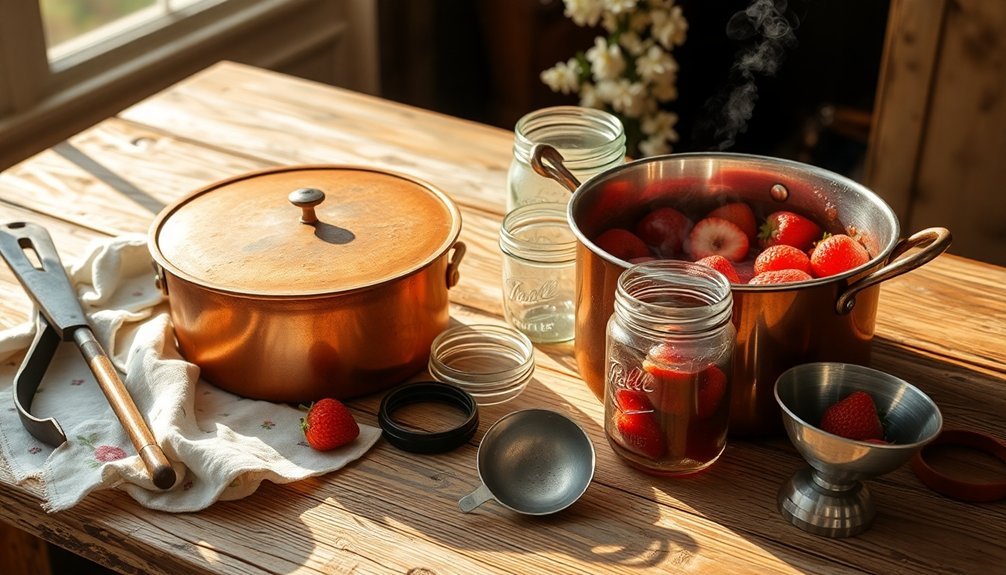
Great jam-making invariably starts with the right equipment, just as your great-grandmother relied on specific tools for her preserving success. You'll need a wide, low pot made of copper or another highly conductive metal, providing the even heat distribution that's vital for perfect preserves. Leave 2-3 inches of space above your fruit for proper evaporation.
For safe and effective jam-making, you'll want wooden or silicone spoons with long handles to prevent burns from hot splashes. Don't forget your protective gear – rubber gloves or oven mitts are essential.
| Essential Equipment | Purpose | Important Features |
|---|---|---|
| Maslin Pan | Cooking | Wide top, thick bottom |
| Wooden Spoons | Stirring | Long-handled, heat-resistant |
| Testing Plate | Set Testing | Must be freezer-cold |
| Jam Funnel | Filling | Wide mouth, mess-free |
| Thermometer | Temperature Control | Reads to 105°C |
You'll need proper testing equipment too – keep a china plate in your freezer for set-testing, and don't forget your thermometer to monitor that vital 105°C setting point. For storage, use clean, sterilized glass jars with proper sealing materials like wax discs.
Slow Cooking Methods
Now that you've gathered your traditional tools, let's explore how your great-grandmother would have cooked her preserves. She likely used two primary slow-cooking methods: maceration and slow cooker-style simmering.
With maceration, you'll start by mixing your prepared fruits with sugar, letting them rest overnight to release their natural juices before cooking them slowly over low heat for 30-60 minutes.
The beauty of slow cooking lies in its ability to develop rich, complex flavors while achieving the perfect consistency without commercial pectin. You'll find that taking your time, just as your great-grandmother did, creates preserves with deeper flavor profiles and better texture.
Here are three key benefits you'll notice when slow-cooking your jams:
- Enhanced natural fruit flavors through gradual sugar absorption
- Better texture control without relying on artificial thickeners
- Easier preparation with less constant supervision needed
Whether you choose to macerate your fruits first or simmer them slowly, you'll need to watch for the right consistency by testing a drop on a cold plate.
When it sets properly, you'll know your jam is ready for jarring, just as generations before you did.
Sugar Selection and Storage
Selecting proper sugar and understanding storage methods forms the backbone of successful jam-making.
You'll want to choose between jam sugar, which contains added pectin and citric acid, or regular sugar with separate pectin additions. For traditional long-cook jams, use 4 parts fruit to 3 parts sugar, while quick-cooking recipes need equal parts of each.
You can explore alternatives like honey or maple syrup for some of your sugar content, but remember that sugar isn't just for sweetness – it's essential for preservation and gel formation.
If you're using low-sugar recipes, you'll need specific pectin products designed for reduced sugar content.
For storage, you've got three main options. Refrigeration works well for 1-2 months, making it perfect for small batches you'll eat soon.
If you want longer storage without canning, freeze your jam – it'll last up to a year.
For traditional shelf storage, proper water bath canning is vital. You'll need to process your jars correctly, ensuring they're hot when filled and properly sealed.
When canned correctly, your jams will last 1-2 years in a cool, dark place.
Maceration Techniques
You'll find that sugar plays a crucial role in macerating fruit, gently drawing out juices while softening the flesh for perfect jam consistency.
Controlling time and temperature during maceration lets you extract maximum flavor – an overnight rest at room temperature works well for most fruits, while delicate berries might need just a few hours.
The careful maceration process helps preserve the bright, natural flavors of your fruit, resulting in jam that tastes fresh and vibrant rather than overcooked.
Sugar's Role in Softening
The gentle art of maceration transforms fruit into the perfect jam base through sugar's powerful softening properties. When you coat your fresh fruit with sugar and let it rest, you're initiating a vital chemical process that'll make your jam-making experience much more successful. The sugar draws moisture from the fruit cells, creating a natural syrup while simultaneously breaking down the fruit's structure to achieve that perfect jammy consistency.
You'll notice how the sugar's softening action works its magic whether you let your fruit macerate for just a couple of hours or overnight in the refrigerator. This process isn't just about softening – it's about creating the ideal foundation for your jam.
- The sugar-fruit interaction prevents scorching during cooking by ensuring the sugar's already dissolved before heat is applied.
- Your cooking time decreases considerably because the fruit's already partially broken down.
- The gradual integration of sugar preserves the fruit's natural brightness while developing a more complex flavor profile.
Time and Temperature Control
Successful jam-making hinges on precise time and temperature control during the maceration process. You'll need to master both the initial fruit preparation and the subsequent cooking phases to achieve that perfect consistency your great-grandmother was known for.
| Stage | Temperature & Time Guidelines |
|---|---|
| Maceration | Room temp, 2-24 hours |
| Initial Heat | Low-medium until sugar dissolves |
| Rolling Boil | 218-221°F, 10-60 minutes |
| Setting Point | Cold plate test or thermometer check |
| Jarring | While jam is still hot |
Start by macerating your fruit with sugar, letting it sit for several hours to extract natural juices. When you're ready to cook, begin with low heat if your sugar hasn't fully dissolved, or medium-high if it has. You'll want to stir constantly during this phase to prevent scorching. Once you've reached a rolling boil, maintain a temperature between 218-221°F, skimming foam regularly but minimizing stirring. Don't fill your pot more than one-third full to allow for bubbling. Test for doneness by dropping a small amount on a cold plate – it should set quickly. When ready, transfer immediately to sterilized jars.
Preserving Delicate Fruit Flavors
Preserving delicate fruit flavors starts with proper maceration, a technique your great-grandmother likely mastered through years of jam-making. By coating your fruit with sugar and letting it rest, you'll extract natural juices and create a syrup that protects the fruit's fresh taste. This gentle process breaks down the fruit without immediate heat, helping you maintain those bright, vibrant flavors you're after.
To achieve the best results, you'll want to:
- Select perfectly ripe, seasonal fruit and remove any damaged portions, stems, or pips
- Mix your prepared fruit with the proper amount of sugar, adding a splash of lemon juice to enhance preservation
- Let the mixture rest for several hours or overnight, allowing the sugar to draw out the fruit's natural juices
When you follow these maceration steps, you'll find that your jam needs less cooking time, which means you'll preserve more of the fruit's natural flavor.
You'll also prevent the sugar from caramelizing too quickly, ensuring a more uniform consistency. The result is a jam that captures the essence of fresh fruit, just like your great-grandmother's preserves did generations ago.
Testing for Perfect Set
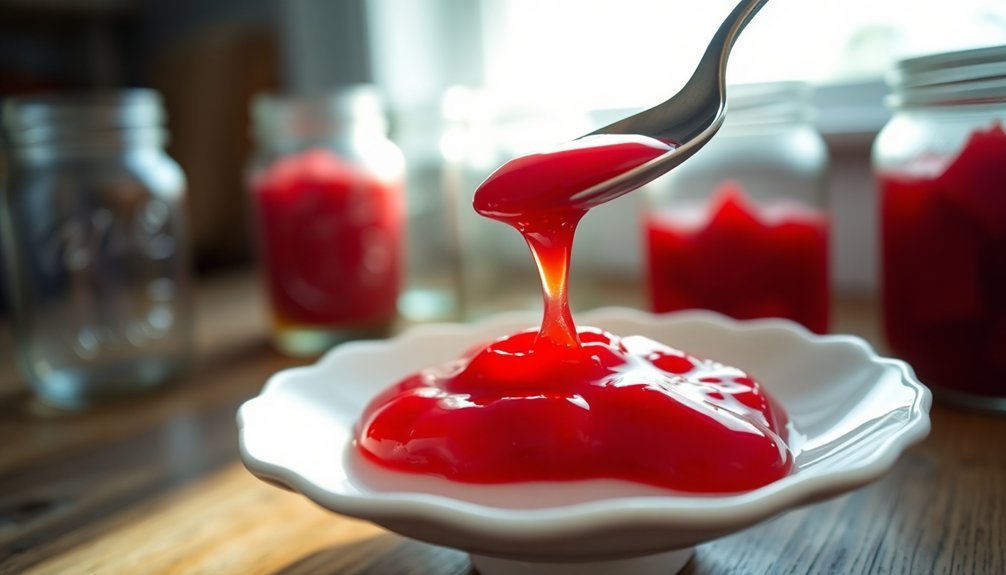
Getting the perfect set in jam-making requires careful observation and patience. You'll need to start testing your jam after about 10 minutes of cooking, using a pre-chilled saucer from your freezer. Place a small spoonful of the hot jam on the cold plate and let it cool for a minute or two.
To test the consistency, run your finger through the cooled jam sample. You're looking for a clear trail that holds its shape and a slight wrinkling of the surface when you push the jam. If it's still too runny, continue cooking and test again every 5 minutes until you achieve the right consistency.
Don't worry if it takes several attempts – the setting point varies depending on your fruit and sugar content. You'll want your jam to be spreadable but not stiff, with a gel-like texture that's firm to the touch.
If you need to adjust the taste or set, you can add more sugar or a splash of lemon juice. Just remember not to stir too much during testing, as this can interfere with the setting process.
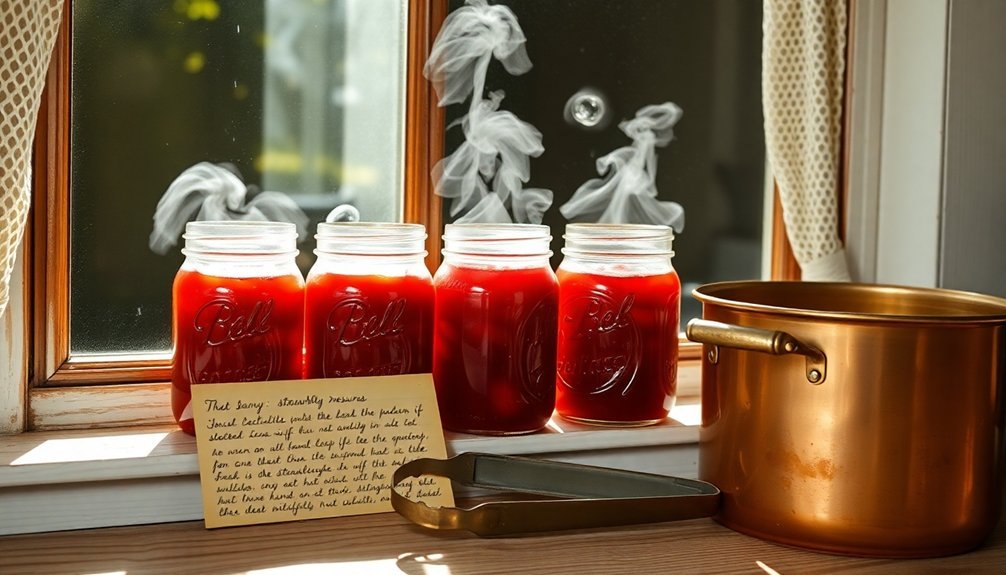
Glass Jar Sterilization
Safe jam storage begins with properly sterilized glass jars, a step you can't afford to skip if you want your preserves to last.
You've got several reliable methods to choose from, with boiling water being the most effective. For this method, you'll need to place your jars on a rack in a large pot, submerge them completely in water, and boil for 10 minutes before carefully removing them with silicone-tipped tongs.
If you're short on stovetop space, you can use your oven instead. Simply heat the jars at 180°C/350°F for 10-15 minutes on a baking tray. While not as thorough as the boiling method, it'll work in a pinch and will warm your jars sufficiently for filling.
Here are the critical steps for successful jar sterilization:
- Verify your jars are completely clean before starting any sterilization method.
- Keep the jars hot until you're ready to fill them to prevent thermal shock.
- Consider an additional post-filling sterilization step by processing filled jars in a hot water bath for 5-10 minutes.
Heritage Recipes Worth Keeping
Your family's jam recipes carry more than instructions – they hold stories of resourcefulness, celebration, and family bonds stretching across generations.
These time-tested methods, often scribbled in faded notebooks or passed down by word of mouth, represent your ancestors' practical wisdom about preserving seasonal abundance.
Whether it's your great-grandmother's strawberry preserves or your aunt's special peach jam, these heritage recipes connect you to your family's kitchen wisdom while ensuring traditional techniques stay alive.
Family Recipes Tell Stories
Family recipes often carry more than just instructions for cooking; they tell stories of cultural heritage, cherished memories, and generational wisdom. When you recreate your great-grandmother's jam recipe, you're not just preserving a method of food preparation – you're keeping alive the tastes, techniques, and traditions that define your family's cultural roots.
These cherished recipes serve as time capsules, connecting you to previous generations through the familiar aromas and flavors that trigger powerful memories. As you stir the bubbling fruit mixture just as your ancestors did, you're participating in a ritual that strengthens family bonds and creates new memories for future generations.
- Each splatter on an old recipe card reveals a story of past kitchen adventures.
- Handwritten notes in margins share secret tips passed down through time.
- Cooking instructions often include personal anecdotes that bring recipes to life.
Time-Tested Preservation Methods
Traditional preservation methods have stood the test of time for good reason – they work. When you're preserving jam like your great-grandmother did, you'll find these time-tested techniques guarantee both safety and longevity. By starting with fresh, ripe fruit and mashing it to release natural pectin, you're following practices that generations before you perfected.
The key to successful preservation lies in proper sterilization and sealing. You'll need to sterilize your jars and lids in boiling water, then fill them while they're still hot, leaving that essential 1/4 inch headspace.
Processing the filled jars in a boiling water bath for 15 minutes creates an airtight seal that's vital for safe storage.
You've got options for storage that match your needs. While refrigeration keeps your jam fresh for 1-2 months, properly processed jars can last 1-2 years when stored in a cool, dark place.
The sugar you've added isn't just for taste – it acts as a natural preservative, extending your jam's shelf life. If you're at high altitude, remember to adjust your processing time to guarantee proper sealing.
Generational Kitchen Wisdom
Just like the carefully preserved jams in your pantry, heritage recipes carry the sweet essence of generations past.
When you cook from your grandmother's handwritten recipe cards, you're not just following instructions – you're revealing a treasure chest of family history and maternal wisdom. These time-tested techniques and secret family shortcuts represent more than just cooking methods; they're your culinary inheritance.
Your family's kitchen wisdom goes beyond basic measurements and ingredients.
It includes those invaluable tricks that aren't found in any cookbook, like how to rescue a curdled sauce or turn yesterday's leftovers into tonight's feast. When you practice these traditions, you're keeping your ancestors' stories alive while creating your own.
Here's what makes generational kitchen wisdom so precious:
- Each recipe carries unique family modifications that have been perfected over decades.
- Traditional techniques often include problem-solving skills that modern cookbooks don't cover.
- Family recipes come with built-in memories and stories that connect you to your roots.
Preserving Family Food Traditions
Deep within every treasured family recipe lies a story waiting to be told – one that connects us to our ancestors' kitchens, their struggles, and their celebrations.
When you preserve these culinary traditions, you're not just saving recipes; you're safeguarding your family's cultural heritage and ethnic identity for future generations.
You'll find that traditional practices like jam-making serve as perfect entry points for maintaining these connections. The simple combination of fruit and sugar, just as your great-grandmother used, creates more than just preserves – it creates a bridge between past and present.
By involving younger family members in these time-honored processes, you're passing down both skills and stories that might otherwise be lost.
Don't be afraid to embrace modern adaptations while keeping the essence of traditional methods intact. You can document recipes digitally, share them through social media, or use smart cooking devices to simplify complex techniques.
What matters most is maintaining the authentic spirit of your family's culinary legacy while making it accessible to today's busy lifestyle.
Frequently Asked Questions
Can Homemade Jam Be Safely Processed in a Pressure Cooker?
You shouldn't process jam in a pressure cooker. It'll heat too high (240-250°F), breaking down pectin and making your jam runny. Instead, use a boiling water bath to maintain proper texture and guarantee safety.
How Long Should Jam Cool Before Testing Its Consistency?
You'll need different cooling times depending on your testing method: 1-2 minutes for the plate test, 5 minutes for the spoon test, and no cooling for thermometer testing. Remove jam from heat while testing.
Why Do Some Fruits Create More Foam During Cooking?
You'll notice more foam in fruits with higher air content. When you cook them rapidly, trapped air bubbles escape quickly. Some fruits, like strawberries, naturally hold more air, leading to increased foaming during preparation.
Does Altitude Affect Jam-Making Success and Cooking Times?
Yes, altitude considerably affects your jam-making. You'll need lower cooking temperatures and longer processing times at higher elevations since water boils at lower temperatures. Always adjust your recipe's temperature and timing for your location.
Can Frozen Fruit Be Used to Make Traditional-Style Jam?
Yes, you can use frozen fruit for traditional jam-making! You'll want to thaw it until just a few ice crystals remain, then follow standard recipes. Just measure your fruit before freezing for accurate proportions.
In Summary
You'll find that making jam like your great-grandmother did isn't just about preserving fruit – it's about preserving history. By using simple ingredients, natural pectin, and time-tested methods, you're connecting with generations past. When you lift that perfectly set jar of homemade jam to the light, you're holding more than preserved fruit – you're holding a piece of your family's culinary heritage worth passing down.


Leave a Reply