Your ice house's temperature control doesn't have to be complicated. Start by placing ice blocks strategically with even weight distribution and proper alignment. Install high-quality foam board insulation in walls and floors, with at least 8 inches beneath concrete pads. Use plastic curtains or heavy drapery to separate temperature zones, and seal all gaps around cables and pipes. Position 2-4 temperature sensors throughout your storage area for precise monitoring. Run chillers during off-peak hours, and maintain ice-water supply below 34°F. Consider natural insulators like wrap-around porches and shade trees. These fundamental tricks only scratch the surface of ideal ice house management.
Optimal Ice Layer Placement
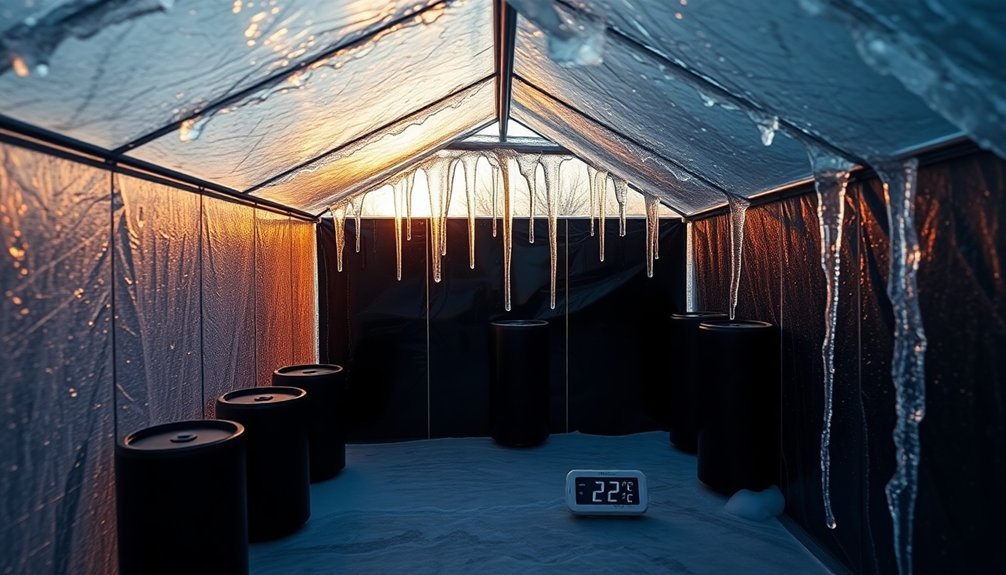
Several key factors determine successful ice storage in an ice house, and proper layer placement sits at the heart of this process. You'll need to focus on stacking your ice blocks strategically to guarantee they remain stable and accessible throughout the storage period.
When you're placing ice blocks, make sure to distribute their weight evenly to prevent shifting or collapse. To maximize your storage efficiency, you'll want to use a chute or slide system for moving blocks into position. This doesn't just save labor—it helps prevent damage to the ice during placement.
You should align your blocks carefully to make the most of your available space while maintaining easy access to them when needed. Your ice house's insulation plays a vital role in maintaining ideal temperatures. You'll need properly insulated walls and a small, controlled entry point to minimize heat infiltration. For optimal safety, ensure the ice blocks are at least four inches thick before moving them into storage.
If you're in a warmer climate, you may need additional cooling measures. Remember to keep the storage area clean and free of debris, and implement a layering system to prevent blocks from freezing together. Regular monitoring will help you spot any structural weaknesses or melting before they become serious problems.
Strategic Air Flow Management
While maintaining ideal ice storage requires various strategies, proper airflow management stands as one of the most critical factors in your ice house's efficiency. To maximize cooling performance, you'll need to focus on sealing any air gaps that could compromise temperature control.
Start by identifying and sealing all openings around cables, pipes, and between floor sections. You'll want to use brush grommets for necessary passages while ensuring minimal air exchange. Regular temperature monitoring systems can help identify potential air leaks and inefficiencies in real-time.
Install physical barriers like plastic curtains or heavy drapery to separate temperature zones effectively.
Optimize your containment system by enclosing distinct areas to control air circulation. You can use end-of-row doors and ceiling barriers to prevent warm and cold air from mixing. This approach helps direct airflow precisely where it's needed and prevents unnecessary temperature fluctuations.
Don't forget to utilize additional airflow management tools. Install blanking panels in empty spaces to prevent air bypass, and consider adding small fans in containment areas to adjust air movement.
Remove any obstructions that might impede proper airflow, and calculate your cooling load to position perforated tiles strategically. These measures will markedly improve your ice house's cooling efficiency while reducing energy costs.
Insulation Material Selection Guide
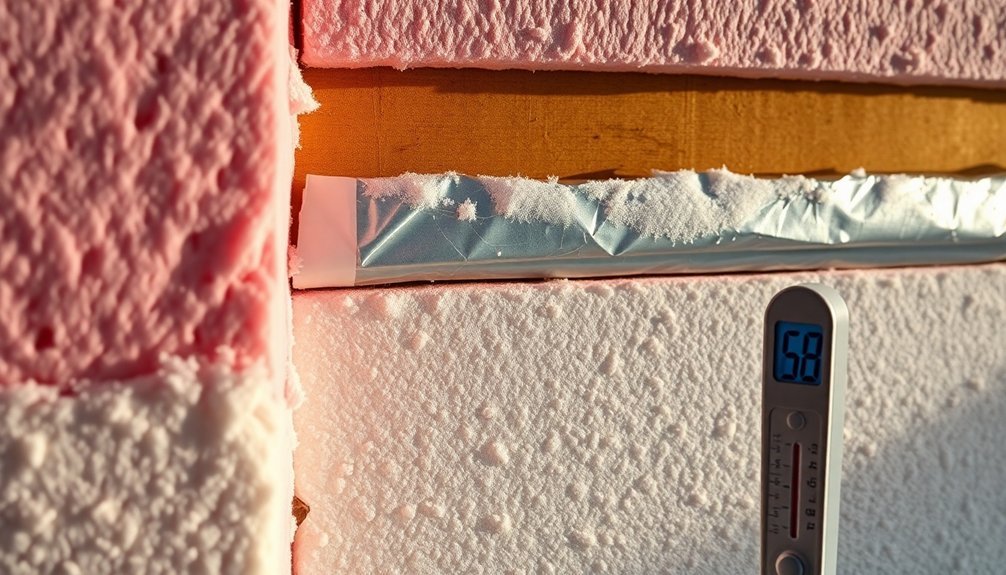
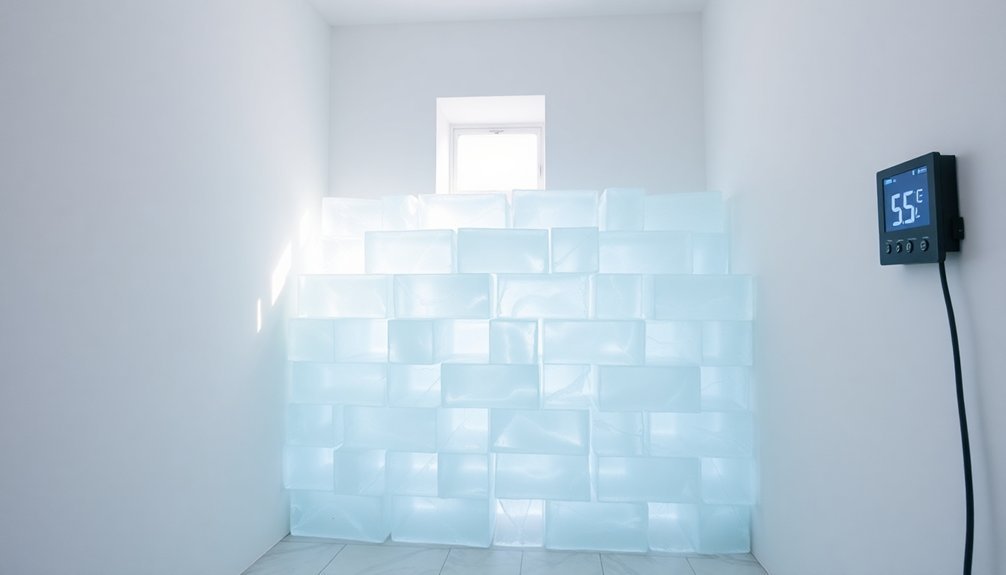
Choosing the right insulation materials for your ice house dramatically impacts its thermal efficiency and operating costs. For your walls and floors, you'll want to start with foam boards, which provide excellent insulation despite their thin profile.
If you're using cavity wall construction, you can opt for either perlite in a 12-inch cavity or volcanic pumice in a 2-3 foot cavity. A properly installed system with overlapping styrofoam sheets will prevent any air leaks that could compromise efficiency.
For your doors, you'll need at least 6 inches of natural cork or styrofoam insulation. Don't forget to install weather stripping and consider using double doors to minimize heat transfer. Your entry points are vital weak spots that require special attention to maintain consistent internal temperatures.
Your roof requires a dual-layer approach with an inner weather-proof roof and an outer sun roof separated by at least 3 feet. You can use foam boards for the inner roof's insulation, while shingles or metal sheets will protect the outer layer.
For your foundation, install at least 8 inches of styrofoam insulation beneath the concrete pad. When using concrete blocks, you'll want to add either spray foam or rigid foam boards to enhance their insulating properties.
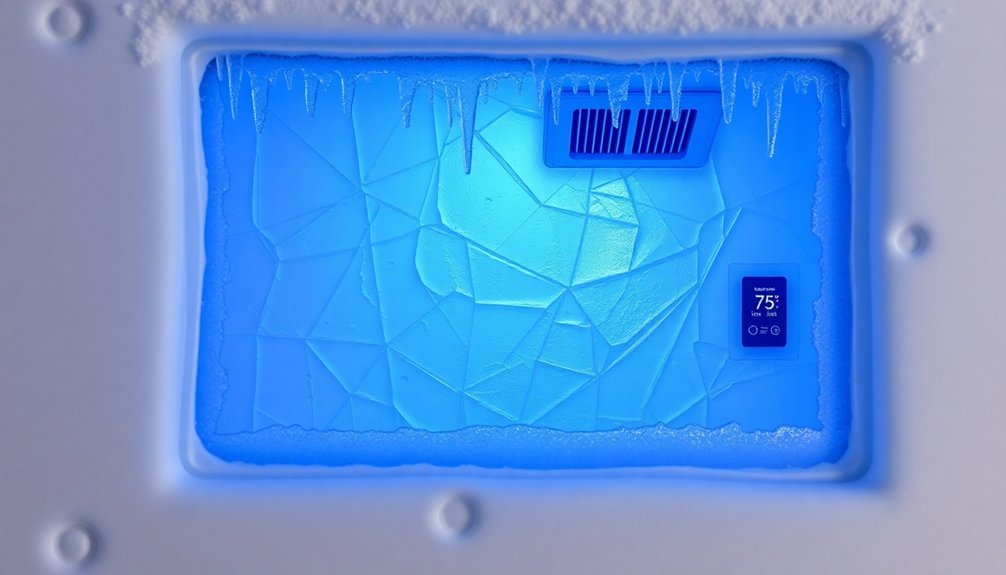
Temperature Monitoring Zones
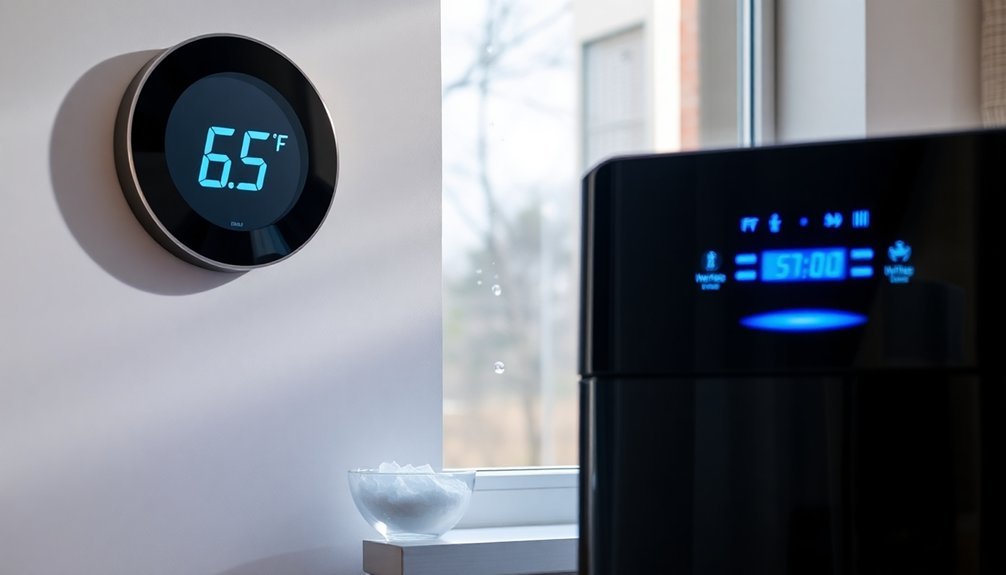
Beyond proper insulation, maintaining precise temperature control in your ice house requires a robust monitoring system. You'll need to install 2-4 high-accuracy sensors like the DS18B20, which provide precise readings within 0.5°C and can monitor temperatures from -55°C to +80°C. Place these sensors strategically throughout your storage area, connecting them to a central monitoring unit like the Lascar EL-WiFi-DTC2.
Mount your sensors by drilling holes in the walls, ensuring the central unit remains outside for ideal signal strength. You'll appreciate the IP67-rated sensors' weatherproof capabilities and the flexibility of 5-10m extension cables for perfect positioning. Your system will automatically log data to cloud dashboards and send real-time alerts if temperatures deviate from set ranges.
| Zone Type | Temperature Range | Critical Actions |
|---|---|---|
| Deep Freeze | -55°C to -20°C | Instant alerts for >2°C deviation |
| Standard Cool | -19°C to +4°C | Hourly data logging |
| Change Area | +5°C to +15°C | Monitor humidity levels |
Humidity Control Methods
Throughout the year, effective humidity control remains crucial for maintaining your ice house's integrity. You'll need to focus on preventing moisture entry by sealing all gaps and implementing rapid-action doors with high-velocity air curtains. Make certain your doors fit tightly and minimize the time they're kept open.
Install adsorption dehumidifiers that work with your refrigeration system to effectively control humidity levels. You can optimize energy usage by utilizing waste heat from your freezer installations. Consider implementing a system that cools part of the air, removes moisture, and then recombines it with the remaining air.
Maintain proper temperature differences between your room and refrigerant suction temperatures to keep humidity low. You'll want to use reheat systems with well-designed coils, operated by humidistats. Confirm you've got adequate air circulation and heating coils in the air discharge from unit coolers.
Don't forget about regular maintenance – inspect your heating and cooling systems frequently. You should also focus on proper insulation with intact vapor seals to prevent moisture leakage.
Use exhaust fans in bathrooms, kitchens, and for dryers to remove excess moisture effectively.
Energy Transfer Prevention Tips
Mastering energy transfer prevention starts with proper insulation and structural design choices. You'll want to install at least 12 inches of styrofoam insulation throughout your ice house, paying special attention to the walls, doors, and foundation.
Create a cavity wall construction with ample space between inner and outer walls, filling it with effective insulators like rock wool or perlite.
Your structural design plays a significant role in preventing heat transfer. Build your ice house in a round shape to minimize surface area exposure to warm air and sunlight.
Implement a double roof system with at least 3 feet of space between the outer sun roof and inner weather-proof roof for ideal ventilation. Don't forget to add a concrete pad foundation with 8 inches of styrofoam underneath.
Make smart material choices by using ice blocks as additional insulators and filling gaps with dry sawdust or natural insulators like straw.
Install wrap-around porches at least 8 feet wide to shield walls from direct sunlight. Remember to seal any cracks or gaps in your insulation, as these can quickly compromise your ice house's efficiency.
Consider planting shade trees or fast-growing vines to provide natural temperature control.
Seasonal Temperature Adjustment System
While proper insulation creates a strong foundation for temperature control, implementing a seasonal temperature adjustment system takes your ice house to the next level.
You'll want to focus on maximizing efficiency by running your chillers during off-peak hours, typically at night when utility rates are lower. Your system should cool the glycol solution to between 20°F and 22°F, allowing ice to form around storage coils.
You can regulate your cooling load through either full or partial storage systems. With full storage, you'll create enough ice overnight to handle your entire peak-period cooling needs. If you opt for partial storage, you'll use a combination of stored ice and supplemental chiller operation. Your system will maintain approximately 44°F to the active cooling load, while the ice-water supply stays at or below 34°F.
To optimize your seasonal adjustments, you'll benefit from the larger temperature differentials (18°F to 20°F) in your distribution loops. This reduces your air and water flow requirements, leading to significant energy savings.
You can fine-tune your cooling output by mixing ice bank water with warmer water, giving you precise control over temperature variations throughout different seasons.
Frequently Asked Questions
How Long Can Backup Power Systems Maintain Optimal Ice Conditions During Outages?
You'll maintain ideal ice conditions for up to 48 hours using battery backup systems, while generator-powered systems can run continuously as long as you've got fuel and perform regular maintenance on your equipment.
What Chemical Treatments Help Prevent Ice Crystallization Patterns From Affecting Transparency?
You'll find PDMS-based hydrogel coatings highly effective at preventing ice crystallization. They'll maintain surface transparency by delaying crystal formation and lowering freezing temperatures, while their silicone properties keep surfaces clear and functional.
Can Smart Sensors Detect Early Signs of Equipment Failure Through Temperature Variations?
Yes, you'll find smart sensors highly effective at detecting early equipment failures. They'll monitor subtle temperature changes that indicate problems, automatically alert you to anomalies, and help prevent unexpected breakdowns through predictive maintenance.
How Do Different Ice Surface Textures Affect Overall Thermal Conductivity?
You'll find that rougher ice surfaces reduce thermal conductivity, while smoother, well-sintered surfaces conduct heat better. The contact area between ice grains greatly impacts how efficiently heat transfers through the material.
What Role Do Underground Thermal Conditions Play in Ice House Temperature Stability?
Underground thermal conditions provide your ice house with natural temperature stability. You'll benefit from the earth's constant temperature and thermal mass, which helps maintain cool temperatures year-round without requiring additional mechanical cooling systems.
In Summary
You'll find maintaining your ice house is all about strategic control and constant monitoring. By implementing these temperature management techniques, from layering ice correctly to managing airflow and humidity, you're setting yourself up for ideal results. Don't forget to adjust your system seasonally and regularly check your insulation. With these seven smart tricks, you'll keep your ice house performing efficiently year-round.


Leave a Reply