
To stack ice blocks like a pro, you'll want to start with a properly calibrated freezer set to 0°F. Use brown paper bags as your primary storage method, placing them in the coldest spot while folding the tops to create moisture barriers. When layering blocks, maintain space between them using skewers or parchment paper as separators to prevent unwanted bonding. Keep your freezer well-stocked but not overcrowded, and use aluminum blocks to help maintain consistent temperatures. Monitor ice formation closely and break up any early buildups before they become problematic. These fundamental techniques will reveal even more advanced stacking methods.
Prepare Your Freezer Environment

To create perfect ice blocks for stacking, you'll need to start with the right freezer conditions. Set your freezer temperature to 0 degrees Fahrenheit and use an appliance thermometer to monitor it consistently.
Don't place hot items directly in the freezer, as temperature fluctuations can compromise your ice blocks' quality.
Keep your freezer's door seal in top condition to prevent warm, humid air from entering. Check the gasket regularly for signs of wear and replace it if you notice any gaps or damage. Using hay and sawdust as insulation materials can provide additional temperature stability, similar to traditional ice house methods.
When you're working with your freezer, minimize the time the door stays open to maintain a stable environment.
Organize your freezer space efficiently to promote proper air circulation. Don't overcrowd the area where you'll be forming ice blocks. Instead, arrange items with enough space between them so cold air can flow freely.
If you're serious about ice block production, consider using a dedicated freezer to maintain better control over the environment.
Make certain to defrost your freezer regularly and keep it clean. Remove any frost buildup that could interfere with the freezing process, and confirm the defrost cycle works properly.
Keep the evaporator coils free from ice accumulation to maintain ideal freezing conditions.
Choose Paper Storage Methods
With your freezer properly prepared, selecting the right storage method becomes your next priority. Brown paper bags are your best option, as they effectively absorb moisture and prevent ice blocks from sticking together. Unlike plastic alternatives, paper won't trap unwanted moisture or transfer odd flavors to your ice. Regular bag rotation helps maintain the freshness of your ice for up to a week.
You'll want to place your paper bag in the coldest spot – typically the back center of your freezer. Don't stack other items on top of the bag, and keep it away from the door to avoid temperature fluctuations. For ideal results, fold the top of the bag to create a seal that prevents moisture from entering.
During the first day, gently shake the bag every few hours to prevent any initial bonding between ice blocks. If you're preparing ice for coolers rather than drinks, you can sprinkle a small amount of salt or sugar into the ice trays before freezing to further prevent sticking.
This storage method works well for both cubed and crushed ice, making it perfect for parties and events. You can reuse the bags multiple times, making this a cost-effective solution for your ice storage needs.
Layer Blocks Without Pressure
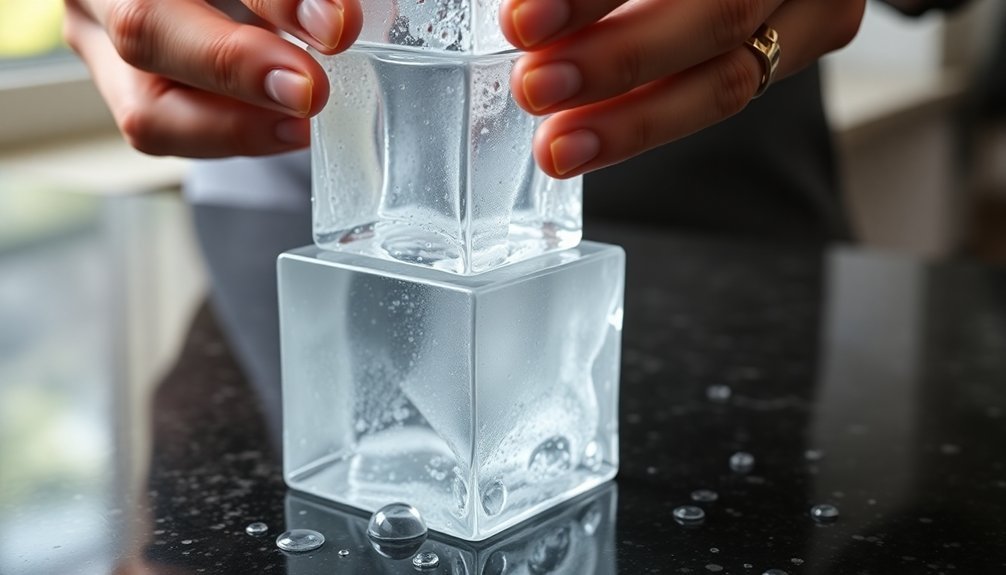
Proper layering techniques greatly reduce the risk of ice blocks fusing together. You'll need to focus on maintaining space between layers while ensuring minimal contact points between ice blocks. When stacking, use a gentle touch and avoid applying downward pressure that could cause partial melting and refreezing. The bottom-up freezing method produces ice blocks that are easier to stack and separate.
| Do's | Don'ts |
|---|---|
| Use skewers as separators | Stack heavy items on top |
| Shake containers periodically | Overcrowd freezer space |
| Keep blocks loosely arranged | Allow direct contact |
| Maintain air circulation | Press blocks together |
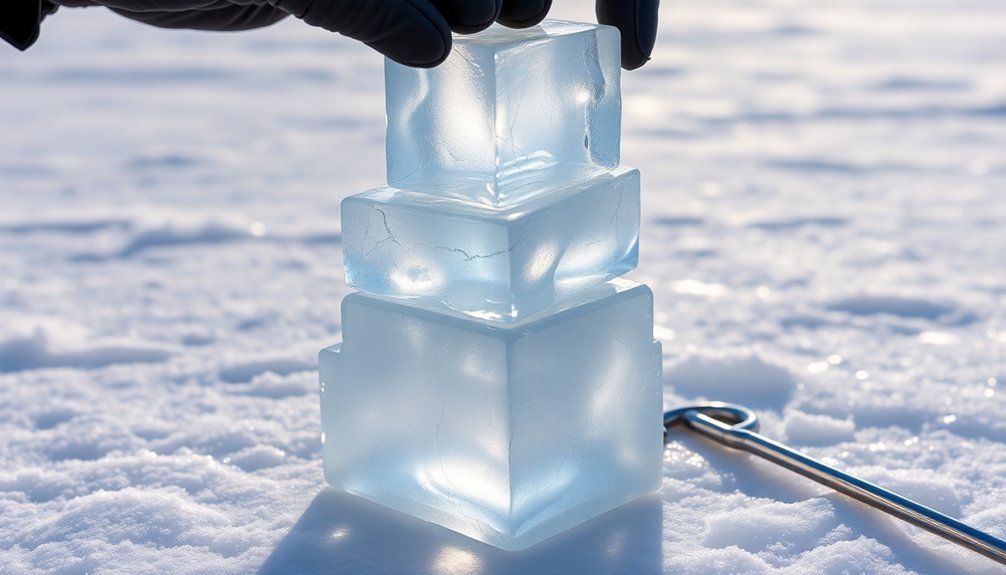
You'll want to position your ice blocks with small gaps between them to prevent nesting. If you're working with multiple layers, consider placing thin separators between each level. These can be as simple as parchment paper or specialized ice separators available at restaurant supply stores.
Remember to check your stacked ice regularly and gently break up any blocks that start to bond. You can maintain separation by periodically rotating the position of ice blocks within your storage container. Keep your freezer well-stocked but not overcrowded – this helps maintain consistent temperatures while allowing proper air flow around your ice blocks.
Maintain Temperature Control
Temperature control lies at the heart of successful ice block stacking. To maintain ideal conditions, you'll need to focus on both the materials you use and how you manage heat transfer.
Choose aluminum blocks when you want faster temperature equalization across your stack, as they conduct heat efficiently and help maintain consistent temperatures throughout.
To protect your ice stack from unwanted melting, incorporate insulating materials strategically. You can use Styrofoam barriers between layers or around the sides of your stack to slow down heat transfer from the environment.
If you're working in a warmer space, consider using reflective materials like aluminum foil to deflect ambient heat away from your ice blocks.
For advanced temperature control, you might want to employ thermoelectric coolers (TECs) in your setup.
When you're using TECs, make sure to enhance their performance by managing power settings to reduce Joule heating and using water cooling systems to dissipate heat effectively.
Don't forget to apply thermal grease between components for better heat transfer and cover any exposed areas to prevent temperature fluctuations that could compromise your stack's stability.
Break Early Ice Formations
Understanding ice formation cycles leads naturally to managing early ice buildups. You'll need to closely monitor how ice initially forms and address it before it becomes problematic. Just as with aircraft de-icing systems, timing is vital when breaking up early ice formations in your stacking process.
Don't wait too long to break up forming ice, as this can lead to larger, more challenging buildups that'll be harder to manage. However, you also shouldn't disturb ice formations too early, as this mirrors the ice bridging phenomenon seen in aviation – where premature intervention can actually make the situation worse.
You'll want to find the sweet spot where the ice is thick enough to break cleanly but hasn't built up extensively. When you notice ice starting to form between blocks, implement a regular inspection and breaking cycle.
Higher formation rates require more frequent interventions, similar to how aircraft de-icing boots need more frequent activation in severe conditions. Keep your breaking cycles consistent and adjusted to your specific conditions – this systematic approach helps prevent significant ice accumulation while maintaining the integrity of your stack.
Frequently Asked Questions
How Long Can Ice Blocks Remain Stacked Before They Start Melting Together?
You'll find ice blocks can remain stacked for several years without melting together if you've insulated them properly with sawdust, maintained cold temperatures, and created tight, even stacks that minimize warm air gaps.
What Safety Gear Should Be Worn When Handling Large Ice Blocks?
You'll need thermally insulated gloves, a long-sleeved coat, safety goggles or face shield, and sturdy boots. Use handling tools like tongs or scoops. Don't wear tight clothing that restricts movement.
Can Colored Dyes Affect the Stacking Stability of Ice Blocks?
No, you don't need to worry about dyes affecting stacking stability. The food coloring won't change your ice blocks' physical properties or structural integrity. They'll stack just like regular ice blocks.
What's the Maximum Recommended Height for Stacking Ice Blocks Outdoors?
You shouldn't stack ice blocks higher than 2.2 meters outdoors, as this prevents crushing and collapse. When exposed to outdoor elements, it's even more critical to maintain this height limit for safety.
How Do Different Water Mineral Contents Impact Ice Block Stacking Performance?
You'll get better stacking results with mineral-rich water, as it creates harder, more durable ice blocks. Avoid using soft or reverse osmosis water, which produces weaker blocks that can break apart while stacking.
In Summary
You've mastered the basics of professional ice block stacking with these expert techniques. By preparing your freezer, using proper paper storage, carefully layering blocks, monitoring temperatures, and managing early formations, you'll create stable, well-preserved ice stacks. Remember, don't rush the process – take your time with each step. When you follow these methods consistently, you'll get the clean, organized ice storage you're aiming for.


Leave a Reply