You can safely sterilize Mason jars using several proven methods. The boiling water method remains most reliable – submerge clean jars in water for 10 minutes at sea level. For convenience, your dishwasher's sanitize cycle works well if it reaches 160°F. Oven sterilization at 225°F for 15 minutes offers another option, while a bleach solution soak provides a no-heat alternative. The microwave method suits small batches, requiring just 30-60 seconds on high power. Always inspect jars for damage and maintain proper temperatures throughout the process. Let's explore each technique's specific steps and critical safety guidelines to guarantee your preserves stay fresh and safe.
The Boiling Water Method
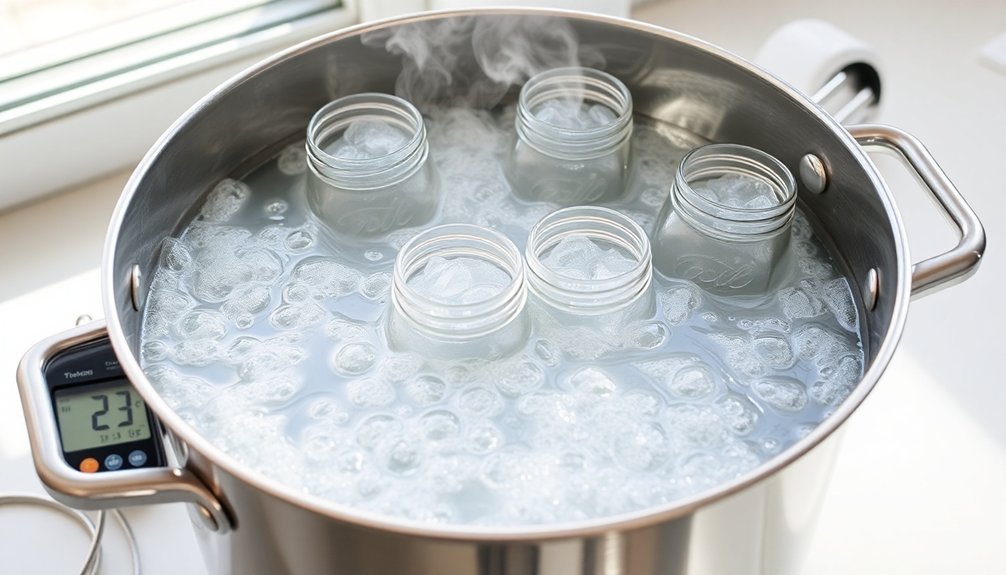
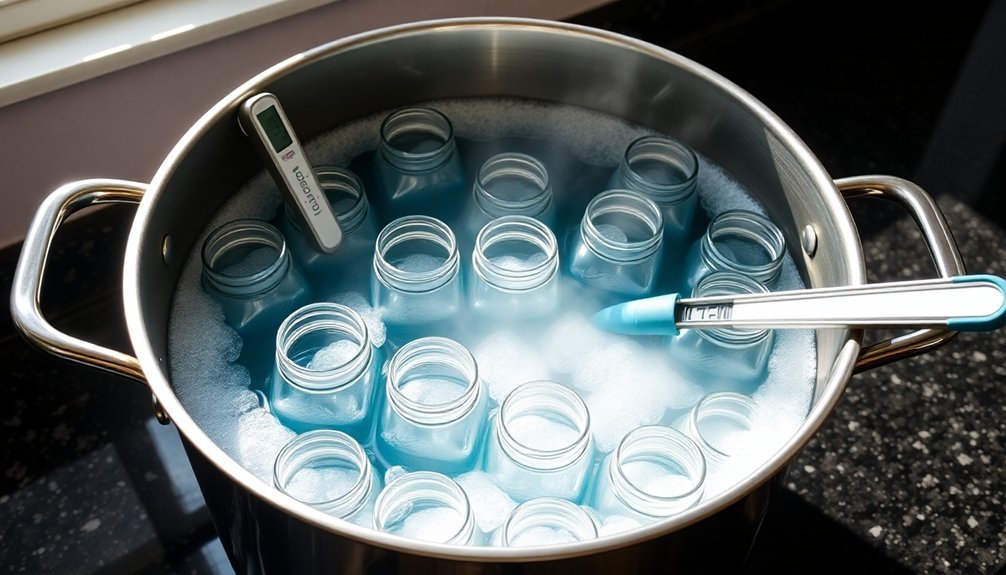
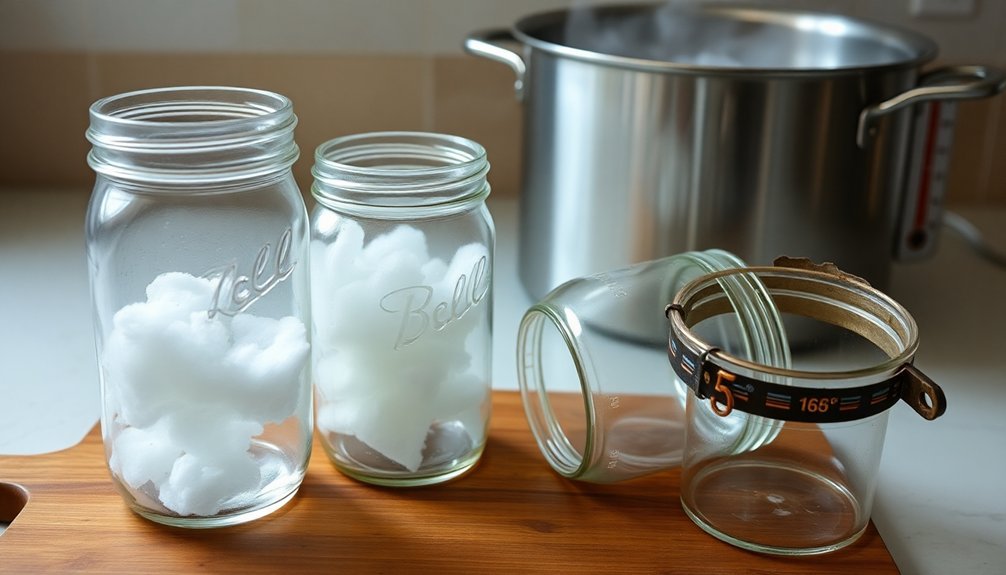
For safe and effective sterilization, the boiling water method stands as one of the most reliable ways to prepare Mason jars for canning.
Before beginning the process, carefully inspect each jar for any chips, cracks, or damage that could compromise safety.
You'll need a large stainless steel pot or boiling water canner with a rack at the bottom, ensuring it's at least two inches taller than your jars. Don't forget to have clean towels and jar lifters ready for handling.
Start by filling your jars with water and placing them in the pot. Add cold water until it reaches one inch above the jar tops. Bring the water to a rolling boil over high heat.
Once you've reached a full boil, start your timer. You'll need to boil for at least 10 minutes at sea level, but if you're at a higher altitude, add one minute for each 1,000-foot increase.
After boiling, you can either remove the jars immediately or leave them in the hot water for up to an hour. When you're ready, use your jar lifter to remove them carefully.
Empty the water and place them on a clean surface to dry. While the jars are sterilizing, don't forget to prepare your lids and seals separately, simmering them at 82°C for 10 minutes.
Oven Sterilization Technique
When sterilizing Mason jars in the oven, you'll need to set the temperature to either 225°F (107°C) for 15 minutes or 250°F (121°C) for 10 minutes to guarantee proper sanitization.
You must space your jars at least an inch apart on baking sheets to allow for proper heat circulation, which promotes even sterilization throughout each container.
While the oven method isn't FDA-approved, you can achieve safe results by using oven mitts to handle the hot jars and following the precise temperature and timing guidelines. This method, though not recommended by the FDA, dates back to when these versatile glass containers were first invented by John Landis Mason in 1858.
Temperature and Timing Guide
Precise temperature control and timing are essential elements of oven sterilization for mason jars. You'll want to set your oven to 225°F (107°C), which is the ideal temperature for killing harmful bacteria while protecting your jars from thermal shock. This method can process multiple batches of jars at once, unlike traditional boiling methods.
Position the oven rack in the middle to guarantee even heat distribution throughout the sterilization process.
For successful sterilization, follow these critical steps:
- Preheat your oven completely to 225°F (107°C) before introducing any jars.
- Place clean jars upside-down on a baking sheet, ensuring they don't touch each other.
- Maintain the temperature for 10-15 minutes once jars are inside.
- Keep lids and bands in simmering water while jars sterilize.
You'll need to handle the sterilized jars within an hour of completing the process to maintain their sanitized state.
While the jars are sterilizing in the oven, prepare your lids and bands by keeping them in simmering water until you're ready to use them.
Remember to exercise caution when handling the hot jars – they'll need some cooling time before you can safely touch them.
Jar Spacing Matters
While timing and temperature control set the foundation for oven sterilization, proper jar spacing plays an equally significant role in the process.
You'll need to arrange your jars carefully, ensuring they don't touch each other to allow for even heat distribution. Place them in a single layer on the oven shelf, and never directly on the oven floor where they'll be exposed to intense direct heat.
If you're using a gas oven, you'll want to lay a double layer of newspaper on the oven shelves, being careful to avoid any contact with flames.
However, it's essential to understand that despite following these spacing guidelines, oven sterilization isn't recommended by food safety authorities as it doesn't reliably kill bacteria and other harmful microorganisms.
Instead, you'll find safer alternatives in boiling water or steam canners. These methods provide more consistent and reliable sterilization.
You can also use your dishwasher's high-temperature setting or boil lids and seals for 5 minutes. Remember to wash all jars with hot soapy water before any sterilization method, and always keep sterilized jars warm to prevent thermal shock during filling.
Safety Precautions Required
From the outset of oven sterilization, safety must be your primary focus to prevent accidents and guarantee proper sanitation. Before you begin, verify you've thoroughly cleaned your jars with hot soapy water and removed all labels and adhesive residue.
Don't dry the jars after rinsing, as the moisture helps with the sterilization process.
When you're ready to sterilize, maintain these critical safety measures:
- Keep your oven temperature low (225°F to 275°F) to prevent jar damage and potential breakage.
- Place jars on a baking sheet before transferring them to the preheated oven.
- Use protective gear like oven mitts or tongs when handling hot jars.
- Don't skip the lid and band preparation – they need to simmer separately from the jars.
You'll want to keep the sterilized jars warm until you're ready to fill them, as sudden temperature changes can cause cracking.
While your jars are sterilizing in the oven, prepare your lids and bands by placing them in simmering (not boiling) water. This softens the sealing compound and verifies a proper seal when canning.
Remember to inspect each jar for cracks or chips before starting the process.
Dishwasher Sanitizing Process
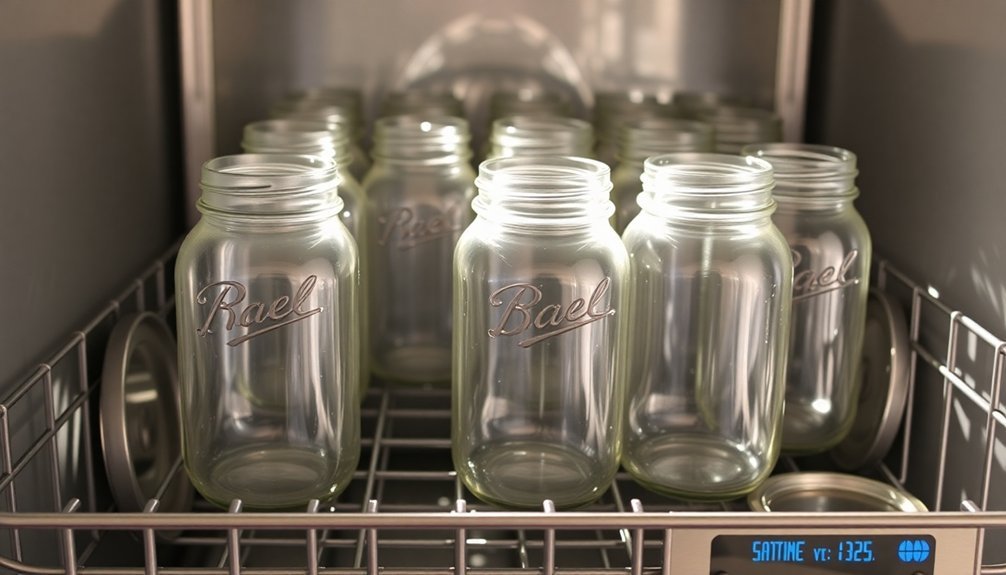
Sterilizing mason jars in your dishwasher provides a convenient and reliable method for preparing them for canning. Before loading your jars, verify your dishwasher can reach at least 160°F (71°C) and has a sanitize cycle. Clean the jars, lids, and rings with hot soapy water, removing all labels and adhesive residue.
Place your jars upside down on the top rack, keeping them separated to allow proper water circulation. Position the lids and rings separately to prevent damage. Don't overcrowd the dishwasher, as this can interfere with thorough cleaning. Select the highest temperature setting and sanitize cycle, adding an appropriate amount of detergent.
You'll need to time the cycle with your recipe preparation, as the entire process can take about two hours. Keep the dishwasher door closed until you're ready to use the jars to maintain sterility.
When it's time to fill them, remove one jar at a time using oven mitts. Work quickly to fill the hot jars with your prepared food to prevent thermal shock. If you haven't included the lids in the dishwasher cycle, heat them separately in hot water for 10 minutes before use.
Bleach Solution Approach
The bleach solution method offers a cost-effective alternative to dishwasher sterilization when preparing Mason jars for canning.
You'll need to create a precise mixture of 1 tablespoon of unscented household bleach per gallon of water in a clean container, ensuring proper ventilation throughout the process.
The key steps for successful bleach sterilization include:
- Submerge your clean jars completely in the bleach solution, making sure there aren't any air pockets trapped inside.
- Allow the jars to soak for at least 2 minutes, including the lids and bands if you're sterilizing those as well.
- Remove the jars and rinse them thoroughly with clean water until you can't detect any bleach smell.
- Place the jars upright on a clean drying rack or towel to air dry completely.
While working with bleach, you'll want to wear protective gloves and keep the area well-ventilated.
If you notice any lingering bleach odor after the initial rinse, give the jars another thorough rinse and allow them to dry again.
This method is particularly useful when you're sterilizing multiple jars simultaneously and don't have access to a dishwasher.
Microwave Sterilization Method
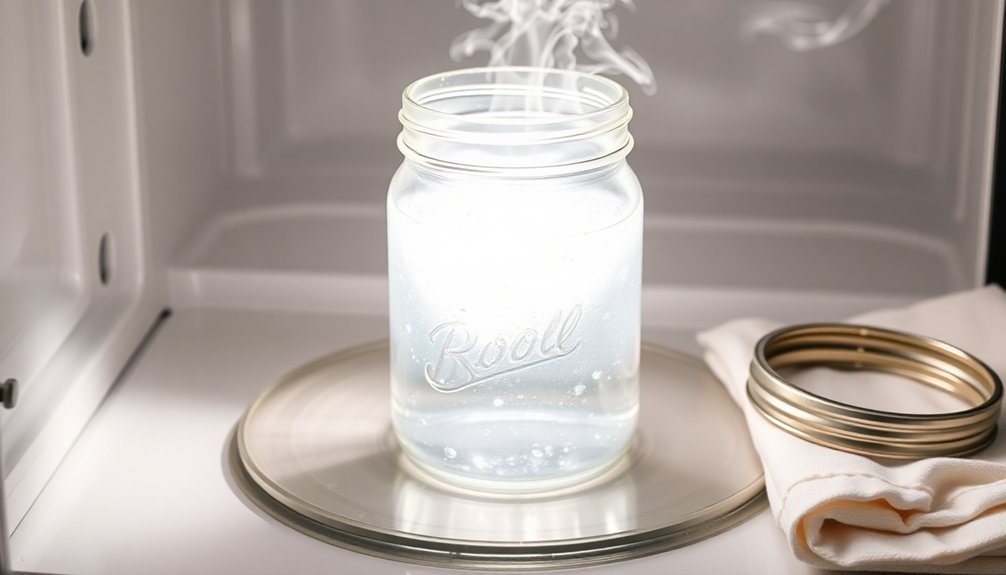
Microwaving stands out as a quick and convenient method for sterilizing Mason jars right in your kitchen. Before you begin, wash your jars thoroughly with hot soapy water, remove all labels and adhesive residue, and rinse them completely. You'll need to keep the jars wet for effective sterilization.
Place 2-4 wet jars in your microwave, depending on its size. Remember to remove all metal lids, as they can't go in the microwave. Set your microwave to high power (typically 1,000 watts) and heat the jars for 30-60 seconds, adjusting the time based on jar size. Since microwaves can heat unevenly, you'll want to monitor the process carefully.
Once done, use oven gloves to remove the hot jars and place them upside-down on a clean wooden board or tea towel. Let them cool slightly before filling them with preserves.
Don't forget to sterilize the lids separately in boiling water for 3 minutes. After filling your jars, process them in a canner if needed, and check the seals once they've cooled completely. Store your sterilized jars in a clean area to maintain their sterility.
Essential Safety Guidelines
Safety comes first when handling Mason jars during any sterilization method.
You'll need to thoroughly clean your jars with hot soapy water, remove labels, and check for any damages before starting the sterilization process. Keep your workspace clean and organized to prevent contamination and accidents.
When using the boiling method, make certain you're using a pot that's at least two inches taller than your jars, and don't forget to place a rack at the bottom. The water should cover the jars by at least an inch, and you'll need jar lifters to handle the hot containers safely.
For best sterilization results, follow these critical steps:
- Don't sterilize Mason jar lids in boiling water – just soak them briefly to protect the rubber seal.
- Keep sterilized jars warm to prevent cracking when filling with hot food.
- Use the FDA-approved boiling method whenever possible for maximum safety.
- Sterilize jars only if your processing time is less than 10 minutes; longer processing times will naturally kill bacteria.
If you're using the oven method, maintain a temperature of 275°F and place jars on a baking sheet, making sure they don't touch each other.
Common Sterilization Mistakes
Several critical mistakes can undermine your jar sterilization efforts, no matter which method you choose. Using harsh cleaning agents stands out as a major error – strong chemicals can leave residue that affects your preserved food's taste and quality. Instead, stick to mild detergents or natural alternatives like baking soda, and avoid abrasive materials that could scratch your jars.
You'll want to pay special attention to the rinsing process. If you don't rinse thoroughly, detergent residue can contaminate your food. Make sure you're using hot water and rinsing multiple times, checking for any remaining particles between rinses.
Proper drying is equally important – inadequate drying creates an environment where mold and bacteria can thrive. Always use sanitized tongs or a jar lifter, and either air dry on a clean surface or use a lint-free towel.
Don't overlook the importance of following specific time and temperature guidelines for your chosen sterilization method. Whether you're using boiling water, an oven at 225°F, or a bleach solution, precise adherence to recommended times and temperatures is essential for food safety.
Frequently Asked Questions
Can I Reuse Previously Sterilized Jars Without Sterilizing Them Again?
You can't safely reuse previously sterilized jars without sterilizing them again. If they've been sitting for over an hour, you'll need to re-sterilize them to prevent contamination and guarantee food safety.
How Long Do Mason Jars Stay Sterilized if Stored Unused?
If you store your sterilized Mason jars properly in a clean, dry place, they'll stay sterile for several hours. For best results, you'll need to re-sterilize them if they're not used within that timeframe.
What Should I Do if My Jar Lids Become Rusty?
You'll need to discard rusty lids immediately and replace them with new ones. Don't try to reuse damaged lids as they can compromise food safety and seal integrity. Never use rusty lids for canning.
Does Altitude Affect Sterilization Time for Mason Jars?
Yes, altitude directly affects your sterilization time. You'll need to add 1 minute for every 1,000 feet above sea level. If you're at sea level, you should boil for 10 minutes minimum.
Can I Sterilize Plastic Lids Using the Same Methods as Glass Jars?
No, you shouldn't sterilize plastic lids like glass jars. Instead, wash them in hot soapy water and rinse well. High temperatures can damage plastic and rubber seals, compromising your jar's airtight seal.
In Summary
You've now learned several reliable methods for sterilizing mason jars, from the traditional boiling water bath to modern dishwasher techniques. Remember to always inspect your jars for cracks before sterilizing, and don't skip essential safety steps. Whether you're canning fresh produce or storing dry goods, proper sterilization will protect your food and keep it safe. Choose the method that works best for your needs and equipment.
Leave a Reply