To salt-box cure meat at home, you'll need to follow seven key steps. Start by selecting Prague Powder #1 for short-term curing or Prague Powder #2 for long-term projects. Next, trim and clean your meat, keeping it at 36-40°F. Set up a dedicated curing area with proper temperature and humidity controls. Apply the curing salt mixture evenly, using 3% of the meat's weight in salt. Monitor the process for weight loss and texture changes. Rinse thoroughly and dry the meat completely. Finally, store your cured meat in airtight containers at cool temperatures. These fundamental steps open the door to mastering traditional meat preservation techniques.
Choosing The Right Salt

A successful meat-curing project begins with selecting the right curing salt. You'll need to choose between Prague Powder #1 and Prague Powder #2, depending on your curing timeline. For short-term curing projects, use Prague Powder #1, which contains 6.25% sodium nitrite mixed with table salt. If you're planning longer cures, opt for Prague Powder #2, which includes both sodium nitrite and sodium nitrate. The distinctive red dye coloring helps prevent accidental misuse or confusion with regular table salt.
Don't attempt to create your own curing salt mixture at home. Commercial curing salts are precisely formulated to maintain safe nitrite levels and prevent bacterial growth, particularly botulism.
When you're measuring your curing salt, follow the manufacturer's guidelines exactly – even small variations can affect food safety.
You'll notice that most curing salts contain primarily table salt, which creates the necessary osmotic pressure to inhibit bacterial growth. The nitrites and nitrates work alongside the salt to preserve the meat's color and enhance its flavor.
Remember that you can't substitute regular salt or natural alternatives like celery powder for proper curing salts, especially in wet cures. These alternatives don't provide the same level of protection against harmful bacteria.
Preparing Your Meat Cut
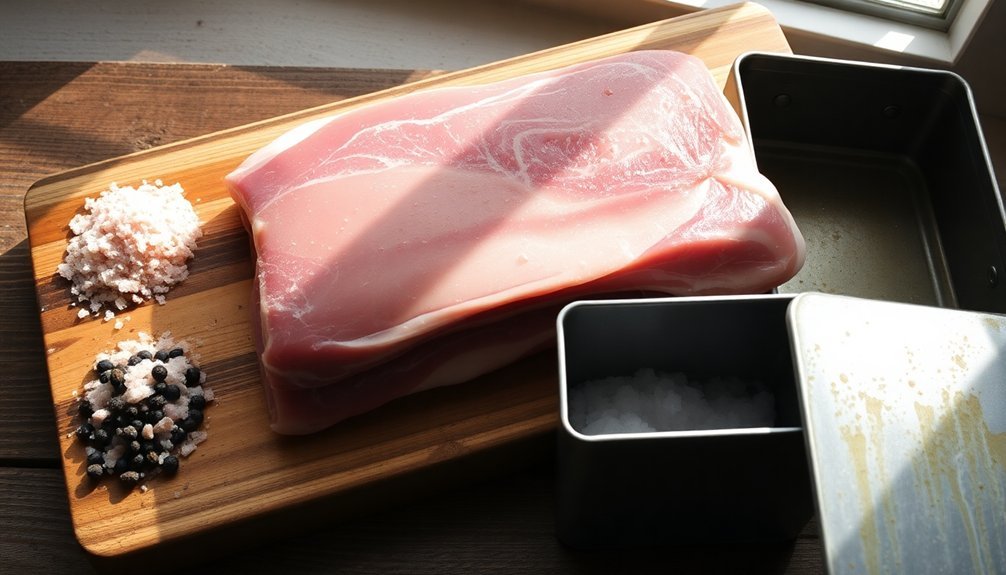
Start by trimming away any loose fat or tough connective tissue from your chosen cut of meat, making certain not to remove all the fat as it's essential for flavor development.
You'll need to thoroughly clean the meat's surface to remove any potential contaminants that could interfere with the curing process. Maintaining a temperature between 36°F and 40°F during preparation is crucial for food safety.
Pat the meat completely dry with a clean, lint-free towel to guarantee the salt cure will adhere properly and distribute evenly across the surface.
Trim Fat and Connective
Proper trimming of fat and connective tissue marks the critical first step in preparing your meat for salt-box curing. You'll need a sharp boning knife, cutting board, and protective gloves to complete this task effectively and safely.
Begin by identifying visible fat layers and the silvery connective tissue that needs removal. Using smooth, even strokes with your knife, trim excess fat while maintaining a thin, uniform layer that'll help with the curing process. Work in small increments, following the natural lines of the meat to minimize waste.
When you encounter tough silver skin or connective tissue, use a gentle sawing motion with your knife angled slightly upward to separate it from the meat. Keep your work area clean and organized by placing a tray nearby to collect trimmings.
You'll want to maintain strict hygiene throughout the process – wear your protective gear and regularly sanitize your cutting surface. As you trim, confirm you're creating an even surface that'll allow for consistent salt penetration during curing.
Remember to handle your knife safely and dispose of trimmed materials properly when you're finished.
Clean and Pat Dry
Once you've finished trimming, thorough cleaning and drying of your meat cut sets the foundation for successful curing. Start by rinsing the meat under cold water to remove any blood, debris, or surface contaminants.
Don't use hot water, as it'll damage the meat's texture and affect the final product's quality. Salt extracts moisture during the curing process, making proper initial cleaning crucial for best results.
After cleaning, you'll need to remove all excess moisture, which is important for proper curing. Take clean paper towels or a lint-free cloth and pat the meat thoroughly until it's completely dry.
This step guarantees the curing agents will adhere properly to the meat's surface and penetrate effectively.
Before proceeding with the cure, weigh your meat cut to calculate the precise amount of curing mixture you'll need. Keep your meat at a consistent temperature between 38-40 degrees Fahrenheit throughout the preparation process.
You'll want to work in a clean, sanitized environment with properly cleaned tools and equipment. Don't forget to label your meat with the preparation date and time – this helps you track the curing duration accurately.
Setting Up Your Curing Area
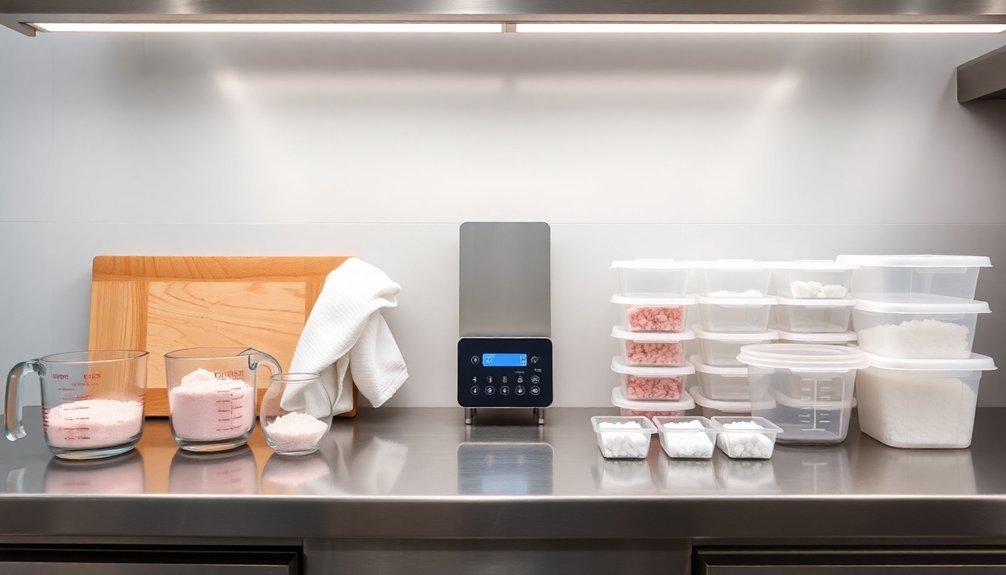
A successful curing process begins with a well-controlled environment. You'll need to maintain temperatures between 38-40°F (3-4°C) during the initial curing phase, though the ideal curing temperature range is 50-59°F (10-15°C).
Too high temperatures can cause spoilage, while freezing temperatures will slow down the process and require additional curing time.
Set up your curing area in a clean, well-ventilated space using either a refrigerator or a dedicated curing chamber. If you're building a chamber, you'll want to install a temperature controller, humidity controller, and monitoring equipment like a digital hygro-thermometer.
Consider adding a peltier dehumidifier and heating mat for precise environmental control.
You've got several options for storing your meat during the curing process. Use a box, barrel, stone jar, or burlap bag, or simply place it on a refrigerator shelf in a pan.
If you're hanging the meat, make certain it doesn't touch other surfaces. For consistent results, consider using vacuum bags for equilibrium curing, which helps distribute salt evenly throughout the meat.
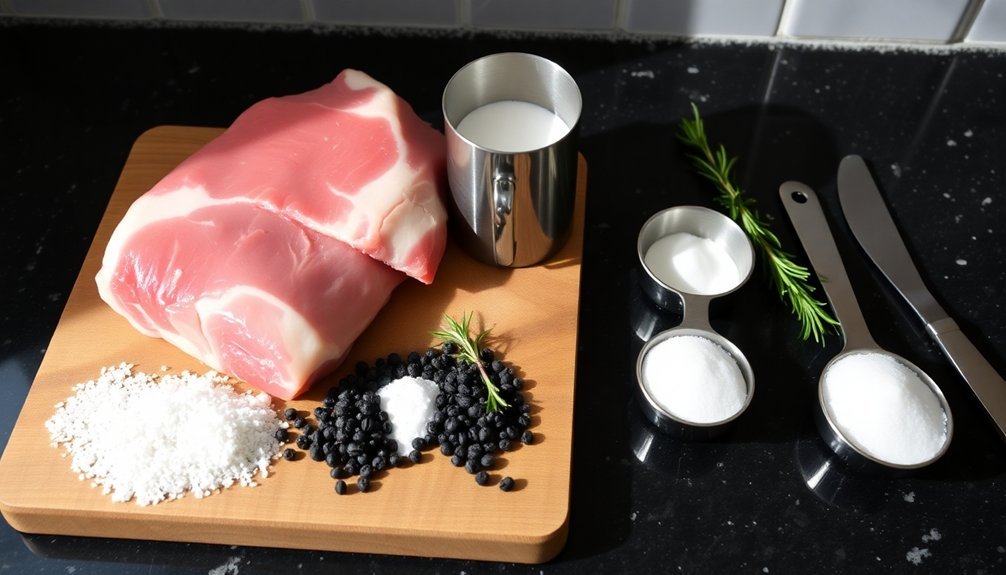
Applying The Salt Layer
Successfully curing meat depends heavily on the precise application of your salt mixture. You'll need to cover every surface of your prepared meat with salt, guaranteeing it's completely buried in the curing mixture.
For equilibrium curing, calculate 3% of your meat's initial weight and apply that amount of salt evenly across the surface.
If you're using additional curing agents like Cure #1 or Cure #2, follow the specific ratios carefully to prevent food safety issues. You can add optional flavorings such as celery seed and black pepper at this stage, but don't let them interfere with the salt coverage.
Place your salted meat in a food-grade container or vacuum-sealed bag, making certain it's fully submerged in the salt mixture.
Once you've applied the salt layer, transfer your meat to proper storage immediately. Use a plastic food storage bag or vacuum-sealed container to protect it from cross-contamination.
Label your container with both the start date and the scheduled removal date. Keep the temperature between 36°F and 40°F throughout the curing process, and check periodically to guarantee the salt layer remains evenly distributed across the meat's surface.
Monitoring The Curing Process
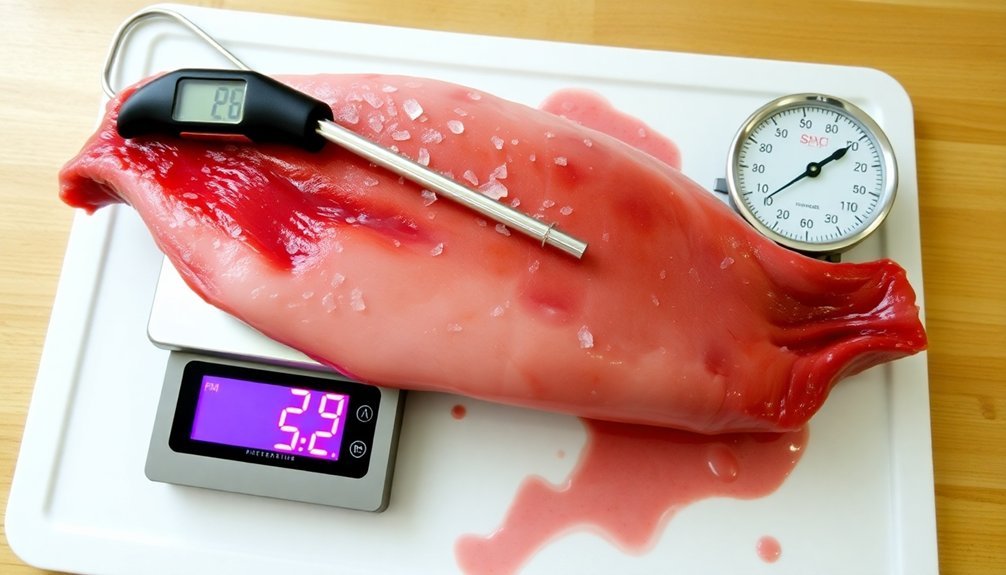
Proper monitoring of your meat during the curing process remains critical for achieving safe, high-quality results. You'll need to track several key indicators to guarantee your cure progresses correctly.
| Monitoring Factor | What to Check |
|---|---|
| Weight Loss | Target 35-40% reduction from initial weight |
| Texture Changes | Meat should become increasingly firm and rigid |
| Color | Look for uniform pink/red if using nitrites |
| Environment | Maintain 32-35°F with good air circulation |
| Timeline | Check progress every few days |
Calculate your target weight by multiplying the initial weight by 0.65. You'll need to weigh your meat regularly to track moisture loss. As the curing progresses, you'll notice the meat becoming firmer and less pliable. Keep an eye out for any unusual odors or slimy textures that could indicate spoilage.
The curing duration varies greatly based on meat size. Small cuts like duck breast need 4-5 weeks, while larger pork cuts might require several months. Throughout the process, guarantee your curing environment stays clean and sanitized. Use non-corrosive containers that allow proper drainage, and maintain consistent temperature control to prevent spoilage.
Rinsing And Drying
Once your meat reaches its target weight loss and firmness, you'll need to shift your focus to rinsing and drying the product. Remove the meat from the salt cure and place it under cold running water. Use a gentle flow to wash away all visible salt crystals without damaging the meat's surface. Be thorough in your rinsing, as any remaining salt deposits can make your final product too salty.
After rinsing, pat the meat dry with a lint-free towel to remove excess moisture. You'll want to hang your meat in a cool, dark space where the temperature stays between 38-45°F. Use cheesecloth or kitchen twine to maintain the meat's shape and guarantee proper air circulation during the drying phase.
Monitor the weight loss carefully – products like prosciutto should lose about 30% of their initial weight. Keep a close eye on the meat during this phase. Check regularly for any foul odors or signs of harmful bacterial growth. If you notice anything suspicious, discard the meat immediately.
Once your meat has dried sufficiently, you can slice and cook it, or store it in a cool, dry place. If it's still too salty, soak it in water for an hour before using.
Storage And Preservation
The long-term viability of your cured meat depends heavily on maintaining the right storage conditions. You'll need to keep your cured meat in a cool environment that doesn't exceed 64°F (18°C), as warmer temperatures can promote bacterial growth.
For most cured meats, refrigeration is essential, though thoroughly dried products like jerky and whole muscle salumi can be stored at room temperature.
You must seal your cured meat properly to maintain its freshness. Vacuum-sealing is the most effective method, greatly extending shelf life.
Once you've opened the package, you'll want to transfer any unused portions to airtight containers to prevent oxygen exposure and decomposition. Choose non-corrosive storage containers made of plastic or glass to avoid contamination.
To track your cured meat's storage life, label each package with the date it should be removed from storage.
You'll need to check your stored meat regularly for any signs of spoilage. While cured meats last longer than fresh cuts, they still require careful monitoring and consistent temperature control.
Keep your stored meat away from extreme conditions and maintain proper sealing to prevent contamination and preserve quality.
Frequently Asked Questions
Can I Reuse Leftover Curing Salt From Previous Meat Curing Projects?
You can reuse leftover curing salt if it's been stored properly in an airtight container. Just verify it's remained completely dry and hasn't been contaminated. Mix it well before using to redistribute the nitrites.
Why Does My Cured Meat Sometimes Develop White Spots During Aging?
Those white spots you're seeing are likely Penicillium Nalgiovense, a beneficial mold that's normal during aging. It's protecting your meat and helping with flavor development. Don't worry – it's completely safe.
How Do Different Meat Cuts Affect the Final Taste After Curing?
You'll find that thicker cuts develop deeper, richer flavors while thin cuts cure quickly but have milder tastes. Fat content's particularly important – fattier cuts become more flavorful and tender during curing.
What Happens if I Accidentally Use Iodized Salt for Curing?
Don't worry too much – using iodized salt won't ruin your meat. While it might leave a slight off-taste, there's no safety risk. For best results though, you should stick to non-iodized salt next time.
Should I Rotate the Meat's Position During the Curing Process?
Yes, you'll need to rotate your meat every 2-3 days during curing. This guarantees even salt distribution and prevents sticking. It'll help avoid spoilage spots and promote uniform curing throughout the meat.
In Summary
You've now mastered the basics of salt-box curing meat at home. With proper technique and patience, you'll achieve flavorful, well-preserved cuts that can last for months when stored correctly. Remember to maintain cleanliness throughout the process and always trust your senses when checking the meat's progress. Don't rush the curing time – good things come to those who wait.


Leave a Reply