Start your hot water bath pickling with a clean workspace and sterilized jars by boiling them for 10 minutes. Pack your vegetables tightly, leaving proper headspace for expansion, and pour hot pickling solution over them to guarantee complete coverage. Keep your water bath at a rolling boil (212°F) and maintain consistent temperatures throughout processing. Adjust your processing times based on altitude – add 5 minutes for every 1,000 feet above sea level. Don't forget to wipe jar rims clean before sealing, and finger-tighten bands just until resistance is felt. Let jars cool undisturbed for 24 hours before storage. These basics will set you up for success, but there's much more to mastering the art of pickling.
Preparing Your Workspace

You'll need to gather and organize all your canning tools before you begin. Set up your canning kit, including a funnel, jar lifter, bubble popper, measuring cups, and pickle grabber tongs. The canner's diameter should not extend more than 4 inches beyond your stove burner. Confirm each tool is clean and in good working condition, arranging them within easy reach of your workspace.
Select a proper canning pot made of stainless steel or enamel-coated steel, avoiding copper or aluminum materials that might react with acidic foods. Verify your pot has a sturdy canning rack and reliable handles.
Fill it halfway with clean, hot water, and keep extra hot water ready in a kettle. You'll want enough water to cover your jars by 1-2 inches, maintaining temperatures of 140°F for raw-packed foods or 180°F for hot-packed foods.
Position your pot where you can easily manage water circulation throughout the process.
Sterilizing Jars and Equipment
Proper sterilization kicks off the safe pickling process by eliminating harmful bacteria and microorganisms. Clean tea towels are essential for draining and storing sterilized equipment.
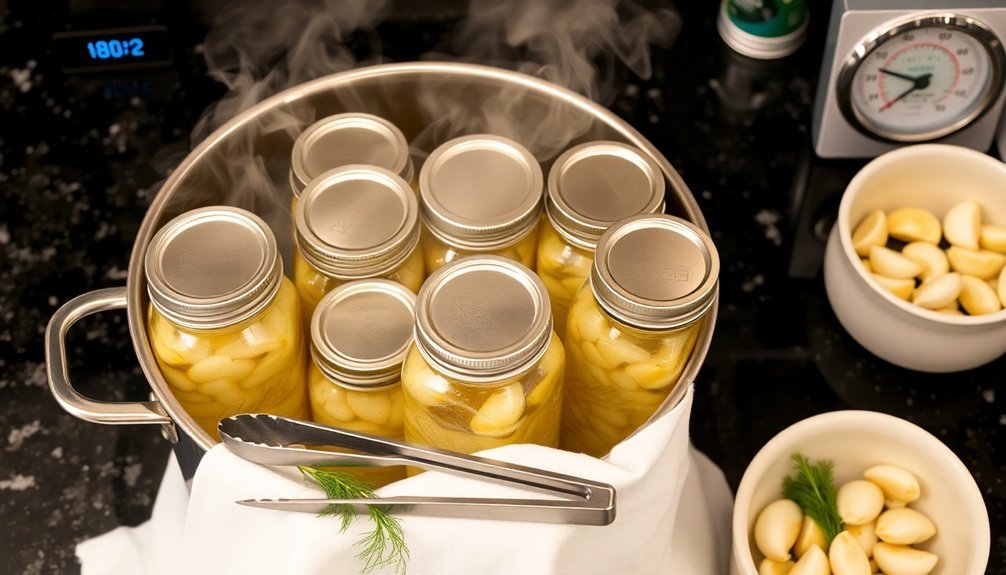
You'll need to place your clean jars upright in a boiling-water canner and fill them with hot water until it's 1 inch above the jar tops. Boil everything for at least 10 minutes, adding an extra minute for each 1,000 feet above sea level.
Don't forget about the lids – they're just as important as the jars. Place them in boiling water for 10 minutes, or follow the manufacturer's specific instructions. Some lids need different treatment, so always check the package guidelines.
For foods that'll process longer than 10 minutes in the water bath, you won't need to pre-sterilize your jars. However, if you're processing for less time, sterilization is essential for food safety.
- Use a jar lifter to remove hot jars one at a time to prevent burns
- Keep your sterilized jars hot until you're ready to fill them
- Save the sterilization water for processing your filled jars later
- Maintain a clean workspace to prevent contamination after sterilization
- Consider using your dishwasher's heated dry cycle to keep jars hot until use
Filling Techniques for Perfect Pickles
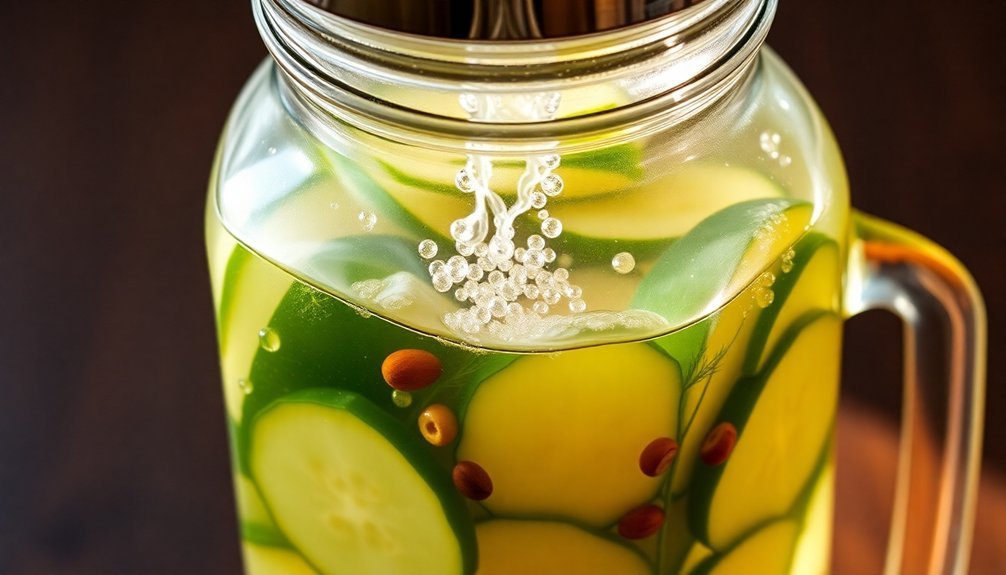
Pour your hot pickling solution over the packed vegetables using a ladle and canning funnel, ensuring complete coverage while maintaining proper headspace.
Once filled, wipe the jar rims with a clean, damp cloth to remove any residue. Using a sterilized table knife, remove air bubbles by sliding it along the jar's interior.
Place your lid on carefully, using a magnetic wand if you have one, and secure the band until it's fingertip-tight.
Don't overtighten, as this can prevent proper sealing during processing.
Temperature and Processing Times
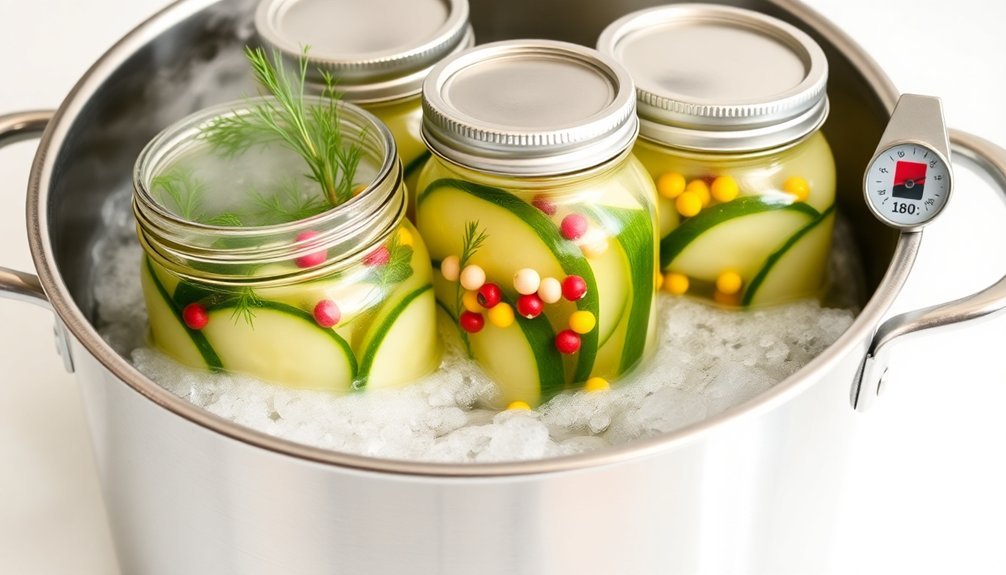
You'll need to maintain precise temperatures between 180-185°F for low-temperature pasteurization and 212°F for a full boiling water bath, using a reliable thermometer to monitor the heat consistently.
Processing times vary considerably based on your jar size, with pints generally requiring 10-15 minutes and quarts needing 15-20 minutes at standard altitudes.
If you're canning at elevations above 1,000 feet, you'll need to adjust your processing times upward by 5-10 minutes to guarantee safe preservation of your pickles.
Monitoring Water Bath Heat
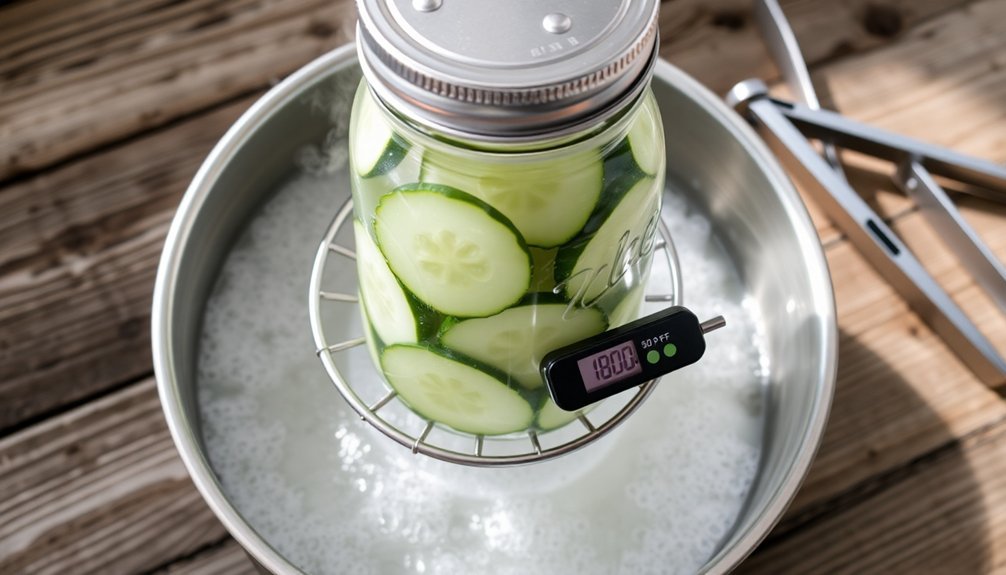
Maintaining precise temperature control stands as one of the most critical aspects of water bath pickling. You'll need to guarantee your water bath reaches a rolling boil before starting the processing time, then maintain it at least at 180°F (82°C) throughout.
It's crucial to use a reliable thermometer, like a Thermapen or candy thermometer, to monitor the temperature accurately. Remember that temperatures above 185°F can make your pickles unnecessarily soft.
For ideal results, keep the water level 1-2 inches above your jar tops and maintain a gentle boil once you've reached the initial vigorous boiling point. You'll want to keep a separate pot of boiling water ready to maintain the proper level in your canner.
Here are key points to remember for proper temperature monitoring:
- Use a leave-in alarm thermometer to alert you when the water reaches boiling
- Adjust processing times based on your elevation (add 2 minutes per 1,000 ft above sea level)
- Keep jars properly spaced in the canning rack for even heat distribution
- Monitor the thermal center of jars to verify proper temperature throughout
- Maintain a consistent temperature using a tight-fitting lid on your canner
Timing By Jar Size
Proper timing for jar sizes directly impacts the success of your water bath pickling process. You'll need to adjust processing times based on both jar size and product type. For standard pickles and jams, start with 10 minutes for 8-ounce jars, then add 5 minutes for each size increase.
| Jar Size | Basic Products | Dense Products |
|---|---|---|
| 8 oz | 10 minutes | 30 minutes |
| 16 oz | 15 minutes | 35 minutes |
| 32 oz | 20 minutes | 40 minutes |
When processing your jars, you'll need to guarantee they're covered by at least an inch of water. Don't start your timer until the water returns to a rolling boil after adding your jars. For denser products like tomato sauces, you'll need longer processing times – typically 30 minutes for 8-ounce jars. Remember that applesauce requires 15 minutes for 8-ounce jars, with 5-minute increases for larger sizes. After processing, let your jars rest in the canner for 5 minutes before removal. Always use a proper canning pot with a jar rack to prevent direct contact between jars and the pot's bottom.
Altitude Processing Adjustments
When pickling at higher altitudes, water boils at lower temperatures than the standard 212°F (100°C), which can throw off your preservation efforts. Since barometric pressure drops as elevation increases, you'll need to adjust your processing times to guarantee food safety. For every 1,000 feet above sea level, the boiling point decreases by 1°F, requiring longer processing times to achieve proper sterilization.
Follow these altitude-based time adjustments for safe pickling:
- Add 5 minutes to processing time at 1,001-3,000 feet
- Add 10 minutes at 3,001-6,000 feet
- Add 15 minutes at 6,001-8,000 feet
- Add 20 minutes above 8,000 feet
- Monitor water temperature with a thermometer throughout processing.
If your adjusted processing time exceeds 45 minutes, don't use a steam canner – switch to water bath or pressure canning methods instead. Remember to sterilize your jars appropriately for your altitude by boiling them for 10 minutes plus 1 minute per 1,000 feet above sea level.
Always maintain a gentle boil during processing, and guarantee your water bath reaches 180°F (82°C) before starting your timer.
Proper Jar Sealing Methods
Successful jar sealing stands as the cornerstone of safe food preservation. You'll need to carefully prepare your jars by wiping their rims and threads with a clean, damp cloth. For sticky residue, add white vinegar to your cleaning routine to guarantee spotless surfaces that won't compromise the seal.
| Step | Action | Purpose |
|---|---|---|
| 1 | Clean rims with damp cloth | Remove food residue |
| 2 | Center lids on jars | Create proper contact |
| 3 | Tighten rings fingertip-tight | Allow oxygen venting |
| 4 | Process in boiling water | Achieve proper seal |
When placing lids, use a magnetic wand if you have one, and secure the rings until you meet resistance – don't overtighten. You'll want to process your jars in the canner with 1-2 inches of water covering them, following your recipe's timing precisely.
After processing, let the jars rest in the canner for 5 minutes, then transfer them to a cooling rack. Don't rush the cooling process – wait 24 hours before testing the seals. You'll know they're properly sealed when the lids don't flex when pressed. Remove the rings for storage and keep your preserved goods in a cool, dark place.
Altitude Adjustments When Canning
If you're canning at higher altitudes, you'll need to increase your processing times to account for water's lower boiling point.
At sea level, water boils at 212°F, but this temperature drops about 2°F for every 1,000 feet in elevation gain, making it harder to kill harmful bacteria.
You'll need to add 5 minutes of processing time for every 1,000-3,000 feet above sea level to guarantee your preserved foods are safe to eat.
Processing Times Above Sea
Living above sea level requires essential adjustments to your canning process since water boils at lower temperatures as altitude increases. At sea level, water boils at 212°F, but for every 1,000 feet elevation gain, you'll need to compensate for the roughly 2°F decrease in boiling temperature to guarantee food safety.
You'll need to increase your processing times based on your altitude:
- Add 5 minutes for altitudes between 1,001-3,000 feet
- Add 10 minutes when you're at 3,001-6,000 feet
- Add 15 minutes for elevations of 6,001-8,000 feet
- Add 20 minutes if you're between 8,001-10,000 feet
- For jellied fruits, add 1 minute per 1,000 feet above 1,000 feet
If you're processing recipes that take less than 20 minutes at sea level, add 5 minutes when you're between 1,001-6,000 feet.
Remember that steam canners won't work for processing times over 45 minutes – switch to a water bath canner instead. For high-altitude canning above 45 minutes, pressure canning might be your best option, but you'll need to adjust the pressure settings accordingly.
Higher Altitudes Need Longer
Building on our altitude processing times, it's important to understand why higher elevations demand longer canning times. At higher altitudes, you'll face lower atmospheric pressure, which causes water to boil at temperatures below the standard 212°F (100°C). This lower boiling point means you'll need to process your foods longer to achieve safe preservation.
When you're canning at elevations above sea level, you must increase your processing times to compensate for the reduced temperature. For example, if you're pickling at 10,000 feet, water boils at just 200°F (93.3°C), requiring significant time adjustments to guarantee you've killed harmful bacteria like Clostridium botulinum.
You'll need to check your specific altitude and adjust accordingly using USDA guidelines or local extension service recommendations.
Make sure your equipment can handle these extended processing times. If you're using a steam canner, you might need to switch to a water bath canner for longer processes.
Don't forget to leave extra headspace in your jars, as the expanded steam at higher altitudes requires more room to prevent contents from erupting during processing.
Safe Storage Practices
Proper storage practices play an essential role in maintaining the safety and quality of your pickled foods. After removing your jars from the canner, let them cool undisturbed on a towel or cooling rack for 12-24 hours.
You'll need to check each jar's seal by pressing down on the lid's center – it should be firm and not pop up. Remove the screw bands to prevent rust once you've confirmed proper sealing.
Store your sealed jars in a cool, dark place away from direct sunlight and moisture. You'll want to maintain consistent temperatures to preserve flavor and texture for up to one year.
Don't stack jars directly on top of each other, and remember to label them with contents and canning dates for easy identification.
Key storage practices you can't ignore:
- Check seals by pressing lid centers – they shouldn't flex up and down
- Keep storage areas clean, dark, and temperature-consistent
- Inspect jars periodically for signs of spoilage like mold or odd colors
- Remove screw bands after confirming proper seals
- Label everything with contents and dates for proper rotation
Remember to discard any jars showing signs of spoilage, such as off smells, swollen lids, or unusual coloring.
Frequently Asked Questions
Can I Reuse the Brine From a Previous Batch of Pickles?
You shouldn't reuse brine for canned pickles as it's unsafe, but you can use it for refrigerator pickles. Just add fresh vinegar, boil the brine first, and consume within a few weeks.
What Causes Pickles to Become Hollow or Shriveled During Processing?
Your pickles can become hollow if you delay processing or use overripe cucumbers. They'll shrivel if you use too strong a brine solution or overcook them. Always process fresh cucumbers within 24 hours.
How Long Should I Wait Before Tasting My Newly Canned Pickles?
You'll get the best flavor if you wait at least 2 weeks before tasting your pickles. While you can try them after 3-4 days, patience pays off as the flavors continue to develop over time.
Why Do My Homemade Pickles Taste Less Crisp Than Store-Bought Ones?
Your homemade pickles may be less crisp because you're using regular cucumbers instead of pickling varieties, or you've over-processed them. Commercial producers use calcium chloride and specialized equipment to maintain crunchiness.
Can I Use Table Salt Instead of Pickling Salt for My Recipes?
While you can use table salt, it's not ideal. You'll get cloudy brine and possible off-flavors from anticaking agents and iodine. For best results, stick with pickling salt or pure kosher salt instead.
In Summary
You'll find hot water bath pickling to be both rewarding and safe when you follow these essential steps carefully. Don't skip any safety measures – from proper sterilization to accurate processing times. Remember to adjust for your altitude and always check seals before storage. With these fundamentals mastered, you're ready to create delicious, shelf-stable pickled foods that you can enjoy year-round.


Leave a Reply