You can make fresh butter at home using five different methods to match your available tools and preferences. The classic butter churn method offers a traditional approach, while a mason jar provides a simple shake-and-wait technique. If you've got modern appliances, try your stand mixer with whisk and flat beater attachments, or use a food processor for quick results. For a no-frills option, hand whisking works perfectly with just a bowl and whisk. Each method transforms heavy cream into butter through agitation, separating the fat solids from buttermilk. Let's explore these butter-making techniques in detail.
The Classic Butter Churn Method
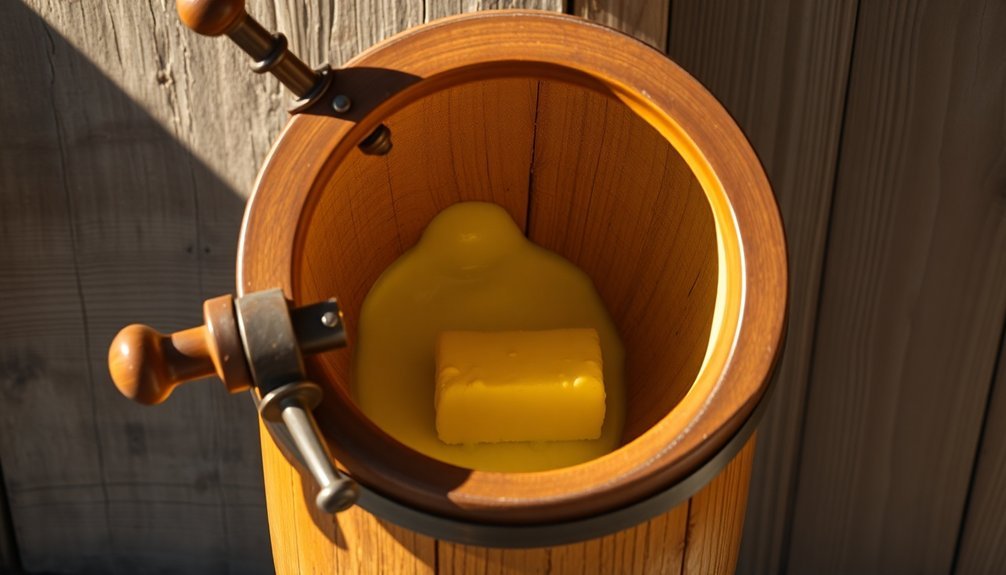
The classic butter churn method connects you to centuries of traditional butter-making techniques while producing fresh, homemade butter.
Before you begin, let your heavy cream reach room temperature (60-65°F) for ideal churning conditions, which typically takes a few hours.
Start by filling your wooden or manual butter churn about ¾ full with the cream. You'll need to maintain a steady, rhythmic motion as you operate the plunger or crank. The process can take anywhere from 10 minutes to three hours. Saving the strained buttermilk for other recipes is a smart way to reduce waste in your kitchen.
You'll notice the cream first turning into whipped cream, then gradually forming fat solids that separate from the buttermilk.
Watch for key signs that indicate you're making progress: the cream will fluff up, develop air pockets, and the churning will become more challenging.
Once you've achieved separation, strain the mixture through a cheesecloth or fine-mesh sieve. Wash the butter thoroughly with ice-cold water until it runs clear, using a butter paddle to work out any remaining buttermilk.
For the final step, you can mix in sea salt if desired, then store your butter in an airtight container or freeze it for later use.
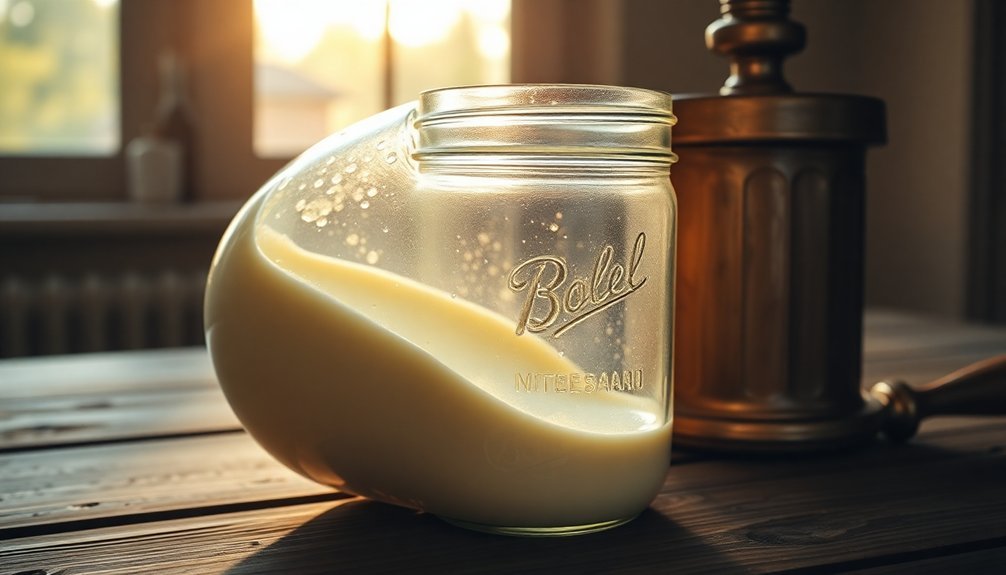
Mason Jar Butter Making
Making butter in a mason jar offers a simple, accessible alternative to traditional churning methods. You'll need high-fat heavy cream (at least 38% fat), a mason jar with a tight-fitting lid and sealing ring, and optionally, a pinch of salt. This recipe typically yields approximately one cup of butter.
Fill your jar halfway with cream to allow room for proper agitation during the shaking process.
Once you've secured the lid, start shaking the jar vigorously. You'll notice the cream transform through distinct stages: after about 3 minutes, it becomes whipped cream; at 6 minutes, you'll see small granules forming; and around the 10-minute mark, you'll achieve the final separation of butter and buttermilk.
After the butter forms, pour off the buttermilk and save it for other uses.
Place your butter in a bowl and rinse it thoroughly with cold water until the liquid runs clear. You can use cheesecloth or a clean dish towel to squeeze out any remaining liquid.
Shape your butter into your preferred form, add salt if desired, and wrap it well for storage. You can keep it in the refrigerator or freeze it for later use.
Stand Mixer Butter Technique
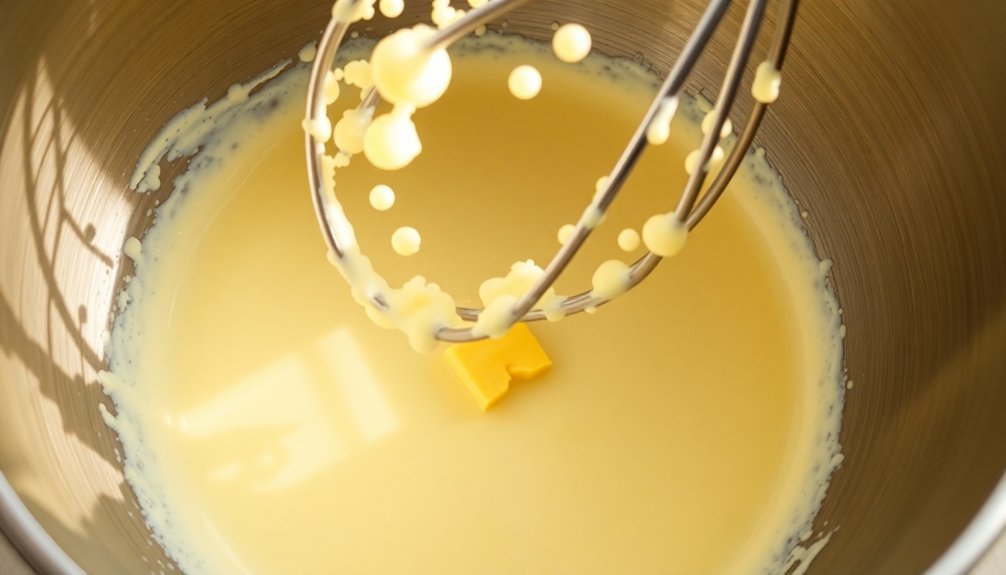
Creating homemade butter with a stand mixer provides an efficient way up to scaling your butter production. You'll need a stand mixer with whisk and flat beater attachments, heavy cream, and a few basic kitchen tools to get started. This method consistently produces pure, high-quality butter similar to store-bought.
Begin by pouring 16 ounces of heavy cream into your mixer bowl. Start with the whisk attachment on low speed, then gradually increase to medium as the cream thickens.
Once you've reached the soft peak stage, switch to the flat beater attachment. Cover your mixer with a kitchen towel to prevent splashing, then increase the speed to medium-high.
Continue mixing for 4-5 minutes until you see the cream separate into butter and buttermilk. You'll know it's ready when solid butter chunks form and separate from the liquid buttermilk.
Pour the mixture through a fine-mesh sieve or cheesecloth to drain off the buttermilk.
Wash your butter thoroughly under cold water, pressing out any remaining liquid until the water runs clear.
Shape your butter into your desired form, and if you'd like, add sea salt or herbs for extra flavor. Your homemade butter is now ready to use.
Food Processor Butter Creation
Transforming cream into butter becomes remarkably simple with a food processor, offering a quicker alternative to traditional churning methods.
You'll need heavy cream that's slightly cooler than room temperature, a food processor, and materials for straining and rinsing.
Pour your cream into the food processor and let it run continuously. You'll notice the cream progressing through stages – first whipping, then thickening, and finally separating into butter and buttermilk after about 3-5 minutes.
Stop once or twice to scrape down the bowl if needed.
Once you've achieved separation, strain the mixture through a cheesecloth or coffee filter to collect the butter.
You'll want to squeeze out any remaining buttermilk, then rinse the butter thoroughly with cold water until it runs clear.
Give the butter a final 20-30 second spin in the processor to form it into a cohesive ball.
If you're using salt, work it in now.
Shape your butter and wrap it for storage – you can even freeze it for later use.
The buttermilk you've collected can be used like skim milk, though it's not a substitute for cultured buttermilk in recipes.
Hand Whisking Your Butter
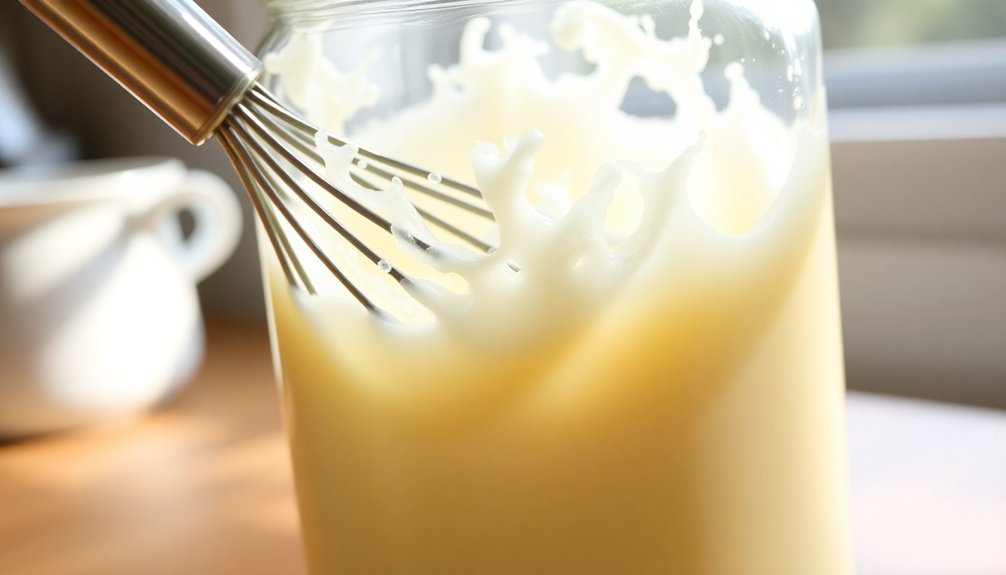
Three simple tools – a whisk, a large bowl, and some patience – are all you'll need to hand-whisk your own butter.
Start with cold heavy cream if you're making traditional butter, or let it reach room temperature if you're adding cultured buttermilk for enhanced flavor. Pour your cream into a large mixing bowl, keeping in mind that 32 ounces of cream will yield about 14 ounces each of butter and buttermilk.
Begin whisking at a steady pace, working in circular motions while periodically scraping down the bowl's sides. You'll notice the cream thickening as you whisk, eventually forming stiff peaks.
Keep whisking until you see the cream break and separate into solid butter and liquid buttermilk. This process can be physically demanding and may take longer than other methods.
Once separation occurs, drain the buttermilk and rinse your butter with cold water. Press the butter firmly to remove any remaining liquid.
Shape your finished butter as desired – many prefer forming it into cylinders – and wrap it in wax paper or plastic wrap. Store in your refrigerator or freezer for later use.
Frequently Asked Questions
Can I Use Half-And-Half Instead of Heavy Cream to Make Butter?
No, you can't use half-and-half to make butter because it doesn't have enough fat content. You'll need heavy cream with at least 36% fat, while half-and-half only contains 10.5-18% fat.
What Causes Butter to Turn Rancid Too Quickly?
Your butter can turn rancid quickly if it's exposed to oxygen, light, heat, or metals. Poor storage conditions, high water content, and bacterial contamination from unclean equipment will also speed up rancidity.
Why Does My Homemade Butter Look Paler Than Store-Bought Butter?
Your homemade butter looks paler because your cream likely comes from cows fed mainly hay and grains. Store-bought butter's yellower color often comes from grass-fed cows or added colorants by manufacturers.
Can I Flavor My Butter With Herbs During the Churning Process?
No, you can't add herbs during churning as it'll disrupt the fat separation process. Wait until after you've churned and washed the butter, then blend in your chosen herbs for even distribution.
How Do I Fix Butter That's Too Soft or Too Hard?
If your butter's too soft, roll it in flour, mix with ice cubes, or refrigerate briefly. For hard butter, let it sit at room temperature, use microwave residual heat, or place under a warm bowl.
In Summary
Now you're equipped with five foolproof methods to make fresh butter at home. Whether you've chosen the traditional churn, a simple mason jar, your stand mixer, food processor, or hand whisk, you'll find that homemade butter tastes far superior to store-bought versions. Don't forget to save the buttermilk for other recipes. With these techniques, you'll never need to buy butter from the store again.
Leave a Reply