Traditional fruit preserving combines simple ingredients with time-tested techniques you'll find surprisingly achievable. You'll need basic tools like glass jars, new lids, and a large pot for water bath canning. Choose ripe but firm seasonal fruits, and don't forget sugar's essential role in both flavor and preservation. You can preserve fruits through sweet syrup methods, sun drying, or fermentation – just like your grandmother did. Proper sterilization and storage techniques guarantee your preserves last through winter. Whether you're craving summer berries in December or autumn plums in spring, these classic methods hold the key to year-round fruit enjoyment.
Ancient Roots of Fruit Preservation
When we look back at the origins of fruit preservation, we find its roots deeply embedded in ancient civilizations.
You'll discover that both honey and sugar played essential roles in these early preservation methods, with ancient Greeks pioneering the practice of keeping fruits in honey, particularly quince. The Romans later refined this technique by cooking the quince and honey together, creating a more solid preserved product.
You can trace the evolution of these methods through ancient trade routes, as merchants brought sugar cane from India and the Orient to Europe. The science behind this preservation technique is fascinating – sugar effectively kills harmful microbes through plasmolysis, drawing out their water content. Ancient food preservation was crucial for the survival and formation of early communities.
Around 500 BC, traders began creating the first real jams by pulverizing overripe fruit and boiling it with honey.
If you'd explored an ancient Roman kitchen, you'd find one of the earliest cookbooks, De Re Coquinaria, which included detailed jam recipes.
These preservation methods weren't just about survival; they represented significant culinary advancement. As civilizations developed, they adapted these techniques to their local conditions, with northern Europeans using heat and sugar to preserve fruits in regions with limited sunlight.
The Magic of Sun Drying
Throughout the ages, sun drying has emerged as one of nature's most ingenious methods for preserving fruit. You'll need temperatures above 85°F and humidity below 60% to successfully dry your fruits, along with steady airflow and direct sunlight exposure. Glass jars and food-grade plastic containers are ideal for storing your dried fruit.
Before you begin, wash your fruits thoroughly and decide whether to dry them whole or sliced. If you're working with light-colored fruits, you'll want to pretreat them with ascorbic acid or honey dip to prevent darkening.
Cover your drying trays with cheesecloth to protect the fruit from insects, and remember to turn the pieces once daily for even drying.
Once your fruit reaches the ideal 15-20% moisture content, you'll need to pasteurize it. You can do this by freezing at 0°F for 48 hours or heating in an oven at 160°F for 30 minutes.
Next, condition the fruit by packing it loosely in jars to check for excess moisture.
When done correctly, you'll have preserved fruits that can last up to five years, with their nutrients intact and flavors intensified. It's an environmentally friendly method that requires no fossil fuels and helps reduce food waste while maintaining the fruit's natural goodness.
Basic Tools and Equipment
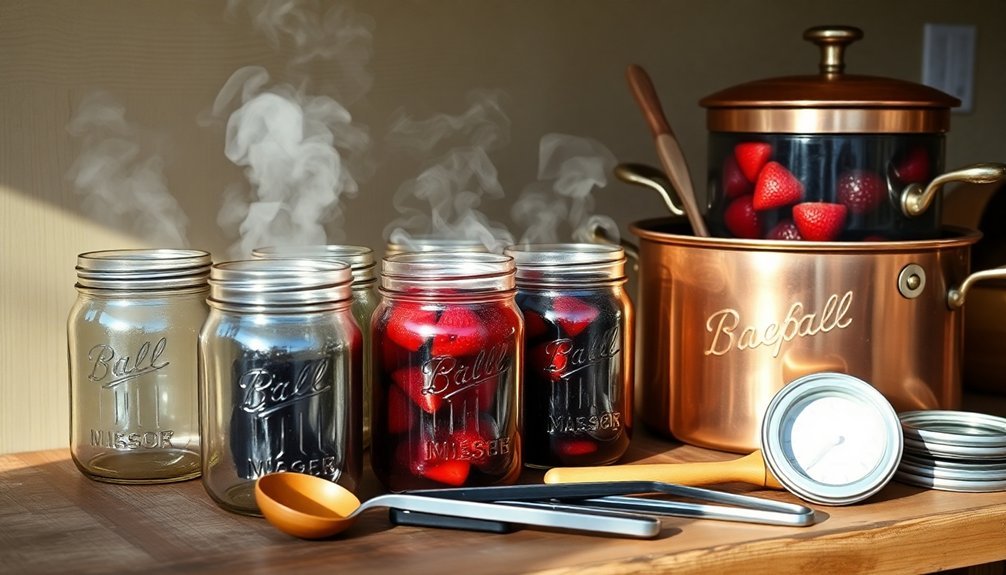
Before diving into fruit preservation, you'll need to gather the right tools and equipment to ensure safe, successful results. Start with essential canning vessels, including chip-free glass jars, new lids with gaskets, and a reliable canning funnel to prevent spills.
You'll also need a jar lifter for safe handling and a bubble remover to guarantee proper headspace.
Your cooking equipment should include large stainless steel pots that stand at least 3 inches taller than your jars, plus a saucepan for making preserves and a stockpot for sterilization. Lid racks are essential for properly sterilizing your canning lids before use.
Don't forget a colander and cheesecloth for straining fruits.
For precise measurements, you'll want a reliable scale, measuring cups, and spoons.
Your preparation tools should include a cutting board, sharp knives, peeler, and a heat-resistant spatula. These items will help you process fruits efficiently and minimize waste.
Finally, you'll need either a water bath canner or pressure canner with a secure rack and lid.
Keep screw bands and two-piece lids ready, and prepare labels for your finished jars.
Remember to designate a cool, dry storage area for your preserved fruits once they're sealed and labeled.
Choosing Perfect Preserving Fruits
Selecting the perfect fruits for preservation can make or break your preserving project. You'll want to focus on fruits that are ripe but not overripe, ensuring they're firm enough to withstand your chosen preservation method. For canning, slightly underripe fruits often work better as they'll maintain their shape throughout the process.
When you're choosing fruits, flavor intensity and balance should be your top priority. You'll need fruits with robust flavors that won't fade during preservation. Berries and stone fruits are excellent candidates when they're firm and slightly underripe, while apples and pears should be ripe but still maintain their firmness.
Consider the seasonality of your fruits to get the best results. You'll find cherries are perfect for canning in summer months, while plums are ideal in late summer or fall. Berries are best preserved during their peak summer season, and citrus fruits offer year-round preservation options.
Each fruit type has its ideal preservation method – berries work well for freezing, canning, or drying, while stone fruits excel in freezing and canning. Apples are particularly suitable for canning and drying, and plums are versatile enough for multiple preservation methods.
Sugar's Role in Preservation
Sugar's natural antibacterial properties let you effectively preserve fruits while enhancing their flavor and texture.
When you add sugar to fruit, it creates a high-concentration environment that draws moisture out through osmosis, making it impossible for harmful bacteria to survive and multiply.
You'll find that different sugar concentrations affect preservation levels, with higher amounts providing better protection against spoilage and longer shelf life.
Natural Antibacterial Properties
The natural ability of sugar to fight bacteria makes it a powerful preservative in traditional fruit preparation. When you add sugar to fruits, it creates an environment where harmful microorganisms can't thrive by reducing the water available to them. This process, known as osmosis, has been trusted by generations of home preservers to keep their fruit products safe and delicious.
Sugar works alongside the natural acids in fruits to create multiple barriers against spoilage. You'll find that when you combine sugar with pectin, it forms a thick, gel-like consistency that further inhibits bacterial growth. This is why your grandma's jams and jellies could stay fresh for months without artificial preservatives.
Here are three visual signs that sugar is actively preserving your fruit:
- Clear syrup forming around preserved fruits, indicating proper sugar concentration
- Firm, plump fruit pieces that maintain their shape without shrinking
- A glossy sheen on jams and preserves, showing the right sugar-pectin interaction
In fermented preparations, sugar takes on an additional role by encouraging the production of beneficial compounds like organic acids and alcohol, which act as natural preservatives.
Sugar Concentration Effects
Building on sugar's antibacterial properties, proper concentration levels play a primary role in successful preservation. You'll need to achieve about 60% sugar concentration in your finished fruit products to guarantee effective preservation, though you can reach up to 67.89% with saccharose in the liquid phase.
When you're preserving fruits, sugar works by reducing water activity below levels where microbes can thrive.
You're creating an inhospitable environment for unwanted bacteria, yeasts, and molds when you use sugar as a preservative. It's particularly effective because it absorbs available moisture, making it impossible for most microorganisms to survive and reproduce. This principle has been used since ancient times, when civilizations like the Akkadians and Greeks used honey for preservation.
When you're making preserves, jams, or jellies, you'll find that sugar doesn't just prevent spoilage – it also helps maintain the fruit's natural color and prevents enzymatic browning.
You can maximize these benefits by following the traditional method of using equal weights of sugar and fruit, creating a thick syrup that protects your preserved foods while enhancing their natural flavors.
Dehydration Through Osmosis
Understanding osmotic dehydration is vital for successful fruit preservation, as this two-stage process removes moisture through both osmosis and subsequent drying. When you immerse fruit in a sugar solution, the osmotic agent draws water from the fruit while protecting its cellular structure. This gentle process, conducted at ambient temperatures, helps maintain the fruit's original characteristics while creating an environment that inhibits microbial growth.
You'll find that sugar plays multiple important roles in preserving your fruits:
- It forms a protective barrier around fruit cells, preventing them from collapsing and becoming mushy.
- It replaces water content while maintaining the fruit's natural color and shape.
- It reduces water activity to a level where harmful microorganisms can't thrive.
You can apply this preservation method through various techniques, including sugar syrup packs for canning or freezing. For best results, maintain temperatures around 40°C with a sugar concentration of 40°Brix.
Whether you're preserving blueberries, cranberries, or other fruits, this method will help retain nutritional value, vitamins, and minerals while extending shelf life considerably. The process works particularly well when combined with other preservation methods like canning or bottling.
Natural Pectin Sources
Natural pectin plays an essential role in successful fruit preservation, with several common fruits offering abundant sources of this vital gelling compound.
You'll find the highest concentrations in green apples, citrus peels, and crabapples, while cranberries, currants, and concord grapes also provide significant amounts.
To make your own pectin, you can use the often-discarded parts of these fruits. If you're working with apples, collect the peels and cores, then combine 2 pounds of these parts with 4 cups of water.
For citrus-based pectin, focus on the white pith and seeds rather than the outer peel. Simmer your chosen mixture for about 40 minutes until the fruit softens completely, then strain to collect the liquid.
You'll need to use your homemade pectin right away or preserve it for later use. Store it in the refrigerator for up to a week, or freeze it for six months.
If you prefer canning, process your pectin in sterilized jars with proper headspace – 1/4 inch for apple-based and 1/2 inch for citrus-based – then store in a cool, dark place for up to a year.
Sterilization and Safety Measures
You'll need basic sterilization equipment including a large pot for boiling, clean glass jars with new lids, tongs, and a jar lifter to safely handle hot containers.
Before preserving fruit, thoroughly wash and sterilize your jars in boiling water for at least 10 minutes, ensuring they're completely submerged.
Keep your preserves safe by maintaining precise temperature control during processing – use a reliable thermometer and follow recommended processing times based on your altitude and the type of fruit you're preserving.
Essential Equipment and Tools
For successful fruit preserving, proper equipment and sterilization practices form the foundation of food safety. You'll need both basic canning tools and sterilization equipment to guarantee your preserved fruits remain safe and delicious. A water bath canner is essential for high-acid fruits, while you'll want a pressure canner for low-acid varieties.
Don't forget quality canning jars with secure lids and bands to create proper seals. Your sterilization toolkit should include specialized equipment for safe handling and processing. Make sure you've got a reliable jar lifter to handle hot containers and a bubble remover to achieve proper headspace.
Always maintain correct pH levels and follow precise processing times to eliminate harmful microorganisms.
- Picture your spotless workspace with gleaming sterilized jars lined up on their rack, ready for filling.
- Visualize steam rising from your water bath canner as you carefully lower filled jars using your jar lifter.
- Imagine the satisfying 'ping' sound as each jar lid seals properly during cooling.
Remember to verify seals after processing and maintain a clean environment throughout. You'll find that investing in proper tools and following sterilization protocols will guarantee your preserved fruits remain safe and flavorful.
Jar Cleaning Procedures
Building on proper equipment selection, thorough jar sterilization stands as the cornerstone of safe fruit preserving.
You'll need to start by washing all jars and lids with hot, soapy water, even if they're new and appear clean. Don't dry them with tea towels, as these can introduce unwanted lint and bacteria.
You've got two reliable methods for sterilization. The boiling water method requires you to submerge your jars and lids in water by at least one inch, then maintain a rolling boil for 10 minutes.
Alternatively, you can use the oven method by preheating to 275°F and placing wet, clean jars on a baking tray for 10 minutes while soaking the lids in boiling water.
When you're ready to fill your jars, keep them warm to prevent breakage from temperature shock. Fill them with hot ingredients, leaving 5mm of headspace at the top.
Seal the lids tightly and let them cool completely – you'll know they're properly sealed when the lids invert or the button pops down.
Remember to store your preserved fruits in a cool, dark place and refrigerate after opening.
Temperature Control Guidelines
Precise temperature control serves as the foundation of safe fruit preservation. You'll need to verify your fruit reaches and maintains specific temperatures throughout the preservation process to eliminate harmful microorganisms, particularly *C. botulinum* spores.
For acidic fruits with a pH below 4.6, you can process them at temperatures slightly under 100°C, while non-acidic foods require temperatures above 100°C for safe preservation.
When preserving fruits in sugar syrup, you must:
- Completely submerge the fruit in the syrup solution, creating a protective barrier against microbial growth
- Monitor the sugar concentration carefully, as it directly impacts preservation effectiveness
- Store the preserved fruit in a cool environment to maintain quality and prevent spoilage
Remember that different preservation methods require varying temperature controls.
The size of your jars, fruit viscosity, and initial temperature all influence the processing time needed to reach the critical 100°C core temperature.
You'll need to adjust your heating times accordingly and always verify that the center of each jar reaches the proper temperature to verify safe, long-lasting preservation of your fruits.
Home Canning Essentials
Successful home canning starts with having the right equipment and tools at your disposal.
You'll need a large pot or water bath canner equipped with a sturdy rack to keep your jars from touching the bottom. If you're planning to can low-acid foods, you'll also need a pressure canner with a working vent, sealing ring, and pressure gauge.
Mason jars are your primary vessels, and you'll want them in various sizes along with new lids and rings for each use.
Don't forget essential tools like a jar lifter for safe handling and a headspace measuring tool to guarantee proper filling levels. A wide-mouth funnel will help you fill jars cleanly, while a ladle assists with transferring hot liquids.
You'll find a magnetic lid wand invaluable for handling wet lids safely, and a bubble popper helps remove trapped air that could compromise your preserves.
For the actual processing, you'll need a sterilizing rack for your lids and a proper canning rack sized to your pot.
Once processed, let your jars cool undisturbed on a towel, and store them without rings to prevent false seals.
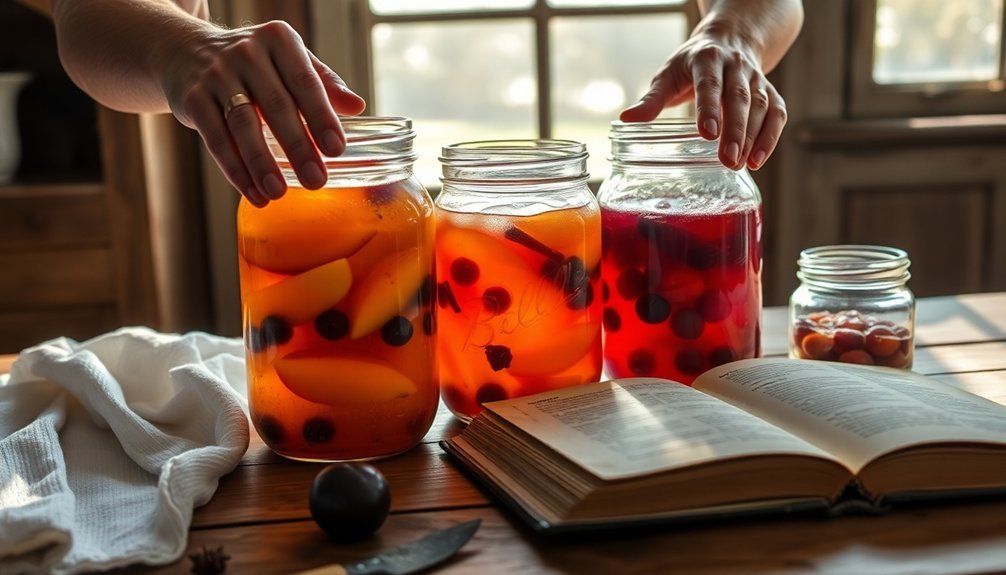
Fruit and Vinegar Combinations
Now that you've gathered your canning equipment, it's time to explore the powerful preservation duo of fruit and vinegar. This time-tested method not only extends your fruit's shelf life but also creates unique flavor profiles that you'll love.
Whether you're preserving berries, grapes, or other fruits, vinegar's natural antimicrobial properties help keep your harvest fresh while adding a delightful sweet-and-sour taste.
You'll find two main approaches to using vinegar with fruit. First, there's the quick vinegar bath method, where you'll soak fresh fruit in a solution of water and 1/4 cup vinegar to extend its freshness.
Second, there's traditional pickling, which involves complete immersion in vinegar for long-term storage.
For the best results, remember these key visual indicators when preserving:
- Fruit should be fully ripe but firm, with vibrant natural colors
- Your vinegar solution should completely cover the fruit with no air pockets
- The final preserved fruit should maintain its shape without becoming mushy
Store your vinegar-preserved fruits in a cool, dark place, and they'll maintain their quality for 6-8 months, especially when refrigerated.
Remember to check the flavor periodically, even if there's no visible spoilage.
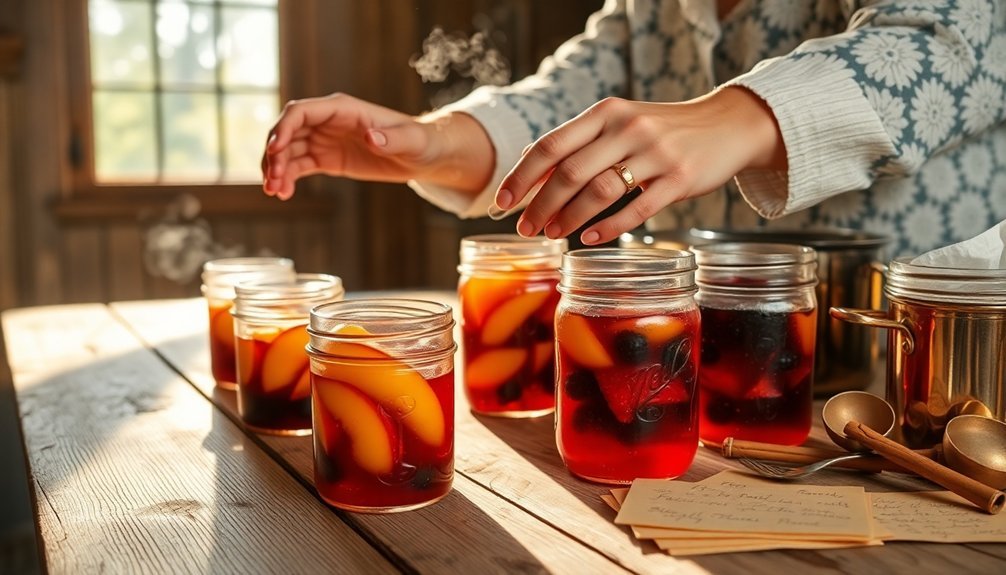
Sweet Syrup Preservation Methods
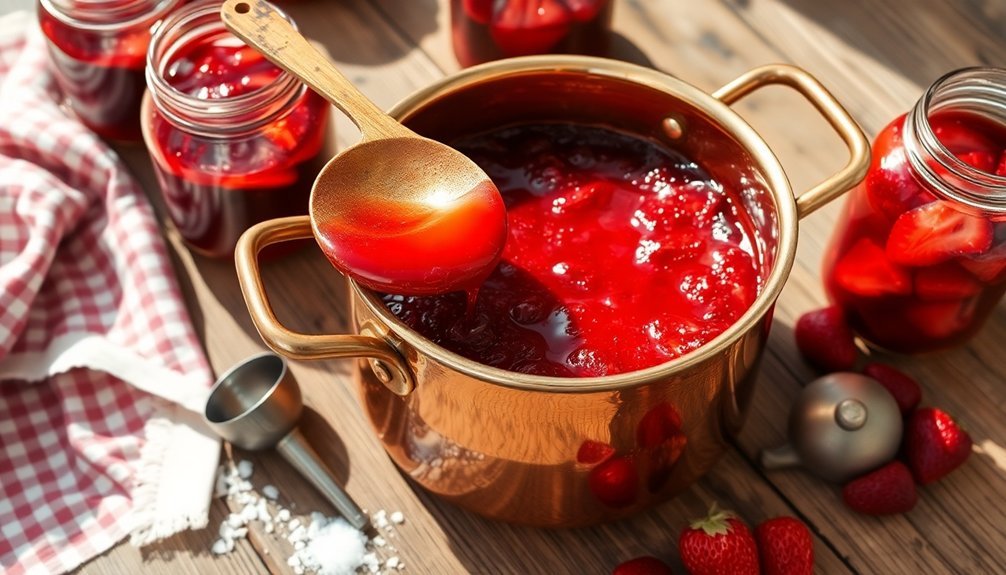
Building on centuries of preservation wisdom, sweet syrup methods offer one of the most reliable ways to preserve fruit's natural flavors and textures. You'll need to start by preparing your syrup, combining water and sugar in various concentrations depending on your desired sweetness. For added variety, you can substitute up to half the sugar with light corn syrup or honey, or even use fruit juices as your base.
| Fruit Type | Preparation Method | Syrup Coverage |
|---|---|---|
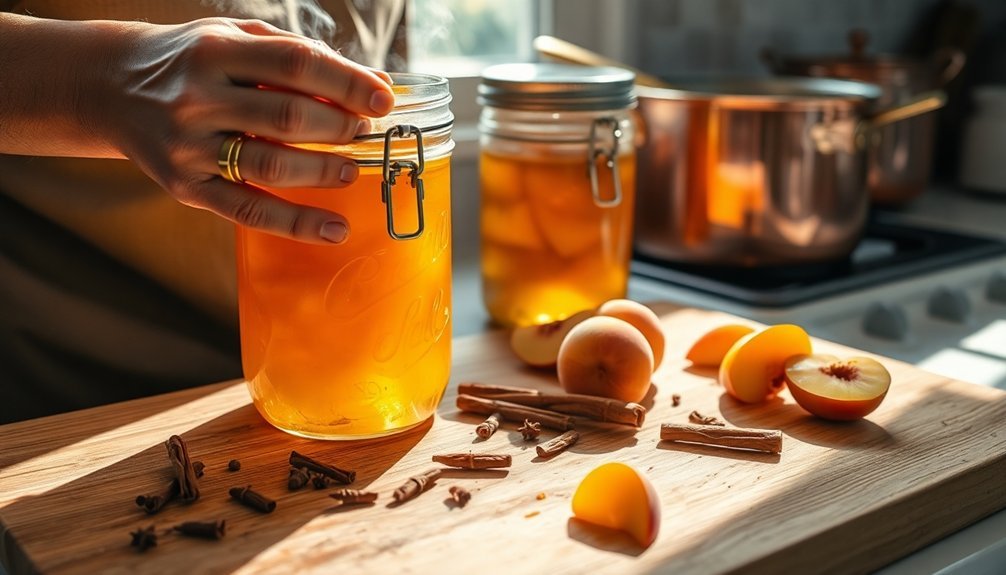
| Peaches | Pit and slice | Complete immersion |
| Apricots | Halve and pit | No air pockets |
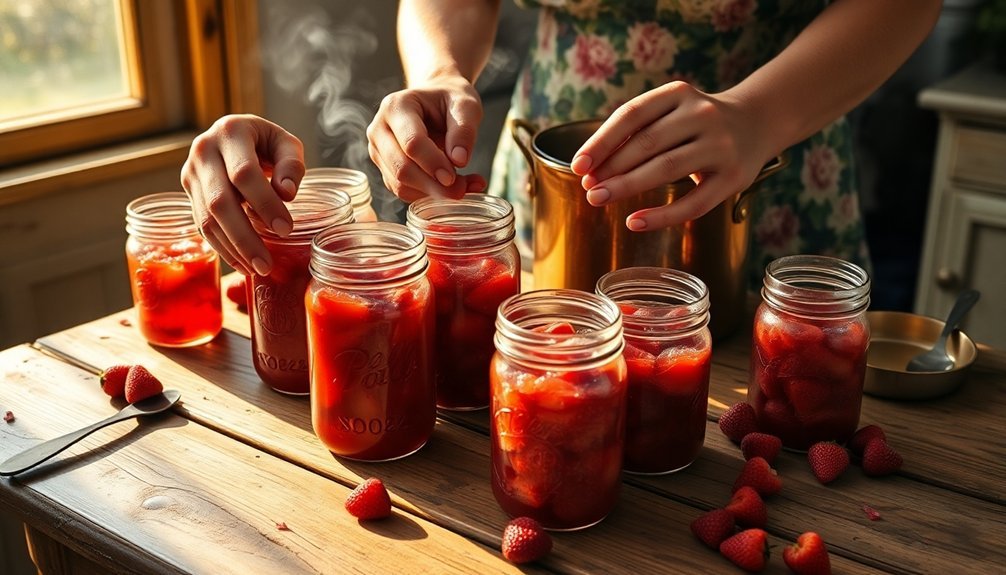
| Strawberries | Hull and clean | Full coverage |
| Cherries | Pit if desired | Top to bottom |
| Pears | Quarter and core | Total submersion |
Your success depends on proper sterilization. Start by washing and boiling your jars for 20-30 minutes, adding lids for the final 10 minutes. Once you've filled your jars with fruit and syrup, leaving 1/2 inch headspace, seal them tightly and process through boiling. Store your preserved fruit in a cool, dark place, where it'll keep for up to 3 months when properly sealed.
Fermented Fruit Preservation
When you're looking to preserve fruit while enhancing its nutritional value, fermentation offers a natural way to create probiotic-rich foods that can last for weeks in your refrigerator.
You'll start by submerging fresh fruit in filtered water with a starter culture, keeping the fruit weighted down to prevent mold growth during the fermentation period of 4-6 days.
Throughout the process, you'll need to monitor for proper fermentation signs, such as a pleasantly sour taste and firm texture, while watching for any warning signs like mold or off-putting smells that indicate spoilage.
Benefits of Fruit Fermentation
Fruit fermentation stands as one of the most effective preservation methods while offering remarkable health benefits. You'll be pleased to know that fermented fruits can last for months in your refrigerator and up to six months in your freezer while maintaining their nutritional value.
The process creates an acidic environment that naturally protects against harmful bacteria, ensuring your preserved fruits stay safe to eat.
When you ferment fruits, you're not just preserving them – you're enhancing their nutritional profile. The process retains more vitamins than heat treatment and can even generate new beneficial compounds.
You'll gain additional nutrients like vitamin B12 and probiotics that support your gut health and immune system.
Here's what you can expect from properly fermented fruits:
- A complex flavor profile with balanced sweetness and acidity
- A natural preservation method that keeps fruits fresh for months
- Enhanced nutrient absorption and improved digestive health
The beauty of fruit fermentation lies in its dual benefits: while it's preserving your harvest, it's also transforming it into a more nutritious food that can reduce inflammation and support your overall health.
Fermentation Process Steps
The successful fermentation of fruit requires a systematic approach with four key phases: preparation, brine creation, environment setup, and post-fermentation processing.
You'll start by selecting fresh, firm fruit that's suitable for fermentation. Clean it gently with a damp paper towel, then cut it into appropriate pieces. Using a digital scale, weigh your fruit to calculate the precise amount of salt needed – typically 2% of the fruit's weight.
Next, you'll create your brine solution. Mix the calculated salt with your fruit, or opt for a sugar brine by dissolving salt and sugar in warm water. If you're using additional liquids like kombucha or whey, add them once the brine has cooled.
For the fermentation environment, transfer your mixture to an airtight container or vacuum-sealed bag. Keep the fruit submerged using weights, and make certain gases can escape through a loose lid or pickle pipe. Maintain room temperature between 60°F and 80°F.
During post-fermentation, taste daily until you achieve your desired flavor profile. Once ready, you can refrigerate to slow fermentation, dehydrate for longer storage, or save the liquid for other culinary uses.
Fruit Fermentation Safety Tips
Before diving into fruit fermentation, implementing proper safety measures is essential to prevent foodborne illness and assure successful preservation. Start by thoroughly washing your hands, produce, and all equipment to prevent cross-contamination.
Select fruits that are undamaged and uniform in size, and make sure your fermentation containers are properly sanitized.
Monitor the pH levels closely, aiming for below 4.6 to inhibit harmful bacteria like L. monocytogenes. You'll need to maintain detailed records of temperatures and pH readings throughout the process, keeping these records for at least two years.
Store your finished ferments in the refrigerator below 40°F to control fermentation and prevent spoilage.
Here are key visual indicators that your ferment has gone bad:
- Pink or dark discoloration appearing on the fruit surface
- Visible mold growth or unusual fuzzy patches
- Cloudy liquid with an off-putting smell or strange texture
When properly fermented and stored, your fruits can last up to a month in the refrigerator or six months in the freezer.
Always label your containers with refrigeration instructions and discard any ferments that show signs of spoilage or develop questionable flavors.
Common Preserving Mistakes
Preserving mistakes can quickly turn your fruit-preserving efforts into disappointing results or even safety hazards. When you deviate from tested recipes or fail to make proper altitude adjustments, you're risking both safety and quality. Pay close attention to ingredient quantities and processing times, as these factors directly impact preservation success.
| Common Mistake | How to Avoid It |
|---|---|
| Recipe Deviation | Stick to tested recipes and proper altitude adjustments |
| Poor Ingredients | Select fresh, ripe fruits at their peak condition |
| Improper Packing | Remove air bubbles and maintain proper headspace |
| Wrong Processing | Follow exact processing times and temperatures |
| Storage Issues | Store in cool, dark places with proper sealing |
You'll want to avoid using fruits that aren't at their peak ripeness or show signs of damage. When packing your jars, verify you're not overfilling them and that you're removing all air bubbles before sealing. The liquid should completely cover your fruit pieces, and you'll need to use hot packs when specified. Remember to control vital factors like water activity and pH levels, and always use sterilized equipment to prevent contamination. Don't store different types of preserved fruits together, especially those that produce ethylene with those sensitive to it.
Storing Your Preserved Treasures
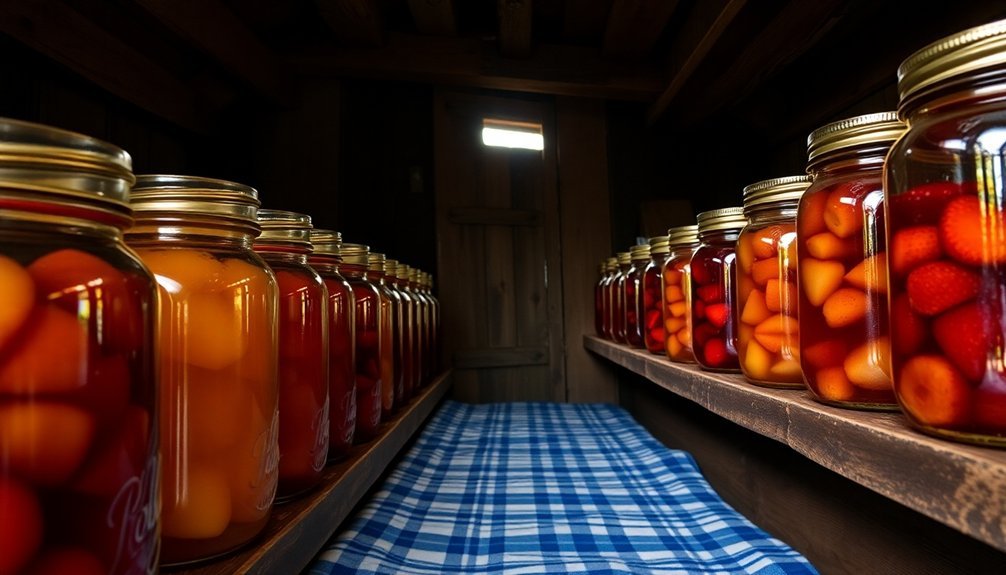
Proper storage practices build upon careful preservation techniques to guarantee your hard work pays off in the long run.
You'll want to store your preserved fruits in a cool, dry place away from direct sunlight, maintaining consistent temperature and humidity levels to prevent spoilage. Verify your storage area stays clean and pest-free to protect your preserved bounty.
Choose appropriate containers that match your preservation method. Use airtight glass jars for canning, freezer-safe containers for frozen fruits, and vacuum-sealed bags for dried fruits.
Don't forget to label everything with contents and dates – you'll thank yourself later when you're searching for specific items.
Create a lasting legacy of preserved fruits by following these time-tested storage principles:
- Place newly preserved items at the back of your storage area, rotating older items to the front for a proper first-in, first-out system.
- Store canned goods in a single layer, avoiding stacking that could compromise seals or hide leakage.
- Check your preserved fruits monthly for signs of spoilage, including bulging lids, mold growth, or unusual odors.
Remember to maintain proper temperatures: room temperature for canned goods, below freezing for frozen fruits, and cool conditions for fermented items.
Frequently Asked Questions
Can Preserved Fruits Trigger Allergic Reactions Different From Their Fresh Counterparts?
Yes, you'll find preserved fruits can trigger unique reactions due to added sulfites, concentrated mold exposure, and higher fructose levels. However, if you have OAS, you might tolerate preserved fruits better than fresh ones.
How Do Altitude and Humidity Affect Traditional Fruit Preservation Methods?
You'll find that higher altitudes extend drying times but enhance nutrient retention, while humidity's your biggest challenge – it'll slow down drying and could lead to spoilage if you're not using controlled preservation methods.
Is It Safe to Preserve Fruits Picked After Rainfall?
You shouldn't preserve fruits immediately after rainfall. Wait at least 24 hours before harvesting to reduce bacterial contamination risks. If you're preserving split or damaged fruits, discard them as they're more prone to spoilage.
Which Preserving Methods Best Maintain the Fruits' Original Nutritional Values?
You'll maintain most nutrients through drying and cooling methods, as they don't require intense heat or chemicals. Fermentation even enhances nutritional value by adding probiotics, while cellar storage preserves fruits in their natural state.
Can Kids Help With Fruit Preservation, and Which Tasks Are Age-Appropriate?
Yes, you can involve kids in fruit preservation! Start 3-5 year olds with simple tasks like washing fruits, 6-8 year olds can help with dehydrating, and 9-12 year olds can assist with basic canning.
In Summary
You'll find traditional fruit preserving methods offer more than just food storage – they connect you to generations of wisdom. Whether you're drying fruit in the sun, creating sweet preserves, or fermenting nature's bounty, you're participating in an ancient art. Keep experimenting with these time-tested techniques, and you'll soon have your own collection of preserved fruits to enjoy year-round and share with loved ones.


Leave a Reply