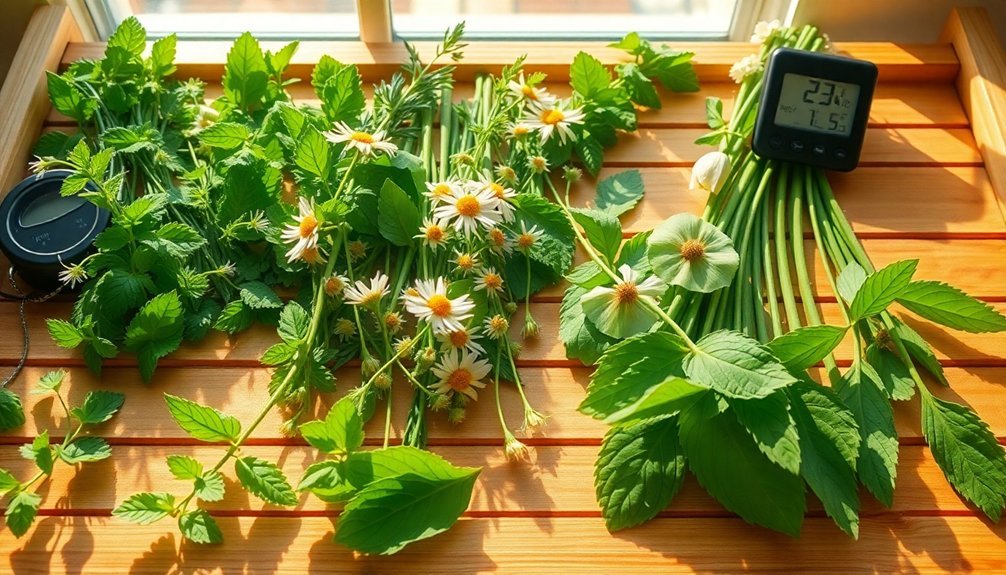
You'll need fresh herbs like peppermint, chamomile, or lemon balm to create your own sun-dried tea blends at home. Start by harvesting herbs in the morning after the dew has dried, then rinse and remove any damaged leaves. Set up a drying rack in a warm, well-ventilated area with temperatures between 95-105°F, or use a food dehydrator for consistent results. Once your herbs are crisp and crumbly, store them in airtight glass containers away from light and moisture. Mix different dried herbs to create unique flavor combinations – the possibilities for crafting your perfect cup are endless.
Best Herbs for Sun Drying
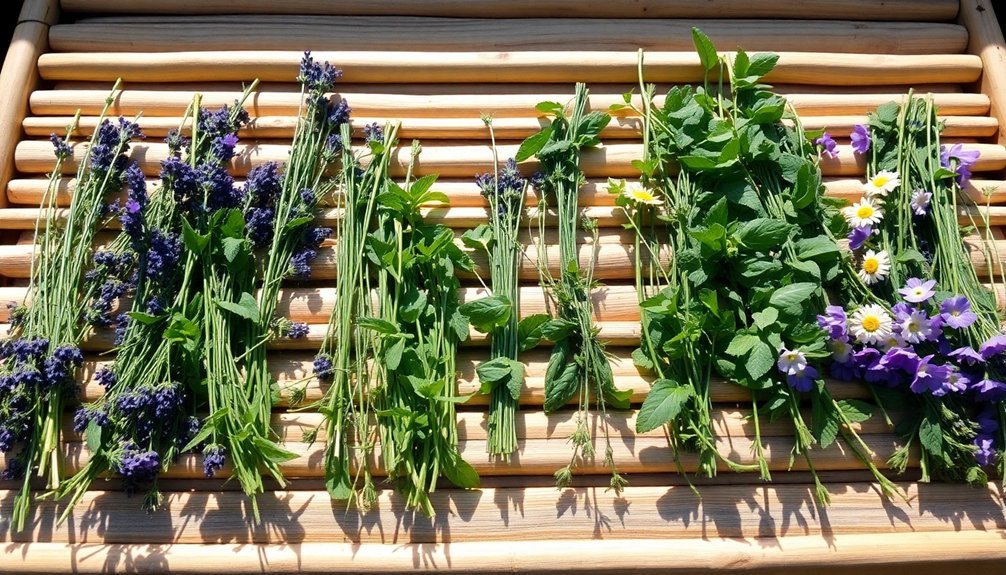
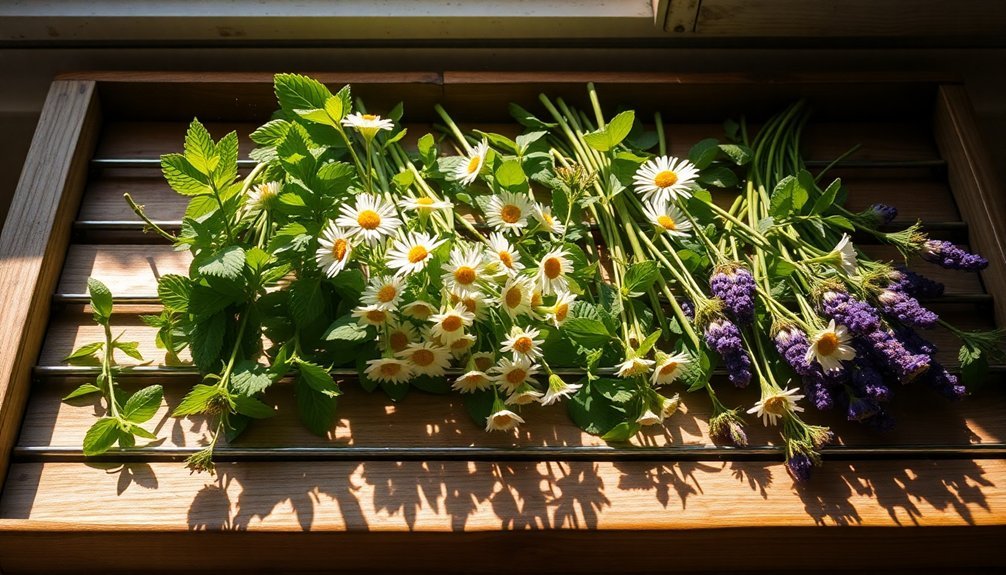
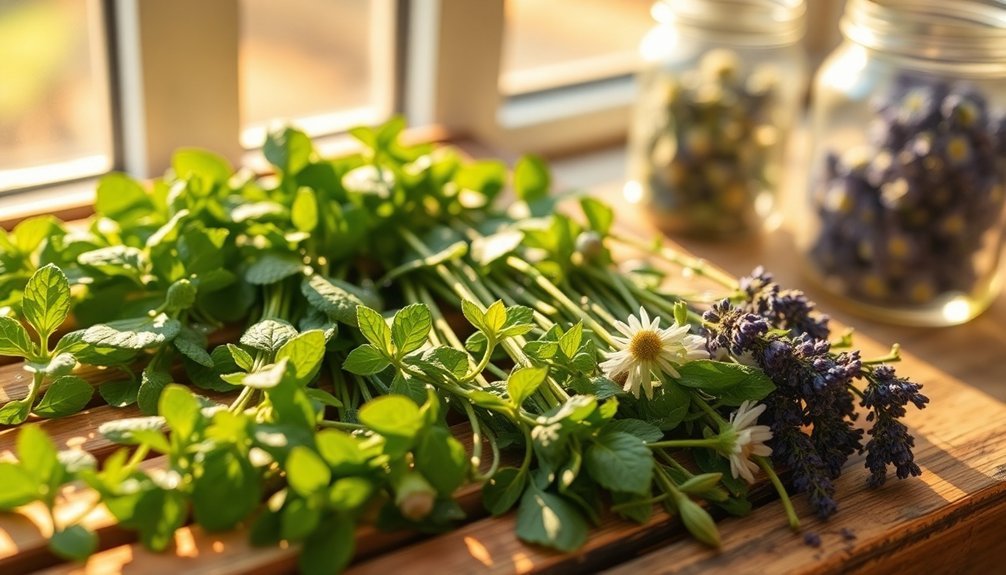
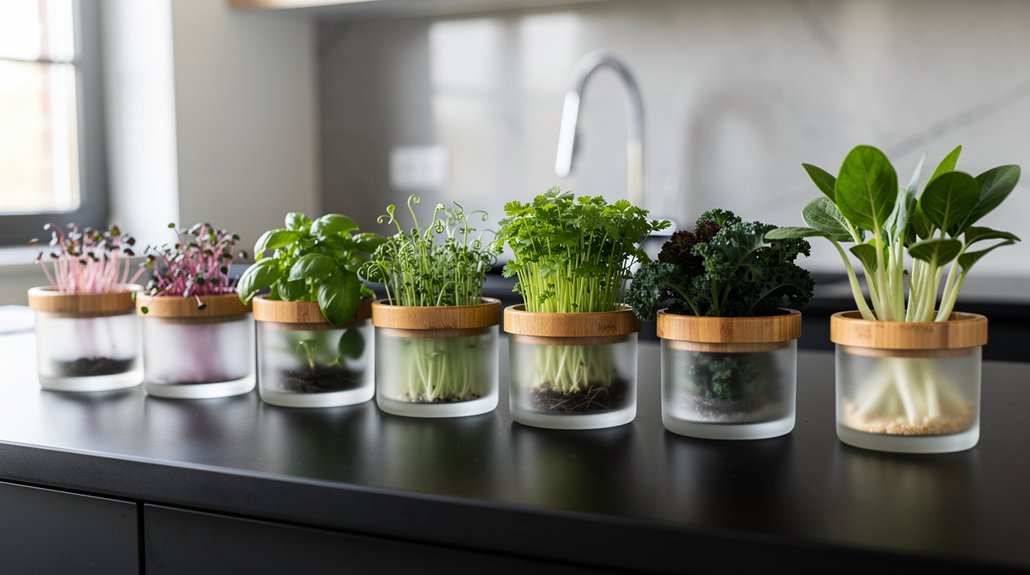
Naturally, sun-dried herbs create the most flavorful and aromatic teas for your home brewing experience. When selecting herbs for sun drying, you'll find that both fresh and dried varieties offer unique benefits. Start with popular fresh herbs like peppermint, spearmint, and Italian basil, which retain their invigorating qualities exceptionally well through the drying process. Personalized herb combinations allow you to create custom blends tailored to your taste preferences.
For floral notes, you can't go wrong with chamomile and bee balm, both of which maintain their distinctive fragrances when dried properly. If you're seeking citrus undertones, lemon balm and lemon verbena are excellent choices that preserve their bright flavors.
Don't overlook the medicinal herbs like tulsi basil and nettle, which keep their beneficial properties intact during sun drying. Consider drying versatile herbs like borage and lemongrass, which blend well with other ingredients.
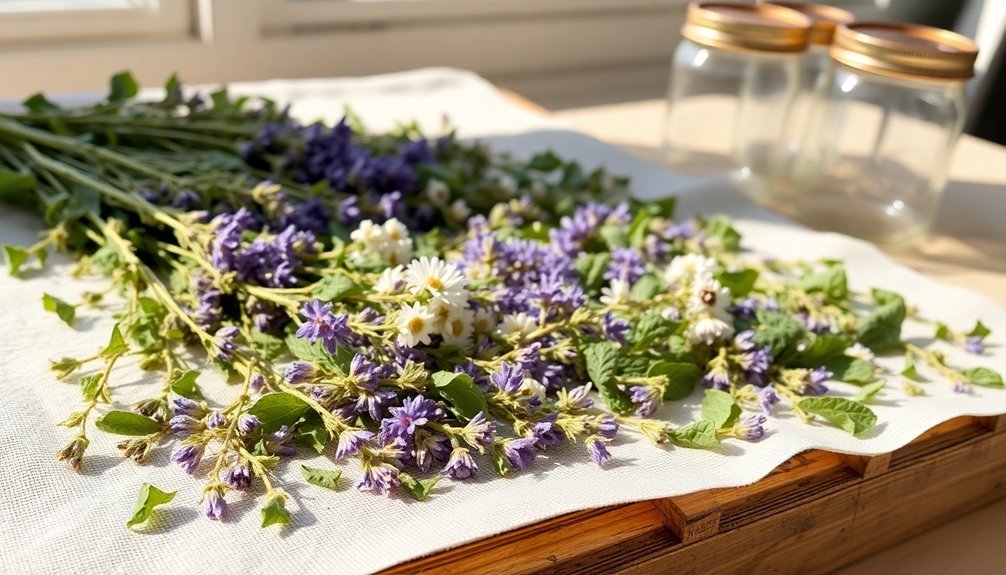
Rose petals and violet leaves add a delicate touch to your dried tea collection, while agastache brings a unique anise flavor. For traditional healing blends, include red clover blossoms and raspberry leaf, which dry beautifully and offer nutritional benefits.
Remember to pair complementary herbs, such as lemon balm with chamomile or spearmint with calendula petals, for balanced flavor profiles.
Essential Tools and Equipment
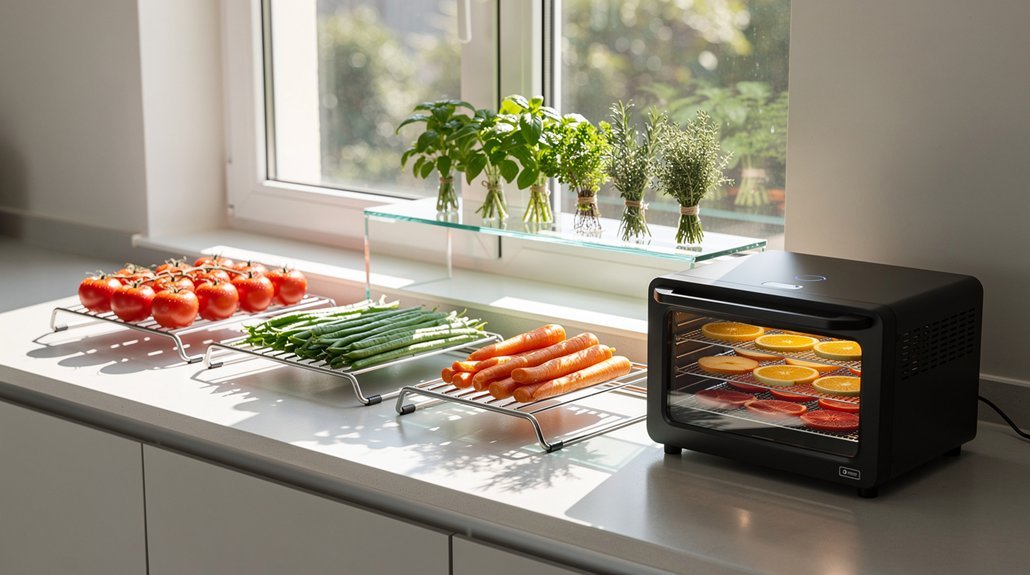
To get started with sun-drying herbal teas, you'll need some essential equipment and tools for proper drying, storage, and infusion. A food dehydrator is your best option, operating at low temperatures between 95-105°F with fan circulation for even drying.
If you're looking for an eco-friendly alternative, consider a solar drier with horizontal airstream distribution and protective features like air filters and insect lattices. Professional solar driers are made with stainless steel construction to ensure maximum hygiene during the drying process.
For storage, use glass jars or food-safe PET plastic buckets, depending on your quantity. These containers must be airtight to preserve the herbs' medicinal properties and prevent contamination.
Keep them away from direct sunlight to maintain color and potency.
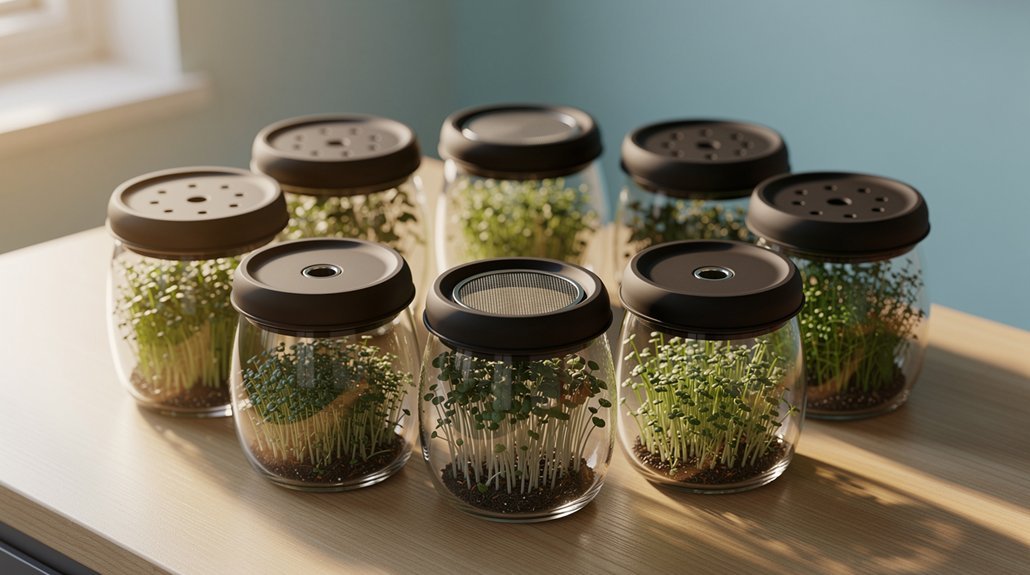
When making sun-infused tea, you'll need clear glass containers that allow sunlight penetration, such as mason jars or flip-top bottles.
Don't forget loose-leaf tea strainers or mesh bags to contain the herbs during brewing. Always use tight-fitting lids rather than breathable materials for food safety.
Avoid using ovens or microwaves, as their high temperatures will destroy the herbs' beneficial properties. If you don't have a dehydrator, you can dry herbs in a sunny car or warm attic with proper air circulation.
Preparing Fresh Herbs
Start your herb preparation by harvesting in the early morning when the plants are at their peak flavor but after the dew has dried.
You'll want to carefully rinse your herbs in warm water, removing any dirt or damaged leaves before gently patting them dry with a clean towel.
Sort through your cleaned herbs, removing any discolored or wilted pieces to guarantee only the best quality leaves make it into your sun-dried tea blend.
For optimal results, separate your herbs into delicate and hearty varieties since they require different drying methods and times.
Harvest at Peak Times
For the most flavorful herbal teas, timing your harvest precisely can make all the difference. You'll want to collect your herbs just before they bloom when their essential oil content is at its highest. Choose a sunny morning after the dew has evaporated, but before the day's heat sets in, to guarantee you're getting the most potent flavors from your plants.
To maximize your harvest's quality, follow these vital timing tips:
- Pick herbs during stable weather conditions, avoiding wet or extremely hot days that can compromise the herbs' natural properties.
- Plan your final harvest of the season 6-8 weeks before the first hard freeze if you're in a cold climate.
- Adjust your harvesting schedule based on your region – warmer climates allow for year-round collection, while seasonal areas require more precise timing.
When you're ready to harvest, cut annual herbs to the ground and trim perennials to about two-thirds of their height. If you're specifically growing flowering herbs like Globe Amaranth, wait until they're in full bloom before collecting.
Remember to move your freshly harvested herbs to a shady spot immediately to preserve their essential oils.
Clean and Sort Carefully
Proper cleaning and sorting sets the foundation for successfully dried herbal teas. You'll need to start by washing your herbs under cool running water to remove dirt and debris. Once cleaned, gently shake off excess moisture or use a salad spinner, then pat the herbs dry with paper towels. Make certain your work surface and tools are clean throughout this process.
Next, carefully inspect your herbs for any imperfections. Remove bruised, soiled, or damaged leaves and stems, and check thoroughly for insects, particularly in seeds and along stems. If you spot any signs of mold or decay, discard those portions immediately. Trim the stems just above a leaf junction for best results.
To prepare your herbs for drying, remove the lower leaves from the stems to prevent mold and guarantee proper air circulation. Align the cut ends and create manageable bundles, securing them with kitchen twine. Don't tie them too tightly – air needs to flow between the stems.
Before proceeding to the drying phase, verify that your herbs are completely moisture-free and properly bundled. Remember to reflect on which drying method will work best for your specific herbs.
Optimal Sun Drying Conditions
Successful sun-drying of herbal teas requires specific conditions to maximize flavor extraction while maintaining safety. You'll want to choose a sunny afternoon during the hottest part of the day and guarantee your herbs receive direct sunlight for ideal results. If you don't have access to direct outdoor sunlight, a sunny windowsill can serve as an alternative location.
For the best sun-drying experience, follow these essential guidelines:
- Place your herbs in a clean glass container with a tight-fitting lid, avoiding plastic containers that might leach toxins into your tea.
- Limit sun exposure to 3-4 hours maximum to prevent bacterial growth while achieving proper flavor extraction.
- Use filtered or boiled water and avoid adding sugar during the drying process, as it can encourage bacterial growth.
Remember to maintain proper hygiene throughout the process by using thoroughly cleaned equipment and washing your herbs with hot water before starting.
Once your tea has finished steeping, either consume it immediately or refrigerate it promptly. When stored properly in the refrigerator, your sun-dried tea will stay fresh for up to five days, though you should always discard it if you notice any mold or unusual odors.
Setting Up Drying Racks
You'll want to start by selecting a dry, dark area like a basement or shed that provides consistent conditions for your herb-drying setup.
Following proper measurements and using a level, mount your gold hooks securely into the wall before sliding wooden dowels through them to create your basic rack structure.
For an effective drying system, guarantee there's adequate spacing between the dowels and good air circulation throughout the chosen location.
Choosing Perfect Drying Locations
Finding the perfect spot to dry your herbs can make all the difference in creating flavorful, high-quality tea.
You'll want to choose a location that's warm but not hot, with low humidity and good air circulation. The ideal space should be clean, protected from direct sunlight, and away from areas with high moisture like kitchens or bathrooms.
Your pantry or a spare indoor room can serve as an excellent drying area, provided you can maintain consistent environmental conditions.
When selecting your drying location, remember these key requirements:
- Good ventilation – position your racks where air flows freely, ideally with a gentle breeze or fan circulation
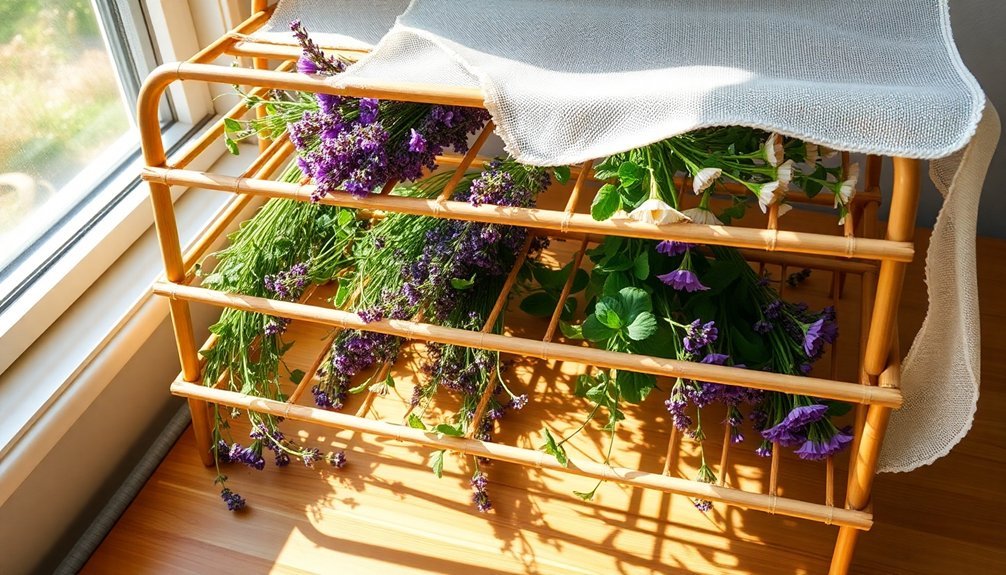
- Shade protection – choose spots away from windows or use cheesecloth covers to prevent direct sunlight exposure
- Elevated placement – mount racks on walls or set them up off the floor to maximize air movement
If you're using multiple drying racks, arrange them in a vertical configuration to save space and promote better airflow.
You'll need to check your herbs regularly in their drying location, rotating racks if necessary to guarantee even drying throughout all layers.
DIY Rack Construction Tips
Building your own drying rack provides a cost-effective and customizable solution for sun-drying herbs. You'll need 1½-inch wood or 2×2 boards, screening material, screws, metal brackets, and basic tools like a power saw and staple gun to create a sturdy drying frame.
| Material | Purpose | Tips |
|---|---|---|
| Wood Boards | Frame Structure | Pre-drill holes to prevent splitting |
| Screen Mesh | Drying Surface | Choose tight weave to hold small herbs |
| Metal Brackets | Frame Support | Install at corners for extra stability |
Start by cutting your boards to size – 24 inches and 21 inches work well for a square frame. Pre-drill holes in the boards, then assemble the frame using 3-inch screws and reinforce corners with metal brackets. You'll want to guarantee the frame's stability before moving on to the screen attachment.
Next, wrap your screening material around the frame's edges, pulling it taut as you work. Secure it with staples, paying special attention to the corners where herbs might slip through. Trim excess screen material for a clean finish. Once complete, you can stack multiple racks to maximize your drying space and efficiency.
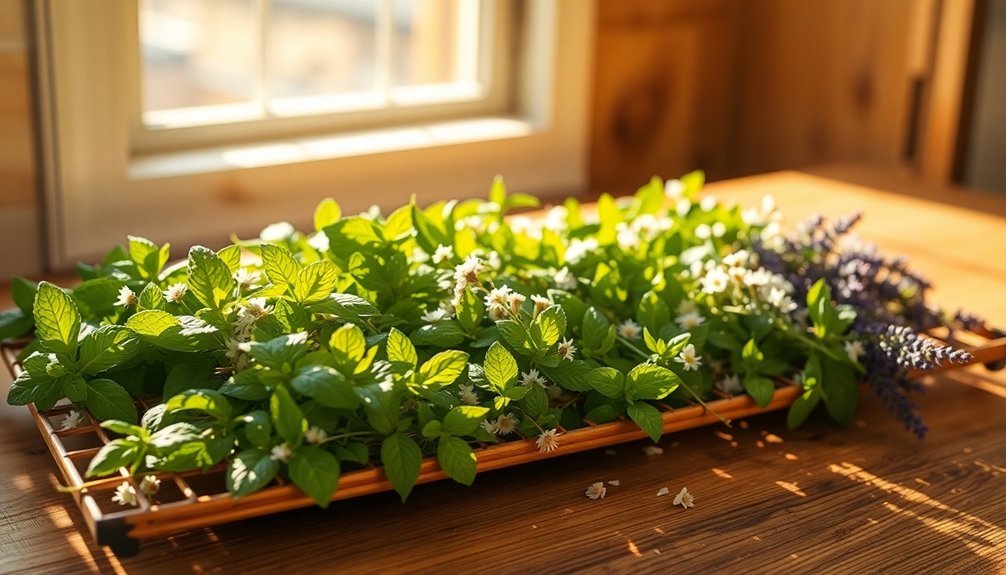
Proper Herb Placement
Successful herb drying begins with strategic placement of your plants. When positioning your herbs for sun-drying, you'll want to guarantee they're not overcrowded and have plenty of airflow around them. You can use mesh produce bags, window screens, or simply tie bundles with string to hang them in direct sunlight.
For ideal drying results, follow these key placement guidelines:
- Position your herbs in a single layer on a dry surface or mesh screen, weighing them down with a stick if needed to prevent wind disruption.
- Hang bundled herbs from cabinet pulls, ceiling hooks, or shelves, guaranteeing they're away from water sources and steam.
- Place drying racks in areas that receive consistent sunlight but can be easily moved indoors at dusk to prevent moisture accumulation.
Remember to rinse your herbs with warm water before starting the drying process. If you're using a mesh bag method, you can flip the bag occasionally to guarantee even drying.
Don't forget to bring your herbs inside each evening to protect them from overnight dampness, which could lead to mold growth.
Monitoring the Drying Process
Watch your herbs closely for signs of readiness, including crisp, fully-dried leaves that crumble easily when touched.
You'll need to monitor the temperature and humidity levels throughout the day, moving your herbs inside if rain threatens or if humidity becomes too high.
Once your herbs reach this crisp state, you'll want to store them immediately to prevent moisture reabsorption from the air.
Visual Signs of Readiness
Throughout the drying process, you'll need to monitor your herbs carefully for specific visual indicators that signal proper dehydration. Watch for leaves that become crispy and frail, while guaranteeing they maintain their vibrant color. You'll know your herbs are reaching the ideal 5-10% moisture content when they feel completely dry to the touch, with no dampness present.
To determine if your herbs are properly dried, look for these key signs:
- The leaf blades should be uniformly crispy, with even the midveins showing signs of dryness – any flexibility or limpness indicates incomplete drying.
- The color should remain bright and true to the original herb – dullness or color changes suggest staleness or improper drying.
- The leaves should be separate and distinct – if they're clumping or sticking together, there's still too much moisture present.
Check for any signs of mold or contamination during the process, such as fuzzy spots or musty odors.
If you notice irregular drying patterns, you can color-code different areas and calculate weight loss to guarantee uniform results.
Remember that over-drying can cause excessive brittleness, while under-drying risks spoilage.
Temperature and Humidity Control
Once you've identified the visual signs of properly dried herbs, maintaining the right temperature and humidity becomes your next priority. Different herbs require specific temperature ranges for ideal drying: flowers need 85-110°F, while leaves and herbs thrive between 90-115°F. Keep your dehydrator between 95-115°F, or up to 125°F in humid climates.
| Herb Type | Temperature Range | Drying Notes |
|---|---|---|
| Flowers | 85-110°F | Most delicate, monitor closely |
| Leaves & Herbs | 90-115°F | Common range for most varieties |
| Barks | 90-120°F | Requires highest heat range |
| Moisture-Rich Herbs | 95-115°F | Takes longer to dry completely |
You'll need to monitor humidity levels carefully, as high moisture can lead to mold growth. Use a hygrometer placed 6-12 inches from walls to track conditions. For best results, maintain proper airflow by using screens in a well-ventilated space. If you're using a dehydrator, guarantee consistent air circulation to prevent uneven drying. Remember that high temperatures can damage essential oils and volatile compounds, so don't exceed recommended ranges in an attempt to speed up the process.
Proper Storage Timing
The timing of storage plays a critical role in preserving your herbal tea's quality and potency. You'll need to monitor your herbs closely during the drying process and transfer them to storage containers at precisely the right moment. When your herbs become "snappy dry" – breaking cleanly when bent rather than just folding – they're ready for storage.
Don't delay this transfer, as leaving dried herbs in the dehydrator can lead to unwanted rehydration.
To guarantee ideal storage timing, follow these essential steps:
- Check your herbs frequently during drying, remembering that different parts dry at varying rates – flowers dry fastest, followed by leaves, then roots.
- Strip dried leaves from stems over a plate to confirm complete dryness before storage.
- Transfer herbs immediately to airtight glass containers once they're fully dried.
Monitor your stored herbs over the next few days, checking for any signs of moisture. If you notice condensation inside the container, remove the herbs and dry them further.
When properly timed and stored in a cool, dark place, your dried herbs can maintain their quality for up to two years.
Testing for Complete Dryness
Before storing your herbal tea ingredients, proper testing for complete dryness is essential to prevent spoilage and mold growth. You'll need to perform several tests to guarantee your herbs are thoroughly dried and safe for long-term storage.
Start with a visual inspection – your herbs should be crispy and crumble easily between your fingers. The stems should snap cleanly when bent, and the leaves shouldn't have any flexibility. You'll want to handle the herbs gently to check for any remaining moisture, listening for that satisfying dry, rustling sound when they move.
| Test Type | What to Look For | Warning Signs |
|---|---|---|
| Visual | Crispy, brittle texture | Flexibility or shine |
| Storage Jar | No condensation | Moisture on glass |
| Touch | Breaks easily | Clumping or softness |
| Environment | Good ventilation | High humidity |
Don't skip the storage test – place your dried herbs in sealed jars for a week in a warm spot. If you notice any condensation on the jar's interior or under the lid, you'll need to dry them further. Keep your drying herbs away from moisture-heavy areas like kitchens and bathrooms to guarantee proper results.
Storing Dried Herbs
Proper storage of your dried herbs can extend their shelf life by several months while preserving their essential oils and flavors.
You'll want to choose airtight glass jars or metal tins with screw-top lids, avoiding plastic containers that can leach chemicals. If you're using clear glass jars, consider wrapping them in amber-colored material to protect your herbs from light damage.
Find a cool, dry, and dark storage space away from your stove, sink, and windowsills. While refrigerators can maintain freshness, they might cause condensation issues, so it's better to store your dried herbs in cupboards or drawers.
Remember to fill containers to the brim and seal them tightly to minimize air exposure.
Here's what you'll need to prevent contamination and maintain quality:
- Airtight, vapor-proof containers with secure lids
- Heavy-duty aluminum foil if storing in freezer
- Separate storage spaces for different herbs to prevent fragrance transfer
Keep track of when you've stored each herb, as different varieties have varying storage lives. Flowers and leaves won't last as long as roots and seeds.
You can check the aroma periodically to judge freshness – if there's little scent left, it's time to replace them.
Creating Custom Tea Blends
Creating custom tea blends lets you craft personalized herbal combinations that suit your taste preferences and wellness goals. Start by selecting a base herb that'll serve as your primary ingredient, then add complementary herbs that share similar therapeutic properties and flavor profiles.
Consider your intended purpose, whether it's for relaxation, energy, or sleep support.
To build your blend, use a simple parts system for measuring ingredients. You'll want to guarantee all herbs are roughly the same size – if needed, grind larger pieces with a mortar and pestle for consistency.
Add flavor-enhancing herbs like lemon balm or dried citrus peel to brighten the blend, but use these accent ingredients sparingly to avoid overwhelming the primary herbs.
When you're ready to combine your ingredients, mix them thoroughly in a clean, dry container. Let your tea steep for at least 15 minutes to extract maximum benefits when brewing.
Store your custom blend in an airtight container in a cool, dark place. Remember to document your recipe, including the proportions used, so you can replicate successful blends or make adjustments for future batches.
Using Your Sun Dried Herbs
Once you've crafted your custom tea blends, sun-dried herbs offer a natural and sustainable way to brew invigorating beverages.
You'll want to start with a clean glass container and measure about 2-3 tablespoons of your dried herbs per half gallon of filtered water. For the best results, combine complementary herbs like lemon balm with tulsi basil or borage with spearmint.
To brew your sun tea effectively, follow these essential steps:
- Fill your container one-third to half full with your chosen herbs, add filtered water, and secure with a tight-fitting lid.
- Place the container in direct sunlight during the hottest part of the day, allowing it to steep for 3-4 hours while occasionally shaking.
- Strain the mixture through a fine mesh colander or cheesecloth before refrigerating.
Your sun-dried herbal tea will keep in the refrigerator for up to a week, though you'll get the best flavor within the first 2-3 days.
When serving, add sweeteners like honey or agave to taste, and consider garnishing with fresh fruit slices or herb sprigs for an extra burst of flavor.
Frequently Asked Questions
Can I Sun-Dry Herbs During Cloudy or Humid Weather Conditions?
You shouldn't sun-dry herbs in cloudy or humid conditions, as they'll likely develop mold and lose quality. Instead, use a dehydrator or oven on low heat for better results during unfavorable weather.
How Long Do Sun-Dried Herbs Maintain Their Medicinal Properties?
Your sun-dried herbs can retain medicinal properties for 1-2 years if you store them properly in airtight containers away from light. Root herbs last longer, up to 3 years, while powdered forms last 6-12 months.
Are Some Herbs Toxic When Dried Compared to Their Fresh State?
Actually, you'll find most herbs become less toxic when dried compared to their fresh state. The drying process reduces natural defense chemicals and toxins, making dried herbs generally safer for consumption than fresh ones.
Can I Dry Different Herbs Together on the Same Drying Rack?
Yes, you can dry different herbs together on the same rack, but make certain they've similar drying times and aren't strongly aromatic. Keep bundles small and well-spaced to maintain good air circulation.
What Signs Indicate That Herbs Have Gone Bad During the Drying Process?
You'll know your herbs are spoiling if they become slimy, wilted, or develop mold. Watch for yellow or brown leaves, and trust your nose – any off-putting odors mean it's time to discard them.
In Summary
You'll find that sun-drying your own herbal teas brings remarkable satisfaction and endless creative possibilities. Now that you've learned the basics of selecting, preparing, and drying herbs, don't hesitate to experiment with different combinations. Store your dried herbs properly, and you'll enjoy fresh, homemade tea blends throughout the year. Remember, the best tea is the one you've crafted with your own hands.
Leave a Reply