
To make classic heirloom tomato jam, you'll need 1.5-4 pounds of ripe heirloom tomatoes, sugar, vinegar, and your choice of warming spices. Core and chop your tomatoes into 1-inch pieces, then combine them with sugar and vinegar in a heavy-bottomed pot. Cook the mixture over medium-high heat until boiling, then reduce to a low simmer for 1-1.5 hours, stirring occasionally until thick and jammy. Process filled jars in a water bath canner for safe preservation, ensuring proper sterilization and pH levels below 4.6. Once mastered, this versatile preserve opens up endless culinary possibilities, from cheese pairings to creative condiments.
Essential Equipment and Ingredients

Gathering the right equipment and ingredients sets the foundation for creating delicious heirloom tomato jam.
You'll need several important pieces of equipment to guarantee successful jam-making. Start with a large saucepan or Dutch oven, making sure it has a heavy bottom to prevent scorching. A slotted spoon will help you manage the mixture, while a boiling water bath canner is vital for proper preservation.
Don't forget to gather clean canning jars and fresh lids for storage.
For ingredients, select ripe heirloom tomatoes as your base – you'll need between 1.5 to 4 pounds, depending on your recipe. Consider adding fresh peaches to create a unique fruity twist to your jam.
You'll combine these with 1/2 to 1 cup of sugar, which can be white, brown, or granulated. Add 1/4 cup to 2 tablespoons of vinegar – either apple cider, balsamic, or fresh lemon juice works well.
For flavoring, you'll want 1-2 tablespoons of fresh herbs like basil, parsley, or thyme, plus warming spices such as ginger, cumin, cinnamon, or cloves (1/2 to 2 teaspoons).
If you'd like, include 2-3 garlic cloves and half a medium onion for added depth.
Preparing Your Tomatoes
With your equipment and ingredients ready, let's focus on preparing the star of your jam – the tomatoes. For the best results, you'll want to use ripe heirloom tomatoes, though any variety from cherry to Roma will work. Just make certain they're not completely unripe, as you'll need their natural sweetness for a flavorful jam.
Start by coring your tomatoes to remove the seeds and excess liquid. Roughly chop them into 1-inch pieces, guaranteeing uniform size for even cooking. While you don't need to peel them, removing the skin through blanching can improve your jam's final texture. If you choose to leave the skin on, you'll get the added benefit of extra fiber and nutrients.
Before you begin cooking, grate fresh ginger and mince any additional ingredients like garlic or jalapeño that your recipe calls for. A mixture of brown sugar and vinegar will help balance the flavors perfectly. Make sure your tomatoes are at room temperature to guarantee even cooking.
Remove any loose seeds you find while chopping, as they can add unwanted bitterness to your jam. Don't forget to sterilize your jars and lids before you start the cooking process.
Cooking The Perfect Consistency

Standing over your pot of freshly prepared tomatoes, you'll begin the essential process of achieving the perfect jam consistency. Combine your ingredients in a heavy-bottomed pot, preferably cast iron, to guarantee even heat distribution. With a blend of ginger and spices, your jam will develop layers of complex flavor. Bring the mixture to a boil over medium-high heat, stirring to combine all ingredients thoroughly.
Once boiling, reduce the heat to a low simmer. You'll need to cook the mixture for 1 to 1.5 hours, stirring occasionally to prevent burning. Choose a wider pot to speed up the reduction process through increased surface area.
As you cook, watch for slow bubbles and a shiny texture developing in your jam. To test the consistency, drag a spoon through the mixture – you'll know it's ready when the bottom of the pan remains visible for a moment. You can also place a small sample on a cool plate; it should set with a thick, jelly-like texture.
The jam should reduce by about half its original volume. If it's still runny, continue cooking. Once perfect, let it cool completely before transferring to sterilized jars for storage in the refrigerator or processing in a water bath.
Safe Water Bath Methods
The water bath method offers a reliable way to safely preserve your tomato jam when done correctly. Since tomatoes are borderline high-acid foods, you'll need to add lemon juice or citric acid to guarantee your jam's pH stays below 4.6, making it safe for water bath canning.
Before you begin, sterilize your jars and lids by boiling them for 10 minutes if you're below 1,000 feet elevation. For higher elevations, add an extra minute of boiling time per 1,000 feet. If your recipe requires more than 10 minutes of processing time, you'll only need hot (not sterile) jars.
Place your rack in the bottom of your water bath canner and fill it with enough water to cover your jars by at least one inch.
Once you've filled your hot jars with jam, wipe the rims clean, apply the lids, and lower them into the boiling water. You'll need to maintain a rolling boil throughout the entire processing time specified in your USDA-approved recipe.
This process creates a vacuum seal, kills harmful microorganisms, and guarantees your tomato jam stays safe for storage.
Storage and Serving Ideas
Proper storage methods and creative serving ideas can transform your homemade tomato jam from a simple preserve into a versatile pantry staple. After cooling completely, you'll need to decide on your preferred storage method.
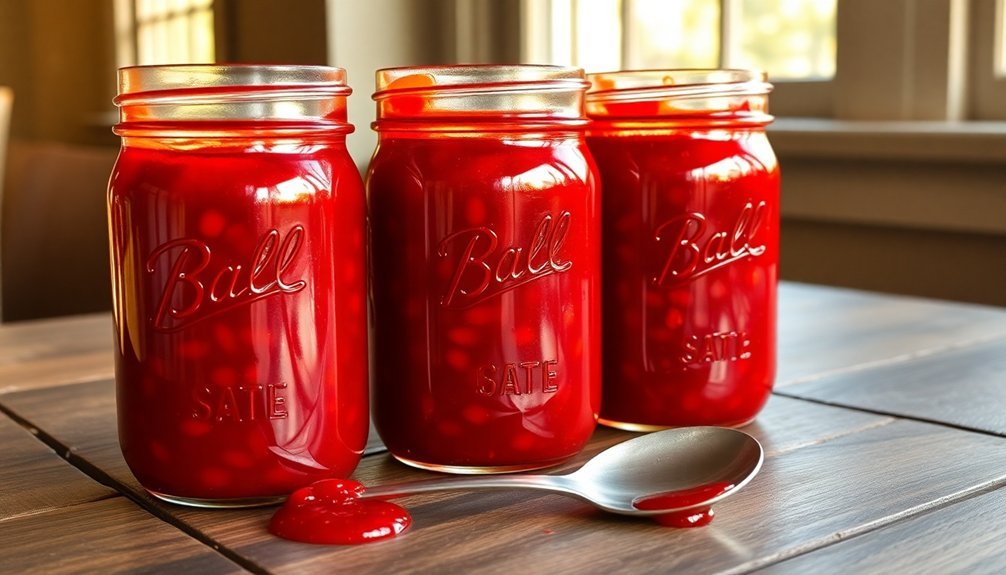
Store your jam in sterilized jars with proper headspace – ½ inch for refrigeration or freezing, and ¼ inch for canning. You can keep it in the refrigerator for up to a month, freeze it for up to a year, or store water bath-canned jars in a cool, dark place for up to one year.
Your tomato jam pairs beautifully with various cheeses, creating elegant appetizers and snacks. Try serving it over fresh burrata with balsamic glaze, or alongside a grilled wheel of brie with crusty baguette slices.
For a quick appetizer, spread it on crackers with goat cheese and fresh thyme.
Don't limit yourself to cheese pairings – this versatile condiment shines in numerous dishes. Use it to glaze grilled meats, drizzle it on pizza with Italian sausage, or elevate your breakfast by stirring it into scrambled eggs with goat cheese.
It's also delicious on burgers or spread on avocado toast for a savory twist.
Frequently Asked Questions
Can I Substitute Regular Sugar With Honey or Artificial Sweeteners?
You can substitute sugar with honey, but you'll need to adjust the amount (use ¼ to ½ cup). Don't use artificial sweeteners—they won't help your jam set properly and will affect both texture and shelf life.
Why Does My Tomato Jam Sometimes Separate After Canning?
Your tomato jam separates because enzymes activate when you cut the tomatoes. If you don't heat them quickly enough, these enzymes break down the pectin. You'll prevent separation by heating tomatoes immediately after cutting.
What Varieties of Heirloom Tomatoes Work Best for Jam?
You'll get great results using dense, meaty varieties like Brandywine, Roma, or Black Krim heirlooms. Don't hesitate to mix different types – combining sweet and tangy varieties creates complex, delicious flavors.
Should Green Tomatoes Be Used in Place of Ripe Ones?
You shouldn't substitute green tomatoes for ripe ones since they'll give you a different taste and texture. While green tomatoes work well in their own jam recipes, they're too tangy and firm for traditional tomato jam.
How Do You Fix Tomato Jam That's Too Runny After Cooking?
You can fix runny tomato jam by recooking it with additional pectin and sugar. Pour it into a wide pan, bring to a boil, then simmer while stirring until it thickens to your desired consistency.
In Summary
You'll find this heirloom tomato jam recipe brings timeless flavor to your pantry. With proper water bath canning, your jam will keep for up to a year, ready to elevate breakfast toast, cheese boards, or savory dishes. Once you've mastered this classic technique, you'll wonder why you didn't try canning sooner. Store your sealed jars in a cool, dark place and enjoy the taste of summer all year long.


Leave a Reply