
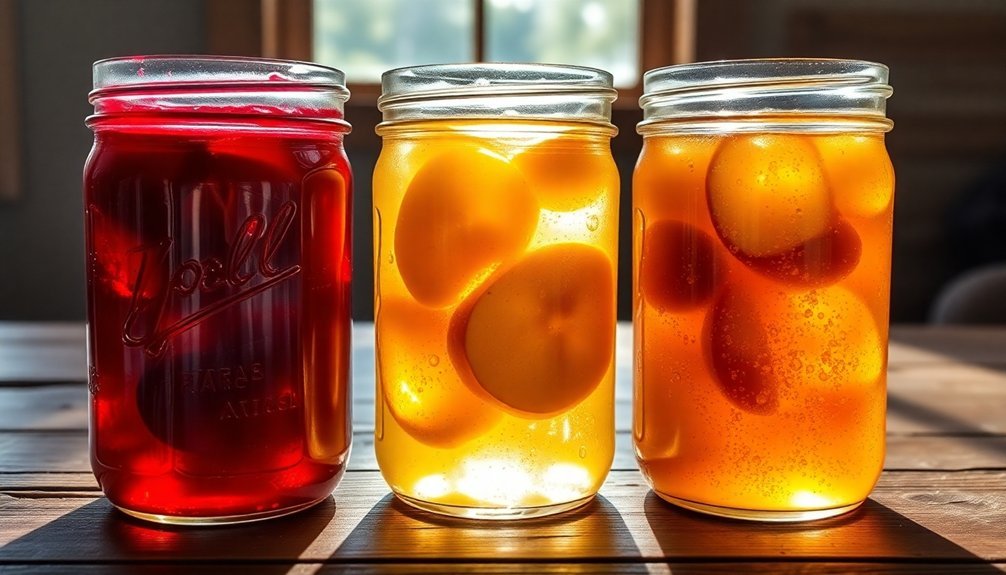
Sugar preservation is your gateway to capturing fresh fruit flavors year-round using time-tested techniques. You'll need a 60/40 ratio of fruit to sugar by weight, which creates the perfect environment to prevent spoilage while maintaining flavor. Start with clean, ripe fruit, and macerate it overnight with sugar to draw out natural juices. You'll cook the mixture in a heavy-bottomed pan until it reaches 221°F, watching for telltale signs like glossy syrup and translucent fruit. While the basics are straightforward, mastering the nuances of sugar preservation opens up a world of traditional storage possibilities.
Why Sugar Preserves Work
Through the simple yet powerful process of moisture control, sugar preservation has been keeping food fresh for centuries. When you add sugar to food, it creates an environment where harmful microorganisms can't survive. The sugar molecules bind with water molecules, reducing the water activity in the food and making it impossible for bacteria, yeasts, and molds to grow and multiply.
You'll find that sugar works in multiple ways to protect your food. It's hygroscopic, meaning it attracts and holds onto moisture, creating an osmotic effect that pulls water away from microorganisms. When you achieve a sugar concentration of about 60% in your preserved foods, you've created conditions that effectively prevent spoilage. This concentration makes it particularly difficult for dangerous pathogens like Salmonella and Clostridium botulinum to survive. The boiling process helps concentrate sugars through water evaporation, further enhancing preservation.
Beyond its preservative properties, sugar helps maintain your food's natural characteristics. It prevents enzymatic browning, keeping fruits and vegetables looking fresh.
You'll notice it also contributes to the formation of that perfect gel-like texture in jams and jellies, while enhancing flavor and providing an appealing mouthfeel.
Choosing Your Fruit
When creating sugar preserves, selecting the right fruit makes all the difference in your final product. You'll want to focus on ripeness rather than shape, as perfectly ripe fruit offers ideal color, flavor, and consistency.
However, if you're working with high-pectin fruits like apples or blackberries, slightly under-ripe specimens can provide better gel formation. The ideal fruit ratio should be 60% fruit to 40% sugar by weight.
Understanding your fruit's natural pectin and acid levels will help you make necessary adjustments. You won't need additional ingredients when using fruits like cranberries, blackcurrants, or gooseberries, as they're naturally high in both pectin and acid.
However, if you're working with strawberries, you'll need extra pectin, while fruits like mangoes and peaches require both pectin and acid supplements.
For the best results, consider your fruit's grouping. Group I fruits like apples and cranberries need only sugar to gel.
Group II fruits, such as cherries and elderberries, might need either acid or pectin.
Group III fruits, including apricots and figs, always require both additions.
If you're using commercial frozen or canned fruit, you'll likely need to add pectin since these products are typically made from fully ripe fruit.
Essential Tools and Equipment
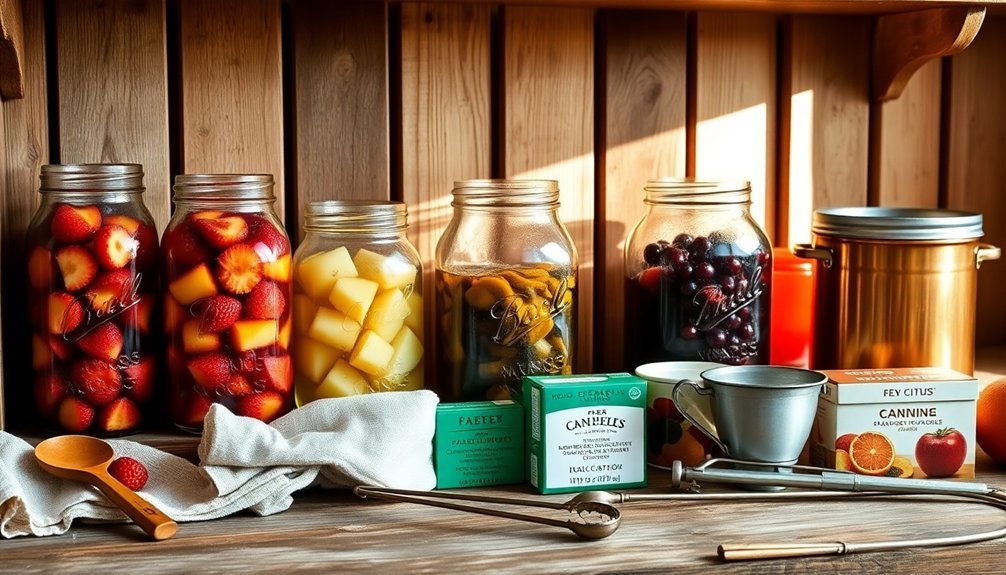
A well-stocked preserving kitchen starts with the right tools to confirm both safety and success. You'll need specialized cooking vessels, like a heavy-bottomed maslin pan or non-reactive pot, along with wooden or silicone spoons to protect your cookware. For accurate results, don't skip the thermometer – it's vital for achieving the perfect gel. Always use new canning lids each time you preserve to ensure a proper seal.
| Essential Category | Must-Have Items |
|---|---|
| Cooking Tools | Maslin pan, non-reactive pot, wooden spoons |
| Jar Equipment | Mason jars, jar lifter, canning rack |
| Straining Tools | Cheesecloth, colander, slotted spoon |
| Safety Items | Heat-resistant gloves, clean towels, timer |
When handling hot jars, you'll want proper equipment to prevent burns and accidents. A jar lifter is far safer than regular tongs, and a canning rack confirms proper water circulation during processing. For straining and mixing, you'll need various bowls, a colander, and cheesecloth – particularly important when making clear jellies.
Don't forget measuring tools for precise ingredients and timing. Digital scales offer accuracy, while a reliable timer helps track processing periods. Keep clean towels handy for spills and handling hot equipment.
Sugar to Fruit Ratios
You'll find that traditional preserve recipes often follow a 1:1 ratio of fruit to sugar by weight, which guarantees proper preservation and jelling.
For a more fruit-forward flavor, you can adjust to a 60/40 fruit-to-sugar ratio while still maintaining shelf stability.
When working with different fruits, you'll need to take into account their natural sweetness and pectin content to determine the ideal proportions for your preserves.
Classic Proportional Guidelines
Traditional preserve-making relies on carefully balanced sugar-to-fruit ratios that guarantee both flavor and preservation.
You'll find the classic 1:1 ratio (equal weights of fruit and sugar) serves as a reliable starting point for most preserves. If you prefer highlighting the natural fruit taste, consider using a 60/40 ratio with fruit taking the larger share.
For less sweet fruits, you'll need to increase the sugar content to 75% (using 1½ pounds of sugar for every 2 pounds of fruit) to achieve proper preservation.
Don't rely on volume measurements – always use a kitchen scale for accuracy, as the weight of a cup of fruit can vary greatly between different types and preparations.
Your final preserve should contain 60-65% sugar concentration to guarantee proper shelf stability and prevent mold growth.
You can test the readiness of your preserves by monitoring the temperature (it should reach 221°F) and observing the consistency.
If you're working with ripe fruit, make sure to include at least 25% underripe fruit in your mix to provide adequate natural pectin for proper setting.
This balance guarantees you'll get both the ideal texture and best preservation.
Adjusting For Different Fruits
Through careful attention to each fruit's natural sweetness, successful preserve-making requires adjusting your sugar ratios accordingly.
You'll need less added sugar when working with naturally sweet fruits like mangoes, cherries, and grapes, while fruits like kiwi and guava require more sugar to achieve the right consistency.
When working with high-sugar fruits like litchis (15%), pomegranates (14%), and passion fruit (11%), you'll want to reduce your added sugar to maintain proper balance and avoid over-sweetening.
Remember that your final preserve should reach a 60-65% sugar concentration for proper preservation and stability.
You can optimize your preserve's texture by combining underripe and overripe fruits in a 1:2 ratio.
The underripe fruit's higher pectin content helps achieve the right gel point, while the overripe fruit contributes better flavor.
Consider macerating your fruit overnight by layering it with sugar in your refrigerator – this process draws out the juices and helps distribute sugar evenly throughout the mixture.
For fruits low in natural pectin, you can either add commercial pectin or mix them with high-pectin citrus fruits to achieve the desired consistency.
Preparing Your Fruit
Creating perfect sugar preserves begins with properly preparing your fruit. Start by selecting fresh, ripe fruit that's both flavorful and suitable for preserving. If fresh isn't available, you can use canned fruit without added sugar or thawed frozen fruit for certain varieties like blueberries and cherries.
Begin your preparation by thoroughly washing the fruit to remove dirt, debris, and pesticides. You'll need to de-stem and trim the ends of fruits like strawberries and rhubarb. For fruits with skins, like peaches, blanching makes removal easier – just remember to use an ice water bath afterward to stop the cooking process.
Next, cut your fruit into appropriate sizes based on your recipe's requirements. You'll want to weigh your prepared fruit carefully, as proper ratios are essential for successful preserves. Aim for a 60% fruit to 40% sugar ratio by weight for best results.
Make sure you've got all your equipment ready before you start: a heavy, nonreactive pot, clean sterilized jars, and a colander for straining.
Don't forget to prepare your storage containers – they should be stainless steel, glass, or food-grade plastic that fits in your refrigerator.
The Maceration Process
You'll want to let sugar work its slow magic by spreading it evenly throughout your prepared fruit, giving it time to draw out the natural juices.
During this maceration period, you can keep your fruit and sugar mixture at room temperature, though you'll need at least several hours or overnight for ideal results.
The key is to maintain patience as the sugar gradually pulls moisture from the fruit, creating the essential syrup that will form the foundation of your preserves.
Sugar's Slow Extraction Magic
You'll need to let the mixture rest in the refrigerator overnight or up to three days.
During this time, the sugar works its magic, pulling moisture from the fruit to create a rich syrup.
Before cooking, drain and save this precious liquid – you'll cook it separately to avoid overcooking the fruit.
Don't forget to scrape any undissolved sugar into the syrup and skim off any foam that forms during cooking.
Time and Temperature Control
Proper timing and temperature control make all the difference in the maceration process. You'll need to start by thoroughly coating your fresh fruit with sugar, arranging it in alternating layers, and letting it rest in the refrigerator. This vital first step, which takes anywhere from overnight to three days, allows the sugar to naturally draw out the fruit's juices.
When you're ready to cook, you'll need to monitor temperatures carefully. Begin by boiling your syrup without the fruit until it reaches 230°F. Once you add the fruit, maintain the temperature between 217-222°F (103-106°C). This range is essential for proper water evaporation and pectin web formation, which gives your preserves their ideal consistency.
You'll know you're done when the fruit becomes translucent and the syrup thickens. Don't overcook, as this can destroy the pectin's gelling properties. Test the consistency by freezing a spoonful for a few minutes.
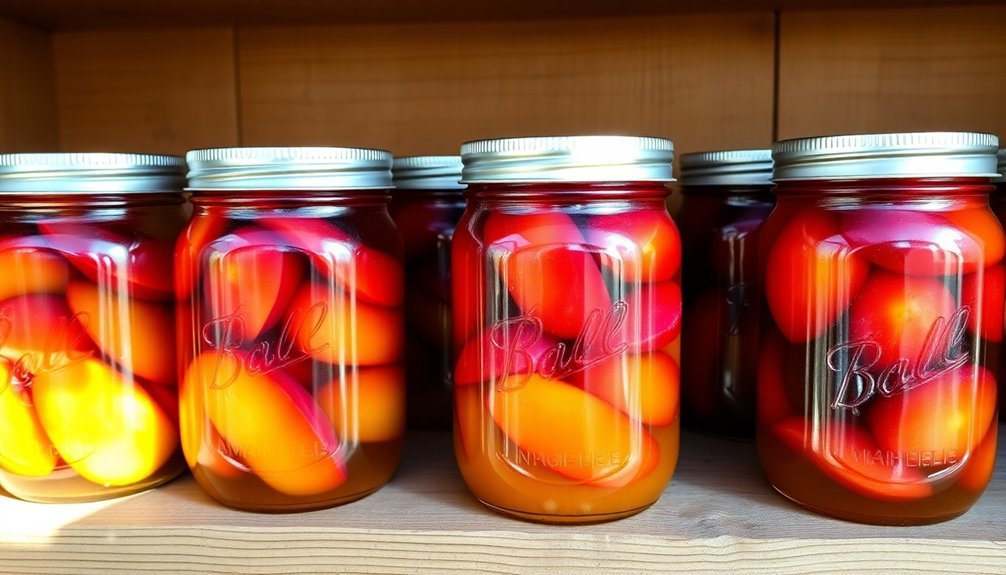
Once finished, immediately transfer your preserves to clean containers. For extended storage, process them in a water bath for 10 minutes. Your preserves will keep for weeks in the refrigerator or up to a year if properly processed and stored in a cool, dark place.
Cooking Your Preserves
The cooking process for preserves requires careful attention to both timing and temperature control.
You'll need to start by selecting a heavy, nonreactive pot – preferably copper or stainless steel – that's wider than it's deep for ideal heat distribution. Begin by cooking your prepared sugar syrup over medium-high heat until it reaches 230°F (110°C), skimming off any foam that forms on the surface.
Once your syrup hits the target temperature, you're ready to add your macerated fruit. Bring the mixture back to a boil, then reduce the heat to medium. You'll want to cook until the fruit becomes translucent and your syrup thickens, typically reaching 221°F (105°C).
Keep a close eye on the process to prevent overcooking, which can compromise the fruit's structure.
When your preserves are ready, ladle them into clean containers immediately. For short-term storage, you can keep them in the refrigerator for several weeks.
If you're planning for long-term storage, process the filled jars in a boiling water bath for 10 minutes. Properly processed preserves will keep for at least a year when stored in a cool, dark place.
Testing for Doneness
For successful preserves, knowing when your mixture has reached its setting point is essential. You'll notice several signs that indicate your preserve is nearly ready: the mixture will boil more quietly, create larger bubbles, and develop a glossy appearance. The cooking time can vary from 3-15 minutes, depending on your recipe.
You can confirm doneness using several reliable methods. Try the wrinkle test by placing a small amount on a cold saucer and pushing it with your finger – if it wrinkles, it's set. The flake test involves coating a wooden spoon with the preserve; if it hangs without dripping, you've reached the right consistency.
For precise results, use a sugar thermometer to check that jams and marmalades reach 104-105.5°C, while jellies need 104-105°C.
Remember that proper setting depends on both pectin and sugar content. You'll get better results using a mix of underripe fruit (higher in pectin) with riper fruit for flavor.
If you're using a thermometer, make sure you're moving it around the pan to get an accurate reading, and always remove the pan from heat when testing.
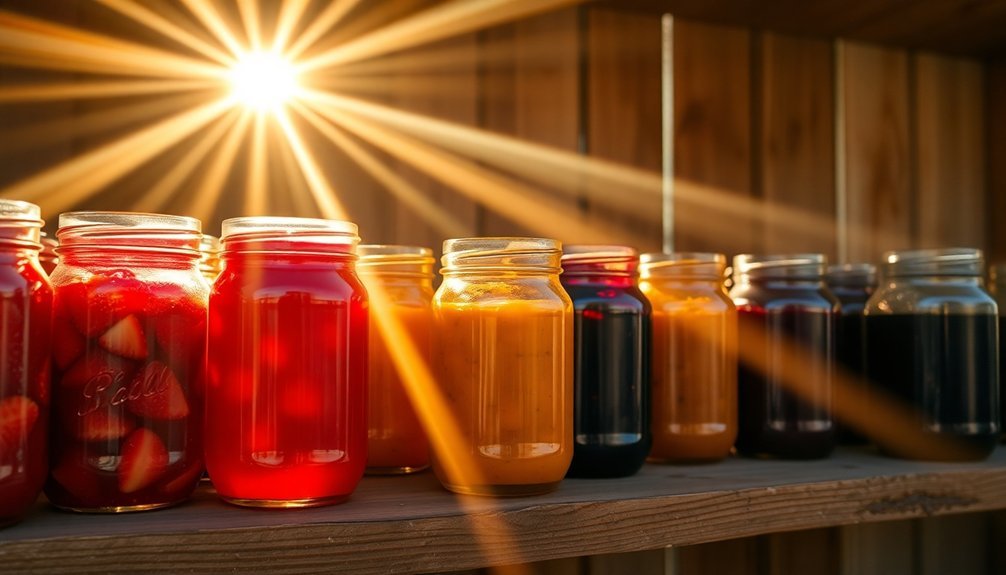
Storing Your Sugar Preserves
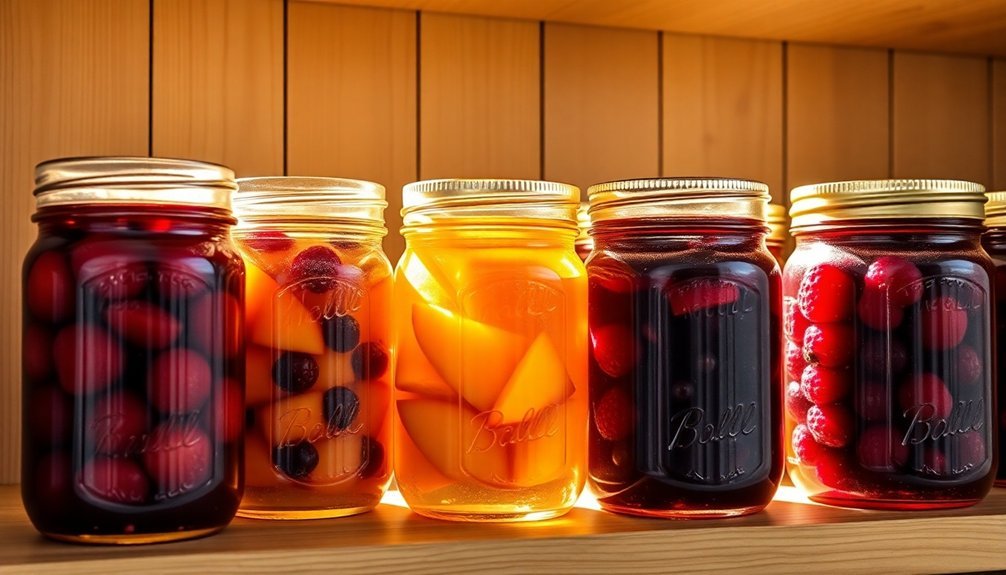
Successful storage of your sugar preserves starts with selecting the right containers and environment. Choose airtight glass jars or food-grade metal canisters with lined lids to prevent rust and contamination. You'll want to vacuum-seal canning jars whenever possible for ideal preservation.
Place your preserves in a cool, dry location away from direct sunlight and heat sources. Don't store them near vents or in refrigerators where moisture levels are high. Keep your preserves away from strong-smelling foods since sugar readily absorbs odors.
You'll also want to avoid areas where chemicals are stored or where there's a risk of liquid spills.
If you notice any crystallization in your preserves, you can easily fix this by placing the sealed container in hot water until the crystals dissolve. Remember to label each container with the date of preparation to track freshness. For longer storage, consider adding moisture absorbers to your containers.
When handling your preserves, always use clean utensils and make sure the container's rim stays free from sugar residue, which can prevent a proper seal.
Don't store opened preserves in their original packaging; instead, transfer them to appropriate storage containers.
Frequently Asked Questions
Can I Use Honey or Artificial Sweeteners Instead of Sugar?
You can use honey (3/4 cup equals 1 cup sugar) and adjust liquid content accordingly. For artificial sweeteners, only Splenda's approved for preservation, but remember both options may affect texture and shelf life.
Why Do My Preserves Crystallize in Storage Sometimes?
Your preserves can crystallize if you've used excess sugar, left undissolved crystals during cooking, stored them with loose lids causing evaporation, or cooked them too slowly. Proper measurement and technique prevent this issue.
Is It Possible to Reduce Sugar Content While Maintaining Preservation?
Yes, you can reduce sugar while maintaining safe preservation. Try using approved alternatives like Splenda®, fruit juices, or water. Just know you'll likely notice changes in texture, color, and firmness of your preserved fruits.
What Causes Preserve Discoloration During Storage?
Your preserves can discolor due to high temperatures, excess humidity, light exposure, and chemical reactions. You'll notice browning when storage isn't ideal, especially if you've kept them in warm, bright places.
Can Frozen Fruit Be Used to Make Preserves?
Yes, you can use frozen fruit to make preserves. You'll need to thaw it first to prevent juice loss, then follow standard preserve-making steps. It's essential to thaw quickly to maintain texture and thickening properties.
In Summary
You'll find sugar preserves are both a science and an art that's worth mastering. Now that you've learned the proper ratios, techniques, and safety measures, you're ready to start preserving your own fruit. Remember to choose ripe, quality fruit and follow the recipe carefully. Once you've mastered the basics, you can experiment with different combinations and create your own signature preserves to enjoy year-round.


Leave a Reply