
To make perfect fruit leather, start by selecting ripe fruits like berries and stone fruits for flavor and consistency. Wash and chop them into small pieces before blending into a smooth puree. Spread the mixture evenly on a lined baking sheet, ensuring it's about ⅛ to ¼ inch thick. Dry the leather at around 140°F using a dehydrator or oven, checking for a firm, pliable texture. Once dried, cut into strips and store in airtight containers. Don't be afraid to experiment with different fruit combinations. Stick around for more tips to enhance your fruit leather experience!
Selecting the Ideal Fruit
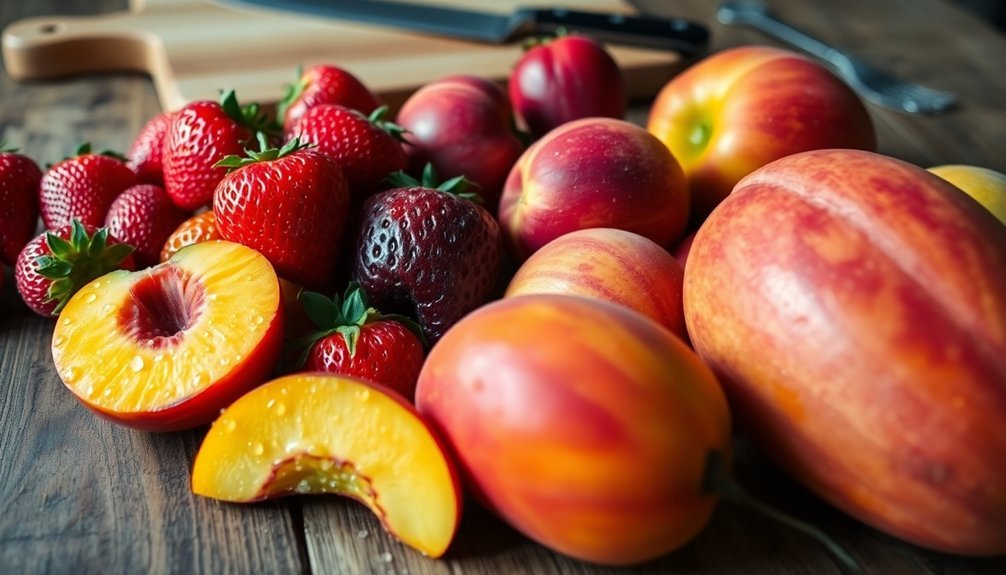
When it comes to selecting the ideal fruit for your fruit leather, you'll want to focus on varieties that offer the right balance of flavor, texture, and pectin content.
Berries like strawberries, blueberries, and raspberries are excellent choices due to their rich flavors. Stone fruits such as apricots, plums, and peaches also work well, providing both sweetness and the necessary pectin for a successful leather.
For tropical flair, consider mangos and pineapples, which add unique tastes. Apples and pears are versatile and help guarantee your leather has the right consistency.
Combining fruits can enhance your leather's flavor; for instance, mixing high-water fruits like melons with drier options creates a balanced texture. Bananas are great for sweetness but should be used alongside other fruits.
Pay attention to pectin content; apples, plums, and citrus fruits play crucial roles in achieving a crack-free leather. Raw and cooked fruit options also yield good results when making fruit leather.
However, avoid using bananas or melons alone, as they may lead to undesirable textures. Finally, steer clear of under-ripe or over-ripe fruits, as they can impact overall flavor and quality.
Preparing Your Ingredients
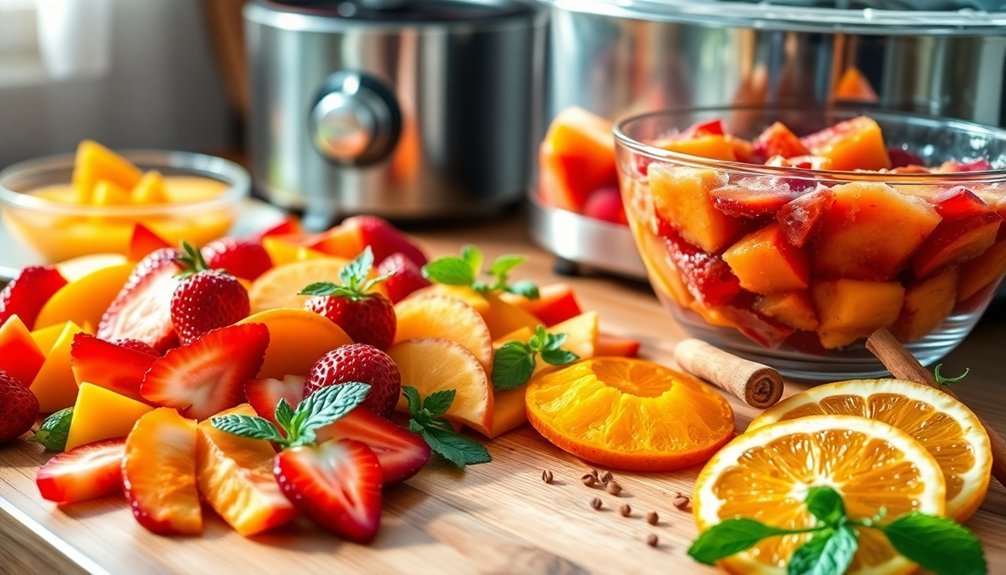
When preparing your ingredients for fruit leather, start by selecting ripe fruits that offer the best flavor. Clean and sort your fruits thoroughly to guarantee they're free from dirt and blemishes. Finally, use proper cutting techniques to chop your fruit into manageable pieces before blending. Using fresh fruit is essential for creating delicious homemade fruit leather, as it allows you to enjoy the natural sweetness of the fruit without added sugars.
Selecting Ripe Fruits
Selecting ripe fruits is essential for making delicious fruit leather. When you pick the right fruits, you enhance the flavor and texture of your final product. Aim for fruits that are ripe or just slightly overripe, as they provide the perfect sweetness and richness. Additionally, certain fruits like berries, bananas, and apples are particularly well-suited for creating flavorful leather.
You can choose from a variety of fruits, including berries, bananas, apples, and peaches. If you're feeling adventurous, don't hesitate to mix different fruits for unique flavor combinations!
Here are some fruits that will ignite your taste buds:
- Juicy peaches bursting with sweetness
- Tart apples that add a invigorating zing
- Succulent strawberries that evoke summer memories
- Luscious mangoes that transport you to tropical paradise
Cleaning and Sorting
After you've chosen your ripe fruits, it's time to focus on cleaning and sorting them to guarantee the best quality for your fruit leather. Start by washing your fresh fruit or berries in cool water. Make sure you remove all dirt and debris from the surface; clean water is essential to prevent contamination and maintain safety. The cool temperature helps avoid softening or damaging the fruit during this process.
Next, remove any peels from tough-skinned fruits, while leaving soft-skinned options like peaches as they are. Don't forget to take out seeds and pits from cherries, plums, and peaches, along with stems and leafy tops from strawberries. This not only guarantees a smoother texture but also reduces the risk of bitter flavors.
If you're using canned or frozen fruit, drain any excess liquid to maintain the right consistency. For frozen fruit, thaw it first. Strain canned fruit as needed, and save any reserved liquid for adjustments later.
Finally, inspect your fruit for any blemishes or signs of spoilage, and remove damaged parts. This step is essential for achieving a high-quality fruit leather.
Cutting Techniques
To achieve the best results in making fruit leather, it's crucial to cut your fruit properly. Start by washing your fruit in cool water to remove dirt and pesticides. Depending on the type of fruit, you might need to remove the peel, seeds, and stems to guarantee a smooth puree.
Once cleaned, cut the fruit into manageable chunks—this step makes blending easier and guarantees a uniform consistency.
Here are some key techniques to remember:
- Always wear gloves if you're handling sticky fruits like mangoes; it keeps your hands clean!
- Use a sharp knife to make clean cuts and reduce bruising.
- Cut larger fruits into smaller pieces to speed up the blending process.
- Thaw frozen fruits completely and drain excess liquid to avoid a watery mixture.
After you've prepared your fruit, puree it until smooth, adding lemon or lime juice to keep colors vibrant.
Perfecting the Blend
When it comes to perfecting the blend for your fruit leather, using ripe or slightly overripe fruit is key to achieving a sweeter and chewier texture. Choose fruits at their peak ripeness for the best flavor; this makes a significant difference.
You can also combine different fruits to create a unique taste and desired consistency. For instance, mix high-water-content fruits like melons or citrus with drier options to balance the moisture levels.
Before blending, thoroughly rinse your fruit and remove any blemishes. Peel tough-skinned fruits and pit or core as needed. Cutting your fruit into small to medium-sized chunks helps guarantee a smooth blend.
Use a high-powered blender or food processor for the best results. While blending, add lemon juice and any desired spices or sweeteners to enhance flavor.
If you're working with seeds from berries, consider straining the puree through a fine sieve to avoid clumps. For denser fruits like carrots or beets, cooking them beforehand can make blending easier.
Aim for an evenly distributed, lump-free puree to set yourself up for success with your fruit leather.
Spreading the Mixture Evenly
When spreading the fruit puree, use a rubber spatula for the best results.
It's essential to maintain a uniform thickness of about ⅛ to ¼ inch to guarantee even drying throughout.
Also, skip the foil lining; it can cause sticking and uneven texture in your final product.
Use a Rubber Spatula
A rubber spatula is essential for spreading your fruit mixture evenly across the baking sheet. When you pour the fruit puree onto the lined sheet, grab your spatula and start smoothing it out. This tool helps you reach every corner, ensuring that the mixture touches the edges and creates a uniform layer.
As you spread, gently tap the sides of the baking sheet to release any trapped air bubbles.
Remember, achieving a smooth surface is vital for even drying, so take your time. Here are some emotions you might feel when you see that perfect layer:
- Satisfaction: Watching the mixture transform into a beautiful, even layer is incredibly rewarding.
- Excitement: Knowing that you're one step closer to delicious fruit leather boosts your anticipation.
- Pride: You'll feel proud of your handiwork when your friends ask how you made it.
- Confidence: Mastering this step empowers you to experiment with different flavors and techniques.
Use your rubber spatula to make those final adjustments, ensuring there are no wrinkles or bubbles left. This attention to detail will pay off in the end!
Maintain Uniform Thickness
After smoothing out your fruit mixture with a rubber spatula, it's important to focus on maintaining a uniform thickness.
Start by lining your dehydrator trays with nonstick silicone mats to prevent sticking. Pour the fruit puree onto the mats, making certain it spreads evenly. Use an offset spatula or the back of a spoon to achieve a consistent thickness of about ⅛ inch. This thickness helps prevent uneven drying, so make sure the center isn't thicker than the edges, as the center will dry last.
You can also employ craft wood spacers to control thickness. Secure two side wood pieces on your counter with masking tape, then pour the puree between them. Use a third piece of wood to push and pull the mixture for uniformity. Adjust the spacers based on your desired thickness.
When spreading, keep the rectangle slightly smaller than the mat to avoid edges drying faster than the center.
Monitor the drying process and adjust as needed to guarantee consistent results. By following these tips, you'll set yourself up for perfectly dried fruit leather every time.
Avoid Foil Lining
Using foil lining for your fruit leather isn't recommended due to several significant drawbacks.
First and foremost, foil can react with acidic fruits, altering the flavor and texture of your creation. Additionally, it doesn't allow for even air circulation, which can lead to uneven drying. You might also find that the fruit puree sticks to the foil, making it a hassle to remove the leather when it's done.
Finally, foil can impart an unpleasant metallic taste, ruining your hard work.
Here are some reasons to avoid foil lining:
- It can compromise the delicious flavor you're aiming for.
- Uneven drying means some parts are chewy while others are hard.
- Sticking to the foil can lead to frustration and wasted ingredients.
- An off-putting metallic taste can ruin your fruit leather experience.
Instead, opt for parchment paper, silicone mats, or Paraflexx sheets. These alternatives guarantee easy removal and even drying.
When spreading your mixture, use a spoon or spatula, keeping the edges slightly thicker and maintaining a uniform layer. This way, you'll create the perfect fruit leather every time!
Optimal Drying Techniques
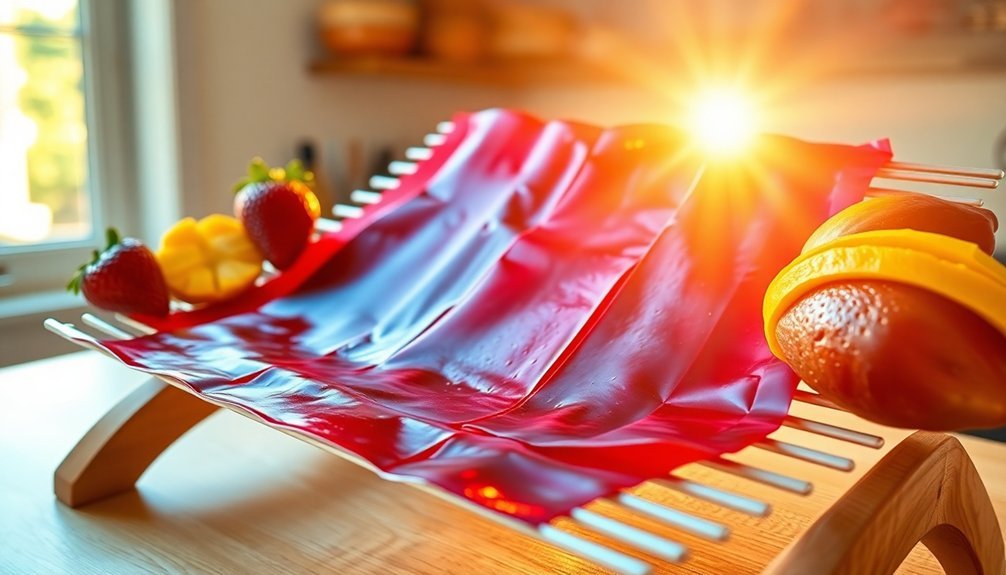
Mastering ideal drying techniques is vital for achieving delicious, pliable fruit leather. Start by setting your drying temperature around 140°F. This temperature prevents case hardening and guarantees even drying. Higher temperatures can cook the fruit leather, hardening the outside while trapping moisture inside. Use a thermometer to maintain this important temperature, especially in your oven.
Consider your drying environment as well. Low humidity aids the drying process, so avoid drying during rainy or humid days. If you can, increase air circulation to speed up drying; leaving the oven door propped open or using a fan can help.
Dehydrators are the most efficient option, taking about 6-8 hours, thanks to their built-in fans. Ovens can also work, but expect up to 18 hours for drying.
When preparing your fruit puree, spread it evenly on the drying tray, keeping it about 1/8 to 1/4 inch thick. Leave a small border around the edges to prevent overflow during the drying process.
Using specialized trays lined with Paraflexx sheets or parchment paper will yield the best results. Avoid waxed paper or aluminum foil, as they're not suitable for drying fruit leather.
Checking for Doneness
When checking for doneness, you'll want to rely on visual cues, touch tests, and timing.
Look for consistent coloring and slight translucency in your fruit leather, while ensuring it feels firm and solid to the touch.
Visual Cues to Observe
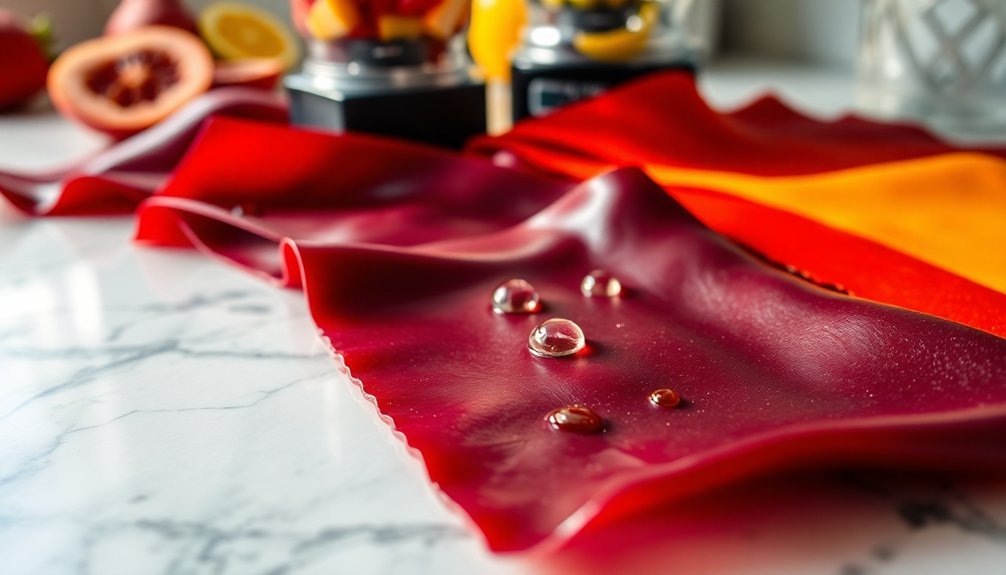
As you assess your fruit leather for doneness, keep an eye out for visual cues that signal it's ready to be enjoyed.
Start by checking the color; it should be even and consistent. Properly dried fruit leather will have a slightly translucent look, while any wet spots might appear lighter or darker. Make sure there are no patches that still resemble the original puree.
Next, observe the edges and flexibility. If the leather lifts easily without leaving residue, you're on the right track. It should be pliable and bend without cracking.
Look for these emotional cues as you evaluate your creation:
- Consistent Color: A beautiful, uniform shade makes your heart sing!
- Translucent Glow: That slight sheen hints at perfection.
- Clean Edges: Easy peeling feels like a small victory.
- Pliability: Flexibility indicates all your hard work paid off.
Trust your instincts; these visual indicators are your best friends in determining if your fruit leather is ready to be savored!
Touch Test Technique
A reliable touch test technique can greatly enhance your ability to determine the doneness of your fruit leather. Start by feeling the leather in several areas to check for even dryness. It shouldn't feel wet; any wet spots indicate it's not dry enough. A slight tackiness is acceptable, but it should feel more like a Post-It Note than glue. If it feels brittle and cracks when peeled, it's over-dried.
Next, perform the peeling test. Lift the edge of the leather; it should peel back easily without leaving residues. If the edges come off cleanly but the center sticks, it's not done yet. Properly dried leather will peel neatly from the pan.
Lastly, assess the flexibility and texture. Your fruit leather should be pliable and leathery, not brittle. It should bend without cracking and shouldn't stick to your hands. If it's excessively sticky or hard, it's a sign of improper drying.
Timing and Temperature Guide
Determining the perfect doneness for your fruit leather involves careful attention to timing and temperature. Whether you're using an oven or a dehydrator, keep a close eye on the process to guarantee you achieve that delightful, leathery texture.
- You want it flexible, not brittle.
- A vibrant color signals success.
- The sweet aroma of dried fruit fills your kitchen.
- You're one step closer to a tasty, homemade snack!
For the oven method, set your temperature to 250°F and bake for 2-3 hours, checking every hour. Look for even coloring and slight translucency; wet spots indicate further drying is needed.
If using a dehydrator, maintain a temperature of 135°F and check at the 6-hour mark, adjusting for thicker mixtures.
Whichever method you choose, let your fruit leather cool completely before handling. This cooling period is essential for maintaining flexibility.
Once cooled, peel it from the parchment or tray, roll it up, and store it in an airtight container. Remember, patience is key; the perfect fruit leather is worth the wait!
Cutting the Fruit Leather
Cutting fruit leather can be a rewarding step in the process, allowing you to create uniform pieces for easy snacking. Start by letting the fruit leather cool completely on the baking sheet; this helps it firm up. Once cooled, gently slide the parchment paper off the baking sheet and onto a cutting board for easier handling. Make sure the fruit leather is dry enough to touch and not sticky in the center.
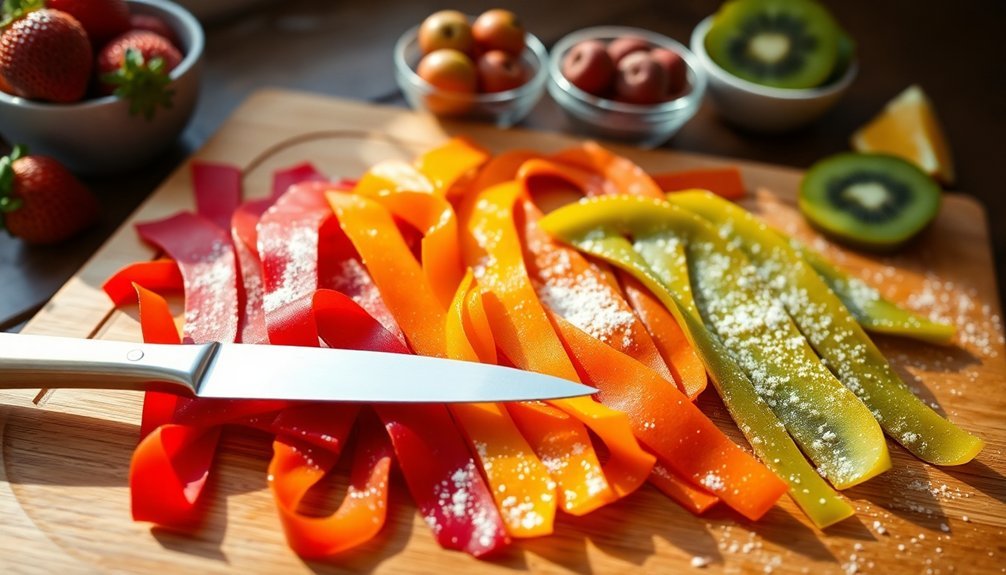
For cutting, use a pizza cutter to slice long strips lengthwise, then cut across them for even pieces. A knife is great for precise crosswise cuts, while scissors can work for quick strips. When cutting, remember to use a gentle sawing motion to avoid tearing.
If your fruit leather has fold lines, cut along those for uniformity. Aim for bite-sized portions by cutting strips into halves or quarters.
After cutting, roll the individual strips with parchment paper to prevent sticking. Keep everything in a clean, dry environment for best results. With these techniques, you'll have delicious, easy-to-enjoy fruit leather ready for snacking!
Storing for Freshness
Properly storing your fruit leather is essential for maintaining its freshness and flavor. To keep it at its best, find a cool, dry place away from direct sunlight, ideally between 60°F and 70°F (15°C to 21°C). If you want to prolong its shelf life, consider using your refrigerator or freezer.
Avoid high temperatures and humidity, as they can lead to spoilage and texture changes.
Here are some key tips for effective storage:
- Use airtight containers or zip-top bags to guard against air and moisture.
- Wrap individual pieces in parchment paper or plastic wrap for added protection.
- Check periodically for spoilage signs like mold or off-odors.
- Discard any fruit leather that looks questionable; it's not worth the risk!
Keep your fruit leather in food-grade plastic bags or clean, dry containers.
Remember to handle it with clean, dry hands to avoid introducing moisture. By following these simple guidelines, you can enjoy delicious, fresh fruit leather whenever you crave a healthy snack!
Experimenting With Flavors
When it comes to making fruit leather, experimenting with flavors can elevate your snacks to a whole new level. By combining different fruits, spices, and sweeteners, you can create unique and delightful treats that cater to your taste preferences.
Here's a quick reference table to inspire your flavor experiments:
| Flavor Base | Suggested Combinations |
|---|---|
| Strawberries | Beets for an earthy twist |
| Peaches | Basil for a sweet, herbaceous blend |
| Apples | Pumpkin and pumpkin pie spice for autumn |
Feel free to incorporate spices like cinnamon or cayenne pepper to enhance the depth of flavor. Adding sweeteners like honey or applesauce can also balance tartness and improve texture. Don't forget about the visual aspect; vibrant colors can make your fruit leather more appealing.
Try making a rainbow fruit leather by layering different purees or marbling two flavors together. This not only looks fantastic but also allows you to enjoy multiple tastes in one bite. So, get creative and have fun experimenting with flavors that excite your palate!
Troubleshooting Common Issues
Creating delicious fruit leather can sometimes come with its fair share of challenges. Don't worry; you can troubleshoot common issues to achieve that perfect texture and flavor.
- Uneven drying can be frustrating. To fix this, use an offset spatula to spread the puree evenly, about 1/4-inch thick. Rotate your dehydrator trays midway through the process to guarantee everything dries evenly.
- If your fruit leather turns out crispy or brittle, it could be due to overripe fruit. Stick to fully ripe fruits and consider adding applesauce or bananas to thicken the puree. You can also use instant pectin for a jammy texture.
- Mold and insect spoilage are nightmares. Always verify your fruit leather is completely dry before storing. Condition it in a jar for a week, checking for condensation daily—if you see any, re-dry it!
- Finally, proper storage is key. Use airtight containers and keep an eye out for moisture signs. Remember, cool the leather completely before rolling it up to prevent sticking.
With these tips, you'll be well on your way to perfecting your fruit leather!
Frequently Asked Questions
Can I Use Fruit With Bruises or Blemishes?
You shouldn't use fruit with bruises or blemishes. They can negatively impact the flavor and texture of your final product. Always remove damaged areas to guarantee a consistent and high-quality outcome for your recipes.
How Can I Tell if My Fruit Is Ripe Enough?
To tell if your fruit's ripe enough, check its color, feel for slight softness, and smell for sweetness. Look for plumpness and avoid any signs of mold or damage. Trust your instincts for the best results!
Is It Possible to Mix Different Fruits Together?
Yes, you can definitely mix different fruits together! Combining compatible fruits enhances flavors and textures. Experimenting with various combinations can lead to delightful surprises, so don't hesitate to try new mixes for unique tastes.
Can I Make Fruit Leather Without a Dehydrator?
Yes, you can make fruit leather without a dehydrator! Use your oven set to low heat, spread the pureed fruit on a baking sheet, and let it dry for several hours. Enjoy your homemade treat!
What Should I Do if My Fruit Leather Is Too Sticky?
If your fruit leather's too sticky, verify it's fully dried by checking moisture levels. Consider using drier fruits, reducing liquid sweeteners, and conditioning properly to achieve a better texture. Adjust accordingly for future batches.
In Summary
By following these tips, you'll be well on your way to making delicious, homemade fruit leather that's sure to impress. Remember to choose the right fruits, blend them just right, and dry them properly for the best results. Don't hesitate to get creative with flavors and experiment to find your perfect combination. With practice, you'll troubleshoot any issues and create fruit leather that's fresh, chewy, and packed with flavor every time. Enjoy your homemade treat!


Leave a Reply