
Building your own fruit leather dehydrator requires basic materials like wood for framing, stainless steel or BPA-free plastic for racks, and insect screening for ventilation. You'll need to construct a three-sided box with a hinged top panel, guaranteeing proper airflow by drilling intake vents at the bottom and outlet vents at the top. Install dual rows of square-stock rails for rack support, and include removable parchment paper or fruit leather sheets to prevent sticking. Set your target temperature between 120°F to 140°F for ideal drying results. Proper planning and material selection will guarantee your DIY dehydrator serves up perfectly dried fruit leather every time.
Materials and Tools Required
Before starting your DIY food dehydrator project, you'll need to gather two main categories of items: essential materials and tools.
For your materials, you'll need either a dehydrator or an oven as your primary drying method. You'll also require fruit leather dehydrator sheets or parchment paper, plus spray canola oil if you're using the oven method. Your fruit selection can include apricots, peaches, plums, berries, apples, pears, and grapes. Setting your device to 140°F for 4 hours will ensure proper dehydration.
Don't forget to pick up some lemons for preserving the fruit's color.
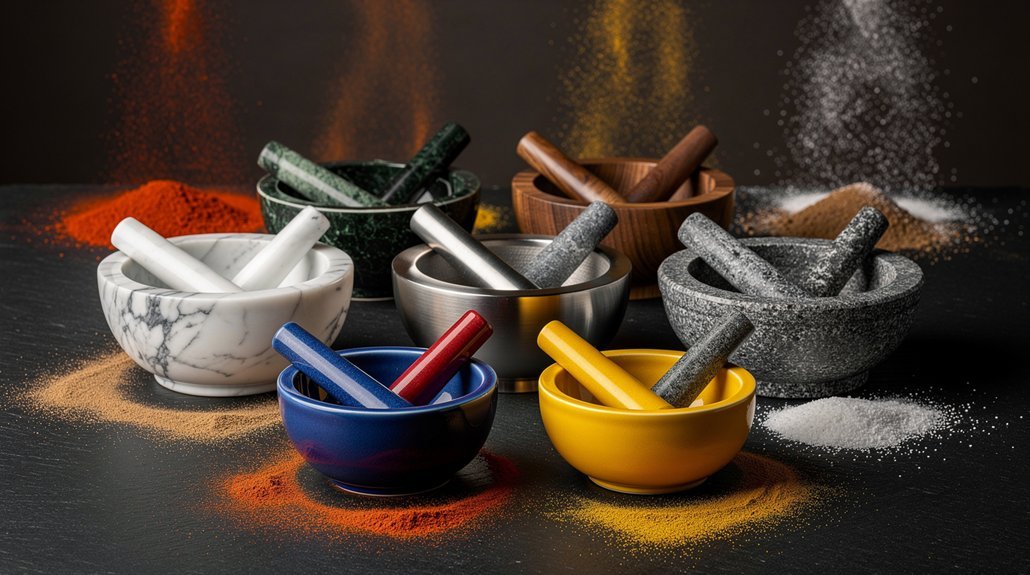
Your essential tools should include a blender or food processor for pureeing, measuring cups and spoons for precise portions, and a citrus juicer. You'll need basic prep tools like a colander, spatula, and both paring and chef's knives.
An offset spatula is vital for the dehydrator method. For achieving uniform thickness, consider getting craft wood for spacers and levelers, masking tape, and a pizza cutter.
If you're planning long-term use, invest in metal racks instead of plastic ones, and get a side-mounted fan for better air circulation. For storage, you'll need wax paper or parchment paper and airtight containers or plastic wrap.
Basic Frame Construction Steps
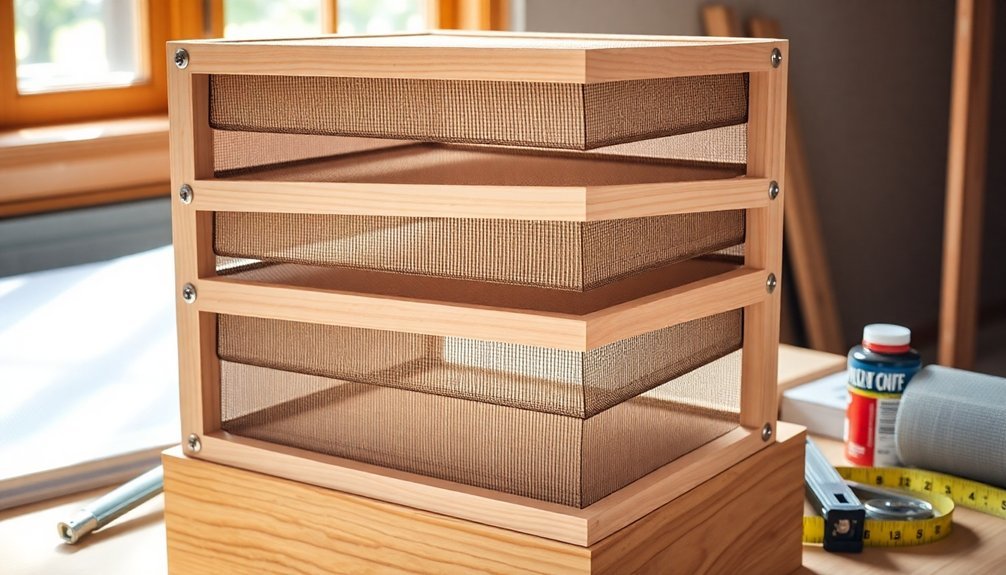
A solid frame forms the foundation of your DIY food dehydrator. For maximum strength, you'll want to use a pocket hole jig and screws to assemble the box structure. If you don't have a pocket hole jig, drill pilot holes and combine screws or nails with wood glue for a sturdy assembly.
Start by creating a three-sided box design, leaving room for a separate top panel that'll extend slightly beyond the box edges. When drilling the inlet holes, angle them slightly upward from the outside in on the side and back wall pieces. Place scrap material under the walls to prevent tear-out during drilling. Consider using 3/4 inch plywood for optimal durability and insulation properties.
Frame the top with dual rows of square-stock rails, and add scrap square-stock pieces to the underside of the top panel. You'll need to attach this top panel using 1" screws every three inches.
For extra stability, install 4" pieces of scrap square stock to reinforce the side frames toward the back.
For the door installation, use piano-style hinges at the top and bottom. Position the door inside the box, ensuring it fits snugly between the side walls and sits flush with the top and bottom edges.
Ventilation Design Elements
Proper ventilation design stands as the cornerstone of an effective food dehydrator.
You'll need to drill ventilation holes along one side of the frame, making certain to cover them with insect screening to keep unwanted pests out. Position your air intake vents near the bottom and larger outlet vents toward the top to maximize natural convection, as hot air will naturally rise and exit through the upper openings.
For peak performance, you'll want to install metal louvers with built-in insect screening over your ventilation openings. Maintaining temperatures between 120 to 140° F ensures optimal dehydration of your foods. You can experiment with different outlet configurations on either one or both sides to find what works best.
The key is to create a consistent airflow pattern that efficiently removes moisture from your food.
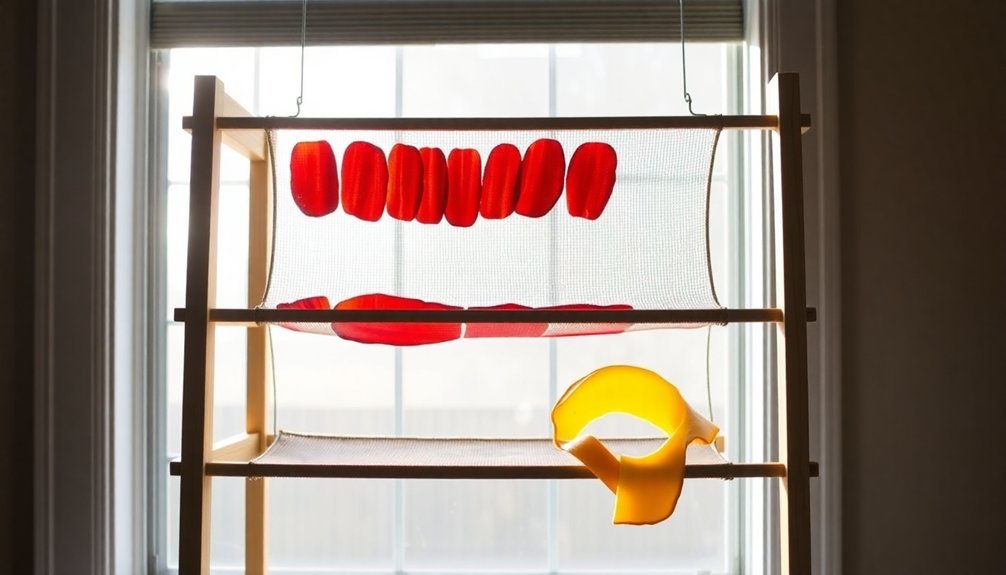
When setting up your drying racks, confirm they're breathable to allow air circulation around all food surfaces.
The chamber's design should promote even heat distribution, which you can achieve by using dark-colored materials like corrugated iron to absorb and re-radiate heat.
You'll find that proper air movement, combined with effective heat absorption, creates the ideal environment for dehydrating your fruits and vegetables.
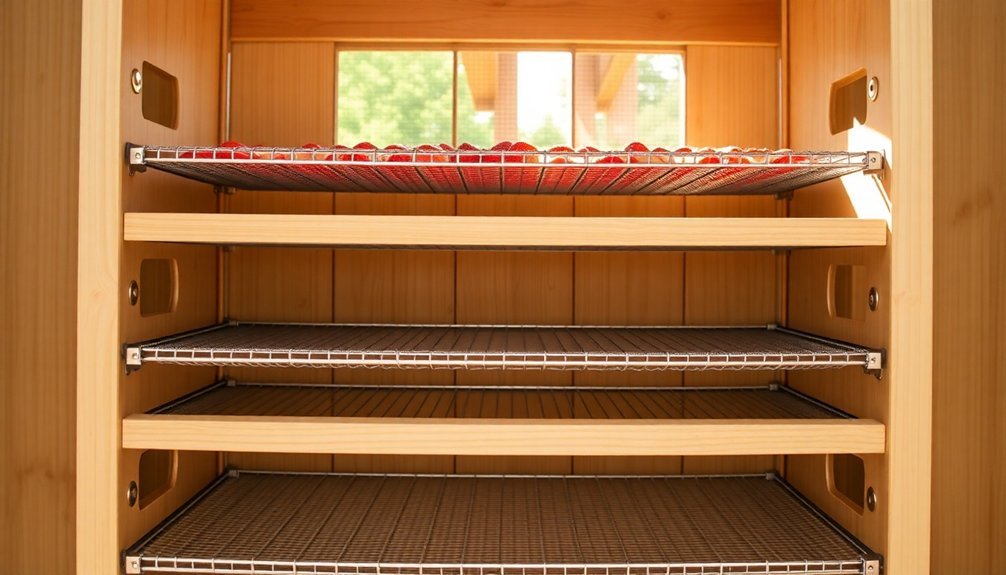
Rack Assembly Guidelines
Building your dehydrator's rack system requires careful attention to food-safe materials and precise assembly. You'll need to select durable materials like stainless steel or BPA-free plastic for the main rack components, while craft wood works well for spacers and levelers.
Don't forget to include parchment paper or fruit leather sheets to prevent sticking, though silicone baking mats can serve as an alternative.
When assembling the structure, verify your racks fit snugly within your dehydrator space while allowing for multiple layers. You'll want to maintain about 11×16 inches for standard oven use, incorporating stable bases and uniform spacing between layers for ideal air circulation.
Install adjustable spacers to customize the height between racks based on your fruit leather thickness.
Design your racks with smooth surfaces and removable components to make cleanup easier. You'll appreciate having racks that slide in and out effortlessly when loading fruit puree or removing finished leather.
Remember to position your spacers strategically to maintain even thickness throughout the drying process. By using durable, washable materials, you'll create a rack system that's both functional and long-lasting.
Testing Your Drying Setup
Testing your dehydrator's temperature accuracy marks a critical step before starting any food preservation project. You'll need to verify that your unit maintains the specified temperature to confirm both food safety and ideal drying results.
If you've built a vertical flow dehydrator, use a probe thermometer for accurate readings. For horizontal flow designs, opt for a regular hanging or stand-up oven thermometer instead.
To test your setup, start with an empty dehydrator and position your thermometer inside. Run the unit for at least 15 minutes to reach a stable temperature. Check if the actual temperature matches your set temperature, and repeat this test at different settings to understand your dehydrator's behavior. This step becomes especially important if you're working with a used unit or one that's been in storage.
Keep track of any temperature fluctuations you observe. If your dehydrator runs too hot, you risk destroying essential enzymes in raw foods. Conversely, if it runs too cool, you might compromise food safety, particularly when making items like jerky.
Use these findings to adjust your drying times and temperatures accordingly for consistent results.
Frequently Asked Questions
Can I Dehydrate Different Fruits on the Same Rack Simultaneously?
Yes, you can dehydrate different fruits together on the same rack. They won't transfer flavors, and they'll all dry well at 135°F. Just slice them to similar sizes and space them evenly.
How Long Will Homemade Fruit Leather Last in Storage?
Your homemade fruit leather will last 1-2 months at room temperature, up to 6 months when refrigerated, or up to a year when frozen. You'll get the best quality if you store it in airtight containers.
What Causes Fruit Leather to Become Sticky During Dehydration?
Your fruit leather becomes sticky when you've spread the puree unevenly, left air bubbles trapped inside, used overly ripe fruits with excess liquid, or haven't maintained proper drying conditions between 135-145°F.
Should I Rotate the Racks During the Dehydration Process?
Yes, you should rotate your racks every 2-3 hours during dehydration. It's essential for even drying, preventing sticky spots, and ensuring consistent results. Rotating helps maintain uniform air circulation throughout all trays.
Can I Use Frozen Fruit to Make Fruit Leather?
Yes, you can use frozen fruit to make fruit leather! Just thaw and drain it first to remove excess moisture, then puree until smooth. You'll get great results if you properly prepare the fruit before dehydrating.
In Summary
You've now built a functional DIY food dehydrator that'll serve you well for making fruit leather and other dried treats. Keep experimenting with different drying times and temperatures to achieve your ideal results. If you're noticing uneven drying, adjust the ventilation holes or tray spacing. Remember to clean the racks thoroughly between uses, and you'll enjoy homemade dried snacks for years to come.
Leave a Reply