
Proper storage of your fermented vegetables guarantees they'll stay fresh and probiotic-rich for up to 6 months. Keep them in your refrigerator at 41°F or below, using airtight mason jars with vegetables fully submerged in brine. A root cellar provides ideal conditions at 32-40°F with 85-95% humidity. Vacuum sealing extends freshness 3-5 times longer than conventional storage. For smaller batches, combine partially filled jars and use mini mason jars for individual servings. Monitor brine levels regularly and top off as needed. Use fermentation weights or cabbage leaves to keep vegetables submerged. These essential storage methods are just the beginning of mastering fermented food preservation.
Refrigerator Storage Methods

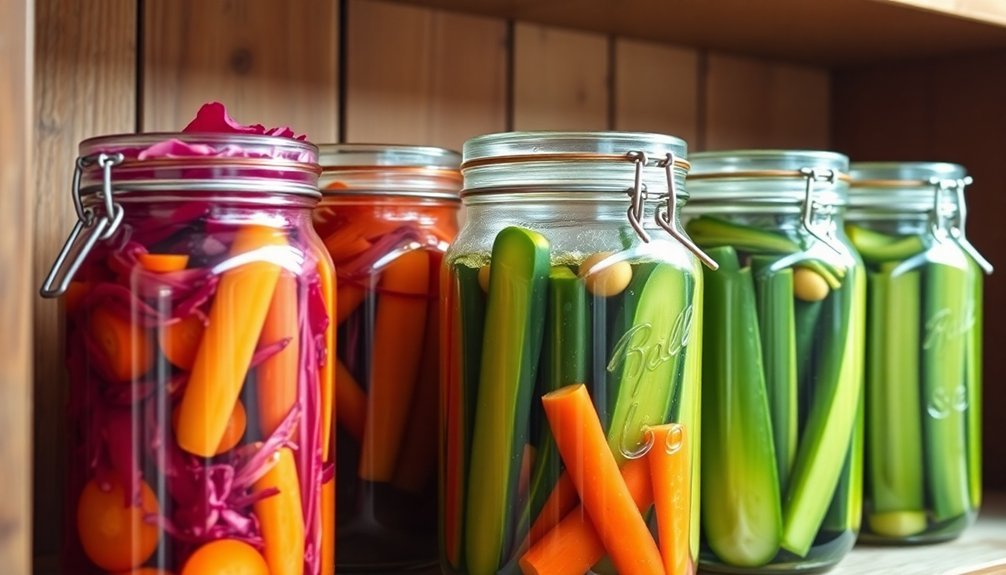
Preserving fermented vegetables properly starts with refrigeration at 41°F or below. This temperature range, between 32 and 50 degrees Fahrenheit, creates ideal conditions for slow fermentation while maintaining the beneficial bacteria that make your ferments healthy.
Traditional storage methods often used cold cellars or buried containers to achieve these temperatures naturally. While cool storage won't completely halt the fermentation process, it'll considerably slow it down, allowing your vegetables to age gracefully.
When you're ready to refrigerate your ferments, you'll need to remove any airlocks and replace them with regular lids. Make sure you tighten these lids securely to minimize air exposure, but first verify that there's enough brine covering your vegetables.
Place your containers in the darkest part of your refrigerator to protect them from light exposure, which can affect their quality.
You'll want to monitor your ferments regularly by checking brine levels and watching for any unusual mold growth. Don't forget to label your containers with dates so you can track storage time.
When stored properly, your fermented vegetables can last up to 3 months, with some varieties like sauerkraut and pickles remaining good for 6-7 months.
Remember to combine smaller batches into larger containers to maximize space and streamline your storage.
Root Cellar Organization
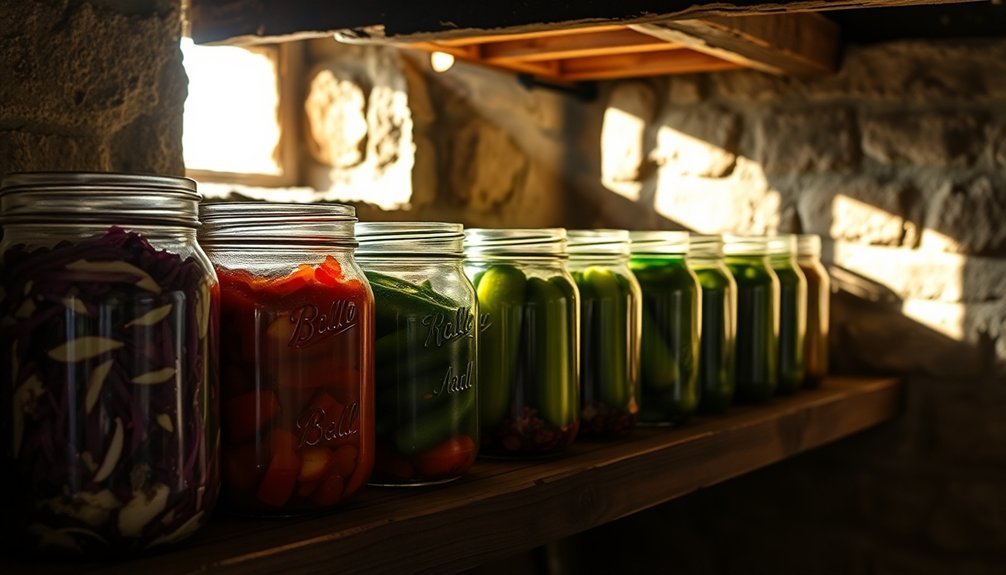
A well-organized root cellar provides ideal conditions for your fermented vegetables through careful temperature and humidity control.
Building your cellar below ground level provides the best natural insulation for stable storage conditions.
You'll need to maintain temperatures between 32-40°F (0-4°C) and humidity levels of 85-95% to preserve your ferments' quality. Install thermometers and hygrometers to monitor these conditions, and adjust ventilation as needed.
Proper air circulation is essential for preventing mold growth and removing ethylene gas. Use fans or ventilation systems to maintain airflow, and keep lights off to protect your produce.
Store your fermented vegetables in completely sealed mason jars, organizing them in sturdy containers or bins that allow for adequate air movement.
Follow these essential steps for best root cellar organization:
- Separate ethylene-producing foods from your ferments to prevent spoilage
- Label all containers and track inventory using a whiteboard or notebook
- Check regularly for signs of spoilage, loose lids, or unusual smells
- Rotate stored items to maintain best conditions and prevent contamination
Remember to keep your root cellar clean and free from contaminants while maintaining consistent environmental conditions through regular monitoring and adjustments.
Vacuum Sealed Containers
While vacuum sealing isn't suitable during fermentation, you'll find it's an excellent storage method once your vegetables have fully fermented.
You'll need a vacuum sealer, compatible bags or containers, and jar attachments to properly store your fermented vegetables and protect them from oxygen exposure.
Before starting the sealing process, make sure you've gathered all necessary supplies and that your fermented vegetables are completely submerged in brine to maintain their quality during storage. Vacuum sealing can help your fermented vegetables stay fresh for 3-5 times longer than using conventional plastic bags.
Prevent Oxygen Exposure Benefits
One of the most essential benefits of vacuum-sealed containers lies in their ability to create an oxygen-free environment for your fermented vegetables.
When you prevent oxygen exposure, you're protecting your ferments from unwanted bacteria and mold while creating the perfect conditions for beneficial lactobacillus to thrive. This anaerobic environment is vital for producing lactic acid, which naturally preserves your vegetables.
You'll want to maximize these benefits by following these key steps:
- Keep your vegetables completely submerged in brine at all times
- Use vacuum-sealing systems like Foodsaver for specific fermentation projects
- Add salt water mixture if brine levels drop too low
- Minimize how often you open your containers during fermentation
Equipment and Supplies Needed
Successful fermentation depends on having the right equipment in your kitchen. You'll need a reliable vacuum sealing system like Foodsaver to remove air from your storage bags effectively. These systems create the ideal environment for lacto-fermentation while limiting oxygen exposure during the process.
| Equipment Type | Key Features | Best For |
|---|---|---|
| E-Jen Containers | Inner airlock, vacuum board | Kimchi, large batches |
| Vacuum Sealers | Air removal, food-safe bags | Long-term storage |
| Weights & Dishes | Glass/ceramic materials | Keeping veggies submerged |
For peak results, you'll want to invest in specialized fermentation containers like E-Jen Kimchi containers, which come with built-in vacuum intercept boards. These containers are available in various sizes and include adjustable plungers to maintain proper pressure. Don't forget about proper submersion methods – you'll need fermentation weights made of ceramic or glass to keep your vegetables under the brine. You can also use large cabbage leaves or small ceramic dishes as alternative weights. Remember to sterilize all your equipment before use and maintain proper storage conditions in a cool, dark place for 4-6 weeks before transferring to refrigeration.
Step-by-Step Sealing Process
Now that you've gathered your equipment, let's focus on the proper sealing technique for your fermented vegetables. Your success depends on creating an airtight environment that'll protect your fermentation while allowing for natural expansion during the process.
- Begin by cutting your vacuum seal bag with extra length to accommodate fermentation gases.
- Double-seal the bottom edge to prevent any potential leaks during the fermentation period.
- Mix your vegetables thoroughly with salt and any additional ingredients, maintaining a 2% salt ratio for vacuum sealing.
- If you're using a starter brine, add it now to jumpstart the fermentation process.
- Fill your prepared bag with the mixture, leaving adequate headspace for expansion.
- Remove as much air as possible using your vacuum sealer or alternative method, then double-seal the top in two separate places.
- Test your seal by gently squeezing the filled bag and checking for leaks.
- You'll need to monitor the bag daily, massaging it occasionally to redistribute the mixture.
- If you notice excessive gas buildup, carefully snip the top corner and reseal to release pressure.
Remember to check your seals regularly throughout the fermentation process to verify they remain intact and effective.
Brine Level Management
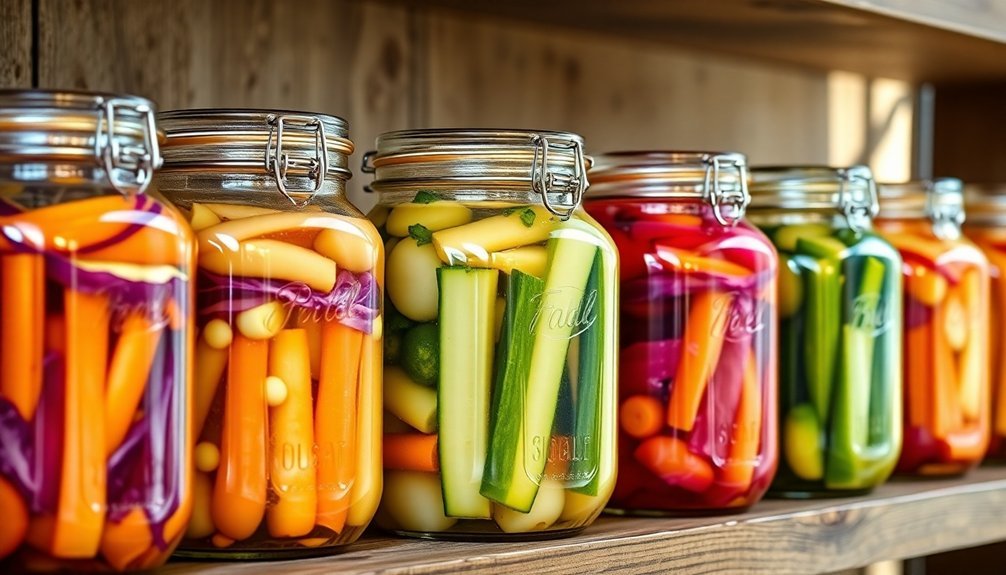
Maintaining proper brine levels in your fermented vegetables plays an essential role in their preservation and flavor development. You'll need to keep all vegetables completely submerged in the brine to prevent exposure to oxygen and minimize the risk of spoilage.
To guarantee proper coverage, pack your vegetables tightly into jars and use fermentation weights or large cabbage leaves to keep them submerged. Leave enough headspace at the top of the jar for the brine to fully cover the contents without overflowing.
As fermentation progresses, you'll need to monitor and adjust brine levels regularly. When you notice the brine level dropping, top it off with fresh brine or use liquid from another successful ferment. You can also combine partially used jars to maintain adequate coverage.
For long-term storage, use a stronger brine solution, typically 3 tablespoons of salt per quart of water. If you're storing ferments in colder conditions, reduce the salt content by half.
To prevent mold growth, minimize air space in your containers by repacking ferments into smaller jars as you consume them. Always tighten lids after adjusting brine levels and store your ferments in cool, consistent temperatures.
Small Batch Preservation
When you're working with small batches of fermented vegetables, you can combine partially filled jars to maximize space and maintain proper brine coverage.
You'll get better results by vacuum sealing smaller portions, which helps prevent oxidation and extends shelf life in cold storage.
Mini mason jars are perfect for storing individual servings while maintaining the integrity of your remaining ferments, as opening larger jars too frequently can compromise preservation.
Combining Partial Jars
Smart jar management becomes essential as you consume your fermented vegetables and end up with multiple partially-filled containers. When you're dealing with partial jars, combining them strategically helps maintain quality and prevent waste.
You'll want to verify proper brine levels and minimal air exposure to keep your ferments fresh and mold-free.
Follow these key steps when combining partial jars:
- Choose similarly-sized containers and transfer ferments into the smallest suitable jar to minimize air space – if you've used half of a gallon jar, move the contents to a quart container.
- Press down firmly on the vegetables to release any trapped air bubbles and verify they're fully submerged in the brine.
- Top up the brine level if needed using fresh salt brine or liquid from another successful ferment of the same type.
- Store your combined ferments in cool conditions between 32-50°F (0-10°C) to slow fermentation.
You can also experiment with blending different fermented vegetables to create unique flavor combinations.
Just remember to maintain proper brine coverage and cool storage conditions regardless of whether you're storing single varieties or creative blends.
Vacuum Seal Small Portions
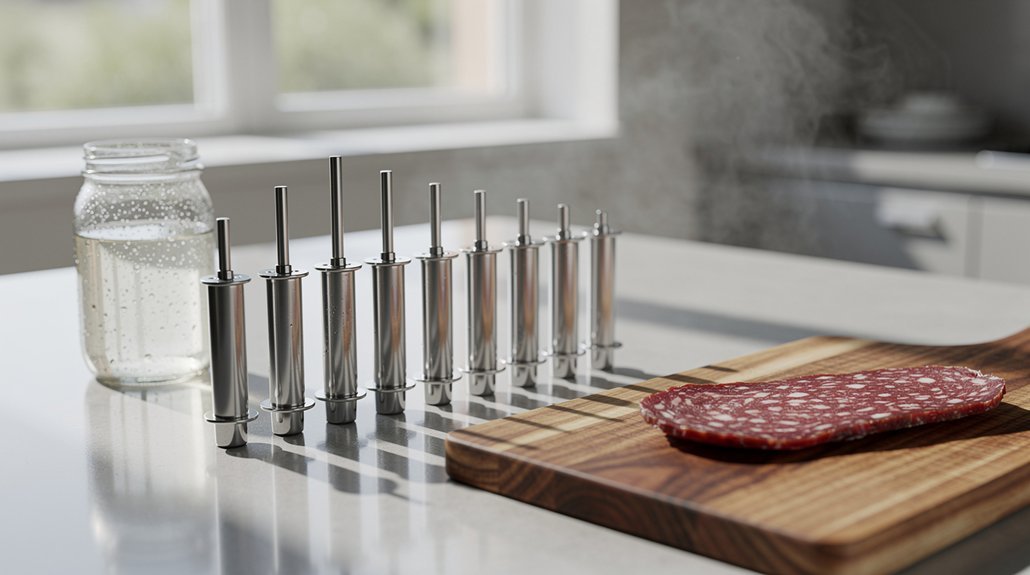
Vacuum sealing offers a practical solution for preserving small batches of fermented vegetables while minimizing oxygen exposure and salt requirements. You'll need durable bags that can accommodate fermentation expansion and a reliable vacuum sealer to remove air effectively.
Double-seal the top and bottom of each bag to prevent any leakage during the fermentation process. You can reduce your salt content to about 2% since the anaerobic environment created by vacuum sealing naturally inhibits mold growth.
Before sealing, verify you've left enough headspace in the bags for the vegetables to expand as they ferment. Store your sealed portions in cool conditions between 32 and 50 degrees Fahrenheit to slow fermentation and extend shelf life.
Monitor your vacuum-sealed portions regularly for CO2 buildup, and release excess air if needed to prevent the bags from bursting. You'll find these preserved vegetables can last several months to a year when stored properly.
If you want to completely halt fermentation, you can freeze your sealed portions using multiple layers of protection. Remember to inspect the seals periodically and check for any signs of spoilage or damage to maintain food safety.
Mini Mason Jar Storage
Mini Mason jars provide an ideal solution for preserving small batches of fermented vegetables while maintaining peak freshness. When you're working with smaller quantities, these compact containers help minimize air exposure and prevent spoilage during long-term storage.
You'll want to select wide-mouth mini jars that are free from any defects to guarantee proper preservation.
To maximize your mini jar storage success, follow these essential steps:
- Pack your fermented vegetables tightly into the clean mini jars, leaving minimal headspace to reduce air exposure and potential mold growth.
- Top off each jar with fresh brine until the vegetables are completely submerged, using small glass or ceramic weights to keep everything below the liquid.
- Secure the lids tightly after fermentation is complete, checking that the seal is proper and intact.
- Store your filled mini jars in a cool environment like your refrigerator or root cellar.
You can easily combine similar ferments into these smaller containers when your larger batches start running low.
Remember to maintain proper brine levels and periodically check the seals to guarantee your fermented vegetables stay fresh and crisp throughout their storage life.
Freezer Storage Solutions
Proper storage in your freezer can effectively preserve fermented vegetables while maintaining their probiotic benefits and flavors. To prepare your ferments for freezing, transfer them into freezer-safe containers or heavy-duty freezer bags, leaving about 1/2 inch of headspace for expansion.
Don't forget to remove airlocks and replace them with regular lids. You'll want to protect your ferments from freezer burn by using multiple layers of protection. Double or triple wrap them, and consider placing the containers or bags inside a paper bag for extra insulation.
Make sure your freezer maintains a temperature of 0°F (-18°C) or below, and store your ferments in the coldest part of the unit.
When freezing your fermented vegetables, you're fundamentally pausing the fermentation process without compromising nutritional value or probiotic content. When you're ready to use them, thaw the vegetables in your refrigerator or at room temperature.
Once thawed, keep them refrigerated to control any renewed fermentation activity. You'll find that properly frozen and thawed fermented vegetables maintain their quality and can be used in various dishes.
Just remember to consume them within a few weeks after thawing for the best flavor and texture.
Cold Pantry Techniques
Beyond freezer storage, a well-maintained cold pantry offers an excellent environment for storing your fermented vegetables. The ideal temperature range of 50-65°F makes a cold pantry, cellar, or basement perfect for maintaining your ferments' quality and flavor.
You'll want to guarantee your storage area stays away from direct sunlight and maintains consistent temperatures to prevent unwanted fermentation acceleration.
When setting up your cold pantry storage system, follow these essential steps:
- Choose an area with stable temperatures, ideally around 55°F, avoiding spaces with frequent temperature fluctuations.
- Select appropriate containers like wide-mouth mason jars with plastic lids or large glass containers that provide an airtight seal.
- Position your storage containers away from walls that might transfer heat or cold.
- Monitor your vegetables regularly for proper submersion in brine and any signs of spoilage.
Keep your fermented vegetables submerged in their brine at all times, as this maintains the anaerobic environment necessary for preservation.
You'll find that a well-organized cold pantry can effectively slow down fermentation while maintaining the probiotic benefits of your vegetables. Remember to taste your ferments periodically to guarantee they haven't become too sour.
Frequently Asked Questions
Can I Mix Different Types of Fermented Vegetables in the Same Storage Container?
You can mix different fermented vegetables in one container, but you'll need to monitor them closely. Make sure they're fully fermented, covered in brine, and watch for any signs of spoilage or mold.
How Long Should I Wait Before Moving Fermented Vegetables to Cold Storage?
You'll want to wait until the bubbling has mostly stopped and you're happy with the taste, typically 1-3 weeks. Check daily and move to cold storage when the flavor is pleasantly tangy and fermentation slows.
What Signs Indicate My Stored Fermented Vegetables Have Gone Bad?
You'll know your fermented vegetables have spoiled if you spot mold growth, notice unusual colors, smell putrid odors, or find mushy textures. Don't eat them if they've lost their pleasant sour aroma.
Should I Rinse Fermented Vegetables Before Using Them in Recipes?
It's generally not necessary to rinse fermented vegetables. If you do, you'll lose some probiotics and flavor. However, you can briefly rinse them if you find them too salty or sour.
Can I Reuse the Brine From Finished Ferments for New Batches?
Yes, you can reuse brine from finished ferments for new batches. Add 1/2 cup to a quart jar of fresh vegetables. Just make sure the original brine isn't cloudy or showing signs of Kahm yeast.
In Summary
Whether you're storing kimchi, sauerkraut, or pickled carrots, proper storage makes all the difference in preserving your fermented vegetables' flavor and crunch. You'll get the best results by choosing the method that fits your space and needs. Remember to check your ferments regularly, maintain proper brine levels, and keep them at consistent temperatures. With these storage techniques, you'll enjoy your probiotic-rich veggies for months to come.

Leave a Reply