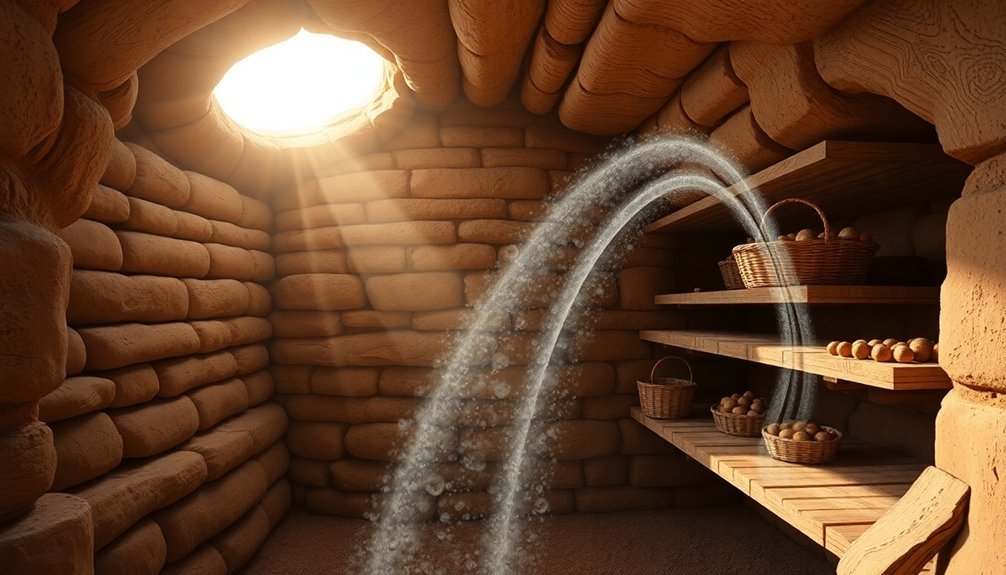
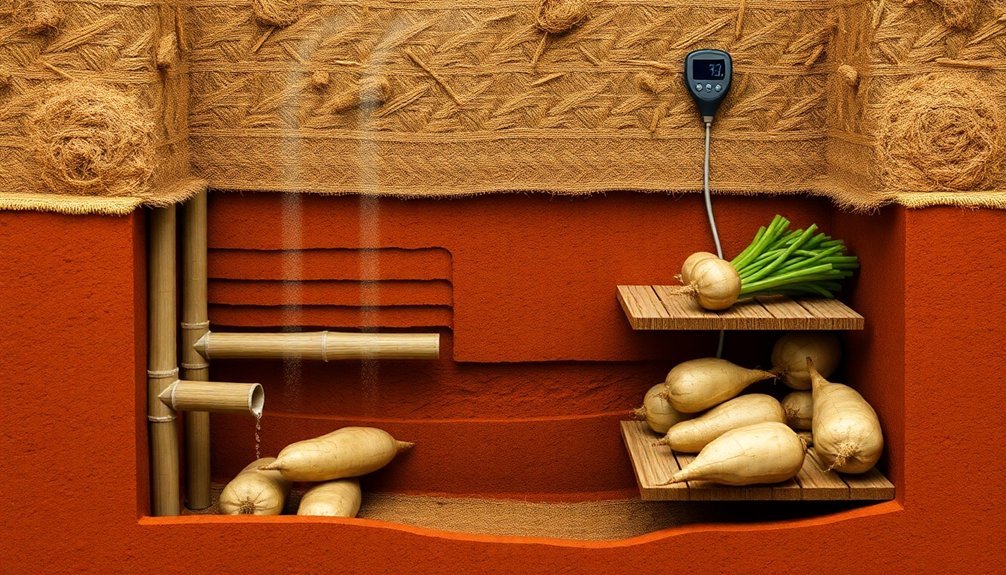
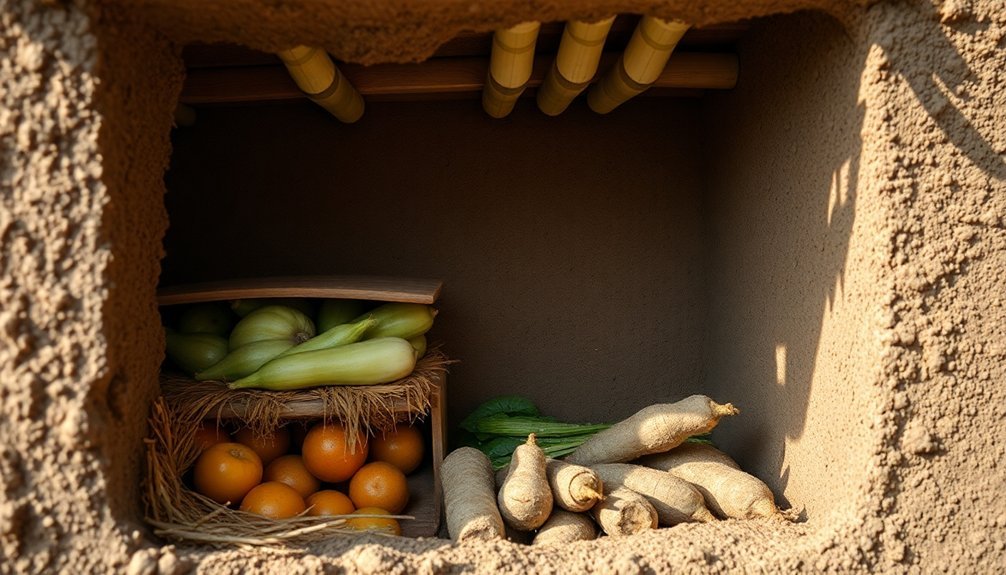
To master underground airflow for pit food preservation, you'll need to maintain temperatures between 35-45°F (2-7°C) through strategic ventilation. Position your storage pit 4 feet below the frost line and create a dual-vent system with low intake and high outlet vents. You should incorporate porous materials like reeds and grasses to create natural air channels, while using unglazed ceramic pots for humidity control. Monitor temperatures daily using thermistors or RTD sensors, and guarantee proper drainage with stone layers. Keep vents shaded in summer and clear of snow in winter. The secrets of effective underground storage extend far beyond these basics.
Understanding Natural Air Circulation

Mastering natural air circulation forms the foundation of successful pit food preservation. When you're storing food underground, proper airflow regulates significant factors like temperature, humidity, and oxygen levels. In most northern U.S. and southern Canadian regions, you'll want to maintain temperatures between 50 and 55 degrees Fahrenheit, which the earth below the frost line helps moderate.
You'll need to take into account several key elements that affect air circulation in your storage pit. Weather conditions play a critical role, as you can use cold nights to lower temperatures before storing produce. A recommended storage depth of 4 feet ensures optimal temperature regulation below the frost line. It's important to monitor ground moisture and use plastic liners when necessary to reduce excess moisture.
You'll also want to evaluate your pit's placement, taking into account wind currents and potential obstructions like trees or buildings. To enhance airflow, you can install vertical ducts and air shafts using bundles of twigs or rust-resistant metal mesh.
These additions won't just improve ventilation; they'll also protect your stored food from pests. Remember to size your ventilation openings appropriately based on wind velocity and required airflow rates to guarantee ideal circulation throughout your storage pit.
Designing Ventilation Channels
Building on proper air circulation, the design of ventilation channels requires careful planning and material selection. You'll need to choose between concrete or plywood channels, guaranteeing your materials can withstand the specific environmental conditions of your storage pit.
When constructing channels, maintain at least 12 inches of clearance between support structures and stored items to enhance airflow. Calculating proper duct sizes at 600 fpm ensures optimal air distribution throughout the system.
For effective ventilation, you'll want to position your ducts strategically. In cold storage applications, place vertical wooden ducts to introduce and regulate cold air throughout the space. You can run channels along the length of your pit with evenly spaced openings to guarantee uniform air distribution.
If you're using an exhaust system, position fans along the outer walls for easier maintenance access.
When designing your channel layout, focus on preventing airflow short-circuiting while maintaining consistent temperature and humidity levels. You'll need to adjust ventilation rates based on your storage needs, but remember that wall-mounted fans typically offer 10-20% better efficiency than pit fans.
Regular monitoring and maintenance of your ventilation system will guarantee peak performance, so design your channels with accessibility in mind.
Seasonal Airflow Patterns

You'll need different airflow strategies for managing your pit's temperature as the seasons change.
In summer, you can minimize warm air intrusion by shading your ventilation inlets and adjusting vent openings to maintain the cool 32-40°F storage environment.
During winter, you must keep vents clear of snow while monitoring airflow to prevent freezing temperatures, using techniques like controlled ventilation and insulation to maintain stable conditions. Proper placement of low intake vents and high outlet vents creates optimal circulation throughout the storage space.
Summer Heat Control Strategies
Effective summer heat control in pit storage relies heavily on understanding and leveraging seasonal airflow patterns.
You'll need to focus on both passive and active cooling strategies to maintain ideal temperatures during the hottest months.
Start by positioning your air intake vents low and in shaded areas, using reflective materials around the openings to minimize heat absorption.
You'll want your outlet vents placed high on the opposite side, ideally at least 5 feet underground or into a hillside, to maximize natural air circulation.
Consider planting vegetation above your storage area to benefit from natural cooling through evapotranspiration.
During summer, you should operate your ventilation system primarily during cooler nighttime hours.
This practice helps maintain lower temperatures and reduces insect activity.
Make sure you've elevated your storage containers to allow air circulation underneath, and keep the storage surface level for consistent temperature control.
Install automated sensors to monitor temperature, humidity, and CO2 levels, adjusting airflow accordingly.
Don't forget to insulate your ventilation ducts to prevent heat transfer from the outside.
Keep air intakes clear of debris and maintain proper cleaning protocols to guarantee unobstructed airflow throughout your storage system.
Winter Cold Air Management
Managing winter airflow patterns requires a strategic balance between ventilation and temperature control to protect your stored produce from freezing. You'll need to carefully monitor your ventilation system during cold spells, adjusting the airflow to maintain temperatures just above freezing while preventing harmful temperature swings.
Position your air intake vents low and exhaust vents high to take advantage of natural thermal circulation. During extreme cold, you'll want to partially close the lower vents to restrict frigid air entry while keeping the upper vents open to release excess moisture. Monitor your thermometers regularly to maintain temperatures between 32-40°F for most produce.
When temperatures plummet, you can add heat if necessary to prevent freezing. You'll find that insulating your ventilation ducts helps maintain consistent temperatures by preventing cold air infiltration.
For grain storage, aim to cool your grain mass to 30-35°F by mid-winter using controlled aeration. Remember to check your vents frequently for snow blockage, as this can disrupt proper airflow and create dangerous temperature fluctuations.
Keep produce elevated off the ground to guarantee continuous air circulation, even during periods of reduced ventilation.
Materials For Air Control
Along with proper insulation and pest control, maintaining adequate air circulation in storage pits requires specific materials and design elements.
You'll want to incorporate porous materials strategically throughout your pit's construction to allow for proper airflow while maintaining temperature control.
Natural fiber materials like reeds, grasses, and woven mats can help create air channels when placed along pit walls. These materials allow air movement while preventing direct contact between stored food and earth walls. You can layer these with bark or untreated wood to create small air pockets that promote circulation without compromising insulation.
Consider using unglazed ceramic pots or vessels within your pit – they're naturally porous and help regulate humidity through evaporative cooling. When combined with strategically placed plant fibers, they create an effective air management system.
You'll also want to incorporate wooden frames or supports that leave small gaps for air movement.
For ideal results, arrange your materials in layers: start with a base of stones for drainage, add natural fiber mats along the walls, and create air channels using porous materials.
This layered approach helps maintain consistent airflow while protecting your stored food from excess moisture and temperature fluctuations.
Monitoring Underground Temperature

You'll want to identify distinct temperature zones at depths between 6-12 feet, where natural cooling remains most stable for food preservation.
To track these zones effectively, you should take daily temperature readings at fixed times (preferably early morning) using properly installed thermistors or RTD sensors at different depth points.
Your readings need to show consistent temperatures between 35-45°F (2-7°C) before you can reliably use the pit for food storage.
Optimal Depth Temperature Zones
Understanding the ideal depth temperature zones is essential for successful underground food preservation. You'll need to identify depths where temperatures remain consistently outside the danger zone of 40°F to 140°F, as this range promotes harmful bacterial growth.
Deep underground locations offer more stable temperatures that aren't as affected by surface weather changes. You'll want to install temperature sensors at different depths to determine your best preservation zone. These sensors should measure both dry and wet temperatures while accounting for airflow patterns.
As you analyze the data, you'll notice that deeper levels maintain more consistent temperatures throughout seasonal changes. Using GPS-enabled sensors and NB-IoT technology, you can track real-time temperature variations at each level.
To find your best depth, you'll need to collect and analyze temperature data over time. Modern prediction models can help you estimate temperature patterns with accuracy within ±2°C.
When you're setting up your storage system, place sensors strategically to monitor different zones. If temperatures deviate from safe ranges, your monitoring system will alert you immediately, allowing for quick adjustments to maintain food safety.
Daily Reading Best Practices
With your temperature zones established, implementing consistent daily monitoring practices becomes the foundation of successful pit preservation. You'll need to track temperatures systematically using digital thermistor strings, which allow you to monitor multiple points along your pit's depth with a single cable installation.
It's vital to set up automated data logging to capture temperature fluctuations throughout the day. Install your sensors strategically at different depths, focusing on key zones where temperature stability is important.
You'll want to place thermistors both vertically and horizontally to create a thorough temperature profile of your storage pit. Consider using RTDs for areas requiring highest accuracy, as they're known for their stability and reliability in long-term monitoring.
Make sure you're collecting readings at the same times each day to maintain consistency in your data. Set up your monitoring system to transfer data automatically, which lets you spot concerning temperature trends quickly.
You'll want to pay special attention to readings during seasonal shifts when ground temperatures are most likely to fluctuate. Keep detailed records of your measurements, as this historical data will help you predict and prepare for temperature changes in future preservation cycles.
Wildlife Prevention Through Ventilation
Proper ventilation serves as an essential defense against wildlife intrusion in pit food storage. By managing airflow, you'll prevent the buildup of attractive odors and gases that can draw unwanted animals to your storage site.
When designing your pit, position it near a cold stream or in a shaded area to maximize natural ventilation benefits.
You'll want to create your ventilation system using simple, natural materials. Construct vents with strategically placed rocks and leaves, and dig the pit with a slight incline to promote air circulation. Cover the top with branches and leaves to regulate airflow while maintaining protection.
Don't forget to mark the location to monitor and maintain the ventilation system regularly.
For the most effective wildlife prevention, choose your storage contents wisely. Stick to items like root vegetables, nuts, and grains that won't strongly attract bears and other animals.
Keep your pit away from known wildlife paths and use bear-resistant methods in bear-prone areas. Layer your pit with natural materials like twigs and pine needles, avoiding anything that retains excessive moisture or emits sweet smells that might attract animals.
Frequently Asked Questions
How Deep Should Ventilation Shafts Be in Different Soil Types?
You'll find ventilation shafts can reach 50ft in stiff clay, 67m in chalk formations, and varied depths in granular soils. Your depth choice depends on soil stability and groundwater conditions.
Can Underground Food Storage Pits Affect Nearby Plant Root Systems?
Yes, your underground food storage pits will affect nearby plant roots by altering soil conditions, moisture levels, and temperature. They'll influence root distribution and growth patterns as plants adapt to these modified underground environments.
What Natural Indicators Show Optimal Airflow Patterns Before Digging?
You'll notice natural signs like leaves moving freely, grass bending consistently, and dandelion seeds floating evenly. Watch how smoke or dust travels, and observe if nearby plants show uniform growth patterns.
How Often Should Air Filters in Ventilation Systems Be Replaced?
You'll need to replace your air filters every 30-90 days for standard types, or 6-12 months for HEPA filters. Check monthly and replace sooner if you've got pets, smoke indoors, or notice visible dirt.
Does Electromagnetic Interference From Power Lines Impact Underground Storage Temperatures?
You don't need to worry about power line electromagnetic interference affecting underground storage temperatures. While underground cables generate magnetic fields, they don't greatly impact thermal conditions in surrounding soil or storage areas.
In Summary
You've now mastered the essentials of natural pit food storage through proper airflow management. By implementing strategic ventilation channels, selecting appropriate materials, and understanding seasonal patterns, you'll maintain ideal temperatures year-round. Don't forget to monitor conditions regularly and keep wildlife at bay through smart ventilation design. With these skills, you're ready to preserve your harvest using this time-tested, sustainable method.


Leave a Reply