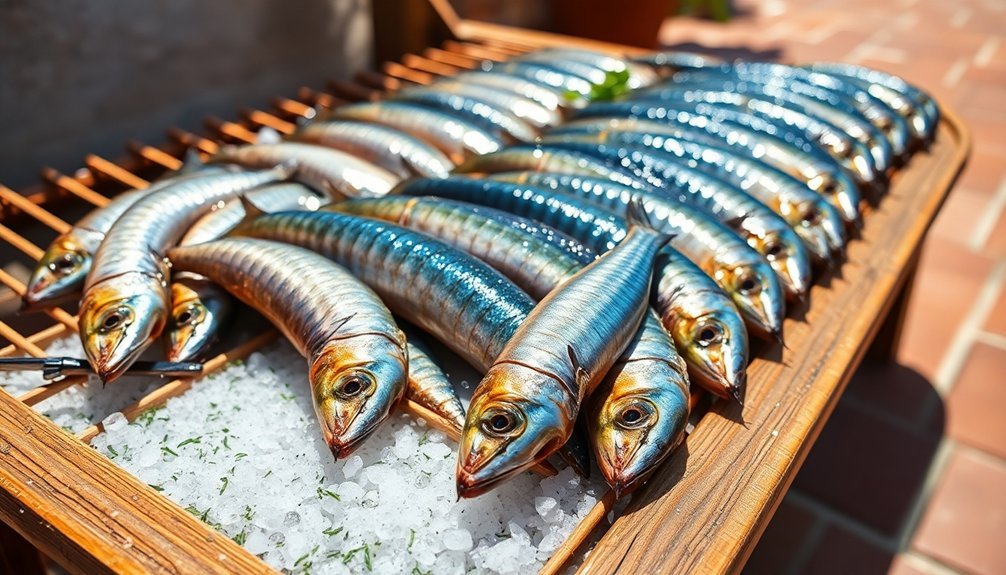
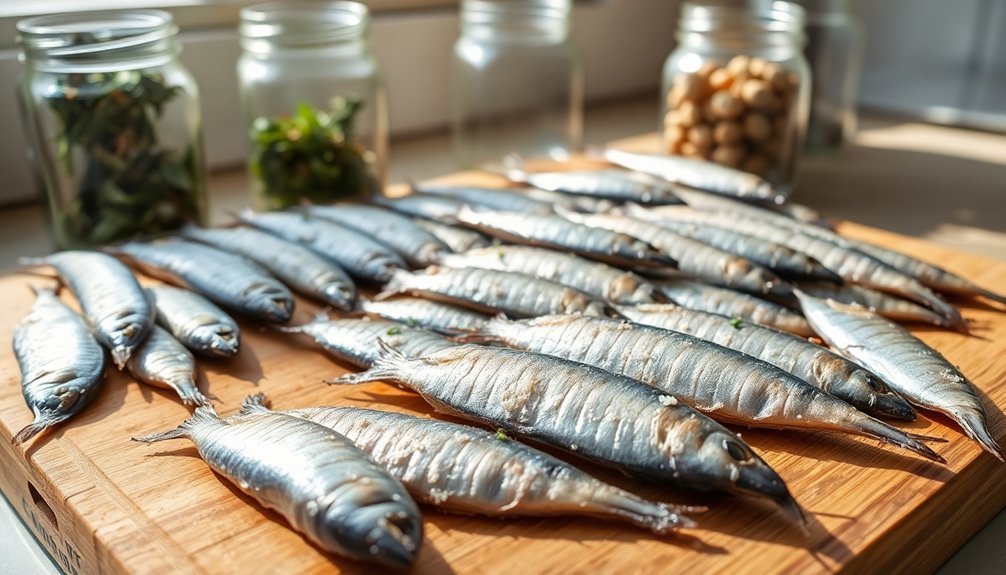
Start with fresh sardines that have shiny skin, clear eyes, and firm flesh – they're your foundation for success. You'll want to clean and gut them properly under cold water, removing scales, heads, and internal organs. Set up your drying space in a sunny, well-ventilated area with elevated racks covered by mosquito netting. Season the fish with salt and traditional spices like turmeric for preservation. Monitor weather conditions closely, aiming for temperatures between 25-35°C. Turn the sardines periodically for even drying, and bring them in at night to avoid dew. Your careful attention to these steps will reveal the secrets to perfectly dried sardines that'll last for months.
Select Fresh High-Quality Sardines
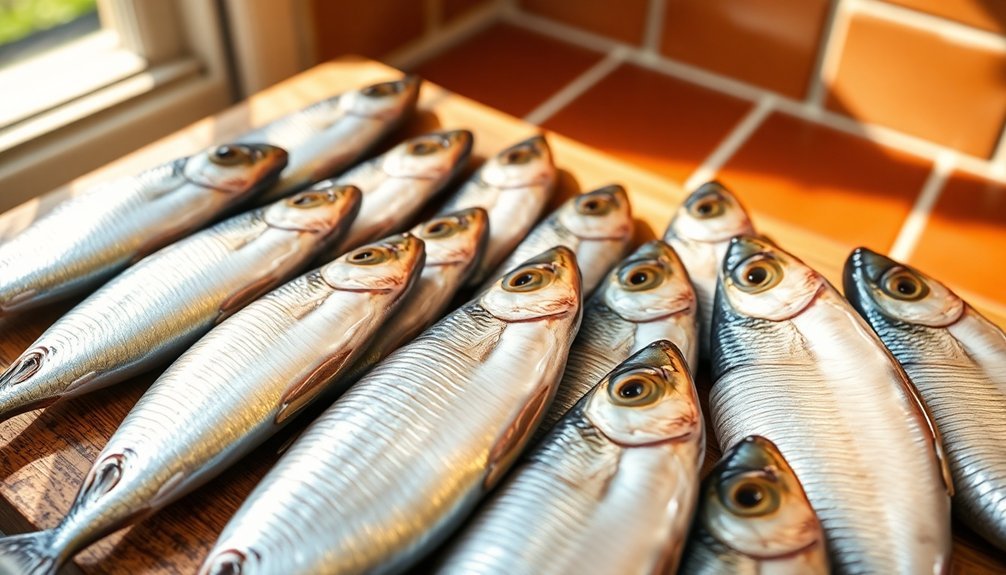
When selecting fresh sardines for sun-drying, start with a thorough visual inspection of each fish. Look for specimens with shiny, metallic-looking skin that's vibrant and slightly translucent. You'll want to avoid any sardines with dull or matte appearances, as these indicate poor quality. Check for signs of bruising or smashing, which can compromise the final product.
Pay close attention to the eyes of the sardines, as they're reliable indicators of freshness. Select fish with clear, bright, and plump eyes, steering clear of any that appear cloudy, sunken, or discolored.
Next, evaluate the smell and texture. Fresh sardines should have a clean, briny scent that reminds you of the ocean – avoid any with strong, unpleasant fishy odors. Press the flesh gently; it should feel firm and spring back quickly. If it's mushy or soft, move on to another batch. Remember that fresh sardines only remain at peak quality for 1-2 days when raw.
Finally, inspect the overall condition of each sardine. They should be intact without tears or breaks in the belly. Choose sardines that have been handled carefully during capture and transport, as proper handling preserves their quality for the sun-drying process.
Prepare Your Drying Space
Choose a sunny, well-ventilated spot away from dust and contaminants for your sardine drying setup.
Elevate your drying trays on wooden frames and cover them with mosquito netting or UV-stabilized plastic films to protect against insects while allowing proper airflow.
You'll need good air circulation, so space your trays evenly and make certain there's room for air to move freely around all sides of your drying area.
For indoor drying, consider using a food dehydrator 145°F for consistent temperature control and faster results.
Choose Clean Sunny Location
A successful sun-drying process starts with finding the perfect outdoor location. You'll need an area that receives direct sunlight throughout most of the day, with minimal to no shading. Look for a spot that's easily accessible, allowing you to monitor and maintain your drying sardines regularly.
Set up your drying space on a clean, level surface or use perforated racks that promote air circulation. Before placing your sardines, thoroughly sanitize all surfaces and equipment with food-grade cleaners. Traditional Japanese methods include soaking in salted water before the drying process begins. If you're using a base material, make certain it's clean and suitable for food contact.
Choose a location away from dusty areas, pollution sources, and heavy traffic. You'll want temperatures between 30°C to 50°C for ideal drying, so monitor your chosen spot's temperature range. Consider having a backup covered area nearby in case of unexpected weather changes.
Keep the area well-ventilated but protected from strong winds that could interfere with the drying process. Don't attempt to dry sardines on rainy or heavily overcast days, as high humidity levels will prevent proper drying.
Remember to check regularly for signs of pest activity or contamination to maintain food safety standards.
Set Up Protective Screens
Protecting your drying sardines from contamination requires a robust screening system. Set up a cheesecloth or screen suspended above your fish, ensuring it's tightly secured without any gaps where insects could enter. You'll need to place the table legs in water-filled cans to prevent crawling insects from reaching your sardines.
Raise your drying racks or solar dryers to shield the sardines from sand and debris. Don't place them directly on the ground, and always sanitize your equipment before use. Create a sheltered area that protects against rain while maintaining proper airflow.
You'll want to move your sardines indoors during the night to prevent moisture from dew. Keep microbial contamination at bay by implementing proper salting techniques and using solar dryers when possible. Monitor temperature and humidity levels closely, as these factors can promote bacterial growth.
Clean and disinfect your drying area regularly, checking for any signs of spoilage throughout the process. Remember to inspect your protective screens daily for damage or wear that could compromise their effectiveness. Your screening system should allow air circulation while keeping out unwanted contaminants.
Ensure Proper Air Flow
Ideal air flow serves as the cornerstone of successfully drying sardines at home. You'll need to select a well-ventilated area with consistent air circulation to prevent moisture buildup and reduce the risk of spoilage. Choose a space with open windows or consider using fans if natural ventilation isn't sufficient.
Make sure the area stays free from dust and contaminants that could compromise your sardines.
Set up your drying equipment strategically to maximize air exposure. You'll want to use clean drying racks or fish racks that allow air to circulate around each sardine. If you're using a solar dryer, you'll benefit from more controlled and hygienic drying conditions.
Keep your equipment clean and regularly inspect it for peak performance.
Maintain temperatures between 25°C to 35°C and monitor humidity levels carefully. You'll need to adjust these conditions as needed, using shade if direct sunlight becomes too intense.
Track your drying time closely, aiming for a moisture content below 25%. Remember to rotate your sardines periodically for even drying, and watch for signs of over-drying like brittleness or cracking.
Clean and Gut Properly
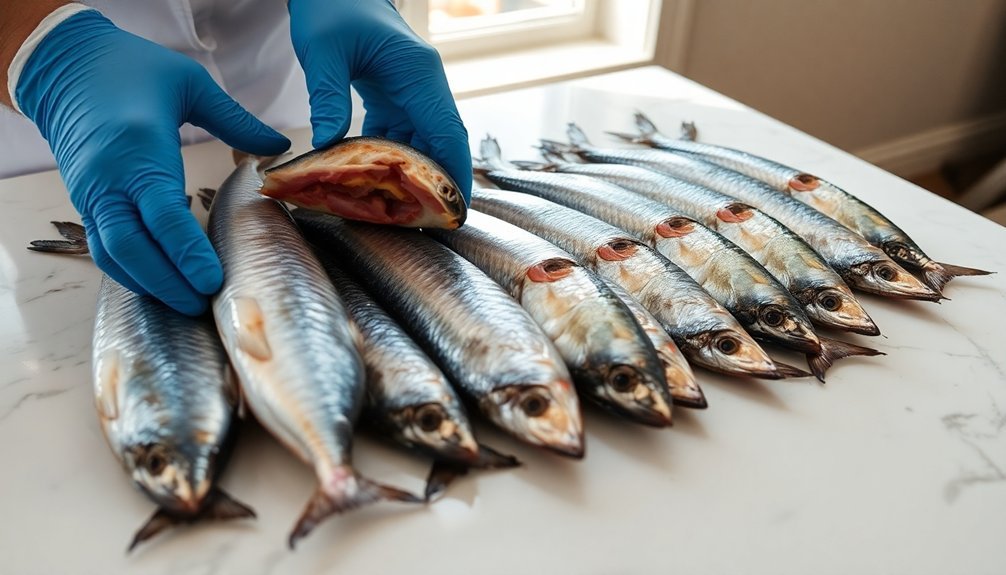
Before diving into sun-drying, proper cleaning and gutting of sardines guarantees both food safety and ideal results.
You'll need to follow a systematic process to ascertain your sardines are thoroughly cleaned while maintaining their delicate flesh intact.
Start by scaling the sardines under cold running water, using kitchen scissors or a paring knife to gently scrape from tail to head. Don't worry if a few scales remain, as it's better than damaging the skin.
Next, remove the head by cutting behind the gills at a slight angle, making sure to include the pectoral fins in your cut.
Here's your essential cleaning sequence:
- Make a careful belly incision from the anus to the throat, keeping the knife's sharp edge facing up to avoid cutting into the guts.
- Remove all internal organs by gently pulling them out with your finger.
- Thoroughly rinse the cavity under cold water to remove blood and membranes.
- Remove the dorsal fin and trim the belly flaps for better presentation.
Finally, give your sardines one last rinse under cold water to ascertain they're completely clean and ready for the sun-drying process.
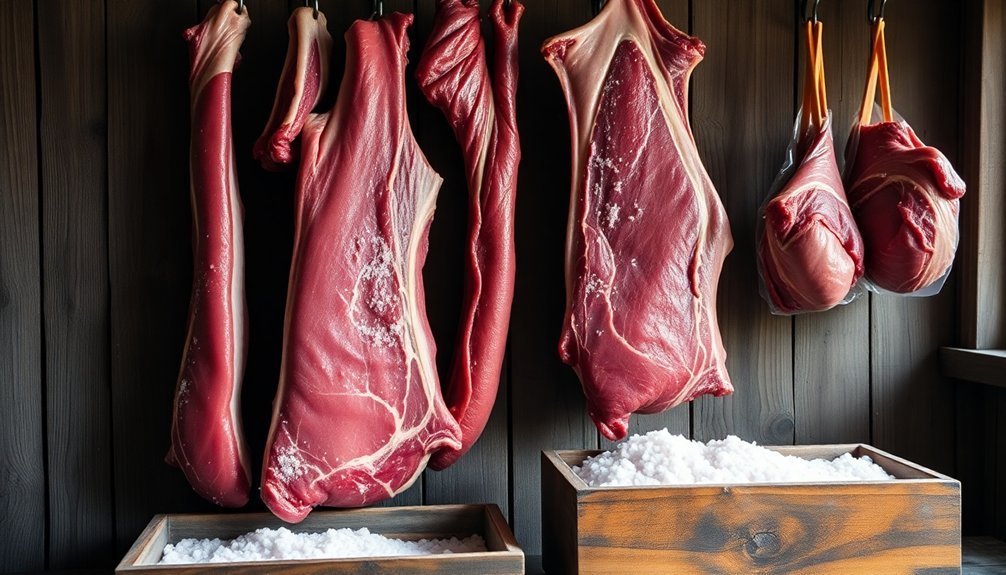
Season With Traditional Preservatives
You'll want to start with a basic garlic-salt cure mix that draws out moisture while infusing flavor into your sardines.
For added preservation and taste complexity, try a bay leaf vinegar blend that combines the antimicrobial properties of vinegar with aromatic herbs.
You can also coat your sardines with a traditional turmeric-spice mixture that not only preserves but also adds a warm, earthy flavor profile to your finished product.
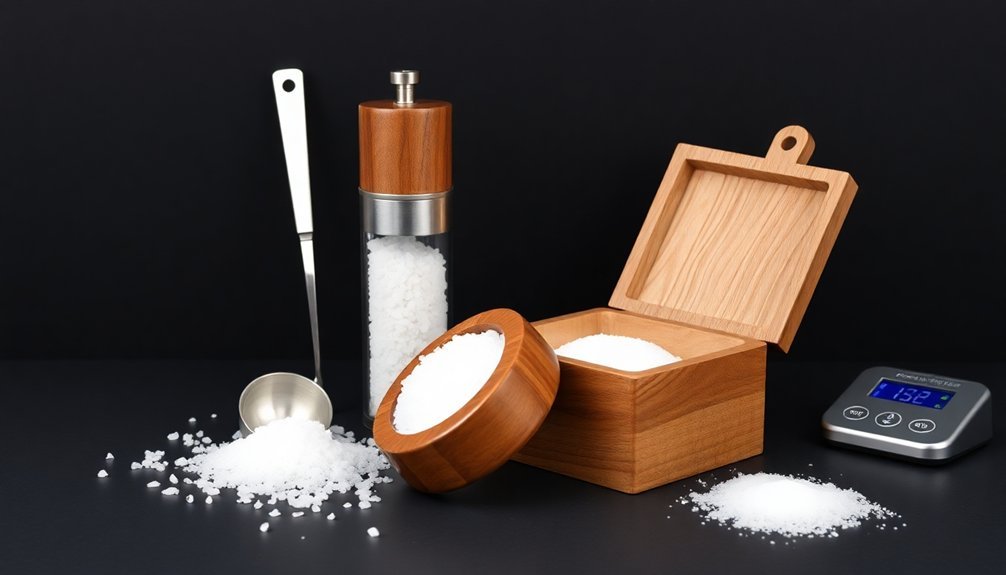
Simple Garlic-Salt Cure Mix
Crafting the perfect garlic-salt cure mix adds an essential layer of flavor while preserving your sardines.
You'll want to start by combining finely minced garlic cloves with fresh lemon zest and aromatic herbs like thyme and parsley. This mixture not only enhances the taste but also aids in the preservation process.
To create an effective garlic-salt cure, you'll need to:
- Spread an even layer of the garlic-herb mixture at the bottom of your curing container.
- Place your cleaned sardine fillets on top of the mixture, guaranteeing they don't overlap.
- Sprinkle additional salt and freshly ground pepper over the sardines.
- Adjust the garlic and herb quantities based on your taste preferences.
Remember to distribute the cure mix evenly across all sardine fillets to guarantee consistent flavor development.
The salt in the mixture draws out moisture while the garlic and herbs infuse into the fish. After applying the cure mix, you'll need to refrigerate the sardines for the recommended 15-18 hours.
Don't worry if you see liquid accumulating – this is a natural part of the curing process.
Bay Leaf Vinegar Blend
Once your sardines have completed their initial cure, it's time to enhance their flavor with a traditional bay leaf vinegar blend.
Begin by creating a flavorful base in your cooking pot, arranging bay leaves, olives, carrots, and garlic on the bottom. You'll want to layer your sardines on top of this aromatic foundation.
Create alternating layers of the spice mixture and sardines until you've used all your fish. Pour in a mixture of vinegar, olive oil, and water, making certain the liquid completely covers the sardines. The vinegar won't just add flavor – it'll help preserve your fish perfectly.
Set your pot over medium-low heat and bring it to a boil. You've got two cooking options: reduce the liquids for about an hour for standard results, or slow-cook for 6 hours if you want ultra-tender fishbones. If you're short on time, use a pressure cooker to achieve similar results in about an hour.
As you cook, sprinkle chili flakes and salt evenly throughout the layers. Keep an eye on the liquid levels – you'll want them to reduce by half, leaving mainly oil. The slow cooking process guarantees the bay leaf and vinegar flavors deeply penetrate the sardines.
Turmeric-Spice Traditional Coating
The protective qualities of turmeric make it essential for properly preserved sun-dried sardines. You'll want to use a 3% concentration of turmeric powder, which research shows provides ideal antimicrobial protection against harmful bacteria like E. coli and S. aureus.
For even better results, combine your turmeric with garlic at a 1.5% concentration – this combination greatly enhances the preservative effect.
Creating your turmeric coating is straightforward, but you'll need to follow these key steps for the best results:
- Blend turmeric into a smooth paste or use finely ground powder for even coverage.
- Mix thoroughly with garlic powder at the recommended concentrations (3% turmeric, 1.5% garlic).
- Apply the coating uniformly across all sardines to guarantee complete protection.
- Store at ambient temperature in a clean, dry container.
While sun-drying naturally increases protein and mineral content in your sardines, the turmeric coating won't greatly alter these nutritional values.
Instead, it'll work as a powerful preservative, keeping harmful microorganisms at bay and maintaining the quality of your dried fish for longer periods.
Monitor Weather and Temperature
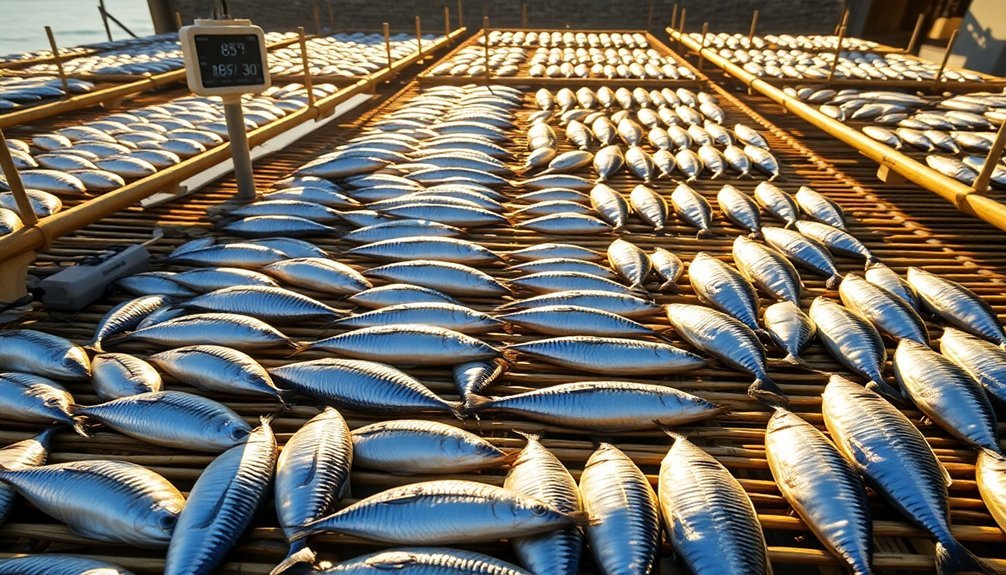
Successful sun-drying of sardines depends heavily on proper weather conditions and temperature monitoring. You'll need to choose sunny, dry days for drying, as rain and humidity can compromise the process and lead to spoilage. The ideal drying temperature ranges from 50°C to 60°C, which you can achieve using solar dryers.
To prevent contamination, don't dry your sardines directly on the ground. Instead, use elevated wooden frames or racks that allow better air circulation. You'll want to cover the drying area with mosquito netting to protect against insects while keeping the space clean and debris-free.
Temperature control is essential for preserving nutritional content. High temperatures can oxidize the polyunsaturated fatty acids, so you'll need to maintain consistent temperatures throughout the process. Solar dryers are your best option, as they effectively collect and concentrate solar radiation while providing a controlled environment.
If you're using a solar dryer, you'll benefit from faster drying times and better hygiene compared to traditional methods. These dryers often include motorized fans that help maintain consistent conditions, even during less favorable weather, ensuring your sardines dry properly while retaining their nutritional value.
Perfect Your Drying Technique
Mastering proper drying techniques guarantees your sardines maintain excellent flavor, texture, and nutritional value. While solar dryers and rack drying offer the best protection against contamination, you'll need to prepare your fish properly before starting the process.
Begin by rinsing your sardines in cold water and patting them dry with paper towels. For larger fish, consider gutting and removing heads, though smaller ones can be dried whole.
To achieve even drying and superior results, follow these essential steps:
- Arrange sardines on drying trays without overlapping, using non-stick mesh mats for better air circulation.
- Set your dehydrator to 145°F (63°C), or if using microwave drying, maintain power between 200-500 W.
- Turn fish periodically during the drying process to guarantee uniform dehydration.
- Check for complete dryness by ensuring no moisture appears when breaking the fish.
Remember to maintain good ventilation throughout the process, whether you're using a dehydrator or sun-drying method.
Once dried, store your sardines in a cool, dark place or refrigerator to maintain quality. By monitoring moisture loss and drying time, you'll perfect your technique with each batch.
Store for Maximum Shelf Life
Make it a habit to inspect your stored sardines regularly for any signs of spoilage, including off odors or visible mold.
You should rotate your stock following the first-in-first-out principle and keep your storage area clean.
Remember to label and date each package so you can track storage time effectively.
With proper spice treatment and storage conditions, you'll greatly extend your sun-dried sardines' shelf life.
Frequently Asked Questions
Can Sun-Dried Sardines Be Rehydrated for Cooking in Soups and Stews?
You can't rehydrate sun-dried sardines because they don't exist. Sardines aren't typically preserved through sun-drying. Instead, use fresh, frozen, or canned sardines for your soups and stews for best results.
How Do You Determine if Dried Sardines Have Gone Rancid?
You'll know dried sardines are rancid if you detect a strong, sour smell, see dark discoloration, or find them feeling slimy. Trust your nose—any unpleasant or ammonia-like odors indicate spoilage.
What Alternative Fish Can Be Used With the Same Drying Method?
You can use horse mackerel, flatfish, sea bream, or tilapia using the same drying method. If you prefer oily fish, mackerel works well, while whitefish like cod and haddock are good alternatives.
Is It Safe to Sun-Dry Sardines During Cloudy but Warm Weather?
You shouldn't sun-dry sardines in cloudy weather, even if it's warm. It'll slow down drying time, increasing risks of microbial growth and contamination. Consider using a solar dryer for safer results.
Should Sardines Be Scaled Before the Drying Process Begins?
Yes, you'll want to scale your sardines before drying. It helps guarantee even drying, prevents moisture trapping, and improves the final texture. Don't worry if you miss a few scales—it's better than damaging the skin.
In Summary
You'll find sun-dried sardines are a rewarding DIY project that connects you to age-old preservation methods. By following these steps carefully, you're not just creating a delicious protein-rich snack – you're mastering a traditional craft. Remember to focus on quality ingredients, proper preparation, and patient drying techniques. With practice, you'll achieve perfectly dried sardines that can be enjoyed for months to come.
Leave a Reply