The best window spots for sun-drying herbs combine gentle light and proper airflow. You'll get excellent results using screened east-facing windows that offer soft morning sunlight, or partially shaded garden windows providing 4-6 hours of daily exposure. Covered porch window nooks offer protection while maintaining good ventilation, while tree-filtered west-facing spots create an ideal balance of afternoon light. Though north-facing kitchen windows aren't ideal, you can still dry herbs there using alternative methods like air-drying or dehydrators. Understanding each window's unique characteristics will help you maximize your herb preservation success.
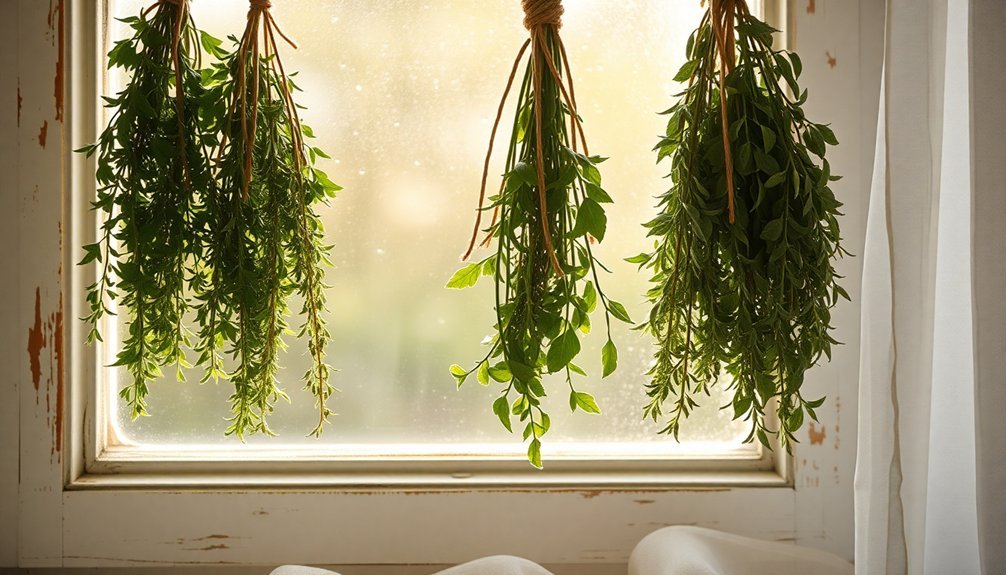
Screened East-Facing Morning Windows
Monitor your herbs daily for signs of uneven drying or heat stress, especially during summer months.
Don't let your herbs touch the window directly, as this can lead to burning.
East-facing windows provide gentle morning sunlight while avoiding the intense afternoon heat.
If you're dealing with humidity issues, use a hygrometer to track levels and adjust accordingly with a humidifier or dehumidifier.
Keep the area clean and dust-free to guarantee your herbs dry properly.
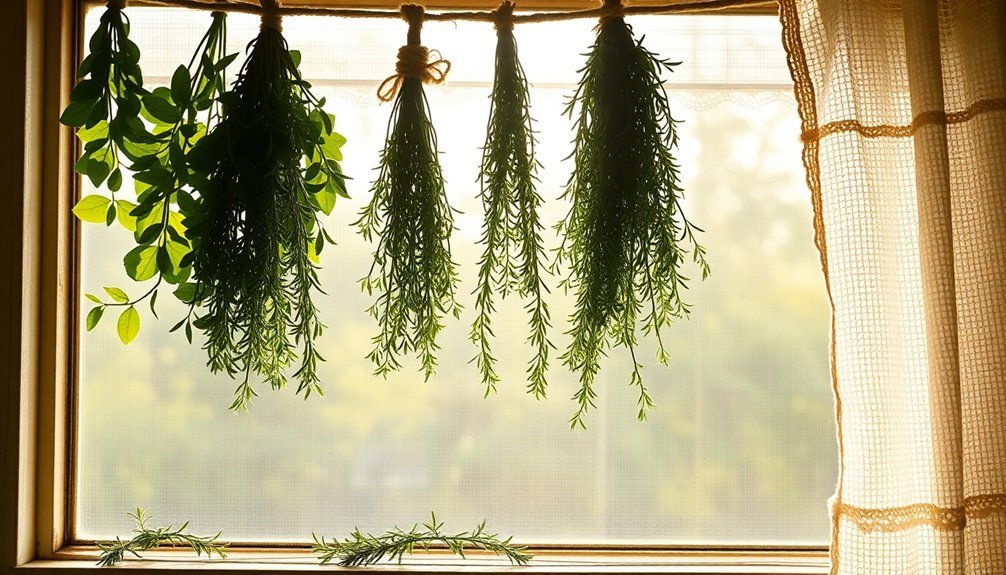
Partially Shaded Garden Windows
In partially shaded garden windows, you'll find an ideal balance between sunlight and protection for drying herbs. These spots receive some direct sunlight during the day while protecting your herbs from intense afternoon rays that can scorch and diminish their flavors. Most herbs require 4 to 6 hours of sunlight daily for optimal growth.
When choosing herbs for these locations, you'll have success with shade-tolerant varieties like parsley, chives, mint, and thyme. Coriander and lemon balm also adapt well to these conditions.
To optimize your drying setup, hang herbs in small bundles or lay them on screens, guaranteeing they're not in direct sunlight streams.
You'll need to maintain proper air circulation to prevent moisture buildup, which can lead to mold. Place your herbs away from humid areas like sinks and dishwashers, and consider using paper bags with ventilation holes to protect them from dust while allowing airflow. If you're using trays, add spacers between levels to guarantee adequate air movement.
Monitor your herbs regularly during the drying process, as partial shade conditions can extend drying times. You'll know they're ready when the leaves crumble easily and stems snap cleanly rather than bend.
North-Facing Kitchen Windows
North-facing kitchen windows present significant limitations for sun-drying herbs due to their minimal direct sunlight exposure. While these windows receive consistent indirect light throughout the day, they simply don't provide enough direct sunlight to effectively dry fresh herbs.
Converting unused areas near south-facing windows would provide optimal conditions for herb drying.
If you're planning to dry herbs in your kitchen, you'll need to evaluate alternative locations or methods.
You won't have much success growing sun-loving herbs like oregano, basil, rosemary, or thyme in north-facing windows. Even herbs that tolerate partial shade, such as mint, parsley, and chives, won't develop their full flavor potential in these conditions.
If you're determined to grow herbs in your north-facing kitchen window, consider supplementing with artificial lighting, especially during winter months.
Instead of attempting to sun-dry herbs in north-facing windows, you'll achieve better results with alternative drying methods.
Try air-drying by hanging herb bundles in a well-ventilated area, or use a food dehydrator set between 95-110°F. These methods are more reliable and will help preserve your herbs' essential oils and flavors better than attempting to dry them in insufficient light conditions.
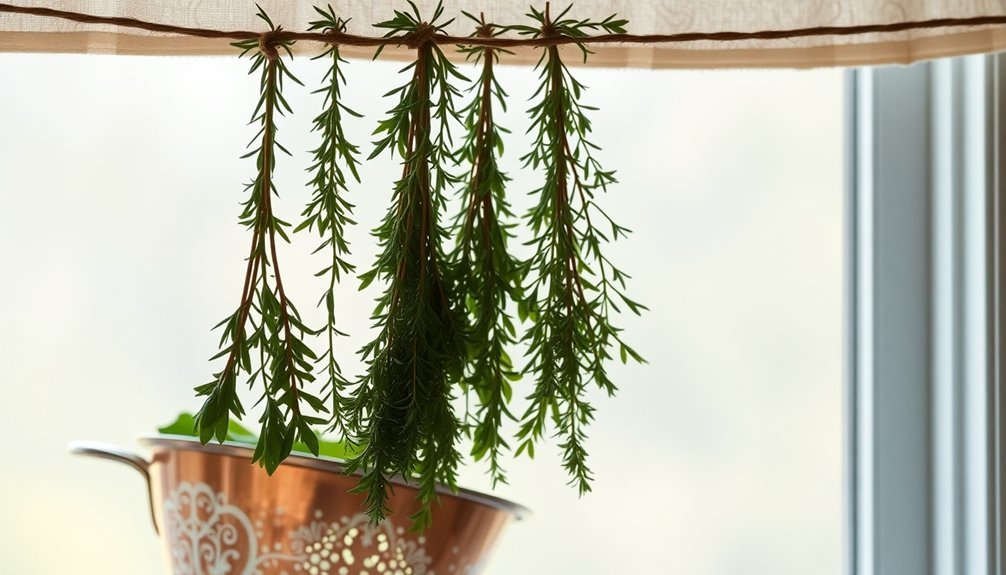
Covered Porch Window Nooks
Covered porch window nooks offer an ideal balance of protection and airflow for drying herbs effectively. These spaces protect your herbs from direct sunlight and rain while providing adequate ventilation through screened windows.
You'll want to position your drying setup where morning sun can reach it, but make certain it's shielded from harsh afternoon rays that could destroy essential oils.
To maximize your porch window nook's potential, hang herbs from ceiling hooks or chains using twine or string. Make sure you're leaving enough space between bundles for air to circulate freely.
If you're working with leafy herbs, lay them in a single layer on screens near the window, but not directly in the sunlight. For added protection, cover your herbs with a perforated paper or cloth bag to keep dust away while maintaining airflow.
Check your herbs daily and give them an occasional shake to prevent clumping. You'll know they're ready when they feel crispy and crumble easily.
Once dried, remove the leaves from their stems and store them in airtight containers. If rain's in the forecast, you can easily move your setup indoors without disrupting the drying process.
Tree-Filtered West-Facing Windows
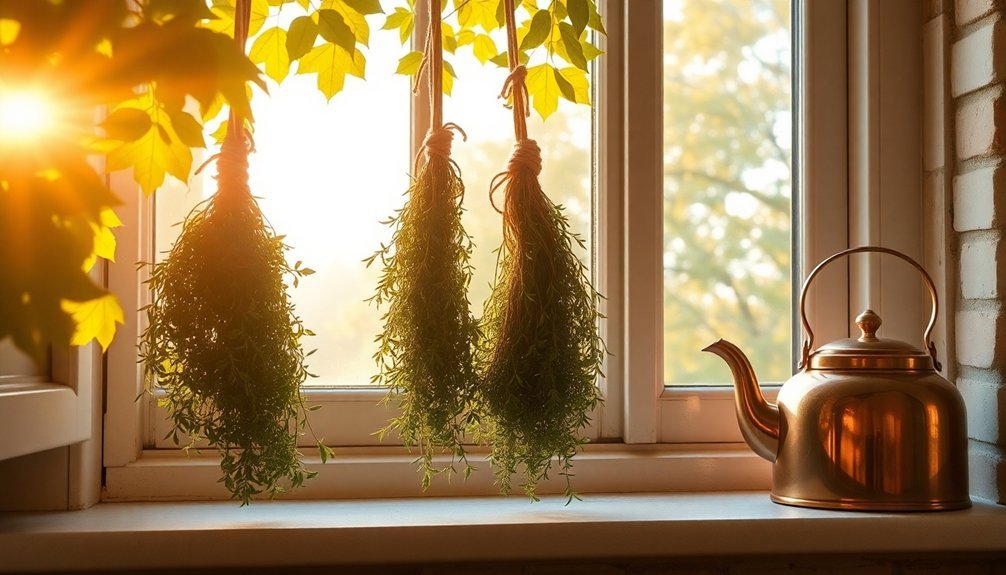
Tree-filtered west-facing windows provide an excellent balance of light intensity for drying herbs, especially during peak afternoon hours.
You'll find that trees naturally filter the intense afternoon sun, creating ideal conditions for both growing and drying your favorite herbs. While these windows receive direct sunlight during mid-day, the natural filtering helps prevent scorching while maintaining sufficient light for the drying process.
When using tree-filtered west-facing windows, you'll want to optimize your setup for success. Consider these essential tips:
- Position your herbs about 2-3 feet from the window to take advantage of filtered light without risking overexposure
- Bundle your herbs in small clusters and hang them using paper bags with ventilation holes
- Keep your drying herbs away from moisture sources like sinks and dishwashers
- Guarantee consistent air circulation by using a small fan if needed
- Check your herbs daily for any signs of mold or uneven drying
Your west-facing window setup is particularly suitable for drying robust herbs like rosemary, sage, and thyme.
You'll know your herbs are properly dried when they're crisp to the touch and easily crumble. Remember to fertilize your growing herbs regularly with liquid seaweed before harvesting them for drying.
Frequently Asked Questions
Can I Dry Herbs in Winter When Sunlight Hours Are Limited?
Yes, you can dry herbs in winter using alternatives like a dehydrator, oven, or indoor air-drying methods. You'll need to maintain proper temperature and ventilation, but you don't have to rely on sunlight.
How Do I Prevent My Herbs From Bleaching or Fading While Drying?
You'll prevent herb bleaching by drying them in a cool, dark area away from direct sunlight. Use air drying or a dehydrator, and store them in amber-colored jars to protect their vibrant colors.
Should I Wash Fresh Herbs Before Window-Drying Them?
Yes, you'll want to wash your herbs before drying to remove dirt and insects. Just make sure you shake off excess water and pat them dry first to prevent mold growth during the drying process.
What's the Ideal Window Height for Optimal Herb-Drying Results?
You'll want your window height at eye level or slightly below (around 4-5 feet) for easy monitoring. This allows proper air circulation and lets you check your herbs regularly without straining to reach them.
Can Window Screens Affect Drying Time and Herb Quality?
Yes, window screens can considerably impact your herbs' drying process. You'll notice faster drying times due to better air circulation, and you'll preserve more essential oils and flavors compared to other drying methods.
In Summary
You'll get the best results drying your herbs by choosing the right window location. Whether you're placing them in gentle morning light or filtered afternoon sun, proper positioning helps preserve flavor and color. Remember to rotate your drying racks every few days and check for even drying. With these window placement tips, you'll be stocking your pantry with flavorful dried herbs year-round.


Leave a Reply