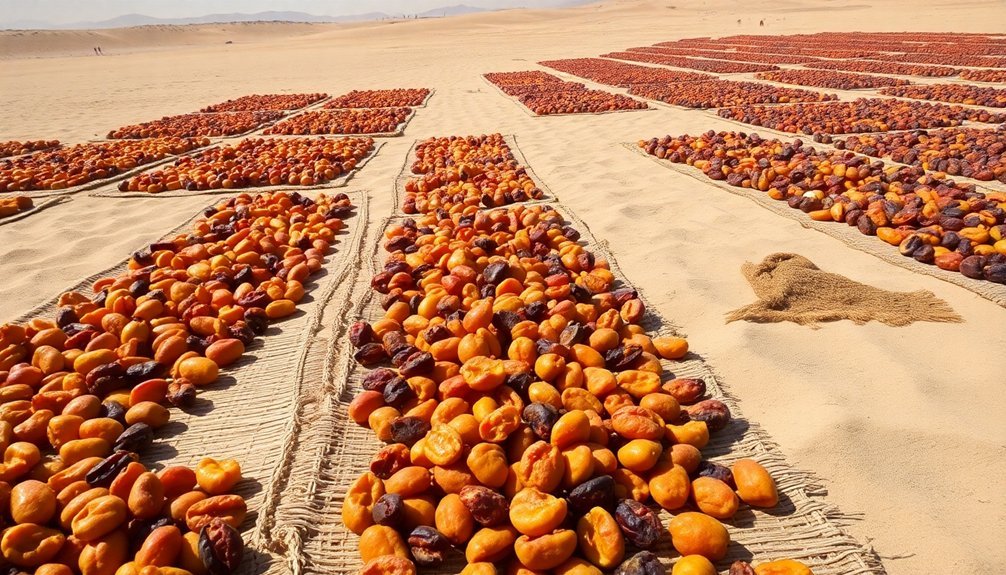
Desert climates offer perfect conditions for sun-drying fruits with their high temperatures above 85°F and low humidity under 60%. You'll need to select fresh, ripe fruits and cut them into uniform pieces for even drying. Set up elevated drying racks in sunny, south-facing areas and cover fruits with screens or cheesecloth to protect from insects and dust. Position your racks to maximize airflow and consider using reflective surfaces like aluminum foil to boost drying efficiency by 25%. Monitor moisture levels until fruits reach about 15% content, then store in airtight containers. The sections below will transform you into a desert fruit-drying expert.
Perfect Desert Climate Conditions
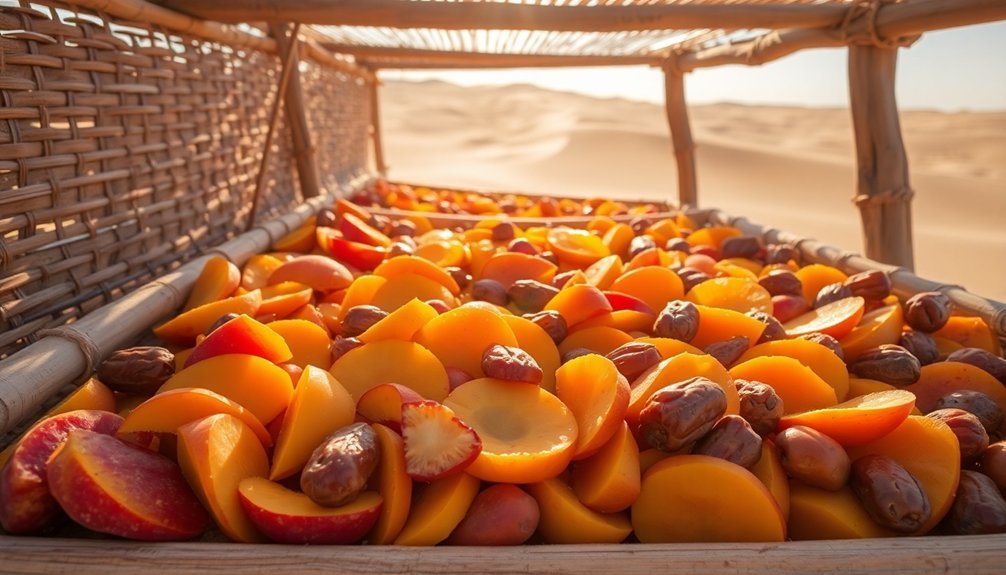
You can enhance these natural advantages by setting up your drying racks on elevated surfaces to capture both the intense desert heat and prevailing breezes.
Traditional sun drying has been used since ancient Mesopotamian times to preserve fruits effectively. While you'll still need to protect your fruit with screens or cheesecloth from desert insects and occasional dust, the region's climate will do most of the work for you, making the sun-drying process efficient and effective.
Selecting Fruits for Desert Drying
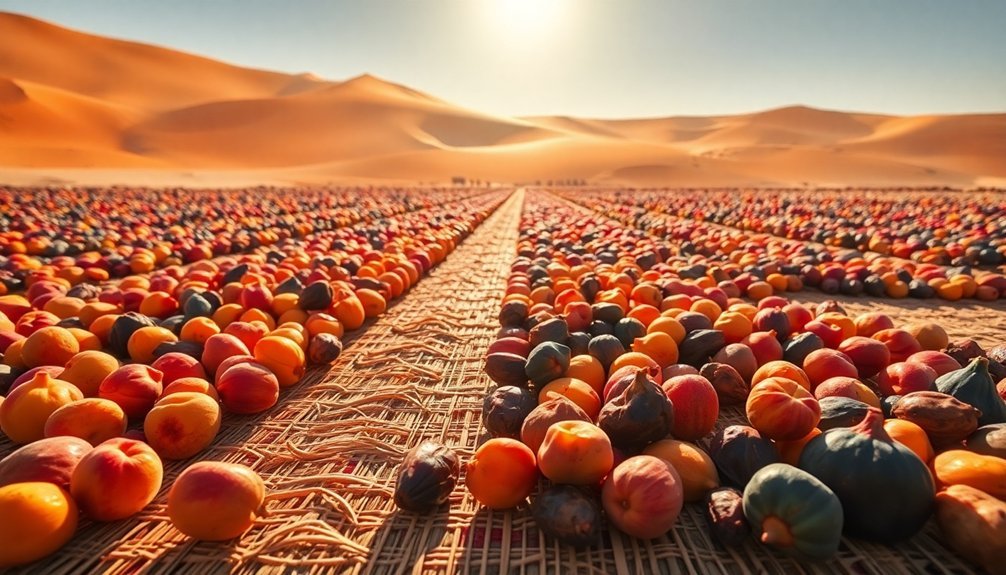
When you're choosing fruits for desert drying, you'll want to focus on naturally drought-tolerant varieties like figs, pomegranates, and jujubes that have adapted to arid conditions.
These desert-ready fruits typically contain less moisture than their conventional counterparts, making them ideal candidates for successful sun-drying with shorter processing times.
You'll need to evaluate each fruit's specific moisture content – for instance, prickly pears require minimal drying time due to their low water content, while dragon fruits need longer processing because of their higher moisture levels. Most of these fruits thrive in full sun conditions, which makes them naturally suited for outdoor drying techniques.
Desert-Ready Fruits Guide
Choosing the right fruits for desert drying can make or break your sun-drying success. You'll want to focus on varieties that are naturally adapted to arid conditions and have the right characteristics for drying.
Apples like Gala, Fuji, and Honeycrisp are excellent choices, as they're drought-tolerant and handle temperature fluctuations well.
Consider planting peach varieties such as Redhaven or Florida Prince, which have low chilling requirements and can withstand late frosts.
If you're looking for especially hardy options, you can't go wrong with pomegranates and figs, which thrive in high desert gardens with minimal water needs. Creating proper windbreaks helps protect these fruit trees from damage while they grow.
Grapes, particularly Thompson and Concord varieties, also excel in sunny, arid conditions.
Before drying, you'll need to properly prepare your fruit. For cherries and plums, crack the skin lightly by dipping them in boiling water followed by an ice bath. This speeds up the drying process.
Select only fully ripened, unblemished fruits, and wash them thoroughly.
Remember to dry your fruit when humidity is below 60% and temperatures reach at least 85°F, but don't forget to bring them in at night.
Moisture Content Analysis
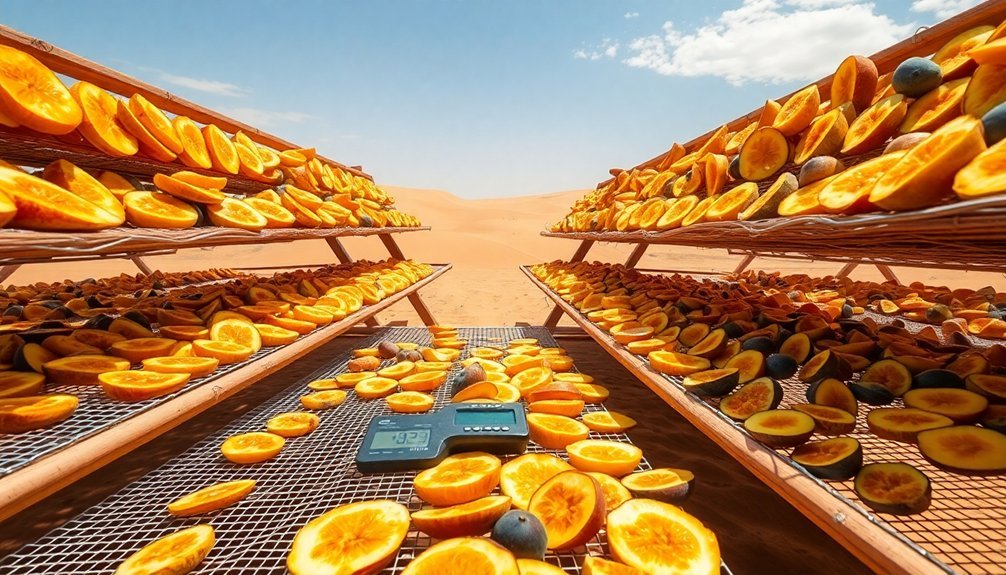
Understanding moisture content is essential for successful desert fruit drying. You'll need to know that most fresh fruits start with high moisture levels above 70%, with apples containing about 85.4% and bananas around 73.7%. Your goal is to reduce this moisture to approximately 15% for conventional drying or 20-25% for sugar-treated fruits.
To measure moisture content accurately, you've got several options. You can use a vacuum oven method at 70°C for 6 hours, employ an electronic moisture meter, or dry small samples at 100°C for 4 hours. These measurements help you track progress and guarantee proper drying.
When you're drying fruits in desert conditions, keep the temperature between 60-70°C to prevent damage. You'll want to control the drying rate carefully, especially at the beginning, to avoid case hardening.
The size of your fruit pieces matters too – thinner slices will dry more quickly and evenly. Remember to pretreat your fruits with ascorbic or citric acid to maintain quality.
Once dried, let your fruits condition for 4-10 days before packaging to guarantee even moisture distribution throughout the product.
Essential Equipment and Tools
Successful sun-drying of fruits requires specific equipment and tools to achieve ideal results. You'll need drying trays made from stainless steel, Teflon-coated fiberglass, or plastic screens positioned on blocks for optimal air circulation. To protect your fruit from birds and insects, cover the trays with cheesecloth while maintaining proper ventilation.
| Equipment Type | Essential Features | Benefits |
|---|---|---|
| Solar Dryers | Direct/Indirect designs | Controlled environment |
| Drying Trays | Elevated positioning | Better air circulation |
| Protection Tools | Cheesecloth/mesh covers | Keeps pests away |
For enhanced drying efficiency, you'll want to place your trays over reflective surfaces like aluminum or tin. If you're using a solar dryer, choose between direct models with clear panels or indirect systems that heat air separately. Consider a hybrid system with backup heat sources for consistent drying during variable weather conditions.
Position your equipment in open areas to maximize sun exposure, ensuring temperatures reach at least 86°F with relative humidity below 60%. Don't forget to monitor UV levels using a UV index meter, and always bring your trays under shelter at night to prevent moisture condensation from cool air.
Preparing Fruit Before Drying
For ideal sun-dried fruits, proper preparation makes all the difference. You'll need to select fresh, fully ripened fruits that you'd enjoy eating fresh, guaranteeing they're free from blemishes and soft spots. Choose from varieties like apples, peaches, plums, apricots, and even tomatoes.
Start by washing your fruits thoroughly under cold running water to remove dirt and residues. While peeling is optional for fruits like apples and pears, you'll want to cut all fruits into uniform pieces for even drying. Remove seeds if desired, especially from tomatoes, and maintain consistent sizes throughout.
To prevent browning in light-colored fruits, you'll need to pretreat them. Create a solution using either 1 cup of lemon juice mixed with 4 cups of water or dissolve a teaspoon of powdered ascorbic acid in two cups of water. Dip your fruit pieces in this solution for 3-10 minutes.
Once pretreated, arrange your fruits in single layers on drying trays, making sure they don't touch or overlap. Place fruits with pit cavities facing up and cover the trays with cheesecloth or fine mesh to protect from insects.
Guarantee good air circulation around the fruit for best drying results.
Natural Drying Location Setup
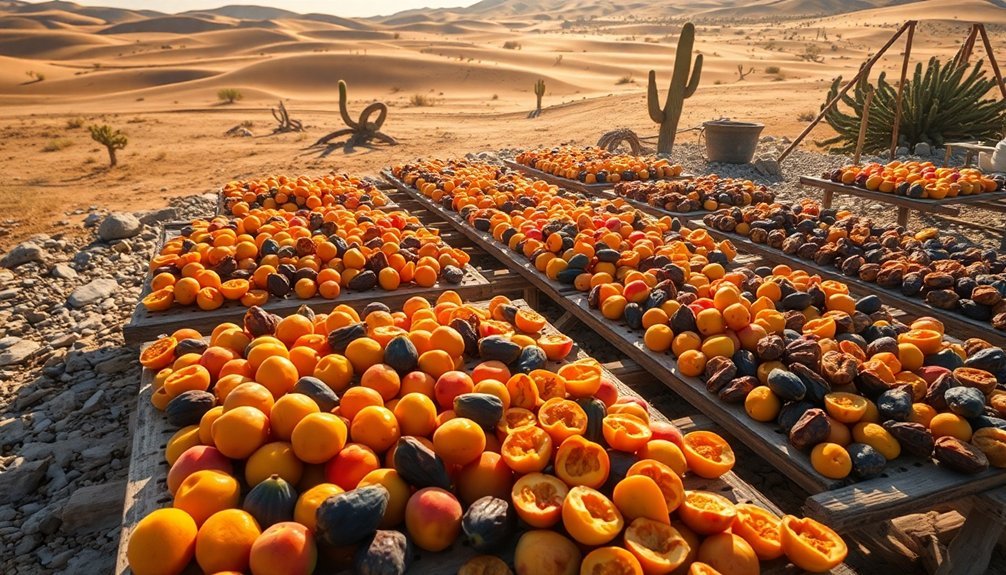
Selecting the right location for sun-drying fruit will make or break your results. You'll need a spot that reaches at least 85°F to 86°F, with low humidity below 60% and good air circulation. Choose a hot, dry, breezy day, and if your location has intense sun, consider using partial shade to protect the fruit's nutrients.
Set up your drying racks on a concrete driveway or over aluminum sheets to reflect sunlight and increase temperature. Don't place racks directly on the ground; instead, elevate them using blocks or bricks to improve airflow. Lay a tarp underneath to control dust, and guarantee your surface is completely level.
You'll need to protect your fruit from unwanted visitors. Cover the trays with cheesecloth or mosquito netting to keep birds and insects away, but make sure the material allows air to circulate. If you're drying indoors near a window, use a white Turkish towel as a cover.
Don't forget to bring your fruit inside at night to prevent moisture from settling on the surface. Space your fruit pieces evenly on the racks, avoiding overcrowding to guarantee consistent drying throughout.
Sun Exposure Best Practices
While achieving perfect sun exposure might seem intimidating, monitoring a few key environmental factors will secure ideal drying results.
You'll want temperatures above 85°F (29°C) and humidity levels below 60% for prime drying conditions. Keep track of these measurements using hygrometers and thermometers throughout the process.
Position your drying racks in open areas that receive maximum sunlight, preferably on south-facing slopes if you're in Texas or similar regions.
You can boost drying efficiency by up to 25% by using reflective surfaces like aluminum foil or mirrors around your setup. Don't forget to rotate your fruit pieces regularly for even drying.
Protect your drying fruit by bringing the racks inside at night to prevent moisture buildup.
Install screens or protective netting to keep insects and debris away from your produce. You'll need to elevate the racks to promote proper air circulation on all sides.
If you're dealing with delicate fruits, use partial shade or translucent covers to prevent over-drying.
When conditions are particularly humid, consider using a solar dehydrator with built-in fans to maintain consistent drying conditions.
Moisture Content Monitoring Tips
Monitoring moisture content effectively requires both precise measurement tools and simple hands-on tests.
You'll need to combine modern technology with traditional methods to guarantee your sun-dried fruits reach ideal moisture levels and remain safe for consumption.
For accurate moisture measurement, you can rely on several proven methods:
- Use a conductivity-based moisture meter with Wheatstone bridge technology, which offers ±1% accuracy and provides quick results compared to vacuum oven methods.
- Consider implementing near-infrared technology like the IR-3000 moisture sensor for continuous monitoring throughout the drying process, helping you enhance your drying time.
- Perform manual dryness tests by squeezing a handful of cooled fruit – if no moisture remains on your hand and pieces spring apart when released, you've reached appropriate dryness levels.
Don't forget to condition your dried fruits for 4-10 days after reaching target moisture levels.
This vital step allows residual moisture to distribute evenly throughout the product.
Remember that different fruits require different moisture levels, so you'll need to calibrate your instruments accordingly and consult specific guidelines for each fruit type you're drying.
Preventing Desert Pest Contamination
You'll need to set up protective netting systems using raised cheesecloth or fiberglass screens to shield your drying fruits from desert pests.
Consider implementing a dual-barrier approach by placing table legs in water-filled cans while maintaining proper air circulation through mesh-bottomed trays.
Natural pest deterrent methods, such as keeping the drying area debris-free and bringing trays indoors during the evening, will further safeguard your fruits from unwanted desert visitors.
Protective Netting Systems
Desert fruit-drying operations face unique challenges from pests, making protective netting systems essential for maintaining product quality.
You'll find that properly installed protective netting not only guards against insect infestations but also provides multiple benefits for your sun-drying process. Draped netting systems create a physical barrier that effectively excludes pests while reducing the need for chemical pesticides.
For your desert fruit-drying operation, you'll want to take into account these key netting solutions:
- Overhead photoselective nets that modify light spectra, protecting your fruit from excessive sun exposure while maintaining ideal drying conditions.
- Full-coverage draped netting that creates a complete barrier against insects and flying pests, ensuring your dried fruits remain contamination-free.
- Anti-hail nets that double as shade protection, reducing mechanical damage from harsh desert winds and sandstorms.
You'll need to monitor your netting system regularly, as desert conditions can be particularly harsh on materials.
While installation costs might seem significant initially, you'll find that the investment pays off through improved product quality and reduced pest-related losses.
Remember that your netting system should be customized to your specific environmental conditions and fruit-drying requirements.
Natural Pest Deterrent Methods
Natural pest-control strategies play an essential role in protecting your sun-drying fruit from desert insects and contamination.
You'll need to implement multiple defensive measures before, during, and after the drying process to guarantee your fruit remains pest-free.
Start by thoroughly washing your fruit to remove any existing pests or eggs. When you're preparing the fruit for drying, treat it with ascorbic acid or lemon juice, which not only prevents browning but can also deter certain insects.
During the drying process, you'll want to cover your fruit with cheesecloth or protective screens that allow airflow while keeping insects away.
You can't stop your pest control efforts once the fruit is dried. To eliminate any remaining insects or eggs, you'll need to pasteurize your fruit either by freezing it at 0°F for 48 hours or heating it in a 160°F oven for 30 minutes.
Store your dried fruit in airtight, insect-proof containers and maintain temperatures below 13°C to prevent pest activity. For extra protection, consider using controlled atmosphere storage with low oxygen and high carbon dioxide levels to discourage insect survival.
Storage After Desert Drying
Properly storing sun-dried fruits guarantees they maintain their quality and freshness long after the drying process. Before you store your desert-dried fruits, they'll need to go through a conditioning period of 4-10 days.
Place them loosely in large containers, filling them about two-thirds full, and shake daily to distribute any remaining moisture evenly. If you notice condensation forming, return the fruits to the drying trays.
Once conditioning is complete, follow these essential storage steps:
- Clean your storage containers thoroughly with warm, soapy water and ascertain they're completely dry before adding your fruits.
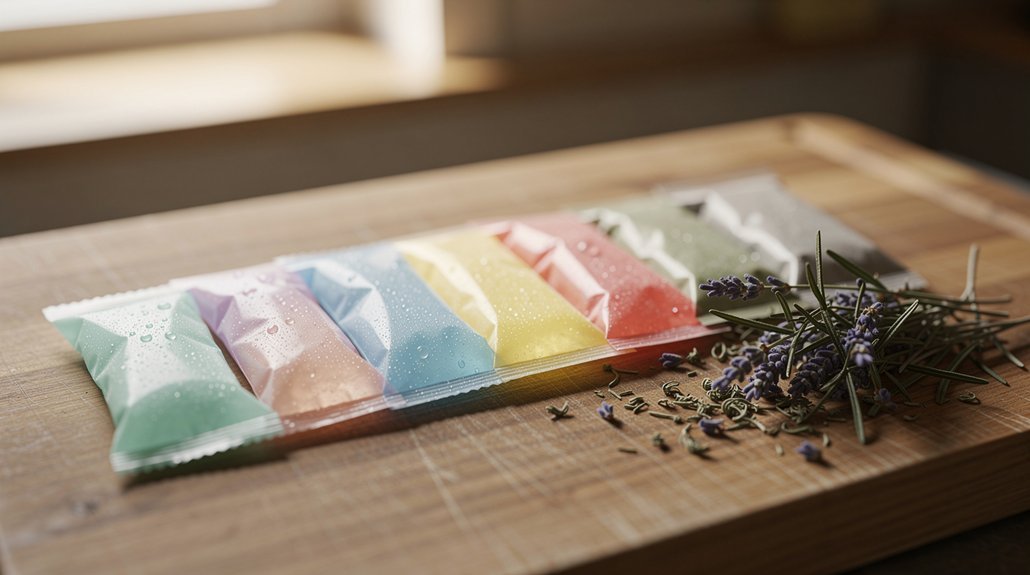
- Package the fruits in airtight containers or vacuum-sealed bags, adding silica gel packets to prevent moisture buildup.
- Label each container with contents and packaging date, then store in a cool, dark place at 60°F or below.
You'll want to keep your dried fruits away from direct sunlight and check them periodically for any signs of mold.
For extended storage, place containers in your refrigerator's crisper drawer or freezer. If you're storing sulfured fruits, remember to use non-metal containers to prevent unwanted chemical reactions.
Desert Dried Fruit Uses
Your desert-dried fruits offer countless healthy snack possibilities, from eating them straight out of storage to mixing them into creative trail combinations.
Try combining your dried fruits with nuts, seeds, and dark chocolate pieces to create a nutrient-rich trail mix that's perfect for hiking or everyday snacking.
When properly stored in airtight containers, these versatile dried fruits can last for months while maintaining their natural sweetness and nutritional benefits, making them an excellent choice for long-term food planning.
Healthy Desert Snack Options
Dried fruits offer a treasure trove of healthy snack possibilities for those craving sweet treats without guilt. You'll find that incorporating dried fruits into your desert snacks provides essential nutrients while satisfying your sweet tooth.
When selecting dried fruits for snacking, opt for lower-sugar options like dried coconut with just 7.35g of sugar per 100g, or mix several varieties to create a balanced treat.
For a nutrient-rich desert snack experience, consider these fiber-packed combinations:
- Mix dried golden berries (21.4g fiber/100g) with dark chocolate and a dollop of yogurt for a protein-rich treat that'll keep you satisfied.
- Blend dried coconut (16.3g fiber/100g) into smoothies with fresh raspberries for a revitalizing drink that's both nutritious and delicious.
- Combine dried figs (9.8g fiber/100g) with homemade energy balls for a portable snack that's perfect for desert adventures.
You can also sprinkle dried fruit over oatmeal or yogurt for breakfast, or add them to salads for lunch.
The key is choosing varieties that offer high fiber content while keeping sugar intake in check, ensuring you're getting maximum nutritional benefits from your desert snacks.
Trail Mix Recipe Ideas
Building on the versatility of dried fruits, trail mix combinations offer endless possibilities for both nutrition and taste. You'll find that sun-dried fruits from your desert harvest can transform ordinary trail mixes into distinctive blends that perfectly balance sweet and savory flavors.
For a tropical twist, combine your dried fruits with cashews and coconut flakes. You can create a festive mix by pairing dried cranberries with yogurt-covered raisins and nuts, or opt for an indulgent blend featuring dried cherries with dark chocolate chips.
If you're seeking healthier options, incorporate your dried fruits into a heart-healthy mix with nuts and seeds.
Don't limit yourself to traditional combinations. You can experiment with spicy elements by adding Cajun seasoning or Sriracha to complement the natural sweetness of dried fruits. For a unique desert-inspired blend, try mixing your sun-dried fruits with cinnamon-sugar coated nuts or honey-mustard seasoned seeds.
Remember to store your trail mixes in airtight containers to maintain freshness and prevent your dried fruits from absorbing moisture.
These versatile mixes serve as perfect on-the-go snacks, hiking companions, or thoughtful homemade gifts.
Long-Term Storage Solutions
Properly storing desert-dried fruits guarantees they remain fresh and flavorful for months or even years. You'll need to protect your dried fruits from moisture, oxygen, and light to maintain their quality. Using airtight containers is essential, but don't forget to clean them thoroughly with warm, soapy water before filling them with your desert-dried treasures.
For ideal preservation, you've got several effective storage methods at your disposal:
- Vacuum sealing: Use a vacuum sealer with compatible bags to remove air and prevent oxidation, greatly extending shelf life.
- Mylar bag storage: Combine Mylar bags with oxygen absorbers and seal them using an impulse heat sealer for maximum protection.
- Cold storage solutions: Place your dried fruits in the refrigerator's crisper drawer or freezer using airtight containers.
Don't forget to add silica gel packets to your storage containers to absorb any moisture that might sneak in.
Monitor your stored fruits regularly for signs of spoilage, and keep them away from direct sunlight and heat sources. For easy monitoring, consider using glass containers that allow you to quickly spot any moisture buildup or quality changes.
Frequently Asked Questions
How Long Can Sun-Dried Fruits Stay Fresh When Stored Properly?
You'll find your dried fruits can last 6-12 months in your pantry, 1-2 years in your refrigerator, or indefinitely in your freezer when you store them in airtight containers away from light.
Can Fruits Be Sun-Dried Effectively on Cloudy but Hot Days?
You can sun-dry fruits on cloudy hot days, but it'll be less effective and take longer. You'll need higher temperatures and better air circulation to compensate for the lack of direct sunlight.
What Safety Precautions Should Children Follow When Helping With Sun-Drying?
You'll need adult supervision, must wear protective gear like gloves and hats, wash your hands thoroughly, avoid touching sharp tools, and don't handle hot trays directly. Keep away from chemicals and cleaning supplies.
Does Sun-Drying Affect the Vitamin Content of Fruits Differently Than Artificial Drying?
Yes, you'll lose more vitamins with sun-drying, especially Vitamin C and beta-carotene, compared to artificial methods. Artificial drying's controlled temperatures and shorter exposure times help preserve more nutrients in your fruits.
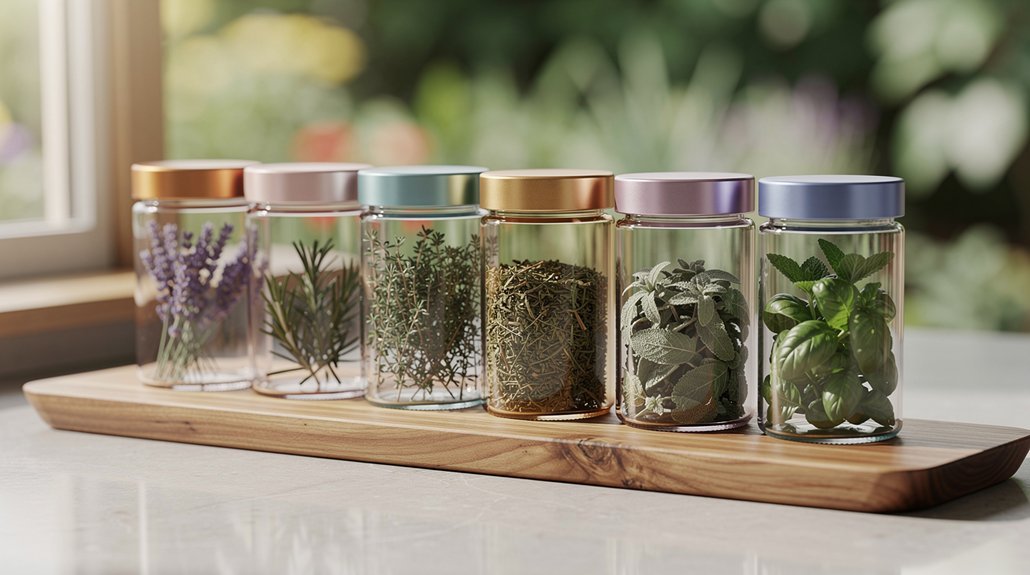
Can Medicinal Herbs Be Dried Alongside Fruits Using the Same Methods?
You shouldn't dry medicinal herbs with fruits. They'll lose significant potency in direct sunlight, reducing to just one-third of their strength. Instead, dry your herbs in shade with good ventilation to preserve their medicinal properties.
In Summary
You'll find sun-drying fruits in desert climates offers an efficient, eco-friendly way to preserve your harvest. With proper fruit selection, careful preparation, and attention to moisture levels, you've got a reliable preservation method that's worked for generations. By following these guidelines and protecting against pests, you'll create delicious dried fruits that maintain their nutritional value and can be enjoyed year-round in various dishes.

Leave a Reply