
Preserve your fresh herbs in the desert's challenging climate with these proven techniques. Start by harvesting early morning after the dew evaporates but before the intense heat kicks in. Clean your herbs thoroughly and bundle them loosely to allow proper air circulation during drying. Set up your drying station in a cool, dark space around 70°F with good ventilation – consider using a solar dehydrator for best results. Rotate bundles every few days for even drying, and store completely dried herbs in UV-resistant, airtight containers with oxygen absorbers. These foundational steps will help you master the art of desert herb preservation.
Early Morning Harvest Methods

Success in herb drying begins with proper harvesting techniques in the early morning hours. You'll want to time your harvest just after the morning dew has evaporated but before the day heats up. This timing guarantees your herbs retain their essential oils and maintain peak flavor profiles while staying crisp and hydrated.
Before you start cutting, make certain you're using clean, sharp tools like scissors or shears. Cut the stems just above a leaf node to encourage future branching, but don't take more than 1/4 of any single branch. You'll get the best results by selecting healthy, undamaged leaves and new growth at the plant tips, where flavors are most concentrated. A consistent morning harvest schedule ensures the highest concentration of essential oils in your herbs.
Choose a wind-free morning and work in an area with good air circulation, away from moisture sources like sinks or dishwashers. If you spot any flower buds, especially on plants like basil, pinch them off to promote leaf growth.
Remember to avoid harvesting flowering herbs, as they'll taste bitter. Discard any bruised or imperfect leaves you find during the process, guaranteeing only the highest quality herbs make it to your drying rack.
Clean and Bundle Preparation
Proper preparation of your harvested herbs demands meticulous cleaning and bundling techniques. Start by inspecting each plant for insects and damaged foliage. If you're working with clean herbs, you can skip washing them to prevent mold issues.
However, if your herbs need cleaning, rinse them in cool water and use a salad spinner to remove excess moisture, followed by gentle patting with paper towels. For best results, fill a bowl with cold water and gently submerge herbs to remove any remaining dirt or debris.
When you're ready to bundle, group your herbs into small, loose bunches that allow for proper air circulation. Remove the lower leaves from stems and secure the bundles with twine or fishing line. If you're using rubber bands, they'll naturally tighten as the herbs shrink during drying.
For tender-leaf herbs like basil and mint, you'll need to take extra precautions against mold by ensuring excellent airflow.
For seedy varieties, wrap paper bags with ventilation holes around the bundles to catch falling seeds. If you're dealing with high humidity, separate leaves from stems for herbs like mint and sage, laying them individually on paper towels.
Remember to hang your bundled herbs in a cool, dark space away from moisture sources like sinks and stoves.
Indoor Air Drying Techniques

Now that your herbs are clean and bundled, the indoor air-drying process requires specific environmental conditions for the best results.
You'll want to maintain a temperature of around 70°F (21°C) in a dark area away from direct sunlight to preserve both color and flavor. Choose a well-ventilated space that's far from moisture sources like laundry rooms, sinks, or dishwashers. Remember to rotate bundles regularly while checking their progress every three to four days.
Hang your herb bundles on a clothing line or herb drying rack, ensuring proper air circulation around each bundle. If you're drying tender-leaf herbs like basil, oregano, or mint, place them inside paper bags with punched holes to catch any falling leaves and protect them from dust while allowing airflow.
For herbs with particularly small or large leaves, you can lay them individually on paper towels or screens.
Monitor your herbs regularly during the drying process. They're ready when the leaves crumble easily and the stems snap when bent.
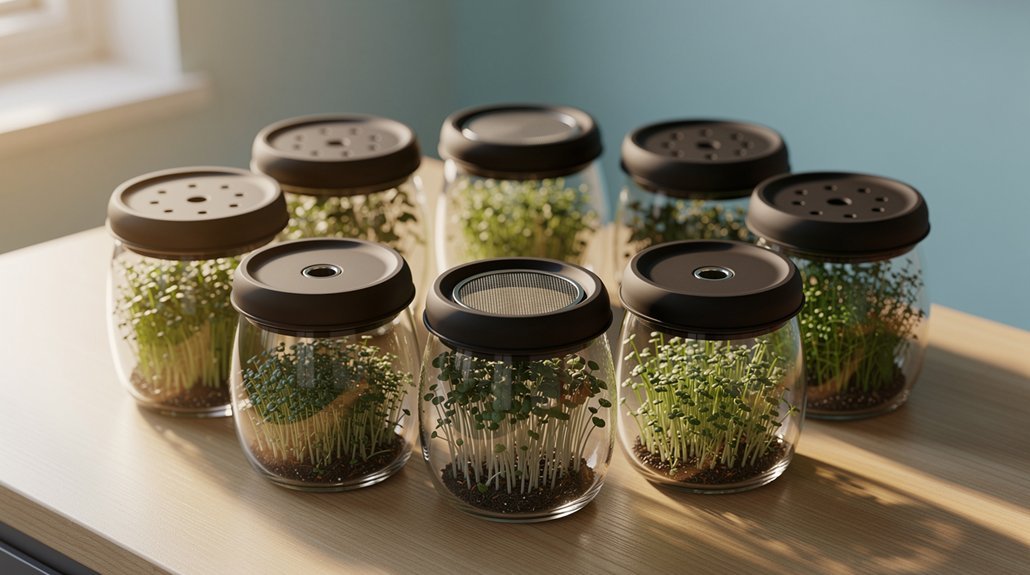
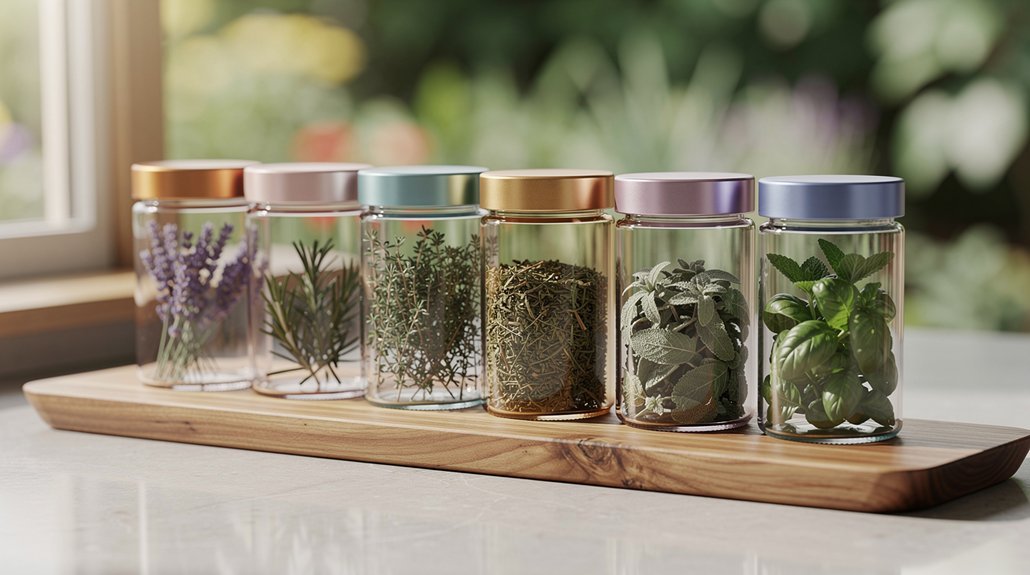
At this point, transfer them to glass jars or moisture-proof containers with tight-fitting lids. Don't forget to label each container with the herb's name and date.
When stored in a dark, dry location, your dried herbs will maintain their flavor for up to a year.
Solar Dehydrator Success
Solar dehydrators offer a natural and efficient way to preserve your desert herbs. When building your dehydrator, select weather-resistant materials and incorporate a clear cover to trap heat while guaranteeing proper ventilation. You'll want to include adjustable angles to maximize sun exposure throughout the day.
For the best results, harvest your herbs in the morning after the dew has evaporated but before the day's heat intensifies. Gently rinse the herbs under cool water, shake off excess moisture, and handle them carefully to prevent damage.
You'll get ideal drying results by arranging the herbs in single layers on your dehydrator trays, making sure they don't touch each other. Monitor your herbs regularly as they dry in the solar dehydrator. They're ready when they crumble easily and their stems snap when bent.
Remember to adjust the dehydrator's position to maintain consistent sun exposure throughout the drying process. Before storing, verify that your herbs are completely dry to prevent mold growth. Place them in airtight containers to preserve their flavors and aromas.
With proper maintenance and regular cleaning of your dehydrator, you'll guarantee high-quality dried herbs every time.
Airtight Desert Storage Solutions

Securing your dried herbs in the desert's harsh environment demands airtight storage solutions that combat moisture, heat, and light exposure. You'll need containers made from food-grade materials that provide a complete seal against the desert's extreme conditions. Choose stainless steel or UV-resistant plastic containers that can withstand temperature fluctuations while protecting your herbs.
| Storage Feature | Purpose | Desert Benefit |
|---|---|---|
| Airtight Seal | Prevents moisture infiltration | Protects against humidity changes |
| UV Protection | Blocks harmful rays | Preserves herb color and potency |
| O2 Absorbers | Creates anoxic environment | Extends shelf life |
| Stackable Design | Maximizes space | Efficient storage in limited space |
| Security Features | Prevents unauthorized access | Protects valuable herbs |
Store your containers in the coolest part of your home, away from windows and heat sources. You'll want to check your herbs regularly for any signs of moisture or mold, especially during monsoon seasons. Consider adding O2 absorber sachets to your containers for peak preservation. Before storing, verify your herbs are completely dry to prevent moisture-related issues common in desert environments. Don't forget to label each container with contents and date of storage for proper rotation.
Frequently Asked Questions
Can I Dry Multiple Types of Herbs Together in the Same Dehydrator?
Yes, you can dry different herbs together in your dehydrator. Just group similar herbs on the same tray, as they'll have comparable drying times. Remember to place tougher herbs below and delicate ones above.
How Do Desert Temperatures Affect the Potency of Dried Herbs?
High desert temperatures can destroy your herbs' potency if you're not careful. When temps exceed 100°F, you'll lose essential oils and medicinal properties. That's why you'll need shaded, controlled drying environments.
What Signs Indicate My Herbs Are Becoming Moldy During Drying?
Watch for visible fuzzy growth, black spots, and musty odors on your herbs. If they're not becoming brittle or they feel damp to touch, you'll need to check for mold development.
Should I Remove Flowers From Herbs Before Drying Them?
Yes, you should remove flowers before drying herbs. They can make your dried herbs bitter and reduce essential oil content. Harvesting just before flowering guarantees the best flavor and quality in your final product.
Why Do Some Herbs Turn Brown While Others Stay Green When Dried?
Your herbs turn brown due to heat damage, light exposure, and chemical reactions during drying. Those that stay green are typically dried at lower temperatures, protected from light, and processed with proper methods.
In Summary
You've now mastered the art of drying herbs in challenging desert conditions. By harvesting early, preparing bundles properly, utilizing indoor spaces, harnessing solar power, and storing with desert-smart methods, you'll preserve your herbs' flavors and medicinal properties year-round. Don't let the harsh desert climate discourage you – with these techniques, you're ready to build your own dried herb collection that'll thrive in arid conditions.
Leave a Reply