You can start making dairy cultures today using simple kitchen tools and pasteurized milk. Begin by heating your milk to 120°F, then cool it until it's comfortable to touch. For a natural starter, add one crushed cardamom pod or 20 seeds to warm milk and let it sit undisturbed in a 70°F spot for 10-14 hours. You'll know it's working when you see thick curdles and smell a sweet aroma. Keep your equipment clean and sanitized to prevent contamination. With proper temperature control and patience, you'll discover the art of creating traditional fermented dairy products at home.
Essential Equipment and Tools

Every successful dairy starter operation begins with the right equipment. You'll need a seamless stainless steel milking pail as your primary collection vessel, along with a reliable milk strainer fitted with disposable filters to guarantee purity. Steam sterilization works excellently for larger equipment pieces.
Don't forget to include a strip cup for checking milk quality and cleaning teats before milking. For sanitization, you'll want to prepare a bleach water solution or use the boiling method to sterilize your equipment. Your storage containers must be thoroughly sterilizable and free of any porous surfaces where bacteria could grow.
Keep sanitizing wipes handy, which you can make yourself using paper towels and essential oils. When it comes to processing tools, you'll require a thermometer to monitor temperatures precisely during fermentation. A stainless steel skimmer or ladle will help you mix cultures effectively.
Include cheesecloth and a colander for straining, plus proper storage containers for your finished starters. Don't overlook the importance of keeping milk record sheets to track your production process and results. A scale will help you measure quantities accurately, guaranteeing consistent results in your starter cultures.
Milk Selection Guidelines
When selecting milk for your starter cultures, you'll need to choose between raw or pasteurized milk, though pasteurized is safer for beginners.
The fat content of your milk directly impacts your culture's growth, with skim milk offering the most consistent results for home fermentation.
Store your chosen milk between 35-40°F (2-4°C) before use to maintain its quality and prevent unwanted bacterial growth. For optimal starter development, heat treat your milk at 90-95°C for 30-45 minutes before beginning the culturing process.
Raw vs. Pasteurized Options
Selecting the right milk for dairy fermentation requires careful consideration of both safety and regulatory factors. While raw milk can contain beneficial microorganisms for fermentation, it also carries considerable risks, including harmful bacteria like E. coli, Campylobacter, and Listeria. High Temperature Short Time pasteurization is commonly used in commercial milk production, heating milk to 161°F for 15 seconds.
You'll need to weigh these risks carefully, especially if you're in a vulnerable group. If you're considering raw milk, you must verify it comes from a certified farm following strict protocols established by organizations like the Raw Milk Institute. These farms must maintain specific bacterial count standards and implement rigorous hygiene practices.
However, due to federal regulations, you can't legally obtain raw milk across state lines.
Pasteurized milk offers a safer alternative without sacrificing nutritional value. Despite claims to the contrary, pasteurization doesn't notably impact milk's nutrient content while effectively eliminating harmful pathogens.
You'll still get the same essential proteins, calcium, and vitamins needed for successful fermentation. If you're new to dairy fermentation or concerned about safety, pasteurized milk is your best option, as it provides consistent results while minimizing health risks.
Fat Content Matters Most
Beyond pasteurization choices, fat content plays a central role in successful dairy fermentation. When you're selecting milk for your starter culture, you'll want to take into account how different fat levels affect your final product's quality and consistency.
For the best results, you'll typically want to choose milk with a higher fat content. Natural fats provide better palatability and create a richer, more complex starter culture. You'll find that whole milk, with its balanced fat content, produces more stable fermentation and helps maintain consistent cultures over time.
If you're using reduced-fat options, you might notice less robust culture development. That's because milk fat serves as an important energy source for beneficial bacteria during fermentation. While you can still create starters with lower-fat milk, they may not develop the same rich characteristics or maintain stability as effectively.
When selecting your milk, check that it hasn't been ultra-filtered or ultra-processed, as these treatments can remove natural components needed for proper fermentation.
You'll get the most reliable results by choosing milk that's as close to its natural state as possible, while ensuring it meets your local food safety requirements.
Best Storage Temperature Range
The right storage temperature makes an essential difference in developing successful dairy starters. You'll need to maintain specific temperature ranges throughout your starter culture process to guarantee ideal results.
For your milk base, keep temperatures between 2°C and 4°C (36° to 39°F) to prevent spoilage and maintain quality. If you're using sterilized milk, you've got a bit more flexibility with storage temperatures up to 10°C.
When handling starter cultures, you've got several storage options. For short-term storage, keep them in your fridge at 0-4°C. For long-term preservation, store them in your freezer at -18°C or lower.
If you're working with specialized cultures, you'll get the best results by storing them at -75 to -80°C, though this isn't typically practical for home use.
Don't let your cultures experience temperature fluctuations, as this can damage the cell membranes. When you receive new starter cultures, transfer them immediately to your freezer.
If you're using freeze-dried cultures, you can store them in your refrigerator at 4°C for up to 12 months. Remember to rotate your stock and use older cultures first to maintain freshness.
Preparing Raw Milk
Properly preparing raw milk forms the foundation of successful home dairy fermentation.
You'll need to start by thoroughly washing your jars and lids with hot, soapy water. Set up your stainless steel funnel with a clean filter to catch any contaminants during the transfer process.
Using a ladle, transfer the raw milk through your filtered funnel into clean jars. As you work, you'll need to move the filter from jar to jar, ensuring each batch is properly strained. Don't forget to mark the date on each jar after filling.
Next, you'll need to pasteurize the milk using one of two methods. You can either heat it to 145°F for 30 minutes using a double boiler, or bring it to 161°F for at least 15 seconds. Use a metal-stem thermometer to monitor the temperature precisely.
After pasteurization, cool the milk quickly to 40°F or below.
Store your processed milk in the refrigerator at 40°F or colder. If you're planning to separate cream, wait until the milk is well-chilled. You can then skim the cream off using a gravy ladle, transferring it to a separate clean jar.
Keep your cream and milk in separate containers to prevent souring.
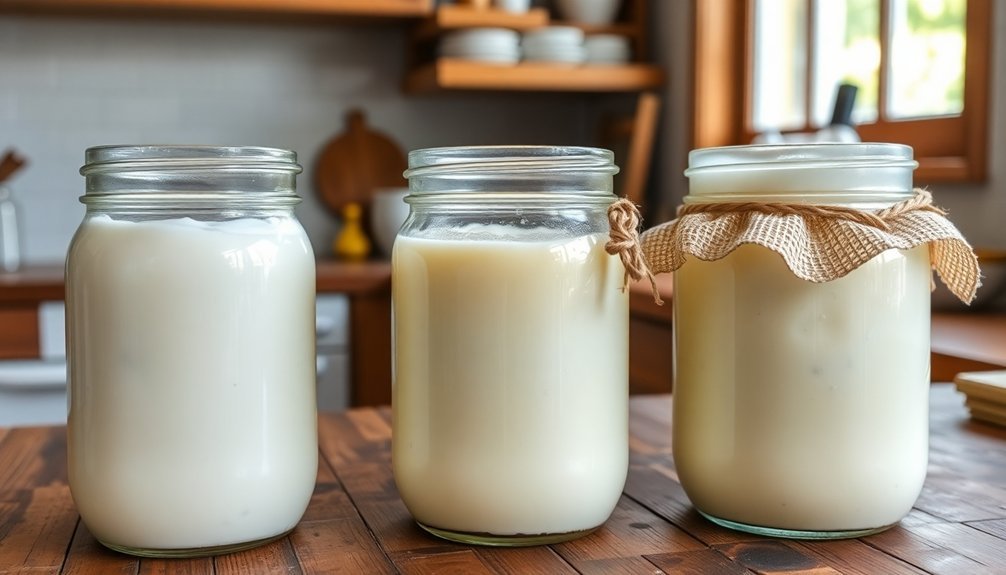
Traditional Starter Culture Types
Understanding starter cultures forms the foundation of successful dairy fermentation at home.
You'll encounter two main temperature-based categories: mesophilic and thermophilic cultures. Mesophilic starters work best at around 30°C and are perfect for making kimchi, cheese, and buttermilk. In contrast, thermophilic cultures thrive at higher temperatures (around 40°C) and you'll need these for yogurt and mozzarella.
When choosing your starter, you can opt for either single-strain or mixed-strain cultures. Single-strain starters contain just one type of bacteria, like Lactococcus lactis, giving you predictable results and easier control over fermentation.
However, they're more vulnerable to bacteriophages that can destroy your culture.
Mixed-strain starters combine multiple bacteria types, offering you better protection against bacteriophages and more complex flavor profiles. You'll find these particularly useful when making traditional cheeses like gouda.
While they're more resilient than single-strain cultures, they require careful attention to temperature and conditions to maintain the proper balance between different bacterial strains.
Using Cardamom as Starter
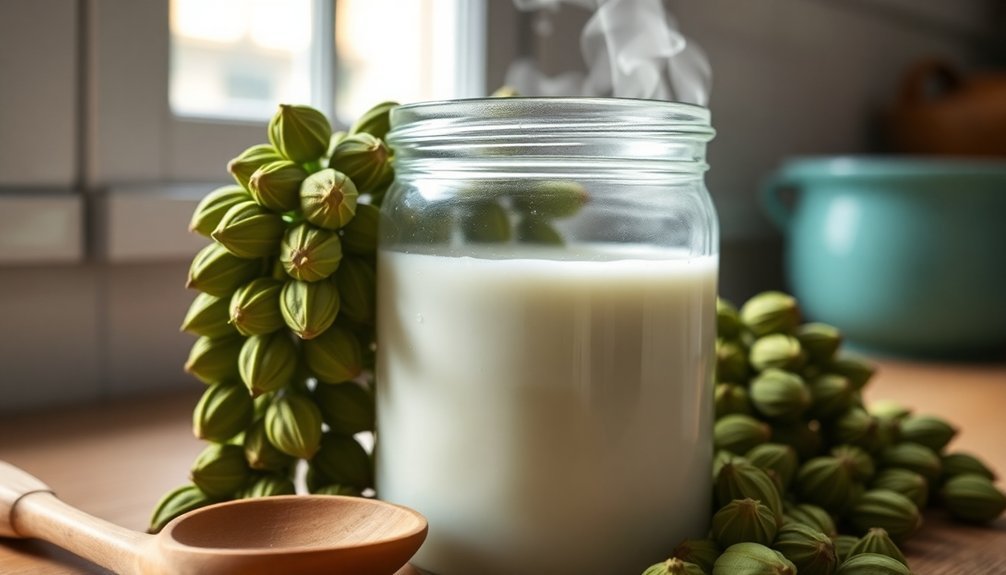
When making a cardamom-based dairy starter, you'll need to select fresh, aromatic pods that are dark green and firm to the touch.
To begin the fermentation process, you'll crush the pods to release their seeds before combining them with warmed raw milk at 120 degrees.
You'll then cover the mixture and let it ferment for 10-14 hours in a warm environment until proper curdling occurs, indicating your starter culture is ready.
Selecting Cardamom Pods
Selecting high-quality cardamom pods marks the first step in creating natural dairy starters. You'll want to look for pods that display a bright sage green color, avoiding those with an artificial grass-green appearance. The pods should feel plump and dry to the touch, though some shriveling is acceptable and won't affect their starter-making properties.
When choosing your cardamom, stick to green varieties rather than black, as the latter's intense flavor can overpower your dairy starter. Examine each pod carefully to verify it's free from dampness or softness, which could indicate compromised aromatic qualities.
Store your selected pods in an airtight container in a cool, dark place to maintain their freshness.
To prepare your cardamom for use in dairy starters, you'll need to process it properly. Don't buy pre-ground powder, as it may contain unwanted additives. Instead, dry roast the whole pods over low heat to enhance their aroma, then grind them yourself using a mortar and pestle or spice mill.
You can use either the whole pods or just the seeds, depending on the intensity you're seeking in your starter culture.
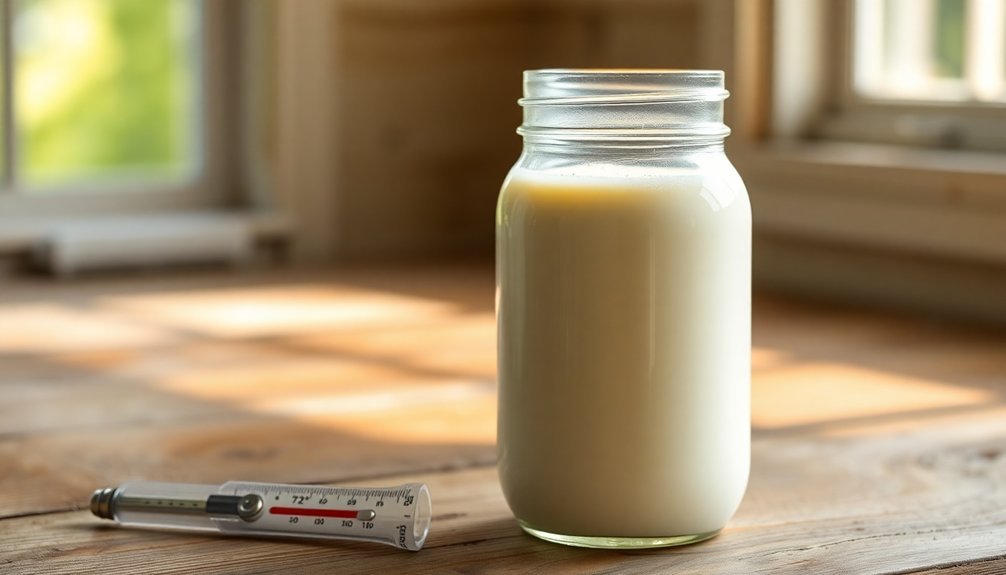
Cardamom Fermentation Steps
The fermentation process begins with properly heating your milk to 120 degrees Fahrenheit, watching for tiny bubbles to form on the surface.
Once heated, let the milk cool until you can hold your pinky in it for 5 seconds. Pour 3/4 to 1 cup of the milk into a clean container to prevent any contamination.
Add one large cardamom pod or 20 seeds to your milk, gently submerging them with a whisk or spoon. Don't stir the mixture, as this can interfere with curdling.
Cover the container with cheesecloth or a clean towel, and place it in a warm spot where the temperature stays around 70 degrees.
You'll need to wait 10-14 hours for initial curdling, typically overnight. The starter should develop thick curdles and emit a sweet aroma rather than a sour smell.
Depending on your environment and weather conditions, complete fermentation might take up to 72 hours. Check periodically after the first 24 hours to monitor the thickening process.
Once your starter has properly thickened, remove the cardamom.
Store the starter in a clean glass bottle, and use 2-3 tablespoons for your next batch of yogurt.
Alternative Natural Starter Methods
If you're making non-dairy yogurt, you'll need specific alternatives.
Use high-quality almond milk or coconut milk blends, and source vegan starter cultures online. You can also open probiotic capsules as a starter, though you'll likely need additional sweeteners to help the cultures thrive.
Remember to add thickeners for the right consistency when working with non-dairy options.
Temperature Control Techniques

Maintaining precise temperature control stands at the heart of successful dairy fermentation. When you're working with mesophilic cultures, you'll need to keep temperatures between 20-40°C, while thermophilic cultures require warmer conditions of 40-55°C. Getting these temperatures wrong can leave you with inactive cultures and failed fermentation.
For proper coagulation, you'll want to maintain temperatures between 30-40°C when adding your rennet. This range guarantees ideal curd formation and texture development. You can monitor your milk's temperature using a reliable dairy thermometer, and it's essential to avoid hot spots that could damage your cultures.
To achieve consistent heating at home, you'll need to use gentle, indirect heating methods. Consider using a water bath or double boiler setup to prevent localized overheating. Keep your thermometer in place throughout the process, and make adjustments promptly if temperatures drift outside the ideal range.
Remember that proper temperature control affects everything from moisture retention to flavor development in your final product. By maintaining precise temperatures, you'll prevent common issues like weak curds, poor acidification, and inconsistent texture in your homemade dairy cultures.
Proper Incubation Environment
Creating an ideal incubation environment depends on several natural contamination sources that contribute to starter culture development. You'll find that your raw milk's natural bacteria primarily come from teat skin, milking equipment, and the surrounding air. These sources provide the essential lactic acid bacteria (LAB) needed for fermentation.
To establish proper incubation conditions, you'll need to control both temperature and time carefully. If you're working with thermophilic bacteria, maintain temperatures above 50°C to favor species like Streptococcus thermophilus. For mesophilic cultures, keep temperatures between 20-24°C to promote Lactococcus and Lactobacillus growth.
You can use the backslopping method by saving a portion of your successful batch to start the next one.
Your incubation environment should be clean but not sterile, as some environmental microorganisms contribute to the culture's diversity. Consider using raw materials like fresh milk or whey as your starter base. If you're using UHT milk, you'll need to allow for controlled environmental exposure to build up beneficial bacteria.
Remember that seasonal changes can affect your milk's microbial composition, so you may need to adjust your incubation approach accordingly.
Signs of Successful Fermentation
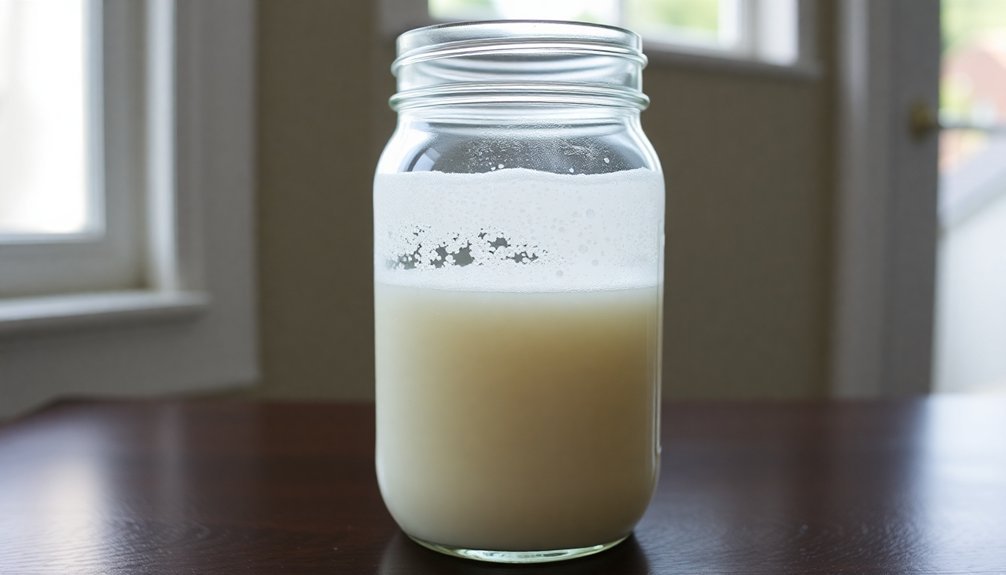
Developing a keen eye for successful fermentation signs helps you monitor your dairy starter's progress effectively. You'll notice a pleasant tangy taste developing, along with subtle flavor compounds that enhance the overall aroma. A light fizz may indicate active fermentation, while the texture should gradually thicken and set.
Don't worry if you see separation into curds and whey – this is completely normal. You can stir them back together before use, though they may separate again. The texture will vary depending on your dairy choice, with lower-fat options producing thinner results. Your ferment may look less uniform than store-bought versions since you're not using artificial stabilizers.
Watch for positive indicators like the development of beneficial bacteria and the presence of live probiotics. The final product should have no bitter aftertaste or spoiled smell, though some background aroma is acceptable.
You'll know you've succeeded when your ferment has a tangy lactic acid taste, proper thickness, and enhanced nutritional profile. The whey that forms is rich in protein, calcium, and vitamins, making it a valuable byproduct of the fermentation process.
Common Starter Culture Problems
A starter culture's success can be derailed by several common issues that home fermenters encounter. You'll want to watch for signs of an inactive or sluggish culture, which often results from improper temperature control or using outdated cultures. If your starter isn't performing well, check that you're maintaining the correct incubation temperature and using fresh cultures.
Contamination can seriously impact your fermentation process. You'll need to guarantee your equipment is thoroughly cleaned and sanitized, as bacterial or mold growth can lead to off-flavors and spoilage.
Don't over-stir your culture, as this can introduce unwanted air and contaminants.
Watch out for texture problems in your finished product. If you're getting a grainy consistency or excessive whey separation, you might be incubating at too high a temperature or disturbing the protein matrix during fermentation.
Adding appropriate stabilizers and maintaining proper milk solids content can help prevent these issues.
Bacteriophage infections can also halt fermentation progress. If you notice slow acidification or incomplete fermentation, phages might be attacking your starter bacteria.
Using phage-resistant strains and maintaining strict hygiene practices can help prevent these infections.
Maintaining Your Starter Culture

Successful starter cultures require consistent care and attention to thrive. You'll need to maintain strict hygiene standards by keeping your culturing containers covered and clean to prevent contamination from foreign bacteria, yeasts, or bacteriophages. Use separate jars for your seed cultures to avoid accidental consumption.
Temperature control is essential for your starter's health. You must keep your environment at consistent temperatures appropriate for your specific culture type. For yogurt starters, verify you've cooled the milk to the proper inoculation temperature after heating. Monitor these settings regularly and adjust as needed.
You'll need to feed your cultures regularly with fresh, high-quality ingredients. For sourdough starters, maintain a consistent flour and water feeding schedule. When working with yogurt cultures, stir them thoroughly with fresh milk, especially if you're waiting more than a week between uses. If you're making water kefir, don't forget to add minerals and organic molasses.
Monitor your culture's performance closely by checking fermentation rates and watching for signs of spoilage. Keep detailed records of your results, and adjust inoculation rates when necessary. For cream-top yogurt, remember to stir it well to distribute the beneficial bacteria evenly.
Long Term Storage Methods
Three proven methods exist for long-term starter culture storage: refrigeration, freezing, and dehydration.
Refrigeration is your safest option, as it effectively slows down microbial activity while maintaining culture viability. Keep your cultures between 0-4°C (32-39°F) in the fridge, especially for mixed starters like kombucha SCOBYs and kefir grains.
If you're working with bacterial or mold cultures, freezing can be highly effective. You'll want to maintain temperatures at -18°C (0°F) or lower, with ideal preservation occurring at -75 to -80°C (-103 to -121°F). Use rapid freezing techniques when possible to minimize cell damage, and avoid any freeze-thaw cycles by transferring cultures directly to the freezer.
For sourdough and kefir grains, you can try dehydration, but it's riskier than other methods. Use a ventilated dehydrator at 40°C and complete the process quickly. Once dried, store your cultures in the fridge to maintain viability.
Regardless of your chosen method, you'll need to protect your cultures from direct sunlight and temperature fluctuations.
While cultures can survive at room temperature, don't keep them there for more than 20 days.
Frequently Asked Questions
Can I Use Plant-Based Milk Alternatives to Make Natural Dairy Starters?
You can't use plant-based milks for traditional dairy starters since they lack essential milk proteins and bacteria. However, you'll find specific vegan cultures designed for fermenting plant milks into yogurt-like products.
How Do Different Seasonal Temperatures Affect Fermentation Time and Success Rates?
You'll notice faster fermentation in summer heat, requiring closer monitoring to avoid over-fermenting. In winter, your ferments will take longer but stay more stable. Keep temperatures consistent by adjusting location and insulation methods.
Why Does My Homemade Yogurt Taste More Sour Than Store-Bought Versions?
Your homemade yogurt's likely sourer because you're culturing it longer or at higher temperatures than commercial producers. Store-bought versions are typically cultured at lower temperatures for shorter periods to maintain mild flavor.
Is It Safe for Pregnant Women to Consume Homemade Fermented Dairy Products?
No, you shouldn't consume homemade fermented dairy while pregnant. Without proper sterilization, there's a high risk of harmful bacteria like listeria and salmonella. Stick to store-bought, pasteurized options for your safety.
Can Medications I'm Taking Interfere With the Fermentation Process of Dairy Starters?
Yes, antibiotics you're taking can interfere with dairy fermentation. If you're on beta-lactam antibiotics like penicillin or cephalexin, they may inhibit starter culture growth and slow down or prevent proper fermentation.
In Summary
You'll find making dairy starters at home is both rewarding and practical. Once you've mastered the basics of milk selection, preparation, and fermentation monitoring, you can maintain your own cultures indefinitely. Remember to keep your equipment clean, store your starters properly, and watch for signs of successful fermentation. With these skills, you'll never need to buy commercial starters again and can enjoy authentic, traditional dairy products.

Leave a Reply