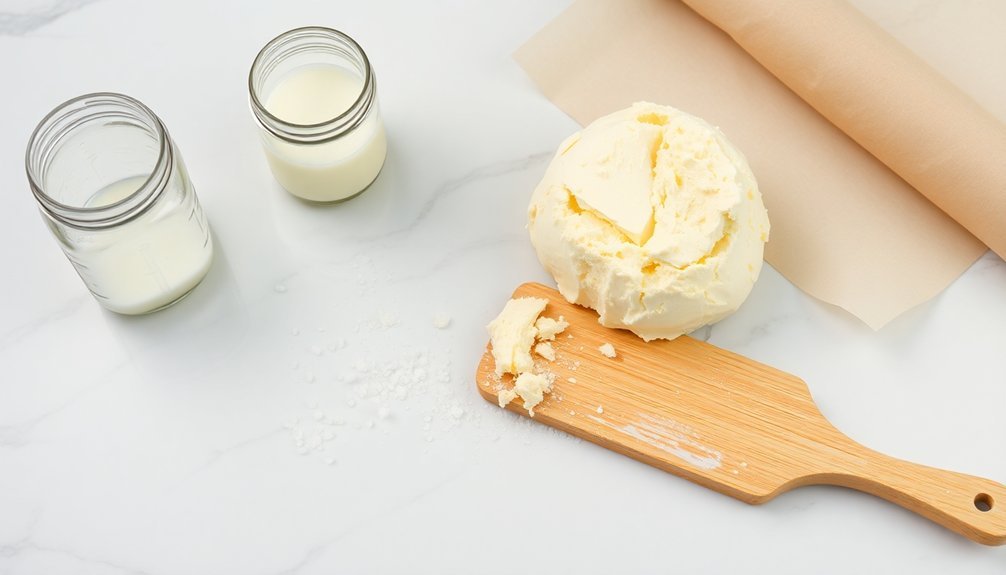
Making cultured butter at home starts with selecting high-fat cream (40% or higher) and adding live cultures like yogurt or buttermilk. You'll mix your culture into room-temperature cream using a 10-12% ratio, then let it ferment for 12-48 hours at 70-77°F until thickened and tangy. Next, chill the mixture thoroughly before churning it in a stand mixer until the butter separates from the buttermilk. Drain and rinse your butter with cold water until clear, then work in salt to taste (about 1.5-2% by weight). Finally, wrap your finished butter in wax paper and refrigerate. The steps might seem simple, but mastering each one reveals butter's true artisanal potential.
Choosing The Right Cream
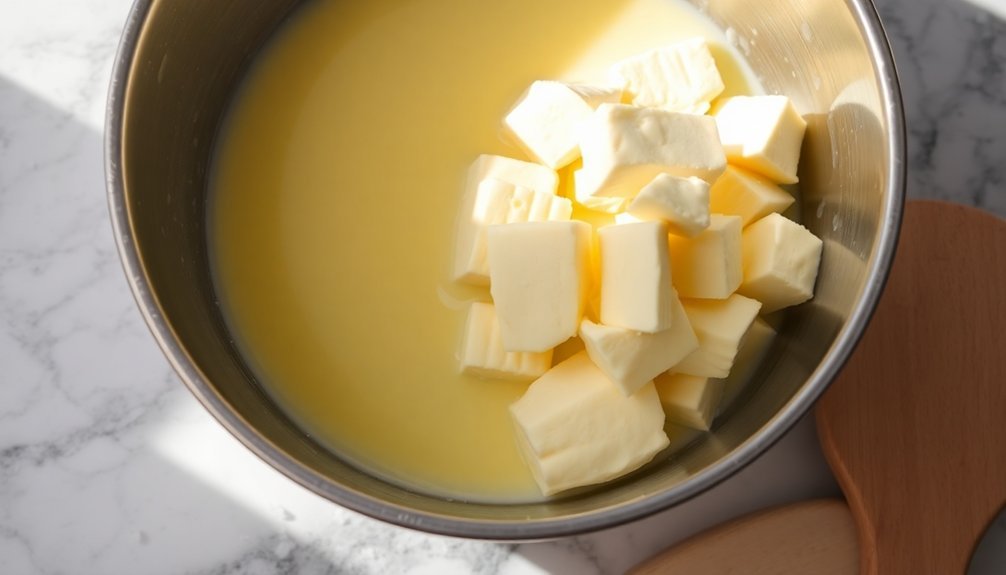
Success in making cultured butter begins with selecting the right cream. You'll want to focus on finding cream with a high fat content, ideally over 40%, though 35-40% can work well.
While both raw and pasteurized cream are suitable options, it's essential to avoid ultra-pasteurized varieties as they'll interfere with the butter separation process.
The best sources for quality cream include natural food stores, local dairy farms, creameries, and farmers markets. Food co-ops can also be excellent resources for high-fat cream options. Sheldon Creek Dairy in Ontario offers exceptional high-fat cream options.
When sourcing your cream, look for un-homogenized varieties from reputable producers, particularly those offering 100% grass-fed dairy products.
Be careful to avoid whipping cream that contains additives like gums or stabilizers, as these can hinder the butter-making process.
Check the label carefully – you're looking for pure cream without any additional ingredients. The cream you choose should be free from homogenization and ultra-pasteurization processes.
If you opt for pasteurized cream, make sure it's just regular pasteurized rather than ultra-pasteurized, as this will allow for proper culturing and better butter formation.
Adding Culture To Cream
You'll need to decide between yogurt, buttermilk, mesophilic cultures, sour cream, crème fraîche, or kefir as your active culture source for making cultured butter.
It's vital to mix your chosen culture into the cream at the right temperature (typically 70-77°F) and follow specific ratios, such as 1 tablespoon of yogurt per cup of cream or 1/8 teaspoon of mesophilic culture per gallon. The process results in a distinct sour flavor that many prefer over regular sweet cream butter.
The timing of culture addition is important – add your culture to fresh cream immediately after reaching the target temperature, then let it ferment for 12-48 hours depending on your chosen method and desired flavor intensity.
Choosing Active Culture Types
The art of culturing butter begins with selecting the right starter culture for your cream. You'll find several reliable options, each offering distinct flavors and characteristics.
Natural yogurt or cultured buttermilk serves as the most accessible starter, requiring just 1 tablespoon per cup of cream. The recommended ratio is 12 percent culture to achieve optimal fermentation results. If you prefer a thicker consistency, cultured sour cream or creme fraiche works equally well at 1-2 tablespoons per pint.
For more precise control, you can use mesophilic cultures like Flora Danica, adding 1/8 teaspoon per gallon of cream. Kefir offers another alternative, contributing complex flavors through its diverse bacterial cultures.
Whatever culture you choose, make sure it's active and free from additives.
Key points to remember when selecting your culture:
- Always use plain, unsweetened varieties without thickeners
- Maintain proper temperature (74°-77°F) during culturing
- Culture your cream for 12-24 hours depending on desired tanginess
- Save some cultured product for future batches
- Mix your chosen culture thoroughly into the cream before letting it ferment
When To Mix Culture
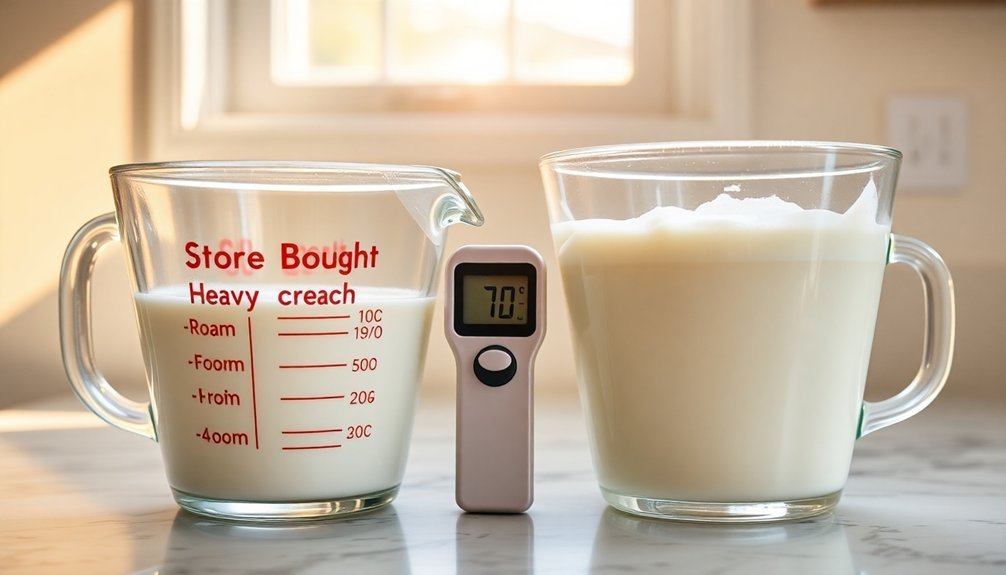
Proper timing and temperature control play essential roles when adding culture to your cream. You'll get the best results when you heat your cream to around 85°F before adding the culture, though you can add it at room temperature.
If you're using raw milk, natural bacteria will begin the process, but adding a starter culture guarantees more consistent results. For ideal culturing, maintain temperatures between 75-90°F for mesophilic cultures. You can use a yogurt maker to keep a steady temperature between 24-28°C (75-82°F).
Don't overheat the cream, as this can disrupt the culturing process and affect your final product. Let your cream culture for 12-24 hours, depending on how sour you'd like it. If you're using buttermilk culture, plan for at least 12 hours, while kefir grains need 8-12 hours to avoid separation.
Watch the timing carefully, as over-culturing can cause curdling. Once culturing is complete, chill your cream immediately to stop fermentation. This prepares it for churning into butter.
You can use the cultured cream right away or store it for later use. Don't forget to save some cultured buttermilk for your next batch.
Perfect Culture-Cream Ratio
Achieving consistent results in cultured butter starts with precise measurements of culture to cream. You'll need to maintain a ratio of approximately 10-12% culture to your base cream for ideal fermentation.
When using yogurt as your culture source, measure out 70g of natural yogurt for every 600ml of cream.
For other culture types, follow these specific measurements:
- Natural yogurt: Use 12% culture to cream ratio
- Buttermilk or sour cream: Add 1-2 tablespoons per pint of cream
- Raw milk kefir: Mix 1-2 tablespoons per pint of cream
- Cheese culture: Measure 1/8 teaspoon per half gallon of cream
- Flora danica: Follow cheese culture measurements
Remember to use only natural yogurt without additives or thickeners when choosing yogurt as your culture.
If you're working with buttermilk or sour cream, confirm they're cultured varieties for successful fermentation.
When using direct set cultures like flora danica or other mesophilic options, measure carefully as these are more concentrated.
You'll get the best results by weighing your ingredients rather than relying on volume measurements, especially when working with yogurt as your culture source.
The Fermentation Stage
Successful fermentation serves as the cornerstone of making cultured butter, transforming ordinary cream into a complex, tangy base.
You'll need to choose between two primary culturing methods: using yogurt/buttermilk or specific starter cultures like Flora Danica.
If you're using the yogurt method, mix one tablespoon of plain yogurt or cultured buttermilk per cup of cream. For starter cultures, you'll need 1/8 teaspoon per gallon of cream, heating it to 77°F before adding the culture. You can also use milk kefir grains, but remember to remove them before churning.
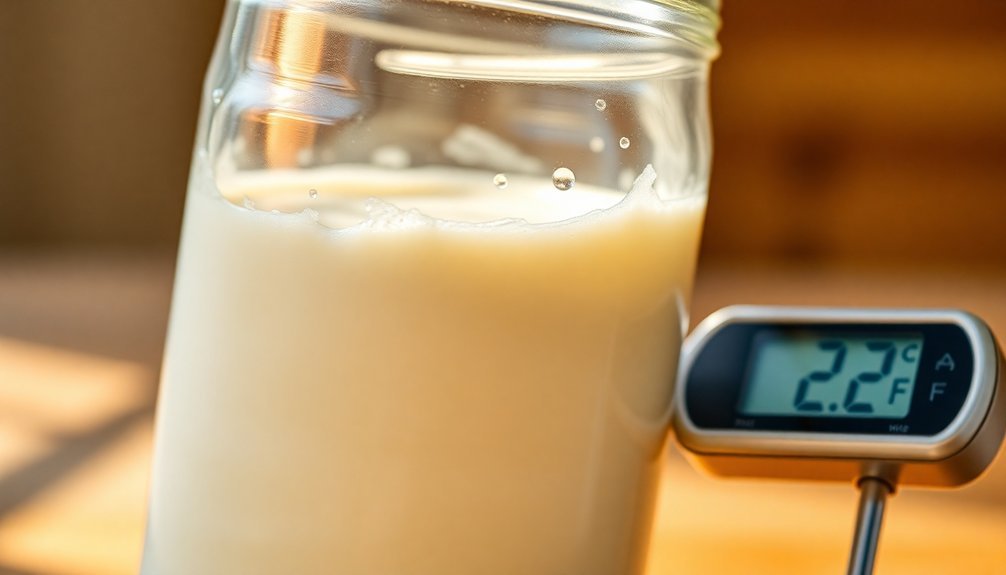
Temperature control is essential during fermentation. You'll want to maintain a consistent environment between 70-77°F. If you're struggling to maintain steady temperatures, consider using a yogurt maker or a microwave with the door slightly open as a makeshift proofing box.
Let your mixture ferment for 24-48 hours, depending on your desired tanginess. You'll know it's ready when the cream thickens considerably and develops a pronounced sour aroma.
The longer you let it ferment, the more complex and intense the flavor will become.
Chilling Your Cultured Mixture
Once your cream has finished fermenting, cooling it down to the right temperature becomes a critical next step.
You'll want to chill your cream mixture to between 50-60°F, which helps guarantee your butterfat stays firm and makes the churning process more effective. Place your cultured cream in the refrigerator for 1-2 hours, monitoring the temperature to maintain the ideal range.
Proper chilling is essential for several reasons. It prevents your butter from becoming greasy during processing and makes it easier to separate the butterfat from the liquid. You can use a pre-chilled bowl or an ice bath to speed up the cooling process if needed.
Here's what proper chilling will help you achieve:
- Better separation of butterfat from buttermilk
- Firmer texture in your final butter product
- Easier churning process with less effort
- Improved butter consistency during kneading
- More effective rinsing of buttermilk from the butter
Don't rush this step – guaranteeing your cream mixture is properly chilled will greatly impact the quality of your homemade cultured butter.
While waiting, you can prepare your churning equipment and workspace for the next stage.
Churning Into Butter
The churning process transforms your chilled cultured cream into rich, homemade butter through three distinct phases.
Start by pouring your cultured cream into a stand mixer, blender, or large jar, filling it only halfway to prevent spillage. Make sure your cream is between 50-60°F for ideal results.
Begin churning at medium speed, and you'll notice the cream thickening into a whipped consistency. As it thickens, reduce the speed to avoid splashing. You'll hear a distinctive "chugging" sound when butter starts forming, signaling the separation phase.
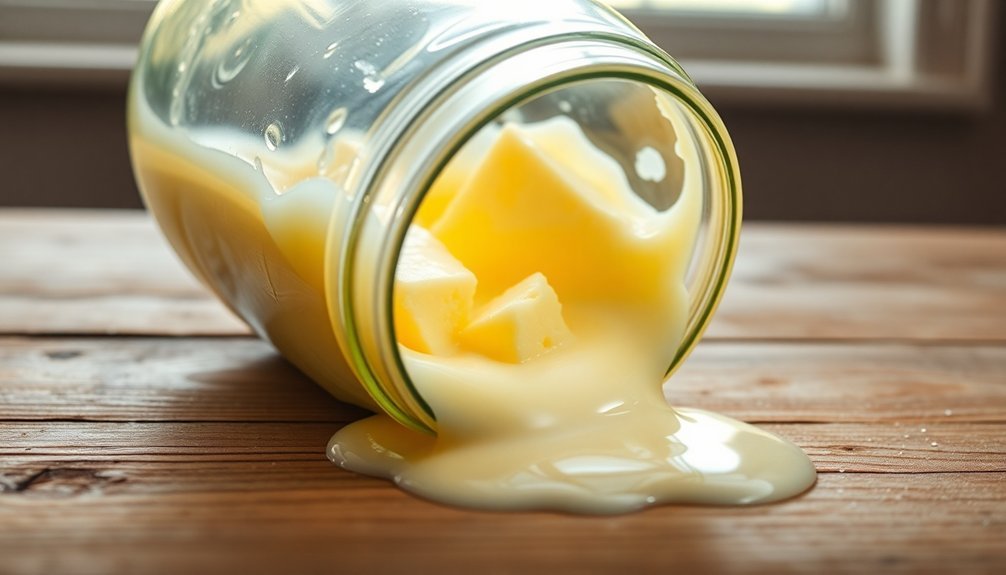
Watch for the vital moment when butterfat begins clumping together while buttermilk separates into a clear liquid. This separation indicates you're nearing completion. The butter will form solid masses while the buttermilk becomes increasingly clear and distinct.
Switch to low speed during the final stage, using a whisk attachment or wooden butter paddle to help solidify the butter completely.
You'll know you're done when all the butterfat has formed into a solid mass, completely separate from the buttermilk. Stop churning once you've achieved this clear separation.
Draining And Rinsing
Now that your butter has formed, proper draining and rinsing will determine its final quality and shelf life. Start by using a fine-meshed sieve or nut milk bag positioned over a bowl to separate the butter from the buttermilk. Gently press the butter against the sieve or squeeze the bag to extract the liquid, being careful not to force the butter through the mesh.
Transfer your butter mass to a large mixing bowl for the vital rinsing process. You'll need cold water to help firm up the butter and remove any remaining buttermilk. Press the butter repeatedly with a spatula while rinsing until the water runs completely clear, which typically takes 4-6 washes.
Here's why proper rinsing is important:
- Prevents premature spoilage
- Improves butter's shelf life
- Guarantees a cleaner, purer taste
- Removes residual buttermilk that can turn rancid
- Creates a firmer final texture
Complete the process by pressing out any remaining water with your hands or against the bowl's sides. Pat the butter dry with a clean kitchen towel and shape it as desired.
Don't rush this final step, as thorough water removal is vital for preservation.
Salting And Storage
After mastering the rinsing process, you'll need to decide whether to salt your cultured butter and plan for proper storage. If you choose to salt your butter, aim for 1.5-2% salt by weight. To calculate the amount, multiply your butter's weight by the desired percentage. For example, if you've made 500 grams of butter and want 1.8% salt, you'll need 9 grams of salt. Use non-iodized options like Maldon or sea salt for best results.
Incorporate the salt by sprinkling it over your butter and kneading until well combined. You can use a stand mixer with a paddle attachment to make this process easier.
Once salted, it's time to store your butter properly. For short-term storage, wrap your butter in wax paper and keep it in the refrigerator for up to a month. If you're planning for longer storage, wrap the butter logs in wax paper, place them in freezer bags, and freeze for several months.
When you're ready to serve, you can slice the chilled butter into rounds. Let it come to room temperature for peak flavor, and handle it gently to maintain its structure.
Frequently Asked Questions
Can I Use Raw Cream From Goats or Sheep Instead of Cow's Cream?
Yes, you can use raw goat or sheep cream, but you'll need to separate it first. Both options work well for culturing, though they're naturally homogenized and may take longer to process than cow's cream.
Will Homemade Cultured Butter Turn Rancid if Left at Room Temperature?
Yes, your homemade cultured butter can turn rancid at room temperature. While it'll last 2-3 days in summer or 5-7 days in winter, you'll want to refrigerate it to prevent spoilage and contamination.
What Happens if My Cream Doesn't Separate During Churning?
If your cream won't separate, you're likely using ultra-pasteurized cream or ones with added thickeners. Try using regular heavy whipping cream and verify proper culturing temperature and time before churning again.
Can I Freeze Cultured Butter for Long-Term Storage?
Yes, you can freeze cultured butter for up to 12 months. Just wrap it tightly in plastic wrap and place it in an airtight container. Make sure you've labeled it with the date before freezing.
Why Does My Cultured Butter Taste Bitter or Have Off-Flavors?
Your butter might taste bitter due to lipid oxidation, improper bacterial cultures, or poor handling. You'll want to check your cream quality, fermentation time, and washing process to prevent off-flavors from developing.
In Summary
Once you've completed these steps, you'll have delicious homemade cultured butter that's far superior to store-bought varieties. Your fresh butter will keep for about two weeks in the refrigerator when properly stored in an airtight container. Don't forget that you can also save the buttermilk that's drained off – it's perfect for baking or making pancakes. You'll find the entire process rewarding and worth the effort.
Leave a Reply