
When building a root cellar pit, you'll need to focus on three critical elements for success. First, choose a well-drained location 10-20 yards from your home, and dig at least 10 feet deep to maintain stable temperatures between 32-40°F. Second, install a thorough drainage system with exterior and floor drains, using a 4-inch perforated pipe that slopes 1 inch per 8 feet to prevent water damage. Third, create proper airflow by positioning multiple intake vents low and outlet vents high, ensuring they're adjustable for seasonal control. These fundamentals lay the groundwork for exploring the finer details of root cellar construction.
Location And Depth Planning
Setting up a root cellar starts with careful location and depth planning to guarantee ideal food preservation.
You'll want to select a spot 10 to 20 yards from your home, avoiding low-lying areas that could flood. Choose a well-drained location, preferably in an existing soil bank, and face the entrance northward to minimize heat from the sun. Maintaining 85-95% humidity levels helps preserve vegetables longer.
Your cellar's depth needs to reach about 10 feet, but you'll need to adjust this based on your climate. In warmer regions, dig deeper to maintain cooler temperatures, while in colder areas, avoid excessive depth to prevent permafrost issues.
Make certain you dig below the frost line, which typically ranges from 36 to 48 inches deep.
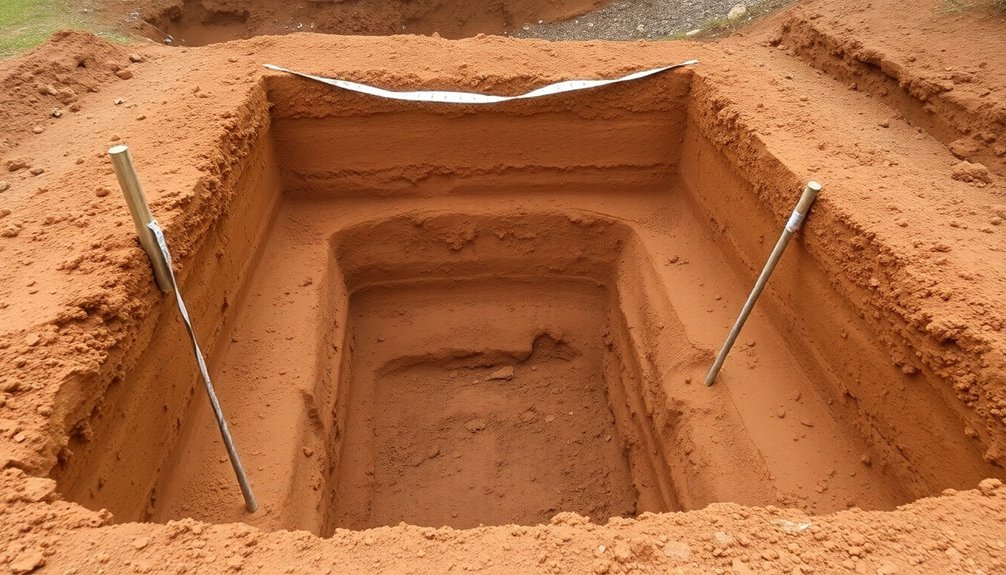
When planning the excavation, dig a hole larger than your intended cellar size to accommodate construction materials and footers. You'll need this extra space to install proper reinforcement and ascertain the walls can withstand soil pressure.
Remember to check your local soil temperature variations and consider how underground water might affect your cellar's performance. Maintaining temperatures between 32 and 40°F is your goal for peak food storage.
Proper Drainage Installation
Three critical drainage systems must work together in your root cellar: exterior drainage, floor drainage, and wall protection. Start by installing a perforated 4-inch drainpipe across the back, resting on gravel and sloping 1 inch per 8 feet from center to sides. Cover it with roofing paper or plastic to prevent clogging.
For floor drainage, you'll need to slope the floor 4-6 inches from back to door and lay gravel topped with plastic sheeting. Verify the interior floor sits higher than the outside soil level for proper water flow. A dirt floor base will help maintain optimal humidity levels for vegetable storage.
| Drainage Component | Primary Method | Required Materials |
|---|---|---|
| Exterior | French Drain | 4-inch perforated pipe, gravel |
| Floor | Sloped Surface | Gravel, plastic sheeting |
| Walls | Waterproofing | DryLok, water barrier |
Protect your walls with waterproof coating like DryLok on the interior and a water barrier on the exterior. Don't forget to install rain gutters on the topside structure. During backfilling, tamp soil firmly and add a 4-inch gravel layer around the exterior walls. Finally, cover the roof with 2-4 feet of earth and plant grass to prevent erosion.
Ventilation System Design
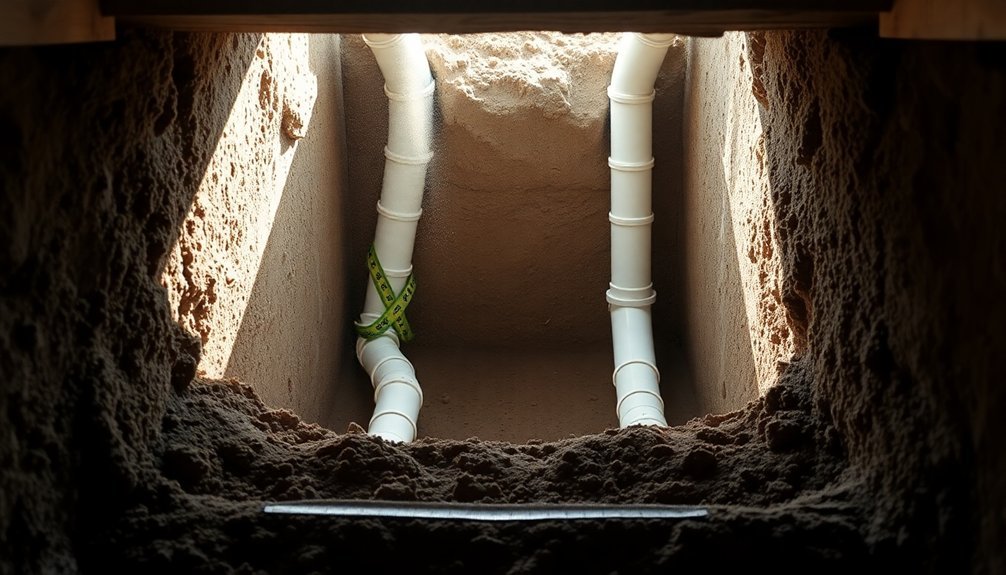
A well-designed ventilation system serves as the lungs of your root cellar. You'll need to install both intake and outlet vents to create effective air circulation. Position your intake vents low to the ground where cool air enters, and place outlet vents near the ceiling to allow warm air to escape. For maximum airflow, install these vents on opposite sides of your cellar.
Minimal maintenance is required once the ventilation system is properly installed, making it a cost-effective long-term solution. Plan your ventilation system before construction begins, incorporating air pipes that enter from the bottom and exit above the cellar. While a single intake and outlet might work, you'll achieve better results with multiple vents positioned to create circular airflow throughout the space.
Don't forget to make your vents sealable so you can control airflow during different seasons. To maintain proper functionality, you'll want to open vents at night when the air is coolest. Guarantee tight seals around all vents using materials like packed cloth, expanding foam, or rubber gaskets.
Keep your stored produce elevated to allow air circulation underneath, and regularly monitor the system's performance. You'll need to adjust ventilation as needed to maintain ideal temperature and humidity levels for your stored items.
Frequently Asked Questions
How Long Does It Typically Take to Complete a Root Cellar Project?
You'll need 2-4 weeks to complete a root cellar project, depending on your cellar's size, construction method, and available help. Weather conditions and permit approval times can extend this timeline considerably.
What Is the Average Cost Range for Building a Basic Root Cellar?
You'll typically spend between $200-$25,000 for an above-ground root cellar, while below-ground options can cost $10,000-$55,000. If you're budget-conscious, DIY alternatives range from $500-$2,500 for basic construction.
Can Multiple Families Share One Large Root Cellar Effectively?
Yes, you can effectively share a root cellar with multiple families. You'll benefit from split costs, shared maintenance, and increased storage space, but you'll need clear agreements and scheduling systems to avoid conflicts.
Which Vegetables Should Not Be Stored Together in a Root Cellar?
You shouldn't store ethylene producers like apples and tomatoes with sensitive produce like carrots and broccoli. Also, keep dry-storage items like onions and garlic separate from high-humidity vegetables like beets.
How Often Should Root Cellar Temperature and Humidity Levels Be Monitored?
You'll need to check your root cellar's temperature and humidity daily. If you're using an automated system, it can monitor continuously, but you should still make manual checks at least twice weekly.
In Summary
By building your root cellar pit with careful attention to these three key elements, you'll create an ideal storage space for your harvest. Remember to select the perfect location and depth, install proper drainage to prevent moisture damage, and design effective ventilation to maintain optimal conditions. When you've followed these guidelines, you'll enjoy fresh produce throughout the winter months from your well-constructed root cellar pit.


Leave a Reply