
Store your clay pots in a well-ventilated room with temperatures between 60-80°F and humidity below 40%. You'll want to install wall-mounted shelving for smaller pieces and maintain a one-foot clearance around pots for proper air circulation. Keep heavy items closer to the wall and use soft cloths between stacked pots to prevent damage. Set up distinct zones for workstations and storage, utilizing vertical space efficiently. Don't forget to implement task lighting above work areas and motion sensors for pathways. Clean pots with a baking soda paste and store them with inverted lids. These foundational tips just scratch the surface of ideal clay pot storage management.
Temperature and Humidity Control
Proper temperature and humidity control serve as the foundation for successful clay storage. You'll need to maintain temperatures between 60-80°F while avoiding extreme fluctuations that can compromise your clay's quality. Setting up your storage space in a climate-controlled area will help protect your clay's plasticity and workability. Plastic buckets with lids provide excellent protection during long-term storage.
You'll want to monitor humidity levels carefully, as both excessive moisture and dryness can damage your clay. Don't store your clay in basements or damp areas where humidity tends to be high. Instead, use airtight containers to shield your clay from unwanted moisture and air exposure. These containers will help regulate the humidity around your clay and maintain its ideal consistency.
If you're using clay pot coolers, you'll need to manage different conditions. These coolers require 80-100% relative humidity and can reduce interior temperatures by up to 10°C through evaporative cooling.
You'll need to water them regularly and cover them with wet cloths to maintain their effectiveness. Remember that ambient humidity affects the cooling rate – higher humidity in your space will reduce the cooling effect of your clay pot system.
Air Circulation Requirements
Following temperature and humidity management, air circulation plays a key role in clay pot storage success. You'll need to place your clay pots in a well-ventilated area that's protected from direct sunlight and strong winds. A shaded location with consistent airflow helps maintain the evaporative cooling process that keeps your stored items fresh. Similar to ancient Mississippian storage methods, hardwood shelving materials work best for supporting your clay vessels.
To maximize air circulation in your clay pot storage setup:
- Install woven straw or cloth covers supported by wooden frames over any openings, keeping them consistently moist to enhance the cooling effect.
- Position your pots with enough space between them to allow air to flow freely around each container.
- Use unsealed containers that let your vegetables breathe while maintaining access to the cooled air.
Make sure you've chosen a spot that's naturally breezy but not windy. If you don't have a naturally shady area, set up a simple shed to create the right environment.
Regular maintenance of your ventilation system is essential – check for any blockages or damage that might restrict airflow, and keep the cooling space clean by wiping surfaces regularly with a sponge.
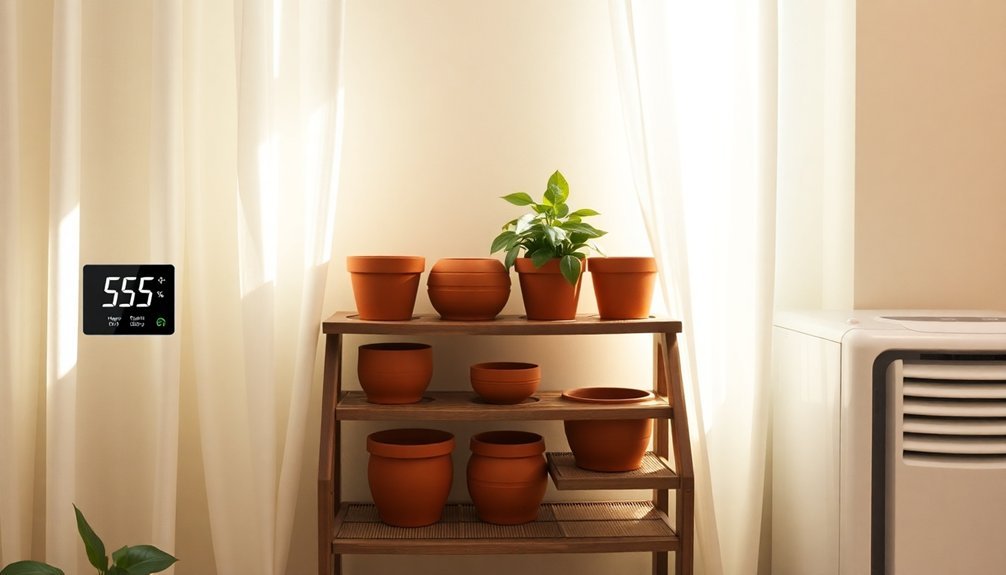
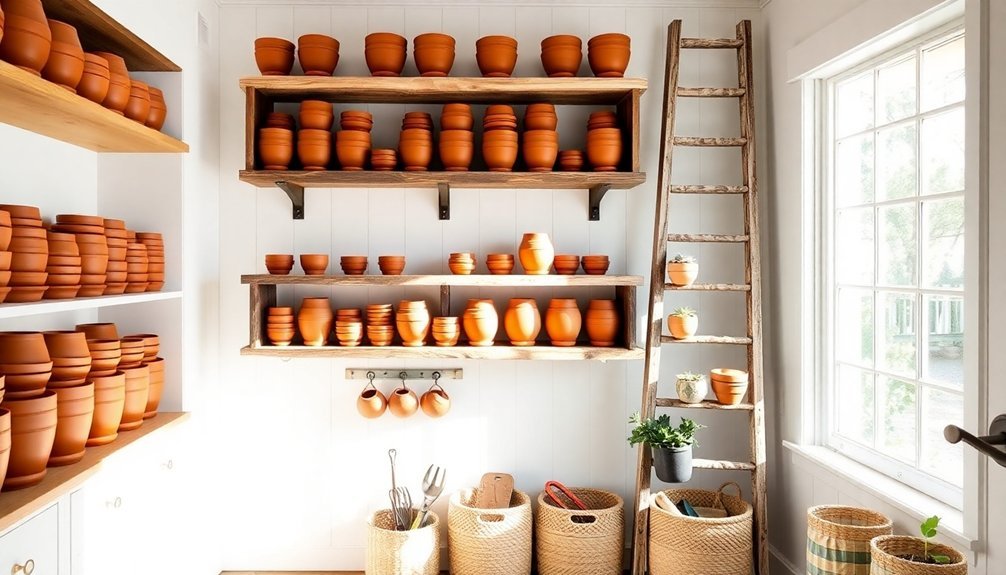
Wall Shelving Design
When organizing your pots, consider their weight distribution. Place heavier pieces closer to the wall where the support is strongest, and arrange lighter items toward the front.
Leave enough space between pots for easy access and proper air circulation. Touch up any exposed support areas with paint to match your wall color, creating a seamless look that keeps the focus on your pottery collection. Consider installing heavy-duty rustic brackets to ensure your shelving can safely support heavier terracotta pieces.
Floor Layout Optimization
Beyond wall storage, the floor space in your clay pot area needs careful planning to maximize efficiency. You'll want to create distinct zones for workstations, storage, and traffic paths while guaranteeing proper ventilation and lighting throughout the space.
Position your workstations strategically to minimize walking distances and keep frequently used tools within arm's reach.
When organizing your floor layout, consider these essential elements:
- Set up clear traffic paths marked with floor tape or markers, keeping them free from obstacles to prevent accidents and maintain smooth workflow between different areas.
- Designate specific storage zones for raw materials, works in progress, and finished pieces, using labeled containers and storing heavier items at lower levels.
- Install adequate task lighting above workstations and guarantee proper ventilation systems are in place to control dust and maintain consistent humidity levels.
Remember to leave enough space around each workstation for comfortable movement and larger projects.
Keep your reclaimed clay area easily accessible, and implement a rotation system for materials to guarantee older supplies get used first. This organized approach will help you maintain a safer, more efficient workspace while protecting your clay pieces.
Pot Stacking Methods
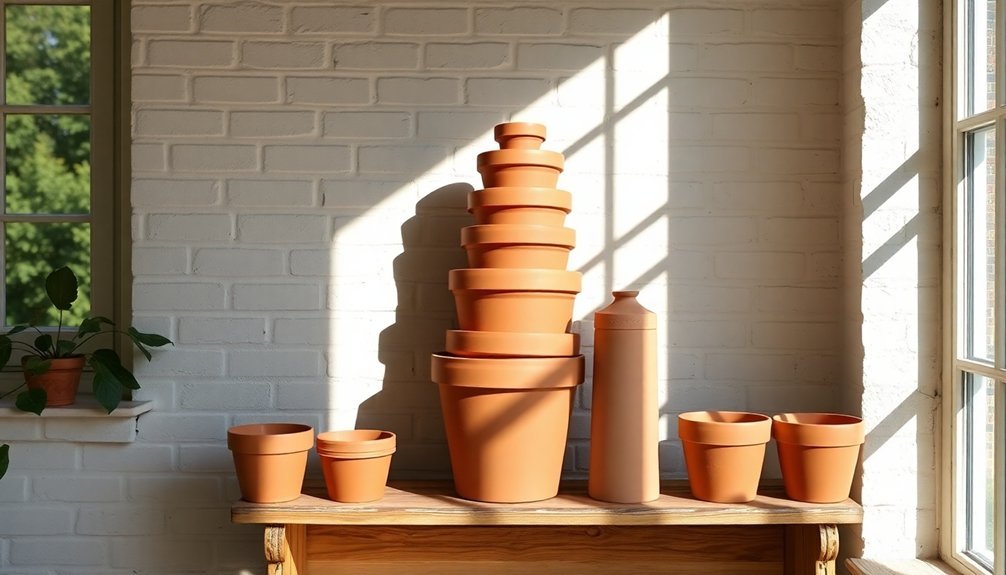
Proper pot stacking methods can transform your storage space while protecting your valuable clay pieces from damage. When stacking ceramic pots, you'll need to focus on both stability and accessibility. Start by placing your largest, heaviest pots at the bottom to create a solid foundation.
For ceramic art pieces, make sure you're using appropriate foot mechanisms and scoring techniques when building stackable pieces. Apply coils about ½ inch thick to build up walls, and always bevel the inner rim edges of top boxes slightly for proper fitting. You'll want to let each coil set before adding the next layer.
When working with garden pots, arrange them in descending sizes and use plastic nursery pots or empty cans as internal supports. Don't forget to maintain proper drainage holes and leave adequate space between stacks for air circulation.
To enhance stability, add rocks or heavy materials to base pots, especially if you're planning to include plants. Remember to take into account both structural integrity and visual balance in your arrangement.
If you're storing planted pots, make sure compatible plant varieties and maintain proper watering techniques using a gentle spray to avoid soil displacement.
Light Management Systems
Along with careful stacking techniques, effective light management plays a key role in protecting your clay pots during storage.
You'll want to implement a thorough lighting system that balances safety and energy efficiency while maintaining ideal conditions for your pottery collection.
Install these essential components for proper light management:
- Interior motion sensors that automatically illuminate pathways when you're accessing your pots and turn off when you leave, preventing unnecessary energy usage
- Photocell sensors near windows to adjust artificial lighting based on available natural light, maintaining consistent illumination levels throughout the day
- Timer systems to establish regular lighting schedules, especially useful if you're storing pots in areas with limited natural light
Position your lighting controls strategically to guarantee complete coverage of your storage space.
You'll benefit from installing daylight harvesting sensors near windows, which will automatically adjust indoor lighting levels based on available sunlight.
Don't forget to maintain your lighting system regularly – it's vital for both energy efficiency and safety.
If you're using a timer-based system, remember to adjust the schedule seasonally to account for changing daylight hours.
Cleaning and Maintenance
Natural clay pots require specific cleaning and maintenance routines to preserve their longevity and cooking benefits. You'll need to clean your pot after each use, but avoid using soap or harsh chemicals that can seep into the porous clay and contaminate future meals.
Instead, create a mixture of salt and baking soda to scrub away food residue and oil buildup. For tough stains, apply a paste made from baking soda and water, then gently scrub with a soft brush. You can also boil water with baking soda in the pot to eliminate lingering food odors and guarantee it's chemical-free.
Once clean, it's essential to dry your clay pot thoroughly, either in direct sunlight or over medium heat on your stovetop.
Store your pots in a well-ventilated area, avoiding closed cabinets where moisture can accumulate. When stacking multiple pots, place soft cloth or paper towels between them to prevent scratching, and keep the lids slightly open for air circulation.
During winter months, bring your pots indoors to prevent freezing damage, and never store them in damp environments where mold might develop.
Safety Precautions
Essential safety measures for clay pot storage focus on preventing temperature shock and physical damage. You'll need to maintain stable temperatures and avoid exposing your pots to extreme temperature variations that could lead to cracking.
Keep your clay pots away from direct sunlight and heating sources, and always start with a cold oven when cooking to prevent thermal stress.
For safe storage, consider these critical measures:
- Store pots with inverted lids nestled inside the bottom, using paper towels between surfaces to allow proper ventilation and prevent chipping.
- Avoid stacking pots directly on top of each other, as the weight can cause damage over time.
- Keep storage areas clear of falling hazards and guarantee proper lifting techniques to prevent injury.
If you're storing potentially hazardous items, opt for thick-walled clay pots with proper ventilation. They're excellent insulators for items like lithium batteries, but guarantee proper airflow.
For mold prevention, maintain a dry storage environment and address any growth immediately using a baking soda paste solution. Regular checks for moisture levels will help maintain your pots' integrity and prevent deterioration over time.
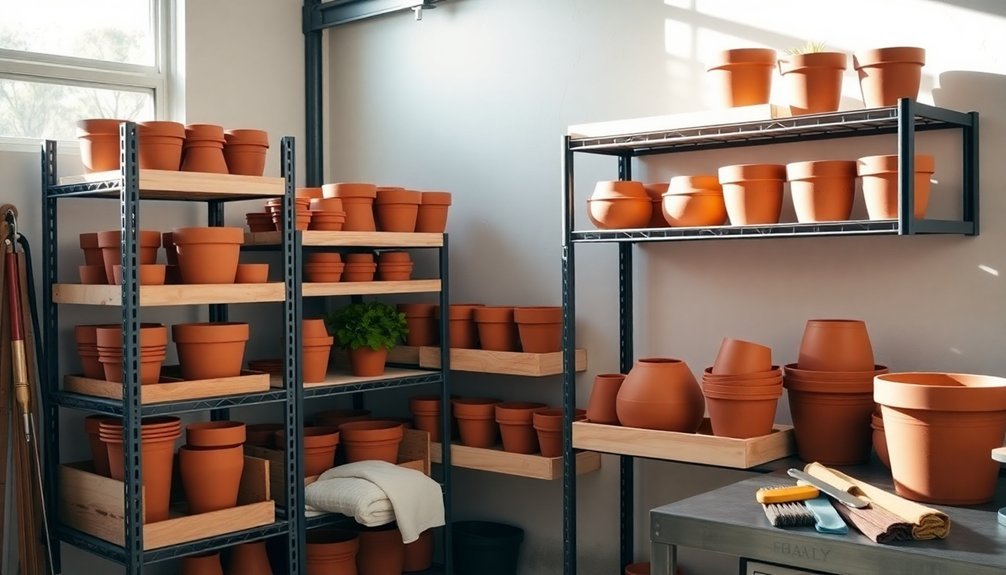
Storage Space Maximization
Make the most of your clay pot storage by utilizing vertical storage solutions that let you stack compatible pots safely on sturdy shelving units.
You'll find wall-mounted shelving systems particularly useful for displaying and storing smaller pots while keeping your floor space clear.
Maximize every inch by taking advantage of under-table spaces, where you can neatly arrange larger pots and create an organized storage system that's both functional and accessible.
Vertical Storage Solutions
Vertical storage solutions can transform your limited space into an organized haven for clay pots and other items. When you're dealing with clay pots of various sizes, it's crucial to maximize your vertical space efficiently.
Install sturdy wall-mounted shelving units or metal pegboards that can support the weight of your pottery collection while keeping them easily accessible.
To optimize your vertical storage setup, consider these proven strategies:
- Mount adjustable brackets and shelves at different heights to accommodate pots of varying sizes, ensuring larger ones stay at lower levels for stability.
- Install magnetic strips or hooks on metal surfaces to hang smaller gardening tools and pot accessories within arm's reach.
- Utilize multi-functional storage containers with compartments to organize pot saucers and smaller gardening supplies.
Don't forget to take advantage of overhead space in your garage or shed by implementing sliding storage systems.
You can also create designated zones within your storage area, using tall cabinetry or industrial shelving units to maximize vertical space.
Remember to keep heavier pots on lower shelves and lighter ones up high for safety and practicality.
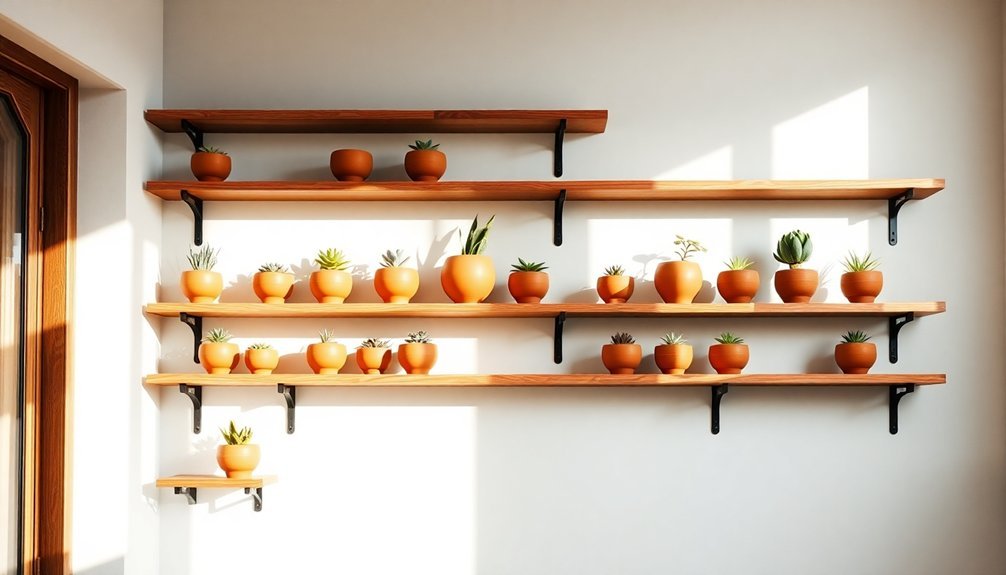
Wall-Mounted Shelving Systems
Building on the concept of vertical storage, wall-mounted shelving systems offer a robust solution for organizing your clay pot collection.
You'll find several options to choose from, including adjustable slotted shelves that let you modify heights as your collection grows, and fixed-bracket systems for stable, long-term storage arrangements.
For heavier clay pots, opt for solid deck shelving made from durable steel with welded corners and triple-bent flanges. These systems can handle substantial weight, though you'll want to add support legs every eight feet for extra stability.
If you're working with limited wall space, consider ceiling-mounted options or corner shelving units to maximize otherwise unused areas.
When installing your system, take advantage of the 1-inch increment adjustments to create ideal spacing between shelves. You can customize the configuration to accommodate pots of various sizes, using visual breaks like baskets to organize smaller items.
Many modern systems don't require tools for installation, and they're often NSF approved, which means less dust accumulation on your precious clay pots.
Remember to secure the shelving properly to wall studs using metal stripping with slots for maximum safety and stability.
Under-Table Space Optimization
Anyone with a collection of clay pots knows that maximizing storage space is essential, and the often-overlooked area beneath tables offers valuable real estate for organization.
You'll want to assess the height clearance under your table first to guarantee your storage solutions fit comfortably without creating obstacles.
Consider using lidded boxes or wicker baskets that can be easily stacked and moved when needed. These containers protect your clay pots from dust and damage while keeping them neatly organized. For maximum flexibility, opt for rolling storage solutions that allow quick access to your pottery collection.
- Install sliding drawers or use freestanding units with casters to create easily accessible storage zones that won't interfere with your workspace.
- Pack your pots strategically by placing heavier items at the bottom and utilizing vertical space with careful stacking techniques.
- Label your storage containers clearly to maintain organization and guarantee you can quickly locate specific pieces when needed.
Remember to leave clear pathways for accessing your stored items, and consider using tiered carts or utility shelves to maximize vertical space while keeping your clay pots protected and well-organized.
Ventilation Solutions
For ideal performance of your clay pot storage system, proper ventilation plays an essential role in the cooling process. You'll need to place your cooler in a shaded, well-ventilated area where air can freely circulate around it. Don't set up your clay pot in high-humidity spaces or areas with direct sunlight, as this will reduce its cooling efficiency.
| Ventilation Factor | Action Required |
|---|---|
| Air Flow | Position away from walls and obstacles |
| Humidity Level | Keep ambient humidity below 40% |
| Temperature | Maintain room temperature above 25°C |
| Spacing | Leave 1-foot clearance on all sides |
| Location | Choose shaded, dry areas |
To maximize your cooler's effectiveness, guarantee there's proper airflow around all sides. Keep the sand between the pots consistently wet and cover the top with a damp cloth to enhance the evaporative cooling effect. You'll need to check water levels daily and replenish as needed. Remember that your clay pot cooler works best in dry climates where evaporation can occur efficiently. If you're in a humid region, you might need additional ventilation solutions like a small fan to improve air circulation around the unit.
Frequently Asked Questions
How Do You Prevent Glaze Drips From Permanently Damaging Storage Shelves?
You'll need to use kiln wash, protective coatings like Crafist Shelf Guard, or clay cookies under your glazed pieces. Don't forget to bisque fire protective materials first and maintain multiple layers of protection.
Can Different Types of Clay Be Stored Together in the Same Container?
You shouldn't store different clay types together. They can contaminate each other, have varying moisture needs, and react chemically. Keep your clays separate, especially epoxy clays, to maintain their unique properties and usability.
What's the Best Way to Transport Multiple Clay Pots Between Storage Areas?
You'll need to wrap each pot individually with bubble wrap, place them in sturdy boxes with padding between layers, secure all gaps with packing material, and mark boxes as "fragile" during transport.
How Often Should Pottery Storage Shelves Be Inspected for Structural Integrity?
You'll need to inspect your pottery storage shelves monthly if they're in high-traffic areas or holding heavy items. At minimum, conduct annual checks and increase frequency if you notice damage or operate in cold environments.
Should Unfired and Fired Pieces Be Stored in Separate Areas?
Yes, you'll want to store unfired and fired pieces separately to prevent moisture transfer and protect delicate unfired pieces. It's also easier to maintain proper storage conditions when you keep these items in distinct spaces.
In Summary
Set up your clay pot storage room with confidence now that you've learned these essential tips. Keep your pottery safe by maintaining proper temperature, airflow, and careful stacking methods. Don't forget to regularly check humidity levels and clean your storage areas. You'll maximize your space while protecting your valuable pieces when you implement these strategic storage solutions in your dedicated pottery room.


Leave a Reply