
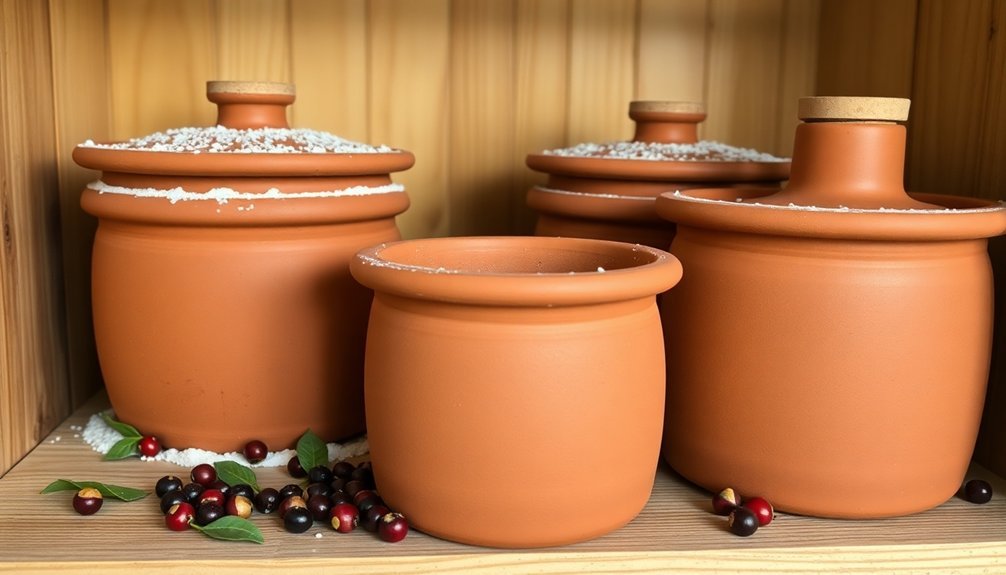
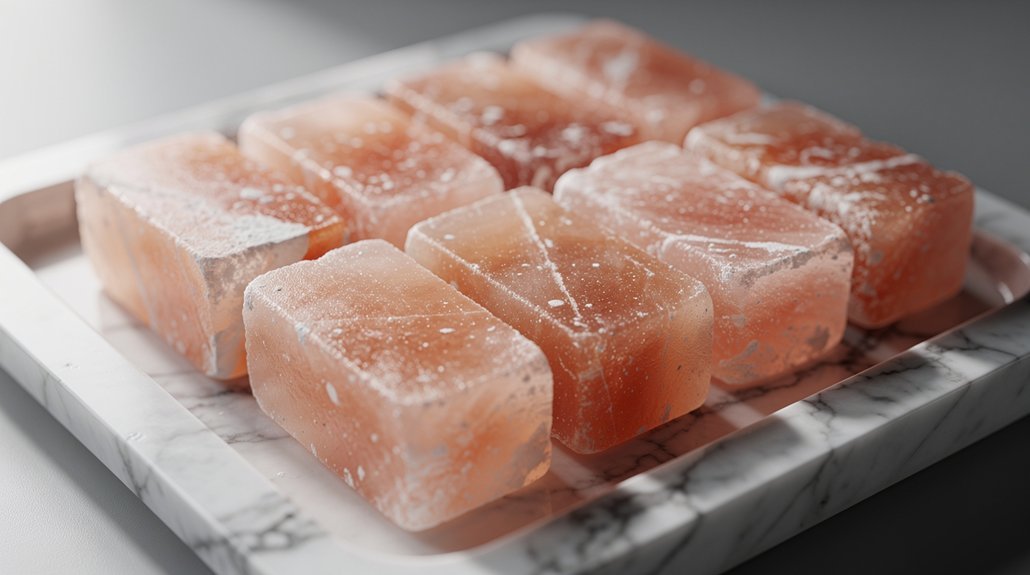
To keep your clay pot food storage pest-free naturally, start by selecting airtight containers and incorporating deterrent plants like rosemary, thyme, and lavender around your storage area. You'll want to store your clay pots in a cool, dry space elevated off the ground, using sand layers for moisture control. Don't forget to create natural barriers with traditional herbs, bay leaves, and cinnamon sticks. Regular inspection and proper air circulation are essential, while food-grade diatomaceous earth and neem oil provide additional organic protection. These time-tested methods offer just a glimpse of the thorough pest prevention system you can establish.
Essential Pest Prevention Materials
Before storing any food items, you'll need the right containers to keep pests at bay. Your primary defense against unwanted visitors starts with selecting airtight containers made of glass, metal, or heavy-duty plastic. These materials create an impenetrable barrier that pests can't chew through or infiltrate. Regular inspections will help you catch any early signs of pest activity before it becomes problematic.
Don't rely on original packaging that can easily tear or become compromised. Instead, transfer your food items into secure containers that feature tight-fitting lids or seals. You'll want to incorporate self-sealing bags and vacuum packers for additional protection, especially for items like grains, flour, and dried goods that commonly attract pests.
Your pet's food requires the same level of protection, so store it in sealed containers rather than leaving it in the original bag. When selecting storage containers, check that the seals are intact and the materials are thick enough to resist pest intrusion.
You'll find that containers with snap-lock lids or screw-top designs offer the best protection. Remember to inspect your containers regularly for signs of wear or damage that could compromise their pest-resistant properties.
Natural Pest Deterrent Plants
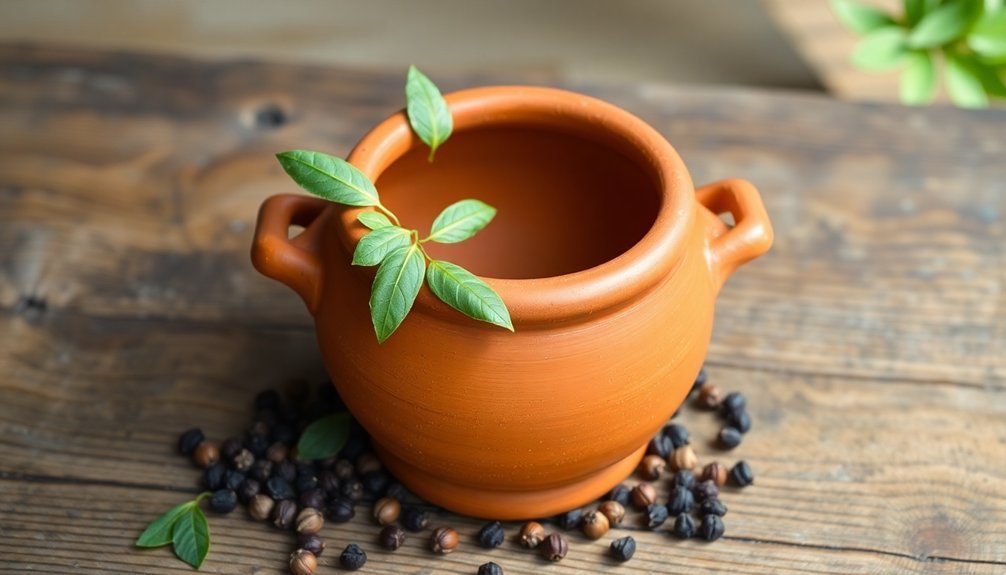
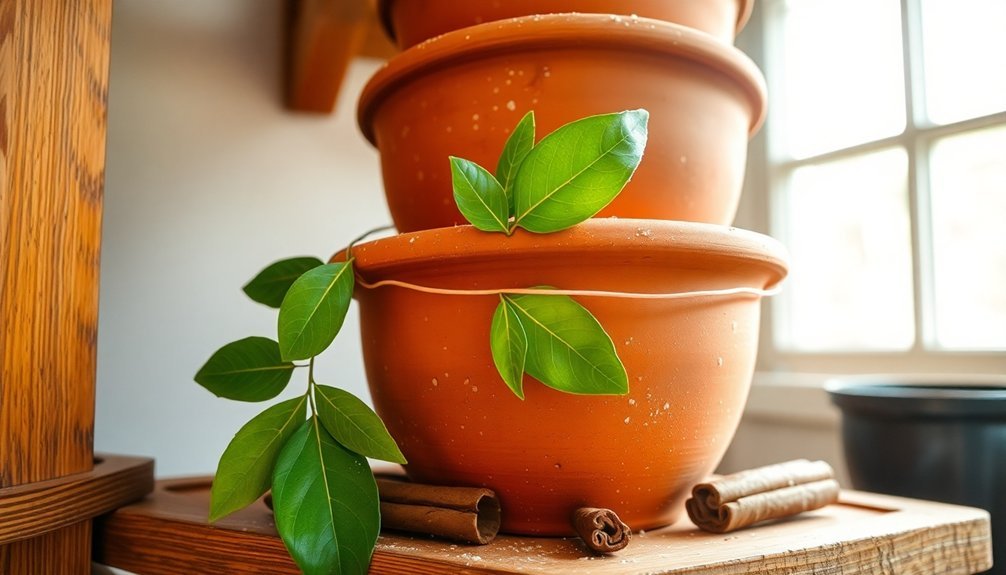
Natural protection for your clay pot storage can come from strategic placement of pest-deterrent plants. You'll find herbs like rosemary, thyme, and lavender particularly effective due to their strong scents that repel various insects and slugs. Basil and parsley not only protect your storage area but also provide culinary benefits.
Consider incorporating flowers that naturally ward off pests. Marigolds emit scents that deter many damaging insects, while nasturtiums effectively repel aphids and whiteflies. Chrysanthemums and petunias offer excellent protection for areas near your food storage, particularly against common vegetable pests. Distilled white vinegar can be sprayed around plant bases for extra protection.
You can create a protective barrier using other potent plants like mint, fennel, and geraniums. Plant daffodils and hyacinths around your storage area to keep squirrels at bay.
For enhanced protection, combine these plants with natural sprays and substances. Make your own garlic spray to combat insects and fungus, or use neem oil for specific pests like Japanese beetles. Scatter coffee grounds near your storage area, and place bay leaves inside your clay pots to create an environment that's naturally inhospitable to pests.
Cleaning Your Clay Pot System
A spotless clay pot system begins with gentle but effective cleaning methods. You'll want to avoid soaps and detergents since they can seep into the clay's porous surface and contaminate your stored food. Instead, rely on baking soda as your primary cleaning agent, paired with scalding hot water and natural scrubbers.
After each use, follow these essential steps to maintain your clay pot's integrity:
- Sprinkle baking soda across the surface, scrub with a metal spoon or natural loofah, and rinse thoroughly with hot water.
- Wipe the pot dry with a cotton towel, then allow it to air dry completely in a well-ventilated area.
- For stubborn stains, create a baking soda paste and let it sit for 5-30 minutes before scrubbing.
When dealing with mold or strong odors, use vinegar sparingly, and always guarantee proper drying afterward. Store pot and lid separately to prevent moisture from becoming trapped.
For burnt food residue, combine steam cleaning with baking soda for effective removal. Remember to store your clay pots in a well-ventilated space to prevent moisture buildup and mold growth.
If you're working with a newly seasoned pot, avoid prolonged soaking, which could compromise its protective layer.
Pest-Resistant Storage Area Setup
You'll want to position your clay pot storage system in a cool, dry area away from direct sunlight and high-traffic zones that can attract pests.
Raise your clay pots off the ground using sturdy stands or platforms to prevent moisture buildup and create a barrier against crawling insects.
Consider surrounding your storage setup with natural deterrents like bay leaves and cinnamon sticks, while ensuring any nearby cracks or crevices are properly sealed to block pest entry points.
Location and Surroundings
Creating an effective pest-resistant storage area begins with selecting the right location and maintaining clean surroundings.
You'll want to position your clay pot storage system in a cool, dry area away from potential pest entry points like windows, doors, or utility openings. Regular cleaning of the surrounding space is essential, using a vacuum or damp cloth to remove dust, crumbs, and food debris that might attract unwanted visitors.
To maximize your storage area's pest resistance, consider implementing these key spatial elements:
- Position natural deterrents like cinnamon sticks and bay leaves around the perimeter of your storage zone, creating a protective barrier against common pantry pests.
- Arrange your clay pots with enough space between them for regular inspection and cleaning, allowing you to spot any signs of infestation early.
- Install your storage system at least 6 inches away from walls to prevent moisture accumulation and make it harder for pests to access.
Remember to maintain proper ventilation in your chosen location while keeping humidity levels low.
You'll also want to regularly inspect the surrounding area for any cracks or gaps that could serve as pest entry points, sealing them immediately when found.
Elevation and Support Systems
Establishing proper elevation and support systems forms the foundation of an effective pest-resistant storage setup. Your clay pot storage area needs to maintain food items at least 6 inches off the floor, which creates a barrier against pests while allowing for easy cleaning and monitoring.
You'll want to use corrosion-resistant metal shelving when possible, though durable plastic or finished hardwood can work as alternatives.
Set up your shelving units with specific clearances in mind: keep the highest shelf below 7 feet, maintain 15 inches between shelves, and position them 18 inches from outer walls.
Don't forget to leave 2 feet of space between the top shelf and ceiling to prevent moisture buildup and deny pests a hiding spot.
For your clay pot storage containers, choose airtight options made of glass, metal, or heavy-duty plastic. Place these in cool, dry areas away from heat sources, and verify they're properly sealed.
You'll need to implement regular maintenance routines, including wiping down shelves and rotating stock using the "first in, first out" principle.
Keep chemicals separate from your food storage area to maintain safety and prevent pest attraction.
Natural Barrier Techniques
Natural barriers serve as your first line of defense against unwanted pests in clay pot storage areas. By implementing a combination of physical and natural deterrents, you'll create an environment that's inhospitable to rodents and insects.
Start by lining your storage space with rust-resistant metal mesh and seal any potential entry points with bricks or repurposed materials like perforated washing machine drums.
For effective pest control, you'll want to establish these key natural barriers:
- Mix wood ash and ground hot chilies with your stored grains, using one handful per kilogram to naturally repel insects without affecting food quality.
- Position strongly aromatic plants like eucalyptus around your storage perimeter, creating an invisible barrier that deters most pests.
- Keep the surrounding area clear of weeds and debris that could provide cover for rodents.
Don't forget to maintain household pets like cats and dogs near your storage area, as they're natural rodent deterrents.
Remember to regularly inspect your barriers and promptly repair any damage to maintain their effectiveness. This combination of physical barriers and natural repellents will greatly reduce pest problems in your clay pot storage system.
Safe Food Inspection Methods
Four advanced technologies guarantee food safety and quality in modern inspection systems: optical and machine vision, x-ray inspection, spectroscopy, and hyperspectral imaging.
To inspect your stored food effectively, you'll want to understand how these technologies detect different issues. High-speed cameras with IP69K ratings can spot visible problems like mold, dents, and scratches while grading food by color and shape. X-ray systems detect hidden dangers like metal, glass, bones, and shells, providing detailed images of foreign objects' size and location.
| Inspection Method | What It Detects | Key Benefits |
|---|---|---|
| Optical Vision | Mold, scratches, color changes | Real-time visual inspection |
| X-Ray Systems | Metal, glass, bones, shells | Reveals hidden contaminants |
| Spectroscopy | Moisture, fats, proteins | Measures food composition |
NIR spectroscopy analyzes molecular components, helping you determine water content, fats, and proteins while evaluating fruit ripeness and sugar levels. The most thorough method, hyperspectral imaging, combines camera and spectrometer capabilities to create detailed chemical maps of your food, detecting adulterants and providing extensive quality evaluation at a molecular level.
Sealing Gaps and Cracks
Inspect your clay storage pots regularly by running your fingers along the surfaces and checking for any chips, cracks, or gaps that could let pests enter.
You'll want to clean the pot thoroughly with a stiff brush and water, then let it dry completely before making any repairs.
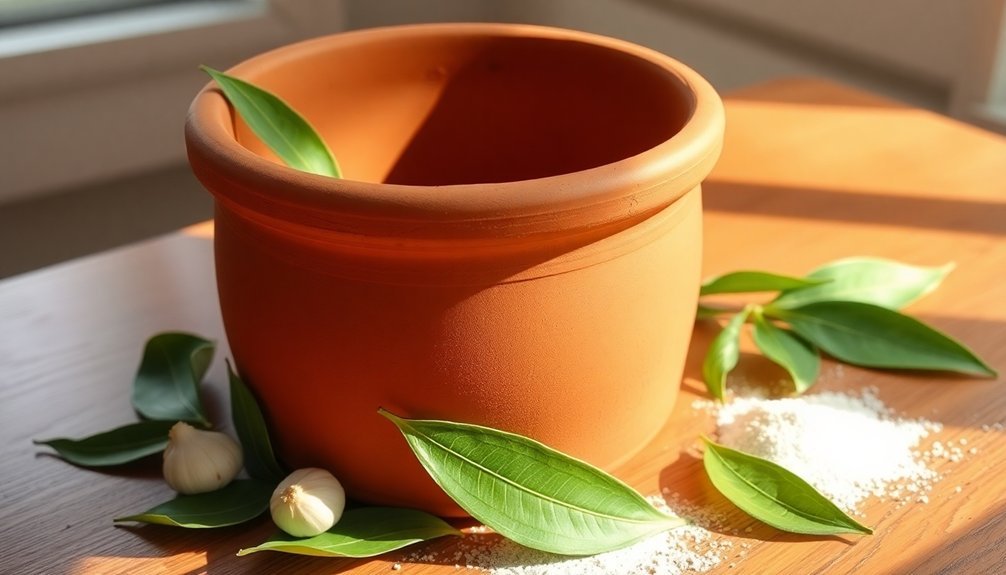
For a natural sealing solution that's food-safe, you can use a paste made from clay powder mixed with water to fill small cracks, or apply beeswax to seal minor imperfections.
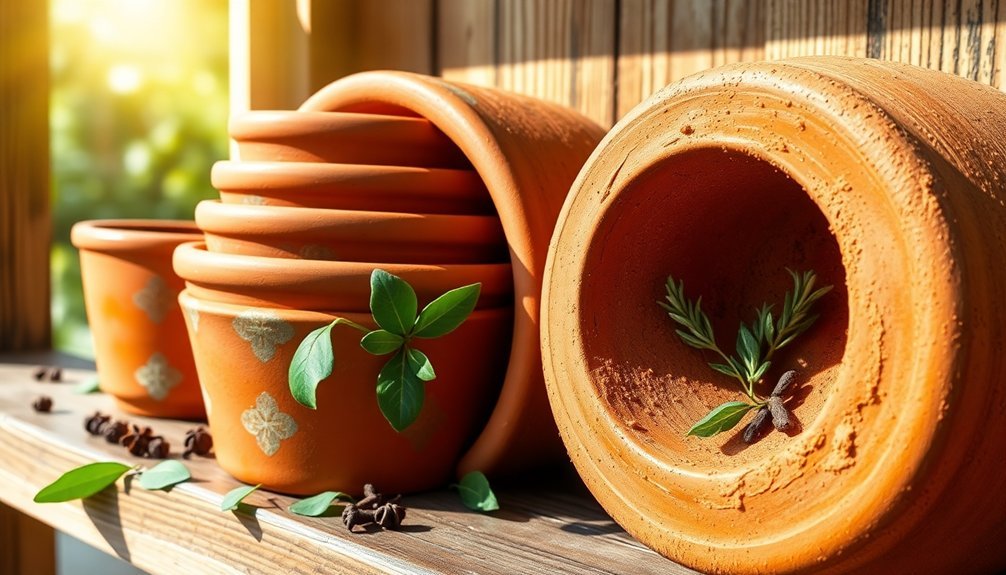
Regular Clay Inspection Steps
Regular maintenance of clay pots requires thorough inspection to prevent pest infiltration and food spoilage.
You'll need to examine your pots systematically, checking for visible cracks, gaps, and subtle signs of damage that could compromise your food storage.
Start by performing the 'cheek test' to verify your pot is completely dry, as hidden moisture can mask potential cracks.
Rotate the pot while exposing it to good lighting, looking for any color variations that might indicate structural issues.
Don't forget to inspect the rim and edges, where damage commonly occurs.
Here's what to look for during your inspection:
- Hairline cracks that may appear as faint, thread-like lines across the surface – these can widen over time
- Gaps or chips around the rim and base that could allow pests to enter
- Discolored areas that might indicate internal fractures or uneven drying patterns
If you spot any issues, clean the affected area thoroughly and prepare it for repair using appropriate tools like needle tools or wooden implements.
Mark any suspicious areas for closer monitoring, and always reinspect after making repairs to verify the fixes have properly set.
Seal With Natural Materials
Within a traditional clay pot storage system, sealing gaps and cracks effectively requires natural, food-safe materials that won't compromise your stored goods.
You'll find Tung oil offers the most durable protection, though it will darken your pot's color. If you prefer a milder option, hemp oil provides excellent breathability while maintaining protective qualities without significant darkening.
For smaller cracks, create a paper clay slip by mixing clay with vinegar and corn syrup. You can strengthen this repair by first applying magic water (a mixture of soda ash and sodium silicate) to the affected area.
Let the mixture dry completely before sanding to match the surrounding surface.
If you're sealing the entire pot, consider using beeswax or shellac for a natural, food-safe barrier. Apply these in thin layers, guaranteeing each coat dries thoroughly before adding the next.
While shellac provides superior waterproofing, it's best suited for indoor storage. Beeswax, though less durable, offers a reliable moisture barrier and can be mixed with natural oils for enhanced protection.
Always test your pot's absorbency before applying any sealant to guarantee proper adhesion.
Organic Pest Control Solutions
Natural solutions for pest control offer effective alternatives to harsh chemicals when protecting your clay pot food storage. You'll find several organic methods that can help maintain pest-free conditions without compromising the safety of your stored food.
Neem oil and diatomaceous earth serve as your first line of defense. Apply neem oil around the pot's rim and exterior to deter various insects, while sprinkling food-grade diatomaceous earth creates a barrier that dehydrates crawling pests.
For additional protection, you can place beneficial nematodes in the soil surrounding your storage area to control ground-dwelling insects.
Create these natural pest barriers for your clay pot storage:
- Mix garlic spray (10 cloves blended with 2 cups water) and apply monthly around the pot's base.
- Place yellow sticky traps near your storage area to catch flying insects before they reach your pots.
- Create a protective ring using corn gluten meal to prevent slugs and snails from accessing your storage.
Consider incorporating physical barriers like floating row covers when storing pots outdoors, and maintain regular inspection schedules to catch any potential infestations early.
These natural methods work together to create a thorough pest management system for your clay pot food storage.
Proper Vegetable Preparation Steps
Proper vegetable preparation plays an essential role in successful clay pot food storage. You'll need to start by thoroughly washing your vegetables under cold running water, making sure to rub or brush off any dirt and debris. Don't forget to clean your tools and surfaces before and after handling the produce.
When you're ready to cut your vegetables, aim for uniform sizes to guarantee even cooking. For specific vegetables like Brussels sprouts, cut a cross in the base, while cauliflower and broccoli should be separated into florets.
| Vegetable Type | Preparation Method | Storage Tips |
|---|---|---|
| Above Ground | Use boiling water | Keep dry and cool |
| Below Ground | Start with cold water | Store in dark place |
| Leafy Greens | Quick blanching | Wrap in cloth |
Before storing vegetables in your clay pots, confirm they're completely dry to prevent moisture buildup. Remove any seeds from vegetables like marrow, capsicums, and pumpkin. Remember to cook dense vegetables first when preparing multiple types, and add quick-cooking ones later in the process. Following these preparation steps will help maintain the quality of your vegetables in clay pot storage.
Maintenance and Monitoring Practices
Maintaining and monitoring your clay pot storage system requires consistent attention to several critical practices.
You'll need to regularly inspect your pots for signs of mold, guarantee proper cleaning procedures, and maintain ideal storage conditions to keep your food safe and fresh.
When cleaning your pots, avoid using soap or detergent as they can seep into the clay. Instead, use hot water and natural cleaners like baking soda or salt with a stiff brush. For stubborn stains, you can soak the pot overnight in a baking soda solution.
To prevent issues with your clay pot storage system, follow these essential monitoring steps:
- Check stored pots weekly for mold growth, especially in areas where the lid meets the pot.
- Confirm complete drying after each use by placing pots in sunlight or using medium heat on your stove.
- Maintain proper ventilation by placing paper towels between lids and pots, and never stack them directly on top of each other.
Don't forget to handle your pots with care to prevent cracks, avoiding sudden temperature changes and using gloves when necessary.
Regular maintenance will considerably extend your pots' lifespan and effectiveness.
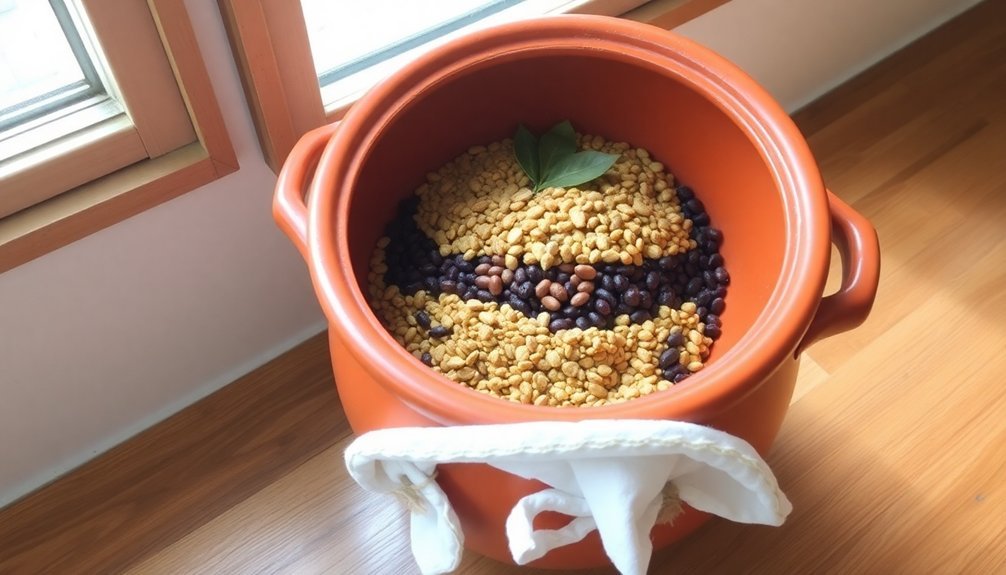
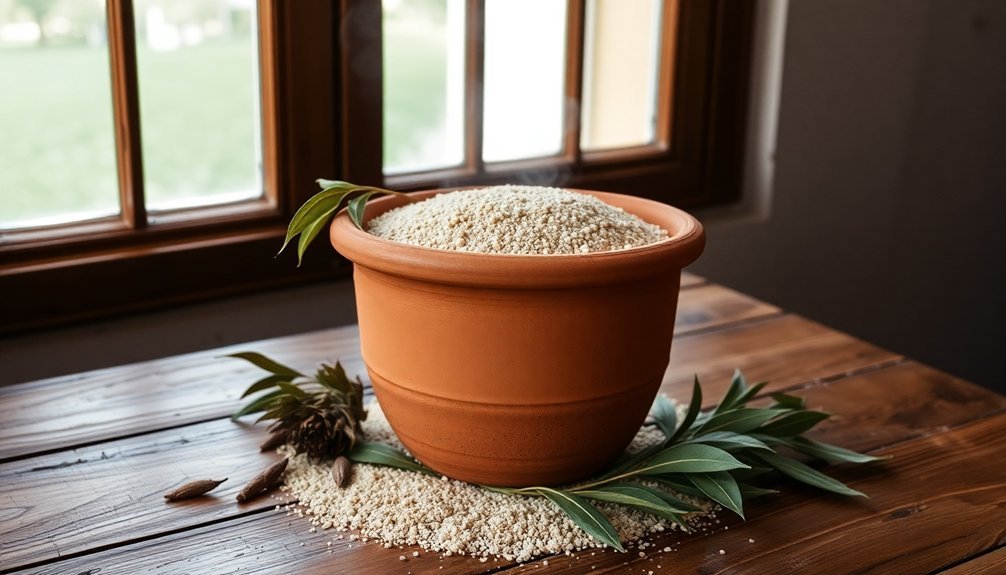
Sand Layer Protection Techniques
Throughout your clay pot storage system, sand layers serve as a crucial protective barrier that regulates moisture and temperature.
You'll need to start by preparing quality sand that's free of large particles and dust. Begin by sifting the sand through a 3-5mm wire mesh, then winnow it to remove any remaining dust particles.
To create an effective protective layer, pour sand into the outer pot's bottom, ensuring it's evenly distributed. Add just enough water to dampen the sand without soaking it. Center your inner pot on this base layer, then fill the gap between both pots with additional sand, maintaining a consistent 3-5cm thickness all around.
You'll find that properly laid sand layers work effectively at regulating humidity around your stored produce.
Don't wash vegetables before storing them, as the sand will help manage moisture levels naturally. This method works particularly well for root vegetables, onions, leeks, shallots, and cauliflower.
You can integrate this technique with other storage methods, whether you're using a root cellar, cold garage, or even refrigerator drawers. The sand layer's protective qualities make it versatile enough to adapt to various storage environments while maintaining consistent moisture levels.
Air Circulation Pest Management
You'll find that proper air circulation in clay pot food storage acts as a natural deterrent against pests, as most harmful insects prefer stagnant environments.
By strategically positioning your clay pots to maximize airflow between them, you're creating an inhospitable environment that discourages pest infestations.
The porous nature of clay pots, combined with wind-driven ventilation, helps maintain a constant flow of fresh air that naturally repels common storage pests while keeping your stored goods fresh.
Ventilation Blocks Harmful Insects
Proper ventilation serves as an essential defense against harmful insects in clay pot food storage. You'll find that well-ventilated storage spaces create an environment where pests struggle to thrive and reproduce. By maintaining consistent airflow, you're not only preventing moisture buildup but also deterring common pantry pests like moths and cockroaches.
Your clay pot storage system needs proper air circulation to work effectively against pests. When you combine ventilation with other pest control methods, you'll create a thorough defense system. This approach helps maintain ideal temperature and humidity levels, making it difficult for harmful insects to establish colonies in your food storage area.
Here's what effective ventilation in clay pot storage accomplishes:
- Reduces moisture levels that typically attract ants and cockroaches
- Prevents mold growth that draws various grain-eating insects
- Maintains consistent temperatures that discourage pest reproduction
You'll want to regularly inspect your ventilation setup to verify it's working properly. Consider using dehumidifiers in particularly damp areas, and don't forget to pair your ventilation strategy with airtight containers for maximum protection.
Strategic Airflow Placement Methods
Building on the importance of ventilation, strategic airflow placement takes your pest control efforts to the next level. You'll want to create positive air pressure zones in your storage area, guaranteeing that clean air flows outward to less clean areas. This prevents unwanted pests and contaminants from infiltrating your food storage space.
Position your air intake points higher than exhaust locations and make sure they're facing upwind. Install proper filtration systems, such as HEPA filters, to catch dust, dirt, and flying insects before they reach your storage area. If you're using UV-C light for additional protection, verify it's properly concealed to prevent harm while effectively killing bacteria and viruses.
Pay attention to construction details that affect airflow. Seal any gaps between spaces with different pressure requirements, and confirm your ducts are properly caulked or have sloped tops to prevent insect access.
If you're installing new ductwork, opt for round ducts that minimize dust collection. Consider adding gravel trenches around your storage area's foundation to discourage rodents, and maintain proper drainage to reduce pest-friendly environments.
Wind-Based Natural Pest Control
Air circulation serves as a powerful natural deterrent against unwanted pests in clay pot storage systems.
You'll find that proper airflow prevents moisture buildup and creates an environment where insects and pantry moths can't thrive. By maintaining consistent temperatures and reducing humidity levels, you're making your storage space considerably less attractive to common pests like ants and cockroaches.
To maximize wind-based pest control in your clay pot storage, you'll need to focus on strategic ventilation.
Install exhaust fans or vents in areas where air tends to stagnate, and consider using dehumidifiers during particularly humid seasons. You're not just controlling pests – you're also preventing mold growth and protecting your stored foods from spoilage.
Here's what proper air circulation looks like in action:
- Cool breezes flowing through strategically placed vents, creating a continuous movement of air around your clay pots
- Moisture being whisked away from storage areas before it can accumulate and attract pests
- Temperature remaining stable throughout your storage space, preventing condensation points where insects might gather
Remember to regularly inspect your ventilation systems to maintain their effectiveness in your natural pest control strategy.
Traditional Herb Pest Barriers
Traditional herbs have served as natural pest deterrents in food storage for centuries across different cultures. When you're using clay pots for storage, you can combine this method with other traditional approaches like ash and sand barriers to enhance protection against pests. These natural materials work by damaging insect cuticles and creating physical barriers that prevent pest movement through stored grains.
You'll want to guarantee your clay pot provides a hermetic seal, as this creates an environment where pest-repelling herb volatiles can concentrate. When you combine herbs with proper sealing, you're creating multiple layers of protection similar to traditional storage methods used in countries like Malawi and Indonesia.
The sealed environment also helps maintain the potency of the herbs while controlling oxygen levels that insects need to survive.
For best results, you can integrate this approach with thermal treatment by sun-drying your grains before storage. Remember to properly level the grains within your clay pot and consider adding ventilation systems using small twigs as air shafts to prevent moisture buildup while maintaining the effectiveness of your herb barriers.
Common Pest Warning Signs
Recognizing early warning signs of pest infestation can help you prevent extensive damage to your clay pot food storage. You'll want to regularly inspect your storage areas for visible signs of pest activity, including live insects, rodents, or evidence of their presence. Pay particular attention to dark corners, crevices, and areas where food particles might accumulate.
Watch for these vital indicators:
- Dark smudge marks along walls or tiny footprints in dusty areas, which often indicate rodent pathways.
- Fine, powder-like substances beneath stored items or webbing in corners, suggesting moth or beetle activity.
- Strong, musty odors or unexplained foul smells coming from storage areas, particularly when combined with visible droppings.
Don't ignore physical evidence such as chew marks on containers or damaged packaging. If you notice insect casings, shed skins, or larvae near your clay pots, you're likely dealing with an active infestation.
Regular monitoring of these warning signs is essential, as early detection can mean the difference between a minor inconvenience and a major food storage loss. Remember, pests breed quickly, so addressing any signs promptly is vital.
Frequently Asked Questions
Can Clay Pot Coolers Be Used to Store Grains and Dried Legumes?
You shouldn't store grains and dried legumes in clay pot coolers. They create a humid environment that'll cause your grains and legumes to absorb moisture, leading to spoilage and mold. Use dry, airtight containers instead.
How Do Seasonal Temperature Changes Affect the Clay Pot Cooling System?
You'll find clay pot coolers work consistently year-round, reducing temperatures by 7-10°C during hot days. They maintain stable cooling through evaporation, though you'll need more frequent water refills during warmer, drier seasons.
What Alternatives Can Replace Sand if It's Not Locally Available?
You can use straw, peat moss, shredded newspaper, or wood shavings instead of sand. These materials will help maintain humidity and temperature while keeping your vegetables separate. They're all effective, natural alternatives.
Do Different Types of Clay Affect the Cooling Performance?
Yes, clay types greatly affect cooling performance. You'll get better results with low-absorption clays like stoneware and porcelain, while those containing pyrax offer superior thermal shock resistance and cooling efficiency.
Can Multiple Clay Pot Coolers Be Stacked to Save Space?
You shouldn't stack clay pot coolers as it'll reduce their cooling effectiveness. Each cooler needs proper airflow for evaporation to work. Instead, place them separately in well-ventilated areas for peak performance.
In Summary
You'll find that natural pest prevention for clay pot food storage combines ancient wisdom with practical techniques. By implementing these traditional methods – from herb barriers to sand layers – you're creating a sustainable, chemical-free storage system. Stay vigilant with regular inspections and proper air circulation. When you maintain these preventive measures consistently, you're ensuring your stored food remains fresh and pest-free throughout the seasons.

Leave a Reply