To make your salt box cabinet, start by selecting food-safe hardwoods like maple, cherry, or oak that won't affect your salt's flavor. Next, measure and cut your pieces to roughly 6 1/2" diameter and 2 1/2" height, adding an inch for tool thickness. Then, craft a swivel lid by drilling precise holes for the hinge pin and adding rare earth magnets for secure closure. Assemble the pieces using yellow woodworker's glue and proper joinery techniques, ensuring square alignment. Finally, sand surfaces to 400 grit and apply a food-safe finish for protection. Discover more detailed techniques to perfect your handcrafted salt box below.
Selecting Your Wood Materials
Successful salt box construction begins with choosing the right wood materials. You'll want to focus on woods that won't affect your salt's quality or taste. English walnut, oak, maple, cherry, and acacia are your best options, as they're durable and won't impart unwanted flavors to your salt. Solid acacia wood is particularly prized for its proven durability and sustainable sourcing.
Stay clear of scented woods and those with high oil content like cocobolo and teak. You'll also need to avoid woods that change color, such as Purple Heart, as their oxidants can break down salt. Woods with numerous holes, like Ambrosia maple, aren't suitable unless you're willing to fill them, which can introduce unwanted odors.
When examining grain patterns, look for woods with even, stable grains like maple or cherry if you prefer a smooth, uniform appearance. If you're after more character, acacia offers attractive variation in its grain and knot patterns.
Consider your kitchen's aesthetic when making your selection – these woods complement both light and dark color schemes. For best results, choose wood that's properly dried and has low moisture content to prevent your salt from becoming damp during storage.
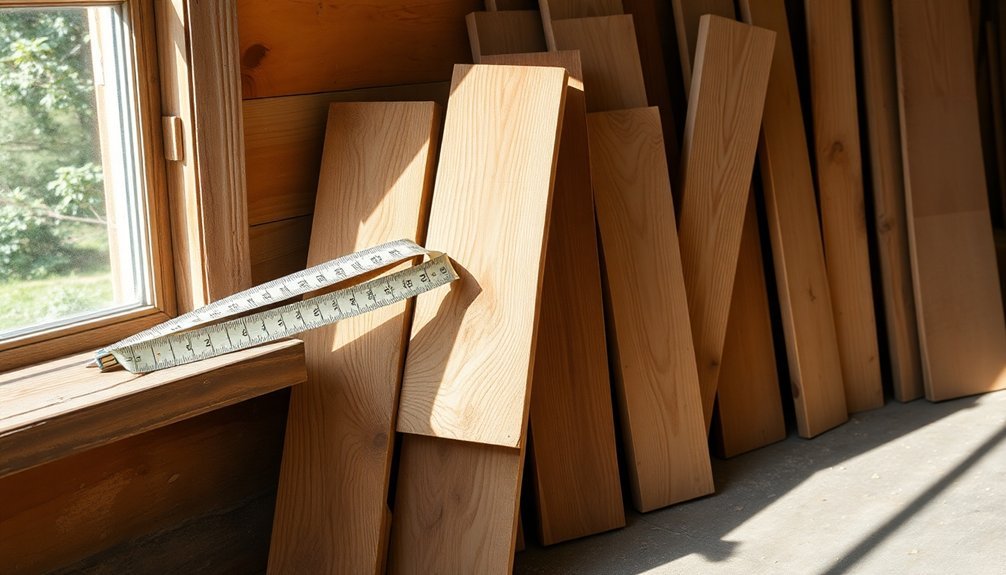
Measuring and Cutting Components
After finalizing your wood selection, accurate measuring and cutting become essential steps in creating your salt box cabinet.
Start by determining the dimensions that'll work best for your counter space, keeping in mind you'll need a box roughly 6 1/2" in diameter and 2 1/2" in height. Add an extra inch to account for the tenon and parting tool thickness. Consider incorporating a swivel top design like popular salt cellars on the market.
Mark your cutting lines clearly on the wood using a marker, including spots for the hinge holes and magnet placement if you're incorporating them. You'll want to guarantee the back edge of the lid sits flush while allowing a slight overhang at the front.
Measure the lid's thickness carefully to properly center the hinge pin.
When you're ready to cut, use your saw to create the top, bottom, sides, and back pieces according to your marked dimensions.
Drill the hinge holes with precision, making sure they're centered and properly aligned. Keep the top piece firmly clamped while drilling to prevent any unwanted movement.
Once all pieces are cut, file and sand the edges until they're smooth and ready for assembly.
Crafting The Swivel Lid

Carefully crafting the swivel lid requires precise attention to both function and form. You'll need to start by selecting a durable metal pin that will serve as the pivot point for your swivel mechanism. The design should allow for one-handed operation while cooking, just like commercial models.
Position and drill the hole for the pin, making sure to test the fit using a scrap piece of wood first to avoid any costly mistakes.
For a secure closure, you'll want to incorporate rare earth magnets into both the lid and base. Mark their positions carefully, drill the appropriate holes, and verify the poles are properly aligned before gluing them in place.
Let the magnets stick up slightly to guarantee a solid connection when the lid closes.
Here's how to guarantee smooth operation:
- Create a relief cut to prevent dust buildup and tool binding when separating the lid from the base.
- Sand all surfaces progressively up to 400 grit, paying special attention to edges and contact points.
- Use a round nose scraper to smooth both the lid's underside and the base for ideal movement.
Finally, attach the lid using your metal pin and test the swivel action. Make any necessary adjustments until you achieve fluid movement without catching or binding.
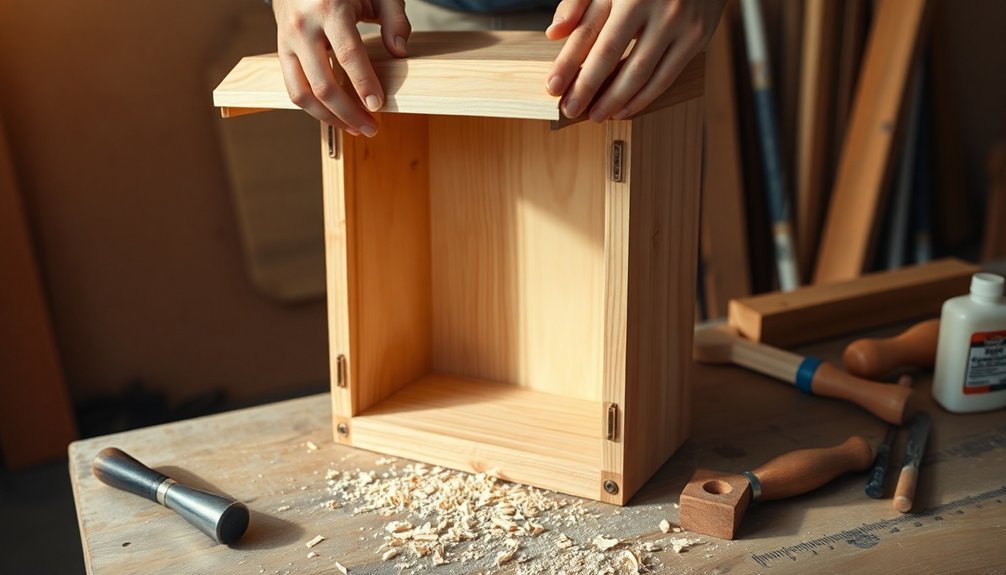
Assembly and Joinery Techniques
The joinery techniques for your salt box cabinet require methodical preparation and precise execution. Start by jointing the wood edges to create flat panels, using yellow woodworker's glue or hide glue for edge-gluing multiple pieces if needed.
You'll want to select wood carefully, like ½"-thick S4S basswood boards, to minimize unnecessary glue-ups.
Create your assembly setup using a spacing jig to maintain square alignment during construction. Before joining pieces, predrill pilot holes through the back and into the sides for 1½"-long finish nails.
When you're ready to assemble, apply glue along joining edges and use the jig to nail the sides and back together. You'll then secure the fixed top, front, shelf, and bottom, guaranteeing proper alignment with your guidelines.
For the final assembly, center the bottom with a ½" offset at both ends and front edge. Attach your hinges to the fixed top and lid using spacers for proper alignment.
When mounting the shelf, use opposing guidelines on the inside walls to make sure it's perfectly level before securing it with nails and glue.
Finishing and Sealing Process
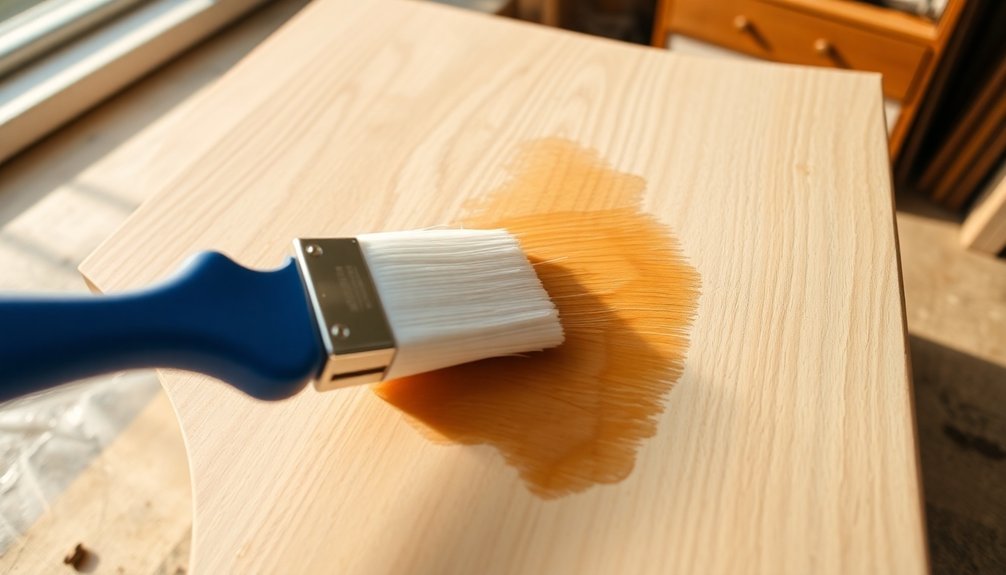
Preparing your salt box cabinet for finishing requires methodical attention to surface preparation. Start by using a round nose scraper to smooth all surfaces, then progress to high-grit sanding at 400 grit.
You'll want to use a low-angle block plane to ease sharp edges, creating that perfect blend of rustic and refined appearance.
The buffing process is essential for achieving a professional finish. You'll need to work through three distinct stages:
- Start with the Tripoli wheel to remove fine scratches and establish the base polish.
- Progress to the White Diamond wheel for a higher sheen and smoother surface.
- Finish with the Carnauba wax wheel to create a protective, glossy finish.
After buffing, it's time to apply your food-safe finish. Select a non-toxic finish that's suitable for kitchen use, and apply it according to the manufacturer's specifications.
Once the finish has dried completely, you'll install the magnets. Mark their positions carefully, drill appropriately sized holes, and secure them with glue. Remember to check the polarity before installation to verify your lid closes properly.
Frequently Asked Questions
How Do I Prevent Salt From Caking Inside the Wooden Compartments?
You'll prevent salt from caking by placing moisture absorbers like rice or silica packets inside, using airtight glass containers within the compartments, and storing your salt away from humid areas or heat sources.
Can I Store Herbs and Spices Alongside Salt in Separate Compartments?
You shouldn't store herbs and spices with salt, as they'll absorb moisture differently. The humidity that's good for salt can make your seasonings clump or lose flavor. It's best to store them separately.
What's the Best Placement Height for a Wall-Mounted Salt Box Cabinet?
You'll want to mount your salt box cabinet at eye level, typically 54-60 inches from the floor. Make certain it's easily reachable while standing and doesn't interfere with counter workspace or overhead cabinets.
How Often Should I Re-Oil or Reseal My Salt Box?
You should re-oil or reseal your salt box annually or whenever you notice signs of wear. Check for moisture damage or cracking in the wood, and apply food-safe oil or shellac when needed.
Will Humidity From Cooking Affect the Salt Box's Wood Over Time?
Yes, cooking humidity will affect your salt box's wood. You'll need proper ventilation and regular maintenance to prevent warping and joint damage. Keep it away from direct steam and consider using a humidity-resistant finish.
In Summary
You've now created a functional and attractive salt box cabinet that'll serve you well in your kitchen. By following these five steps carefully, you've built a practical piece with a swivel lid that keeps your salt dry and easily accessible. Don't forget to check the lid's movement occasionally and re-oil the wood as needed to maintain its beauty and functionality for years to come.


Leave a Reply