Building a spring house starts with selecting a location near a natural spring with year-round water flow and good drainage. You'll need to gather durable materials like concrete blocks, stone, and weather-resistant roofing, plus essential tools for excavation and construction. Begin by digging foundation holes below the frost line, installing piers, and creating walls with proper insulation and drainage. Connect your water system through PVC pipes to create a passive cooling environment that maintains temperatures between 32°F and 60°F. Install shelving at convenient heights and organize your storage space efficiently. Following these core steps will help you master this time-tested method of food preservation.
Planning Your Spring House Location

Before breaking ground on your spring house, careful location planning will determine its long-term success as an off-grid food storage solution. Start by checking your local regulations and securing necessary permits, as building codes and zoning laws vary considerably for off-grid structures.
You'll need to verify that your planned location complies with environmental and health regulations, including any historical preservation requirements. Incorporating composting toilets nearby can provide natural fertilizer for surrounding gardens.
Select a site that's naturally suited for food storage, ideally near a spring or water source, with suitable bedrock for construction. You'll want to avoid flood-prone areas while taking advantage of natural insulation, such as building into a hillside.
The location should be accessible year-round and close to your main living space.
Consider your climate carefully – you'll need adequate rainfall and a growing season of at least six months. Position your spring house to maximize passive solar benefits while protecting stored food from temperature extremes.
Make certain you're near essential building materials like wood and stone, and plan how you'll integrate the structure with other off-grid systems. Remember to factor in the construction of access paths or roads if needed.
Essential Building Materials and Tools
To successfully construct your spring house, you'll need a thorough collection of specialized materials and tools for each phase of the project.
Start with durable building materials like concrete blocks and stone for the walls, complemented by weather-resistant metal or asphalt shingle roofing to protect your structure from the elements. The structure must be built on level terrain to ensure long-term stability and structural integrity.
For water collection, gather 1" PVC pipes, Uniseal gaskets, and a 1 3/4" hole saw. You'll need 6ml plastic sheeting and #57 gravel for proper ground protection, along with a food-grade plastic container like a 20-gallon blue barrel for your spring box setup.
Your excavation toolkit should include various shovels, a pick mattock, and buckets for material transport. Don't forget rubber boots and work gloves for safety.
For pipe installation, you'll need PVC fittings, mess screen, hose clamps, and soapy water to ease pipe insertion through gaskets.
Complete your toolkit with construction essentials: a hammer, impact driver, circular saw, and a 4 ft level to guarantee everything's properly aligned.
Keep painting supplies on hand for the finishing touches that'll protect your spring house from weathering.
Building the Foundation and Walls
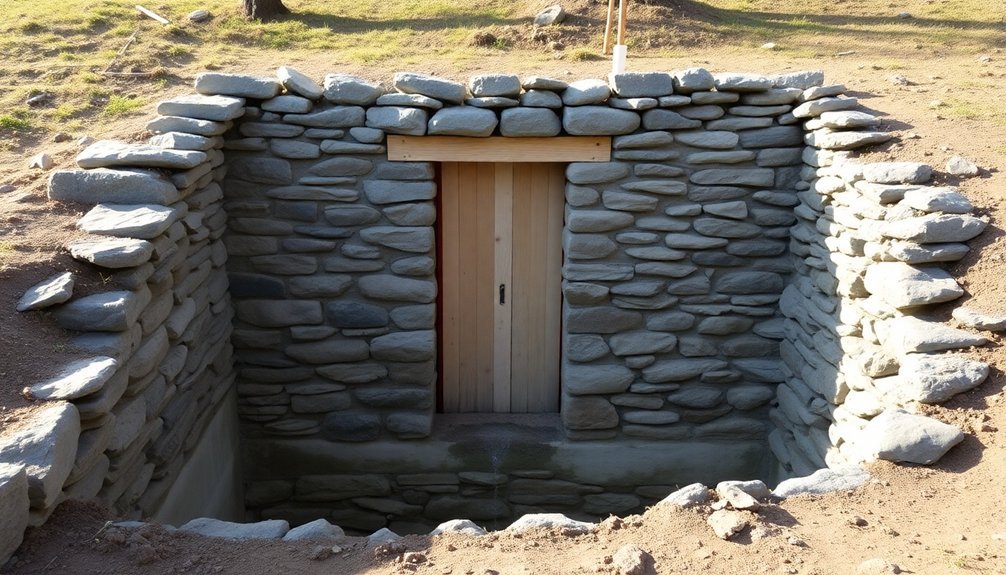
A solid foundation marks the starting point of your spring house construction. Begin by clearing and leveling your site, removing any rocks, roots, or debris that could compromise stability.
Dig foundation holes deeper than the frost line, and create level surfaces by packing the soil and pouring concrete pads. Mark your pier locations with stakes or paint, ensuring even spacing. The off-grid location often requires creative solutions for transporting materials to your build site.
Build your piers using cinder blocks, bricks, or metal posts, making sure they extend at least 12 inches above ground level. If you're using cinder blocks, stack them alternately and fill the holes with concrete for added strength.
Use a level and string to verify all pier tops align perfectly, especially on slopes.
For the walls, you'll want to integrate them into the hillside if possible, using stone or earthbags for natural insulation. Make your walls thick enough to maintain consistent cool temperatures, and don't forget to incorporate drainage channels along the inside.
Connect your piers with horizontal beams, attach floor joists 16 to 24 inches apart, and secure everything with appropriate fasteners. Add vent pipes to control humidity and temperature, ensuring your spring house functions effectively for food storage.
Water Flow and Cooling System
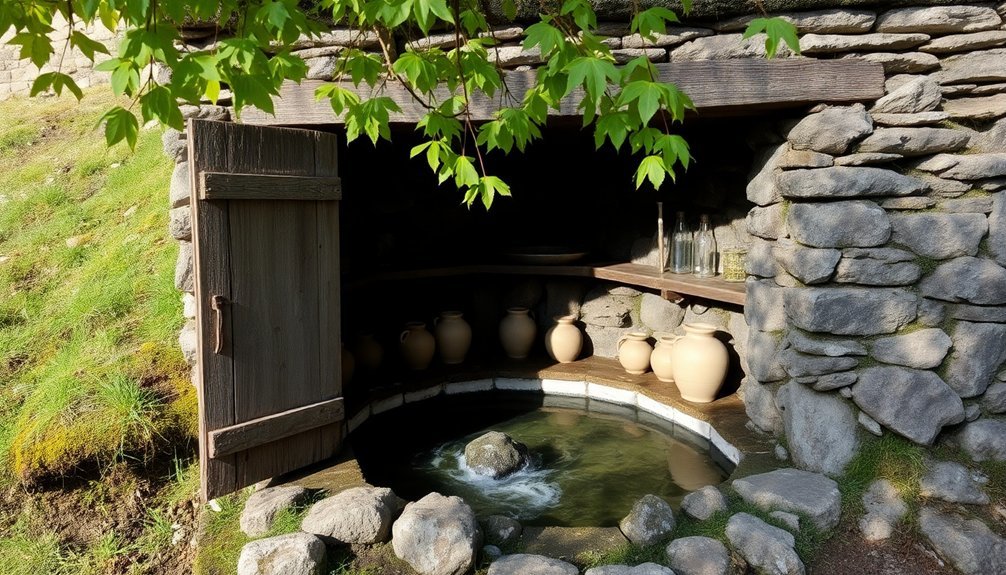
Drawing from the natural spring's flow, your water and cooling system forms the heart of an effective spring house. You'll harness the spring's natural flow rate, which can vary from three-quarters to 5 gallons per minute, directing it through a carefully designed collection system.
The spring box, equipped with gravel and plastic filtration layers, guarantees clean, cold water flows consistently into your storage setup. The natural cooling mechanism maintains a steady 50-degree Fahrenheit temperature year-round, creating perfect conditions for food storage.
You'll need to install a piping system that connects to your storage tanks, possibly using a three-quarter horsepower pump if you're moving water to higher elevations.
Here's what you'll need for an efficient water flow and cooling system:
- A spring box with filtration layers to capture and clean the water at its source
- A reliable piping network connected to your storage tanks (300 or 3000-gallon capacity)
- A pressure tank and pump system if elevation requires water lifting
- Multiple storage points within the spring house for both direct water immersion and ambient temperature storage
This passive cooling system operates without electricity, providing sustainable, long-term food preservation capabilities.
Storage Design and Organization

Once you've established your water flow and cooling system, proper storage design transforms your spring house into an organized preservation center. You'll need to maximize every inch of space while keeping items accessible and properly preserved.
Start by installing built-in shelves between waist and eye level for frequently used items. Place your dairy products and meats in the coolest spots, typically near the water flow. Store heavier items like crocks of pickled vegetables on lower shelves or the floor, while keeping lighter items on upper shelves.
| Storage Zone | Recommended Items |
|---|---|
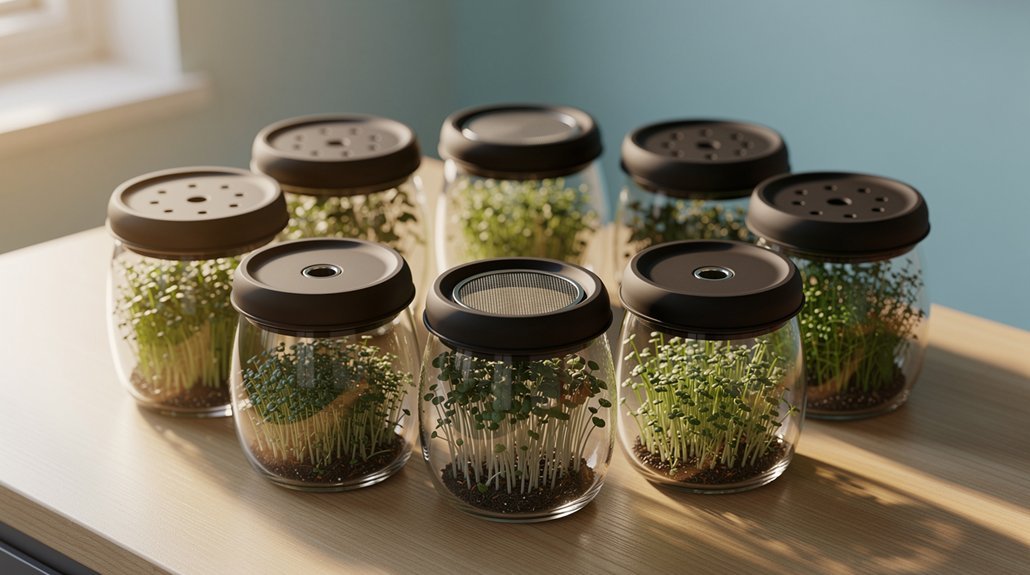
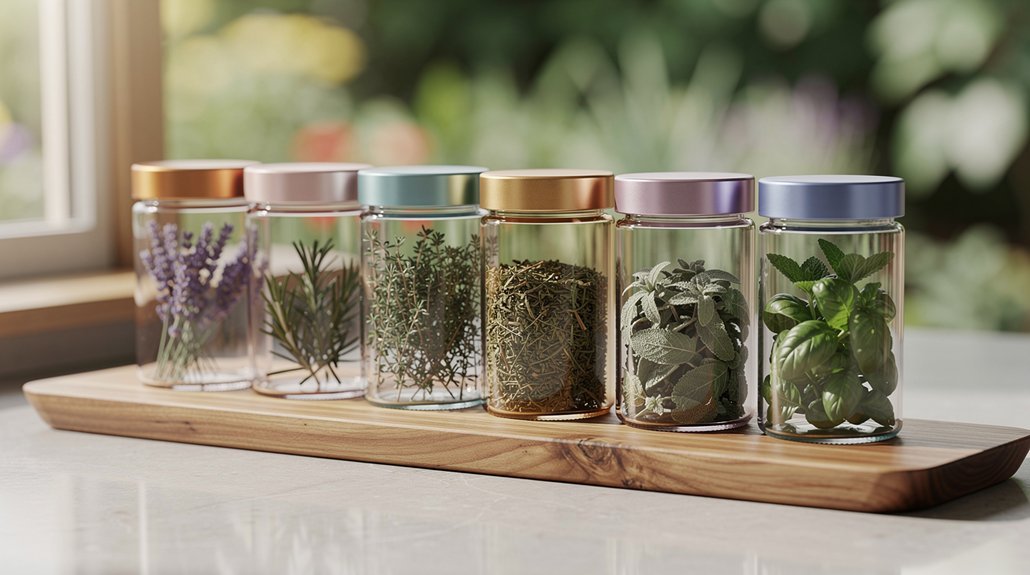
| Upper Shelves | Dried herbs, lightweight containers, empty jars |
| Eye Level | Canned goods, preserved fruits, daily-use items |
| Waist Level | Dairy products, fresh meats, eggs |
| Lower Shelves | Heavy crocks, root vegetables, bulk storage |
| Floor Level | Large water containers, pickle barrels |
Use clear containers with airtight seals for dry goods and gamma seal lids for bulk liquids. Don't forget to label everything clearly and maintain an inventory system. Install can racks and lazy Susans to maximize corner spaces, and leave clear pathways for easy access to all storage areas.
Maintaining Your Spring House
Proper maintenance of your spring house guarantees its longevity and effectiveness as an off-grid food storage solution. You'll need to focus on structural integrity, pest control, temperature management, and regular inspections to keep your spring house functioning at peak performance.
Ensure your spring house is built near a reliable water source, with proper drainage to prevent flooding. Use durable materials like stone instead of wood, and implement adequate ventilation to prevent mold growth. Keep the exterior clean and regularly check for damage or leaks in the roof, walls, and foundation.
For effective pest control, use natural deterrents like essential oils and maintain strict sanitation practices. Don't let standing water accumulate, as it attracts mosquitoes and can compromise food safety. Monitor temperature and humidity levels to keep stored foods between 32°F and 60°F.
- Inspect the structure monthly for cracks, leaks, or signs of pest infestation
- Clean and sanitize storage areas every two weeks
- Check temperature and humidity levels twice weekly
- Remove debris and maintain proper drainage systems weekly
Always have a contingency plan for emergencies, and adjust your storage methods based on seasonal changes to maintain ideal preservation conditions.
Frequently Asked Questions
How Long Can Different Types of Vegetables Be Stored in a Spring House?
You'll find root veggies last longest: carrots and parsnips keep 4-6 months, potatoes 6-8 months, and beets 3-4 months. Short-term options include cauliflower for 3 weeks and Brussels sprouts for 4 weeks.
Can a Spring House Be Used to Store Dairy Products and Meat?
Yes, you can store dairy and meat in a spring house. The cold spring water keeps dairy products fresh, while you'll want to hang meats from rafters or place them in water channels for ideal preservation.
What Alternatives Exist if the Water Source Occasionally Freezes in Winter?
You can insulate your water pipes, add a small propane heater, use thermal mass like stones, or relocate sensitive items to an alternative storage space during freezing periods to protect your stored goods.
Is It Possible to Convert an Existing Outbuilding Into a Spring House?
Yes, you can convert an outbuilding into a spring house if it's near a water source. You'll need to assess the structure's integrity, modify walls, add water channels, and implement proper insulation systems.
How Far Can the Spring House Be From the Main Water Source?
You'll want to build your spring house as close as possible to the water source, ideally within 10-15 feet. The shorter distance will maintain water quality, temperature, and natural flow while minimizing potential contamination.
In Summary
Building your own spring house is a rewarding project that'll give you reliable food storage without electricity. You've learned how to harness natural spring water and create an efficient cooling system that keeps your food fresh year-round. Remember to check your spring house regularly, maintain proper water flow, and organize your storage carefully. With good upkeep, you'll enjoy this traditional storage method for years to come.

Leave a Reply