Oil-packed vegetables last longer because the oil creates an airtight seal that protects them from oxidation and bacterial growth. You'll need to properly acidify the vegetables first, typically using a 2:1 ratio of oil to vinegar, to achieve a pH below 4.6. When you store your oil-packed vegetables in clean, sterile containers away from light and heat, they can maintain their flavor, texture, and nutritional value for up to 12-18 months at room temperature, or even longer when refrigerated. While oil preservation might seem straightforward, there's much more to ensuring your vegetables remain safe and delicious for extended periods.
The Science Behind Oil Preservation
Despite popular belief, preserving vegetables in oil isn't as safe as it might seem.
While oil creates a barrier that prevents oxidation and discoloration, it also establishes an oxygen-free environment that can be dangerous. This anaerobic condition actually promotes bacterial growth, particularly of Clostridium botulinum, rather than preventing it. Safe preservation methods are available through trusted sources like the USDA.
When you pack vegetables in oil, you're creating ideal conditions for this deadly bacterium to thrive. The moist, oxygen-free environment is perfect for C. botulinum to multiply and produce its lethal toxin, which can develop within just 3-4 days.
Don't be fooled by the addition of garlic or herbs – their antimicrobial properties aren't strong enough to make your oil-packed vegetables safe.
You might wonder about commercial oil-packed products you see on store shelves. These are safe because manufacturers use controlled acidification processes that you can't replicate at home.
The only exceptions to this rule are naturally acidic foods like sun-dried tomatoes, or recipes that include proper amounts of lemon juice or vinegar to create an acidic environment that bacteria can't survive in.
Proper Storage Requirements
For safe storage of oil-packed vegetables, proper conditions and containers are absolutely critical. You'll need to keep them in a cool, dark environment away from direct sunlight and heat sources. The oil used in storage can deteriorate within 12 to 18 months. Your refrigerator is the ideal spot, as it slows down oxidation and helps preserve both the oil and vegetables for 1-2 months.
You must use clean, sterile containers with tight-fitting lids to prevent air exposure and oxidation. Choose dark or tinted bottles, or even aluminum containers, as they'll provide extra protection from light.
When storing your oil-packed vegetables, make certain they're completely submerged in the oil mixture, using a ratio of 2 parts oil to 1 part vinegar to maintain proper acidity levels.
If you're making homemade herb or vegetable mixtures in oil, don't store them longer than 3 weeks, and remove raw ingredients like garlic or herbs if you're planning to keep them for more than a week.
While refrigeration might cause your oil to cloud or harden, don't worry – it'll return to normal once it reaches room temperature. For extended storage, you can freeze your oils to maintain their quality and safety.
Essential Safety Guidelines

Safety considerations go far beyond proper storage when working with oil-packed vegetables. The most critical concern is the risk of botulism, a potentially fatal foodborne illness caused by Clostridium botulinum bacteria that thrive in oxygen-free environments created by oil.
You'll need to be especially cautious with home-prepared versions, as they lack the controlled conditions of commercial production. To minimize risks, you must start with perfectly ripe, unblemished vegetables that are completely dry before packing. Extra virgin olive oil provides the best natural preservation qualities.
You'll want to use clean, non-reactive pans and glass containers with tight-fitting lids. While commercial products use precise acidification methods to achieve a pH below 4.6, you shouldn't attempt home acidification without proper guidance, as the process isn't yet proven safe for home use.
If you're storing oil-packed vegetables at home, don't keep them at room temperature. You should refrigerate them for no more than 3-4 days, or freeze them for longer storage.
Always label your containers with preparation and storage dates, and never consume any mixtures that show signs of spoilage or have been stored improperly.
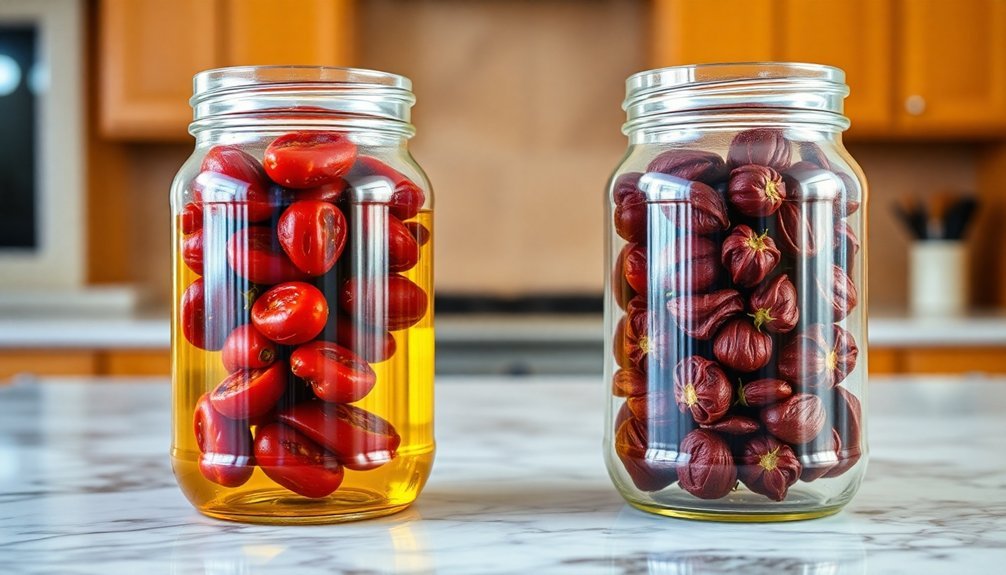
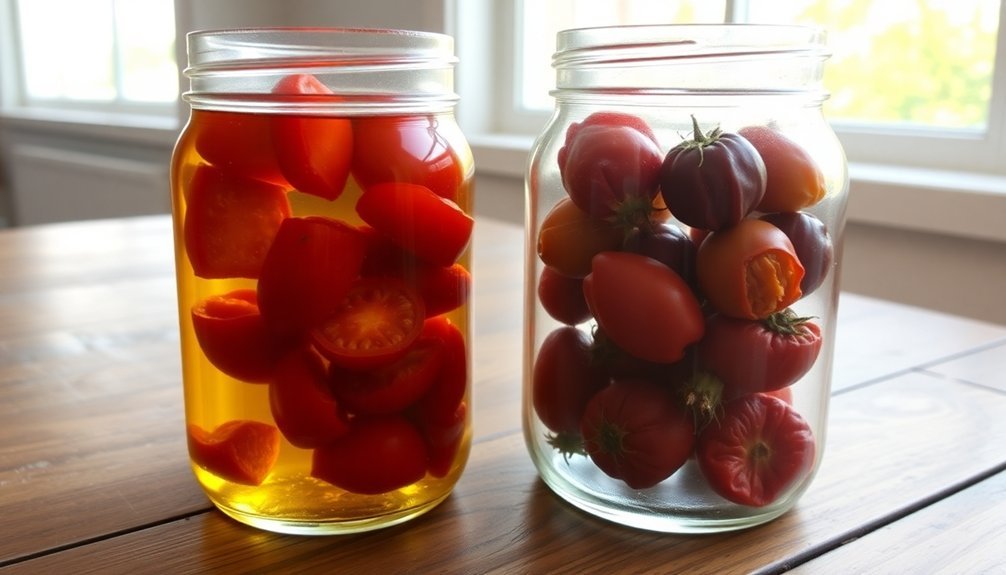
Best Vegetables for Oil Packing
When choosing vegetables for oil packing, you'll want to focus on dense, sturdy options like beets, peppers, and eggplant that can maintain their texture.
These heartier vegetables hold up well during the preservation process and won't become mushy or deteriorate quickly in the oil.
You can also select oil-compatible vegetables like zucchini, mushrooms, and tomatoes that naturally complement the flavors of olive oil or your chosen packing oil.
Dense Vegetables Work Best
In accordance with successful oil packing, dense vegetables prove to be your best choice due to their unique physical properties. Their lower water content and firm texture create ideal conditions for preservation, while their reduced surface area minimizes oxidation risks.
You'll find that dense vegetables absorb and retain oil more effectively, leading to better preservation outcomes and extended shelf life.
When you're selecting vegetables for oil packing, focus on naturally dense options like carrots, beets, cauliflower, broccoli, and Brussels sprouts. These vegetables maintain their structural integrity when submerged in oil, and they won't break down or become mushy over time.
You'll also benefit from enhanced nutritional preservation, as the oil helps protect fat-soluble vitamins and minerals within the vegetables.
To maximize your success with oil-packed dense vegetables, store them in sterilized, airtight containers away from heat and light. You'll want to handle the vegetables minimally during preparation and storage to prevent damage.
The combination of proper storage techniques and the vegetables' natural density will help maintain their flavor, color, and nutritional value throughout their extended shelf life.
Oil-Compatible Vegetable Types
Different vegetables possess varying compatibility levels for oil packing, with some proving more successful than others. You'll find that dense, sturdy vegetables like beets and roasted peppers work particularly well, while more delicate items require special handling to guarantee food safety.
1. Root vegetables and bulbs, such as beets and garlic, can last up to two months when properly cooked and submerged in an oil-vinegar mixture.
You'll want to make certain garlic is either cooked or dried before packing, as raw garlic in oil poses significant safety risks.
2. Summer squashes and peppers are excellent candidates for oil packing.
After slow-roasting zucchini or thoroughly cooking peppers, you can store them in oil with dried herbs for up to two months in your refrigerator.
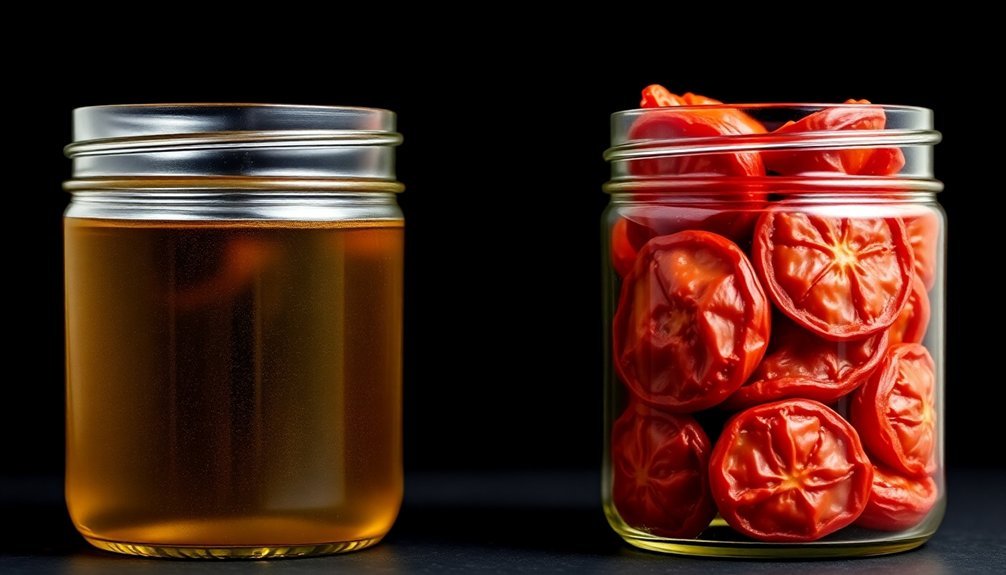
3. Mushrooms and sun-dried tomatoes offer unique possibilities.
While mushrooms require refrigeration and quick use unless pickled, sun-dried tomatoes' natural acidity makes them ideal for oil packing.
You can store them at room temperature, though refrigeration will extend their shelf life and prevent the oil from becoming rancid.
Remember to always use clean, sterile jars and guarantee complete submersion in the oil mixture for best preservation.
Preparing Your Oil Mixture
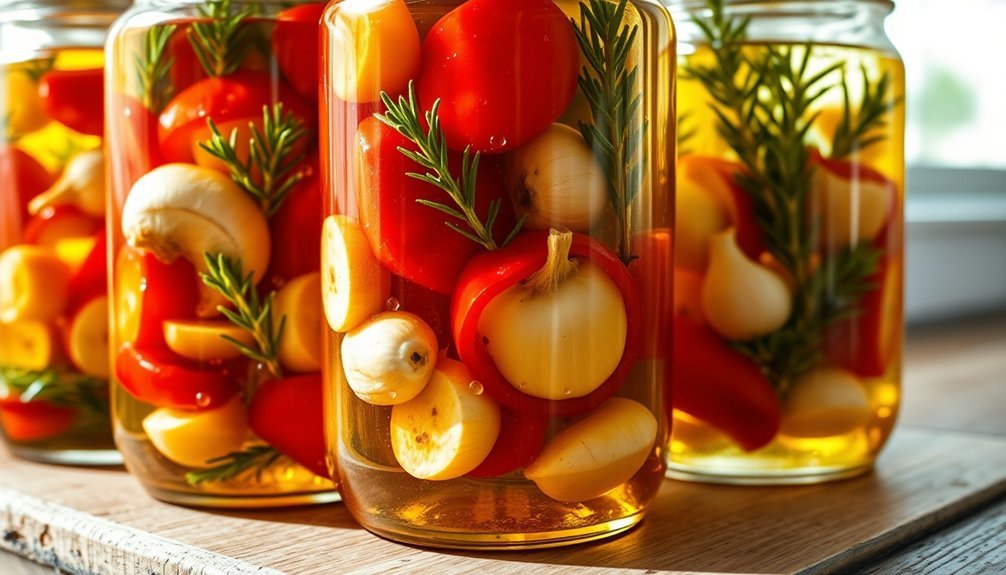
You'll want to start with a high-quality olive oil as your base, ensuring it's fresh and has a clean, neutral taste that won't overpower your vegetables.
Mix your oil with vinegar in a 2:1 ratio, which creates the perfect acidic environment to help preserve your vegetables and enhance their flavors.
Combine your oil and vinegar thoroughly by whisking them together until well-blended, making sure you have enough mixture to completely submerge your prepared vegetables.
Choosing Your Oil Base
The perfect oil base forms the foundation of successfully preserved vegetables, acting as both a protective barrier and flavor enhancer. When selecting your oil, you'll need to evaluate both stability and flavor profile to guarantee your preserved vegetables remain fresh and delicious for an extended period.
- Olive oil is your best option for most vegetables due to its stability and rich flavor profile. While it's not ideal for high-heat processing, its high monounsaturated fat content makes it resistant to oxidation during storage, and it'll complement your vegetables without overpowering them.
- Coconut oil can work well if you're preserving vegetables that pair nicely with its distinct flavor. It's highly stable and offers antimicrobial properties through its lauric acid content, which helps protect your preserved vegetables.
- Clarified butter (ghee) is an excellent choice when you want a neutral flavor profile. It's remarkably stable and won't burn during the preservation process, plus it adds a subtle richness to your preserved vegetables.
Remember to store your oil-packed vegetables in dark bottles to prevent light-induced oxidation, and always maintain proper refrigeration temperatures for ideal preservation.
Adding Essential Acids
Now that you've selected the right oil base, proper acidification becomes your next key step for safe preservation. Without sufficient acidification, you'll create an environment where harmful bacteria like Clostridium botulinum can thrive. To prevent this, you'll need to lower the pH of your vegetables below 4.6 using common household acids.
| Acid Type | Best For | Storage Method |
|---|---|---|
| 5% Vinegar | Mushrooms, Chilies | Room temp if properly acidified |
| Lemon/Lime Juice | Soft vegetables | Refrigerate, use within 4 days |
| Natural Acidity | Tomatoes | Room temp when dried |
When acidifying your vegetables, you'll need to let them equilibrate overnight to guarantee the acid has properly penetrated the food. While commercial producers can safely create shelf-stable garlic-in-oil mixtures, it's not recommended to attempt this at home. Instead, you'll need to refrigerate any homemade garlic or herb mixtures and use them within four days, or freeze them for longer storage. For items like pesto, consider freezing in ice cube trays for convenient portion control. Always label your containers with preparation and use-by dates to maintain proper food safety.
Proper Mixing Techniques
Proper mixing techniques begin with thoroughly cooking your vegetables before combining them with oil. Whether you choose to slow-roast, grill, or steam your vegetables, make sure they're cooked uniformly to achieve consistent tenderness and flavor throughout.
You'll want to cook them for 20-60 minutes, depending on the vegetable type.
When preparing your oil mixture, follow these essential steps:
- Combine 2 parts olive oil with 1 part vinegar or your chosen acidic ingredient, adjusting the ratio as needed to guarantee complete vegetable coverage.
- Add your preferred herbs, spices, and chilies to the oil mixture, creating a personalized marinade that'll enhance preservation.
- Remove all air bubbles as you transfer the mixture to sterilized jars, ensuring the vegetables remain fully submerged in the oil.
Pour your prepared mixture into clean, sterilized jars, leaving minimal headspace to prevent air pockets.
You'll need to seal the jars tightly and label them with the preparation date.
Don't forget that proper refrigeration is vital – while the oil may solidify in the fridge, this indicates your vegetables are being stored at the right temperature for preservation.
Common Preservation Mistakes
When preserving oil-packed vegetables, common mistakes can quickly compromise both safety and quality. If you're making oil-packed veggies, you'll need to avoid the misconception that oil alone acts as a preservative. While it prevents oxidation, oil can actually create conditions that favor bacterial growth.
Don't rush the processing times, as this vital step guarantees food safety. You'll need to use proper water bath or pressure canning methods – never substitute an oven, as it won't achieve the necessary temperature for safe preservation.
If you're adding ingredients like garlic or herbs for flavor, remember they don't provide reliable antimicrobial protection.
Watch out for environmental factors that affect preservation. You'll need to maintain proper temperature control throughout the process and adjust processing times based on your altitude. Keep your workspace clean and well-ventilated to prevent contamination.
Equipment maintenance is essential. You should regularly check your pressure canner gauge for accuracy and confirm proper venting to eliminate air pockets.
Using dull cutting tools can damage vegetables, affecting their texture and preservation quality. Always follow tested recipes and maintain detailed records of processing times.
Traditional Versus Modern Methods
Understanding the evolution from traditional to modern preservation methods reveals a fascinating shift in food storage techniques. You'll find that while traditional methods like dehydration, curing, and fermentation have stood the test of time since 12,000 B.C., modern techniques offer precise control and scalability for today's food preservation needs.
- Traditional methods rely on natural processes – you're using sun, wind, salt, and beneficial microorganisms to preserve food. These time-tested techniques not only preserve but often enhance the nutritional value of foods, as seen in fermentation's ability to create additional vitamins.
- Modern methods employ technology for consistent results – you'll notice that canning, freezing, and high-pressure preservation offer standardized outcomes and longer shelf life. These techniques give you more control over the preservation process and often better maintain the original texture of foods.
- You can combine both approaches for ideal results – while traditional methods like pickling continue to be relevant, they're now enhanced by modern sterilization techniques. This hybrid approach gives you the best of both worlds: traditional flavor development with modern safety standards.
Frequently Asked Questions
Can I Reuse the Oil After Removing All Vegetables?
You can reuse the oil after straining out vegetable particles. Just filter it through cheesecloth or a fine strainer, store it in a sealed container, and use it up to 5 times for cooking only.
Do Different Types of Oils Affect the Preservation Time Differently?
No, your choice of oil won't affect bacterial safety or preservation time. While saturated oils like coconut oil resist rancidity better, they don't impact food preservation. You'll still need proper refrigeration regardless of oil type.
What Happens if Vegetables Float Above the Oil Level Occasionally?
If your vegetables float above oil, they'll face increased spoilage risk and potential botulism growth. You'll notice texture changes and possible oxidation. Keep checking and pushing them down to maintain safety and quality.
Should I Sterilize Store-Bought Oils Before Using Them for Preservation?
You don't need to sterilize store-bought oils as they're already processed for safety. Just verify you're using clean equipment and proper storage methods when preserving foods. Extra sterilization could actually harm the oil's quality.
Can I Mix Different Vegetables in the Same Oil Container?
You shouldn't mix different vegetables in the same oil container. It creates dangerous conditions for botulism growth, and each vegetable has unique storage requirements. For safety, you'll want to store them separately.
In Summary
Oil-packed vegetables can transform your preservation game, but you'll need to follow proper techniques to guarantee success. Whether you're using traditional family methods or modern approaches, remember that clean jars, quality oil, and careful preparation are essential. Don't skip the safety steps, and you'll enjoy your preserved vegetables for months to come. Master this time-tested preservation method to reduce food waste and stock your pantry year-round.


Leave a Reply