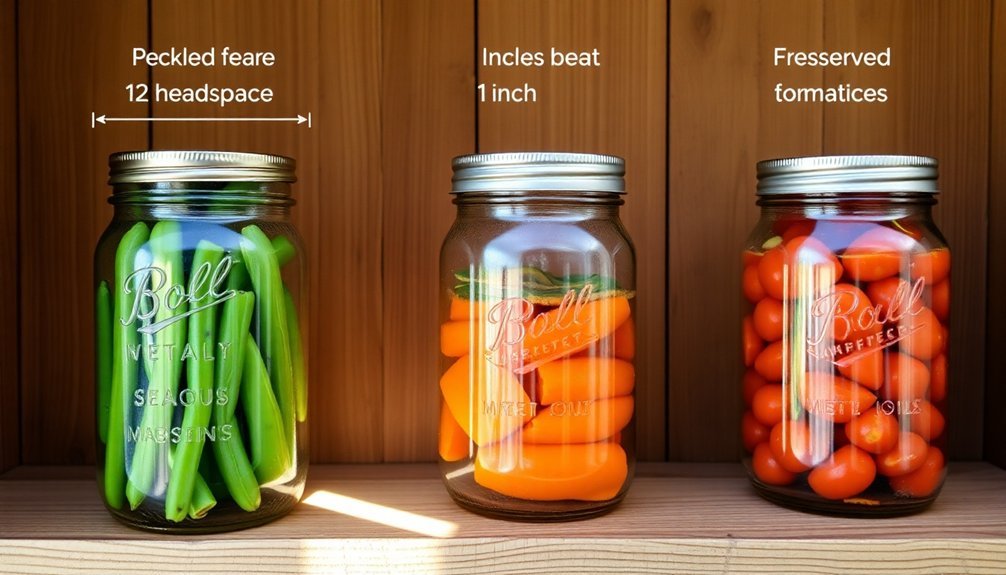
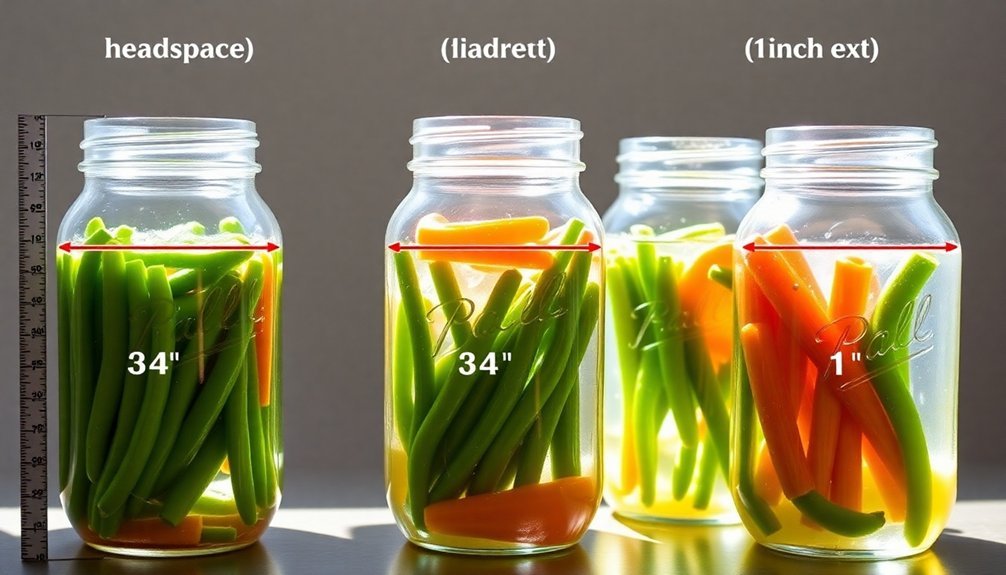
To keep your home-canned vegetables fresh for up to a year, maintain a headspace of 1 to 1¼ inches between the food and jar lid. You'll need slightly more space (1½ inches) for starchy vegetables like corn and potatoes. This unfilled area allows for proper food expansion during heating and creates a strong vacuum seal as the jar cools. Hot-packed vegetables typically need less headspace than raw-packed ones, as they're pre-cooked and won't expand as much. Follow these measurements carefully, as incorrect headspace can lead to spoilage, discoloration, or seal failures. Understanding the specific requirements for different vegetables will help guarantee your preservation success.
Understanding Proper Headspace Measurements
When it comes to home canning, proper headspace is vital for your food's safety and quality.
You'll need to understand that headspace is the unfilled area between your food and the jar's lid, and it serves two critical purposes: allowing for food expansion during heating and creating a vacuum seal as the jar cools. Temperature changes in the canning process directly affect how much your food will expand.
For vegetables processed in a pressure canner, you'll want to leave 1 to 1¼ inches of headspace, especially for starchy items like potatoes and beans that tend to swell during heating.
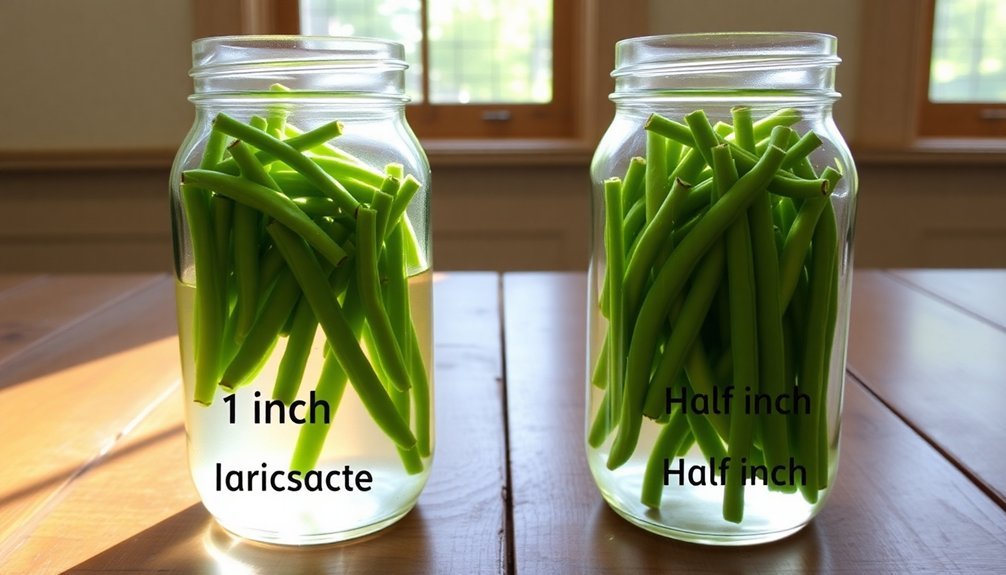
You can easily measure this space using the jar's threads as a guide – 1 inch falls just below the bottom ring. If you're having trouble gauging the measurement, special headspace measuring tools are available.
Before measuring your headspace, make certain you've removed all air bubbles from the jar, as trapped air can affect the final measurement.
If you've overfilled the jar, use a teaspoon to remove excess food or liquid.
Don't forget to clean the rim with vinegar after adjusting the headspace – this guarantees a proper seal and helps maintain your vegetables' freshness during storage.
Common Headspace Mistakes to Avoid
Despite your best efforts to follow canning guidelines, several common headspace mistakes can compromise your preserved vegetables' safety and quality. Not leaving enough headspace can force food against the lid during processing, preventing proper sealing and risking spoilage. This issue is particularly problematic with pie fillings and low-acid vegetables. Always aim for 1 inch of headspace when canning vegetables for optimal preservation.
On the flip side, leaving too much headspace isn't better. Excess air in the jar can cause food discoloration and might prevent proper sealing, even if the jar initially appears sealed. You'll want to avoid siphoning, which often creates this problem.
Don't forget to remove air bubbles before measuring headspace. Trapped air can expand during processing, causing the food level to drop and creating more space than you intended. Remember to use non-metal tools for bubbling to protect your jars from damage.
Your handling techniques during processing are vital too. Let jars cool completely in the canner, maintain proper boiling temperatures, and pre-heat food before packing.
If you don't, you might experience siphoning or food shrinkage, which increases headspace and can lead to seal failures and spoilage.
Factors Affecting Vegetable Preservation
Beyond proper headspace, several key factors influence the success of your home-canned vegetables. The quality of your produce is essential – you'll want to select fresh, firm vegetables that are free from disease and uniformly sized for even heat distribution. Prompt processing after harvest helps maintain optimal flavor and nutritional value.
When it comes to processing, you must match the method to your food's acidity level. Low-acid vegetables require pressure canning at 240°F to eliminate dangerous Clostridium botulinum spores, while high-acid foods can be safely processed in a boiling water bath at 212°F.
Your choice of packing method also affects preservation success. Hot packing involves pre-cooking vegetables and helps remove air, while raw packing requires careful attention to proper vegetable density.
Here are three vital preservation factors you can't ignore:
- Acidity levels – Adding lemon juice or citric acid when needed to maintain safe pH levels
- Processing temperature – Using the correct canning method based on the vegetable type
- Food quality – Selecting fresh, uniform produce and washing thoroughly to remove soil and bacteria
Remember that altering ingredients or processing times from tested recipes can compromise your food's safety and shelf life.
Measuring Headspace Like a Pro
Proper headspace measurement stands as one of the most critical skills you'll need for successful home canning.
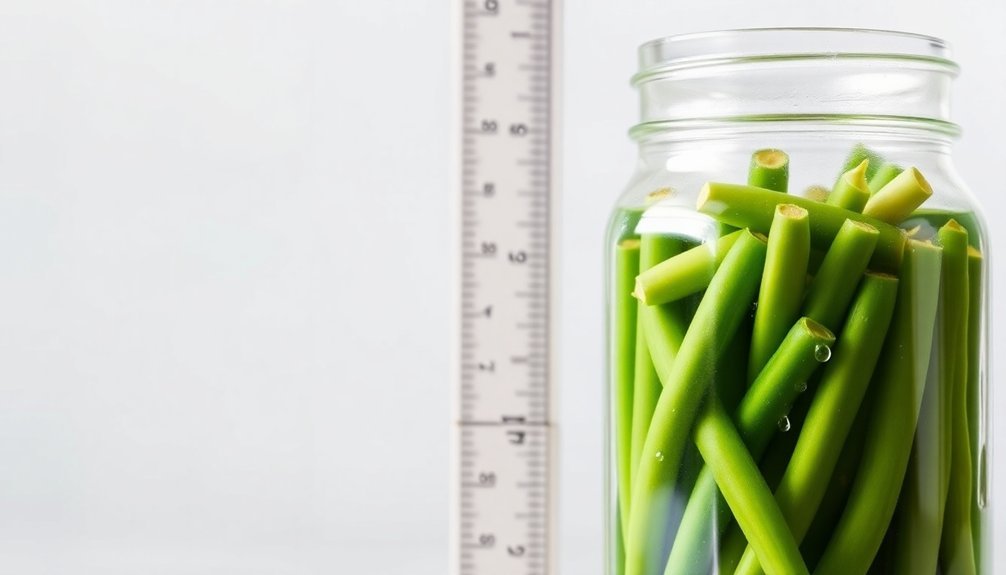
You'll want to use a headspace measuring tool with ¼-inch increments to guarantee accuracy, though a chopstick or wooden spoon handle can work in a pinch.
To measure headspace correctly, start by filling your jar with vegetables using a funnel and ladle to avoid mess.
Place your measuring tool's tip at the jar's rim and check if the space between the food and lid matches your recipe's requirements.
Don't skip this step – incorrect headspace can lead to spoilage or seal failure.
You'll need to remove any air bubbles using your measuring tool or a canning utensil kit.
If you've overfilled the jar, remove excess food or liquid with a teaspoon until you achieve the proper measurement.
Once you've got the right headspace, wipe the rim with vinegar to prepare for sealing.
Vegetable-Specific Headspace Requirements
When you're selecting headspace measurements for home canning, you'll need to take into account whether you're using raw-pack or hot-pack methods, as hot-packed vegetables require looser packing to allow for expansion.
Dense vegetables like potatoes and corn demand more headspace (1 to 1¼ inches) because they expand and absorb liquid during processing, while leafy or loosely packed vegetables like asparagus and broccoli can follow standard ½-inch headspace guidelines.
Your choice between raw and hot packing will directly impact the amount of space needed at the top of your jar, as hot-packed vegetables typically need more room to expand during processing.
Raw Vs Hot Pack
Choosing between raw and hot pack methods for your home-canned vegetables impacts both the quality and safety of your final product. The hot pack method offers several advantages, as it shrinks vegetables and removes trapped air, leading to better quality preservation.
You'll notice that hot-packed vegetables stay fresher longer and maintain their color better than raw-packed ones, which may float and discolor within 2-3 months.
Both methods require specific headspace considerations for safe processing. You'll need to leave:
- 1 to 1¼ inches of headspace for low-acid vegetables in pressure canners, regardless of packing method
- ½ inch headspace for vegetables processed in boiling water baths
- Extra headspace for starchy vegetables like corn, potatoes, and lima beans due to expansion
While raw packing might seem easier since it doesn't require pre-heating, the hot pack method is generally preferred for vegetables.
It's particularly important for low-acid foods, as the pre-heating process helps destroy enzymes and some microorganisms.
Remember to use boiling water to cover your vegetables in both methods, and always measure headspace carefully with a proper tool to guarantee safe preservation.
Dense Vs Leafy Vegetables
Different vegetables require specific headspace measurements based on their density and composition. When canning dense vegetables, you'll need to leave 1 to 1¼ inches of headspace for most varieties.
Large beans require 1½ inches in quart jars, while small beans need 1¼ inches. For starchy vegetables like potatoes and corn, maintain 1 to 1¼ inches to accommodate swelling during the heating process. Beets need 1 inch of headspace, and you should slice or cube larger ones for better results.
For leafy vegetables, you'll generally want to maintain 1 inch of headspace. This applies to green beans, peas, spinach, and other greens.
When you're packing leafy vegetables, verify they're uniform in size and color for peak quality. You'll need to pack them loosely enough to allow proper heat penetration, avoiding vertical or horizontal layering that could lead to underprocessing.
Remember that insufficient headspace can prevent proper sealing and cause food to bubble out, while too much space might result in discoloration and inadequate vacuum seals.
Always cover your vegetables completely with liquid while maintaining the recommended headspace above.
Hot Pack Versus Cold Pack
When you're choosing between hot pack and cold pack methods for canning vegetables, you'll notice significant differences in how the food and liquid levels change during processing.
Hot-packed vegetables shrink before going into jars and create fewer air pockets, while cold-packed vegetables will shrink during processing and may float to the top of the jar.
You'll need to monitor the liquid levels carefully with both methods, but cold-packed vegetables typically require more attention since they tend to release more liquid during processing.
Processing Methods Compared
The success of home-canned vegetables largely depends on selecting between two distinct processing methods: hot pack and cold pack (raw pack).
Hot packing involves pre-cooking your vegetables for 2-5 minutes before filling jars, while cold packing uses fresh, uncooked vegetables packed directly into sterilized jars.
When you're choosing between methods, consider these key differences:
- Hot packing shrinks food before processing, allowing you to fit more vegetables in each jar and creating a tighter seal with less trapped air, which helps prevent discoloration and extends shelf life.
- Cold packing preserves the original texture of vegetables but requires more careful attention to headspace, as foods will expand during processing and may float if packed too loosely.
- Processing times differ greatly – hot-packed foods often require shorter processing times since they're partially cooked, while cold-packed vegetables need longer processing to guarantee safe preservation.
Both methods require you to cover vegetables completely with boiling liquid and remove air bubbles before sealing.
Hot packing typically results in better long-term color retention and shelf stability, while cold packing might be preferable when you're prioritizing texture and convenience during preparation.
Liquid Level Changes
Managing liquid levels marks an essential difference between hot pack and cold pack canning methods. You'll find that hot packing reduces liquid loss because you're pre-heating the food and liquids before filling jars. In contrast, cold packing often leads to more liquid loss due to trapped air in raw foods.
| Aspect | Hot Pack | Cold Pack |
|---|---|---|
| Headspace | 1-inch space with less air trapped | 1-inch space with more entrapped air |
| Liquid Retention | Better retention due to pre-heating | More loss due to raw food expansion |
| Food Quality | Less floating, better color retention | More floating, possible discoloration |
While both methods require 1-inch headspace, you'll notice significant differences in results. Hot-packed vegetables maintain better liquid levels because you've already released trapped air during the pre-heating process. Cold-packed vegetables tend to float more and may experience greater liquid loss during processing. If you lose less than half the liquid during processing, your food remains safe for shelf storage. However, if you lose more than half, you'll need to refrigerate and use the food immediately. Remember that food above the liquid line might darken over time but stays safe to eat when properly sealed.
Safety Standards for Headspace
Proper headspace measurement stands as an essential safety requirement for home canning vegetables and other foods. You'll need to leave 1-1.25 inches of space between your food and the jar lid for most vegetables, though some like corn and lima beans require up to 1.5 inches. This extra space isn't just empty room – it's vital for allowing food expansion during heating and proper vacuum formation during cooling.
When you're pressure canning vegetables, maintaining correct headspace helps guarantee you'll achieve the high temperatures needed to kill harmful bacteria, especially Clostridium botulinum. You can't take shortcuts with these measurements, as improper headspace can lead to serious safety issues.
Here are three essential safety considerations for headspace:
- Too little space can cause food to bubble out during processing, preventing proper sealing.
- Excessive headspace can lead to food discoloration and inadequate preservation.
- Incorrect measurements may result in incomplete processing, raising the risk of botulism.
To maintain safety standards, you must always use a pressure canner for low-acid vegetables and follow current USDA guidelines.
Don't forget to adjust your process for high-altitude locations, as this can affect your canning results.
Signs of Incorrect Headspace
Recognizing incorrect headspace doesn't have to be complex – you'll spot several telltale signs when your measurements are off. When you've left too little space, you'll notice food expanding and bubbling out during processing, often leaving deposits on the jar's rim that prevent proper sealing. Too much headspace can cause food discoloration and trap excess air, potentially leading to seal failure.
| Issue | Signs to Watch For |
|---|---|
| Too Little Space | Food bubbling out, deposits on rim, liquid loss during processing |
| Too Much Space | Darkening of food, trapped air, seal failures |
| Texture Problems | Mushy vegetables, floating pieces, stringy appearance |
| Liquid Issues | Cloudy appearance, siphoning, inadequate coverage |
You'll notice texture changes that signal headspace problems – vegetables might become mushy or float to the top when there's too much air trapped in the tissue. The liquid's consistency can also tell you something's wrong. Watch for cloudiness, which often results from improper headspace combined with hard water or starchy vegetables. If you're seeing sediment at the bottom or experiencing consistent sealing failures, you'll need to adjust your headspace measurements accordingly.
Best Storage Life Guidelines
To maximize your home-canned vegetables' shelf life, you'll need to follow specific storage guidelines that protect both quality and safety.
Store your canned goods in a cool, dry place where temperatures stay between 50°F and 70°F, and keep them away from hot pipes, furnaces, or direct sunlight. You'll want to avoid areas prone to dampness, as moisture can cause can corrosion and compromise food safety.
For ideal storage life, follow these essential practices:
- Implement the "FIRST IN, FIRST OUT" rule by placing new cans behind older ones, ensuring you'll use older products before they exceed their prime storage time.
- Check your storage area's temperature regularly, as temperatures above 75°F will greatly reduce shelf life and increase nutrient loss.
- Inspect your canned goods monthly for signs of spoilage, including bulging lids, rust, or leakage.
While home-canned vegetables can technically last longer, you'll get the best quality if you consume them within one year of processing.
Store them in airtight containers to maintain the vacuum seal, and remember that proper temperature control is your most critical factor in preserving food quality.
Pressure Canning Headspace Rules
When you're pressure canning vegetables, you'll need to maintain proper headspace to guarantee safe processing and a secure seal.
For most raw-packed vegetables, leave 1 inch of space between the food and the lid, while starchy vegetables may require up to 1½ inches.
If you don't leave enough headspace, your vegetables might bubble over during processing, preventing a proper seal, but too much space can lead to inadequate vacuum formation and food discoloration at the top of the jar.
Safe Pressure Processing Gaps
The proper headspace in pressure-canned vegetables plays an important role in guaranteeing both safety and quality. You'll need to maintain precise gaps between your food and jar lids to prevent spoilage and guarantee proper sealing.
When you're processing low-acid vegetables, it's vital to leave 1 inch of headspace, though starchy foods like corn and potatoes may require up to 1½ inches.
During pressure canning, your food will expand as it heats, making proper headspace vital for successful preservation. If you don't leave enough room, the food can bubble over and prevent proper sealing. Conversely, too much space can lead to discoloration and failed vacuum seals.
- Always measure headspace with a ruler or headspace tool to maintain the recommended 1-inch gap for most vegetables.
- Add extra headspace (1¼ to 1½ inches) for starchy vegetables that expand considerably during processing.
- Check that food particles haven't splashed onto the jar rim, as this will interfere with proper sealing.
Remember that consistent headspace across your jars helps guarantee uniform processing and reliable preservation. You'll get the best results by following tested recipes and USDA guidelines for specific vegetables.
Low-Acid Vegetable Requirements
Four essential headspace rules govern pressure canning low-acid vegetables safely.
First, you'll need to leave 1 inch of headspace for most low-acid vegetables, which allows for proper food expansion during high-temperature processing. This gap is especially important for starchy vegetables like corn and potatoes, which expand more than other vegetables.
Second, you must measure your headspace after removing air bubbles and adjusting liquid levels. Use the jar's side as a guide – the correct 1-inch mark should hit just below the bottom ring. For consistent results, you can use specialized measuring tools to guarantee accuracy.
Third, you'll need to prevent food from touching the lid during processing. If you don't leave enough space, your vegetables may bubble over, preventing a proper seal. Conversely, too much headspace won't allow sufficient time to drive out air, resulting in a weak seal.
Finally, maintain uniform headspace across all your jars to guarantee consistent processing conditions. This uniformity helps create the necessary vacuum seal and prevents food discoloration at the top of the jar, ultimately extending your vegetables' shelf life and assuring their safety.
Frequently Asked Questions
Can Reprocessing Vegetables With Incorrect Headspace Salvage the Batch?
You can salvage incorrectly spaced vegetables by reprocessing them within 24 hours. Just reheat the food, pack it in clean jars with proper headspace, use new lids, and process again completely.
How Does Altitude Affect Recommended Headspace Measurements for Home Canning?
You'll need to increase your headspace by ⅛ inch for every 1,000 feet above sea level. This prevents jar contents from erupting during processing, as steam expands more at higher altitudes.
Should Headspace Be Adjusted When Using Antioxidants in Canning Vegetables?
You don't need to adjust headspace when using antioxidants in vegetables. While antioxidants prevent browning, they won't affect food expansion during processing. Stick to standard headspace recommendations for your specific vegetable type.
Do Different Jar Brands Require Different Headspace Measurements?
You'll find most jar brands follow standard USDA headspace guidelines. While Weck jars might need slightly more space due to lid design, you don't need to adjust measurements between regular canning jar brands.
Can Vegetables Be Safely Double-Stacked During Processing With Proper Headspace?
You can safely double-stack jars during pressure canning with proper headspace. Use a rack between layers and stagger the jars. For water-bath canning, it's riskier, and some experts don't recommend it.
In Summary
Follow proper headspace guidelines (typically 1-inch for vegetables) to maximize your home-canned produce's shelf life. You'll find that maintaining consistent headspace prevents spoilage, reduces the risk of seal failure, and guarantees food safety. Remember, different vegetables may require slight adjustments, but sticking to tested measurements and pressure canning rules will keep your preserved vegetables fresh for up to a year.


Leave a Reply