To preserve meat using wood ash, you'll need hardwood ash that's completely cooled for at least 96 hours. Start by cutting lean meat into uniform strips (1/4 to 1/2 inch thick), removing excess fat and ensuring the meat is thoroughly dry. Place a thick layer of sifted ash in a clean stoneware container, then carefully layer your meat pieces so they don't touch each other. Cover completely with 1-1.5 inches of ash and seal with a tight-fitting lid. Store in a cool, dark place around 50°F, away from moisture. When done correctly, this ancient preservation method can keep your meat edible for several months, and there's much more to discover about this time-tested technique.
Understanding Wood Ash Properties
Wood ash stands out as one of nature's most versatile preservatives, thanks to its unique chemical makeup and alkaline properties. When you're working with wood ash, you'll find it's rich in essential minerals, containing 20-40% calcium, 3-10% potassium, 1% phosphorus, and 1% magnesium. These components make it particularly effective for preservation purposes.
What makes wood ash especially powerful is its ability to create highly alkaline conditions. You'll notice it can dramatically increase soil pH, and this same principle applies to food preservation. The high pH environment it creates helps inhibit the growth of harmful microorganisms that could spoil your meat. The strength of wood ash can be tested using methods like floating eggs or feathers.
The sterility of wood ash plays a significant role in preservation. When you use it properly, you'll benefit from its natural ability to inhibit mold and pest growth.
The ash's chemical composition changes slightly depending on the burning temperature – higher temperatures result in lower carbon content, which is what you want for preservation. If you're using leached wood ash (where water has removed some potassium), you'll still get excellent preservative benefits from its calcium-rich composition.
Essential Tools and Equipment
You'll need clean, dry stoneware or earthenware containers with tight-fitting lids to properly store your meat in wood ash.
For processing the ash itself, gather basic tools like sieves for sifting and large spoons or trowels for handling the material.
Keep cloth bags or muslin sacks handy to wrap your meat before placing it in the ash, preventing direct contact while allowing the preservation process to work effectively. This traditional method works best during colder winter months when natural conditions support proper curing and preservation.
Basic Storage Containers
Proper storage containers form the foundation of successful wood ash preservation. You'll need to select stoneware or ceramic containers, as these materials won't react with the wood ash or compromise your preserved food.
Avoid metal or plastic containers, which can lead to unwanted chemical reactions and contamination. The Cherokee people demonstrated the effectiveness of this method through their tradition of using hickory ash preservation for meats.
When choosing your container size, consider the quantity of meat you're planning to preserve. For smaller portions, a 1-gallon stoneware crock works well, but you'll need larger containers for bigger cuts of meat.
Make certain there's enough space to cover your meat with 1-1.5 inches of wood ash. Your container must have an airtight lid to maintain the preservation environment.
Before using your containers, clean them thoroughly and check for any cracks or damage. You'll want to dry them completely to prevent moisture buildup, which can spoil your preserved meat.
Consider using a cloth or muslin bag to separate the meat from the ash. Store your filled containers in a cool, dark cellar with good ventilation, away from direct sunlight and heat sources.
Maintain a consistent temperature to guarantee proper preservation and prevent bacterial growth.
Ash Processing Tools
After securing your storage containers, gathering the right tools for ash processing guarantees effective meat preservation. You'll need specific tools to collect, process, and apply the ash effectively. A sturdy shovel or scoop helps you gather ash from your fire pit, while a sieve or sifter removes unwanted chunks and debris. For handling the processed ash, you'll want a large spoon or trowel for precise layering.
| Tool Type | Primary Use | Essential Features |
|---|---|---|
| Collection | Shovel/Scoop | Strong handle, heat-resistant |
| Processing | Sieve/Sifter | Fine mesh, durable frame |
| Application | Spoon/Trowel | Long handle, sturdy construction |
| Safety | Gloves | Heat-resistant, protective |
Don't forget to keep a sharp knife handy for preparing your meat or cheese before preservation. While gloves aren't mandatory, they'll protect your hands from ash irritants and make the process more comfortable. Store your tools in a dry place to prevent rust and maintain their effectiveness. When you're working with the ash, you'll appreciate having all these tools readily available, as they'll help you maintain the proper 15cm ash depth required for successful preservation.
Selecting the Right Meat Cuts
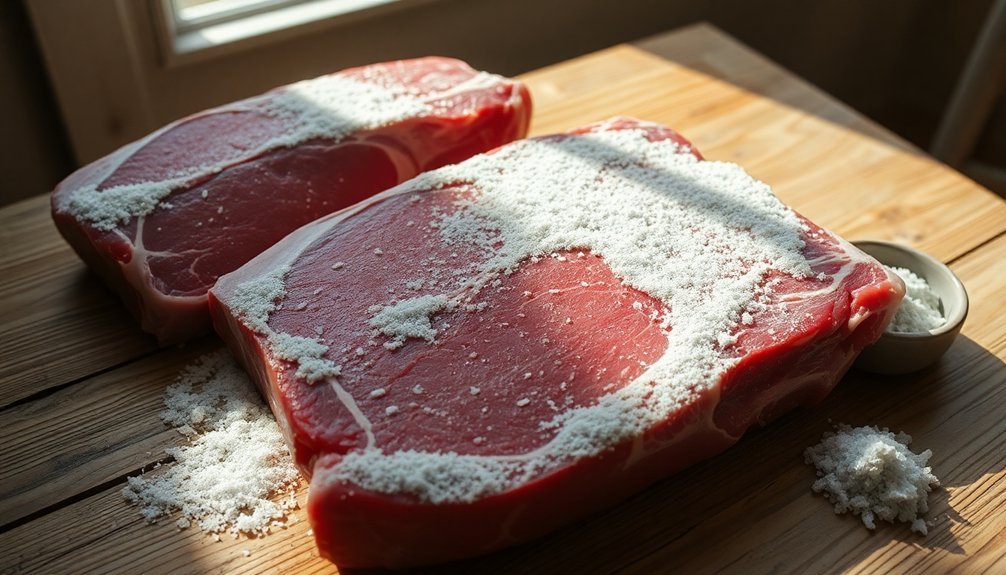
When choosing meat for wood ash preservation, you'll want to start with lean, fresh cuts rather than pre-cured options to guarantee better control over the preservation process.
For best results, select cuts like eye round or sirloin tip, which have minimal fat content and are easier to work with during the preservation process.
While bone-in cuts can be used, they require additional attention to guarantee proper preservation around the bone areas, making boneless cuts a more practical choice for beginners.
Fresh Vs Cured Options
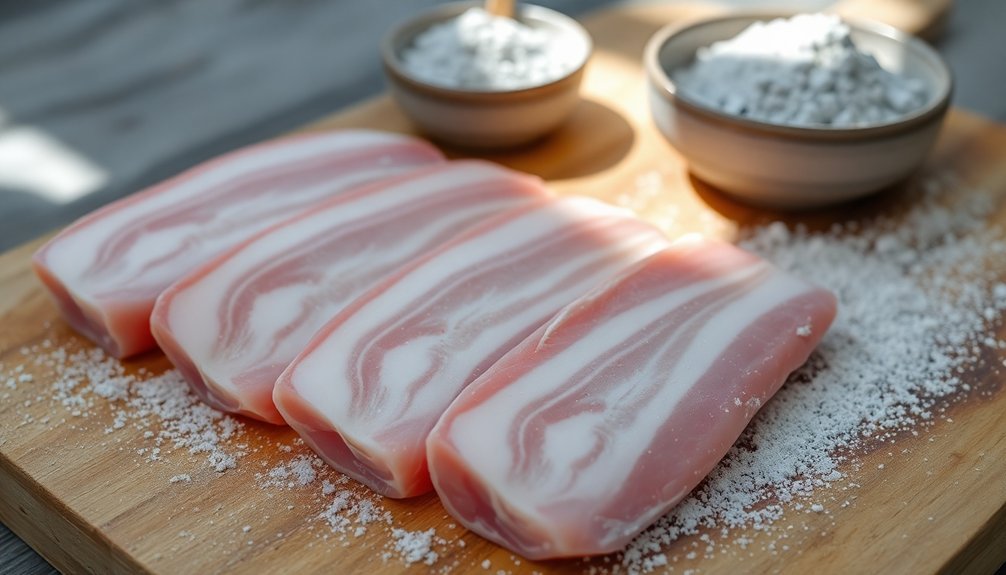
Selecting the right cuts of meat can make or break your preservation efforts, whether you're using wood ash or traditional curing methods. You'll find that lean cuts work better with wood ash preservation, while both lean and fatty cuts can be suitable for curing.
| Characteristics | Wood Ash Method | Traditional Curing |
|---|---|---|
| Best Cuts | Lean beef, game meats | Ham, brisket, belly |
| Storage Time | Months to years | Up to 30 days (refrigerated) |
| Process | Cover with sifted ash | Salt, nitrite application |
| Preparation | Simple layering | Complex mixing/injection |
When using wood ash, you'll want to avoid high-fat content cuts as they're prone to spoilage. Instead, focus on lean cuts that have lower moisture content. The ash method works particularly well with beef and game meats, absorbing excess moisture while deterring pests.
If you're opting for traditional curing, you've got more flexibility with cut selection. You can cure larger cuts like hams and shoulders, as well as smaller pieces like loins. The curing process uses salt and nitrites to inhibit microbial growth and enhance flavor, making it especially effective for cuts that benefit from longer preservation times.
Best Cuts for Aging
The art of aging meat requires choosing specific cuts that will yield the best results.
You'll want to focus primarily on well-marbled cuts that can withstand extended aging periods while developing rich, complex flavors.
Ribeye and prime rib are your top choices, preferably bone-in, as they're rich in fat marbling and can age for at least 28 days.
Striploin, though less fatty than ribeye, remains tender throughout the aging process and delivers exceptional flavor after 28 days of aging.
If you're considering sirloin, you'll need to limit aging to 21-28 days, but you'll still get impressive results in both steaks and ground blends.
For other options, chuck works well for shorter aging periods and is ideal for ground meat applications.
Tenderloin, being lean, requires only 15-21 days of aging and excels in roasts.
The porterhouse, which combines both striploin and tenderloin, offers excellent marbling and requires a minimum of 28 days to develop its full potential.
When selecting cuts for aging, remember that higher fat content typically allows for longer aging periods and results in more pronounced flavor development.
Wood Ash Safety Guidelines
Safe handling of wood ash requires strict precautions to protect both people and property. When working with wood ash for meat preservation, you'll need to wear proper safety equipment, including a NIOSH-approved respirator, safety goggles, and protective clothing with long sleeves. Don't forget to apply barrier cream to prevent skin irritation.
Store your wood ash in metal containers with tight-fitting lids, keeping them at least 10 feet away from buildings. Never use plastic, cardboard, or paper containers, as they pose a fire risk. Before using ash for preservation, verify it has cooled completely for at least 96 hours.
- Picture yourself carefully misting the ash with a fine water spray to control dust, watching the tiny droplets settle the particles without creating paste.
- Visualize the proper storage setup: a robust metal container with a secure lid, positioned safely away from your smokehouse.
- Imagine yourself properly equipped, wearing your respirator and goggles, methodically working with the ash like a skilled craftsperson.
When handling wood ash, verify proper ventilation and avoid creating dust clouds. Remember that wood ash can retain heat for days and potentially ignite other materials, so always treat it with appropriate caution.
Proper Meat Preparation Steps
Proper meat selection and preparation form the foundation of successful wood ash preservation.
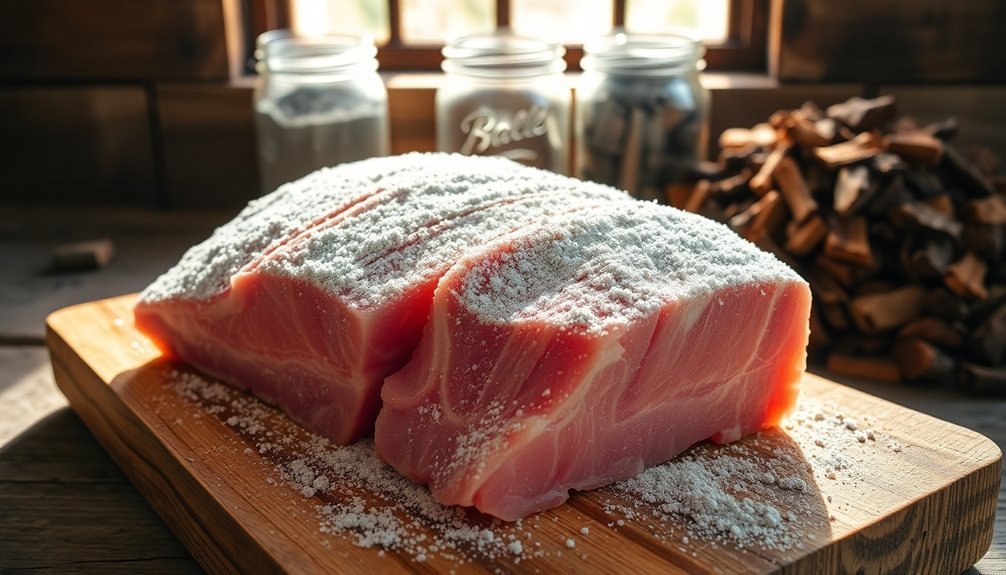
You'll want to start by selecting lean meats like pastrami, corned beef, or ham that have already been cured. Stay away from sausages, as their high fat content can lead to spoilage.
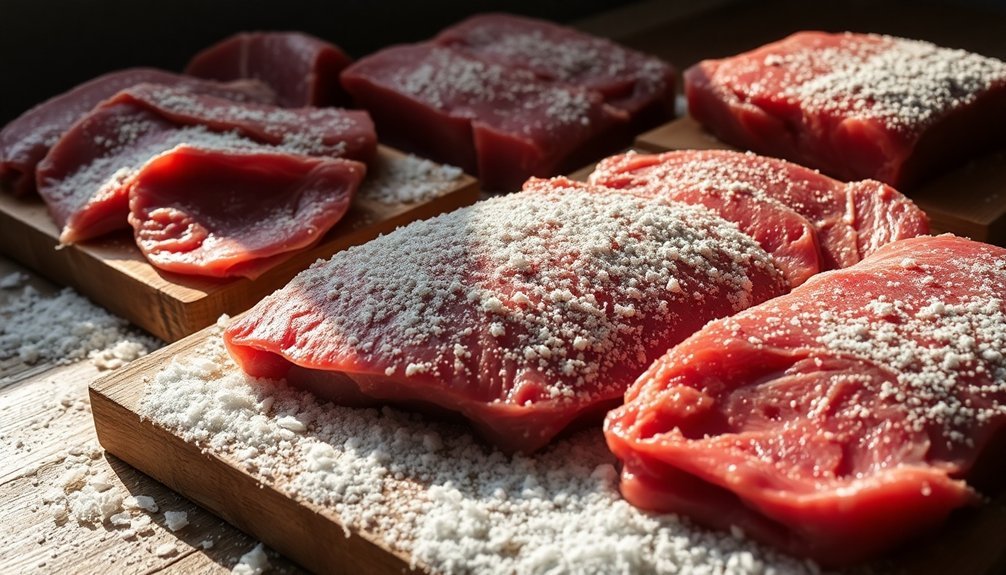
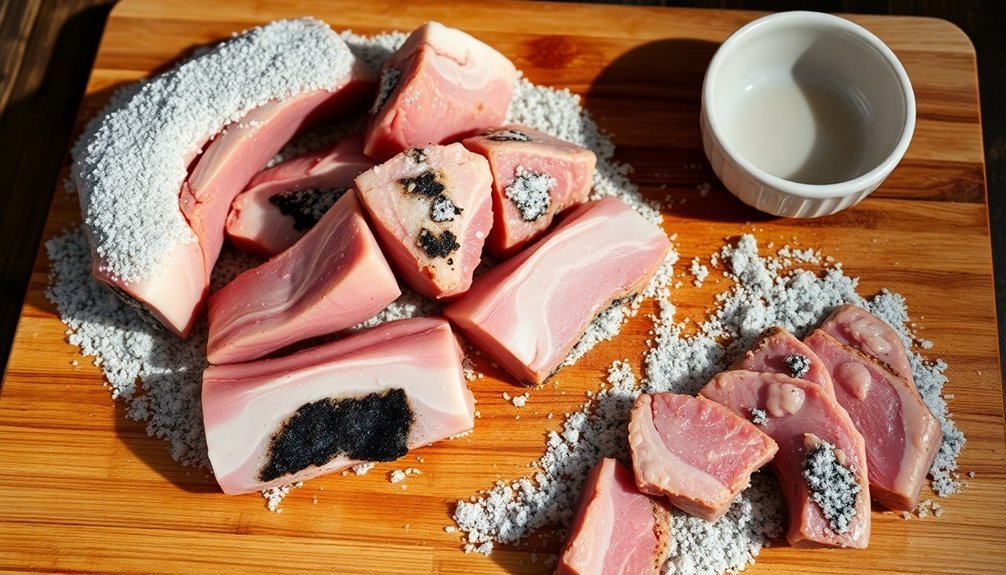
To prepare your meat, trim off any excess fat and cut it into uniform strips about 1/4 to 1/2 inch thick and 1 to 1½ inches wide.
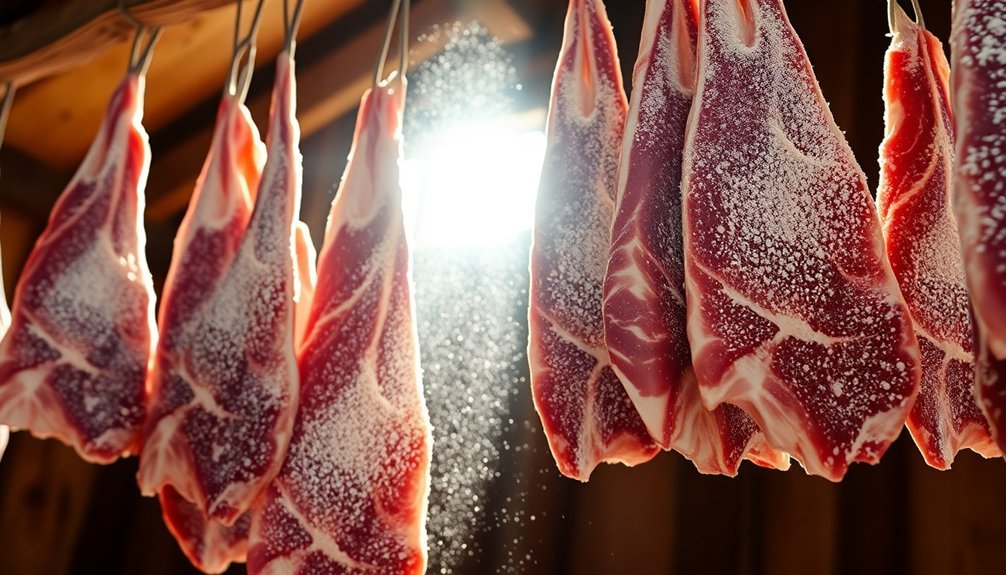
Before applying wood ash, you'll need to dry your meat thoroughly. Lay the strips in a single layer on a clean surface, making sure they don't touch each other. You can enhance the flavor by adding liquid smoke, salt, pepper, or other seasonings.
Use a food dehydrator or a cool, well-ventilated area to dry the meat completely.
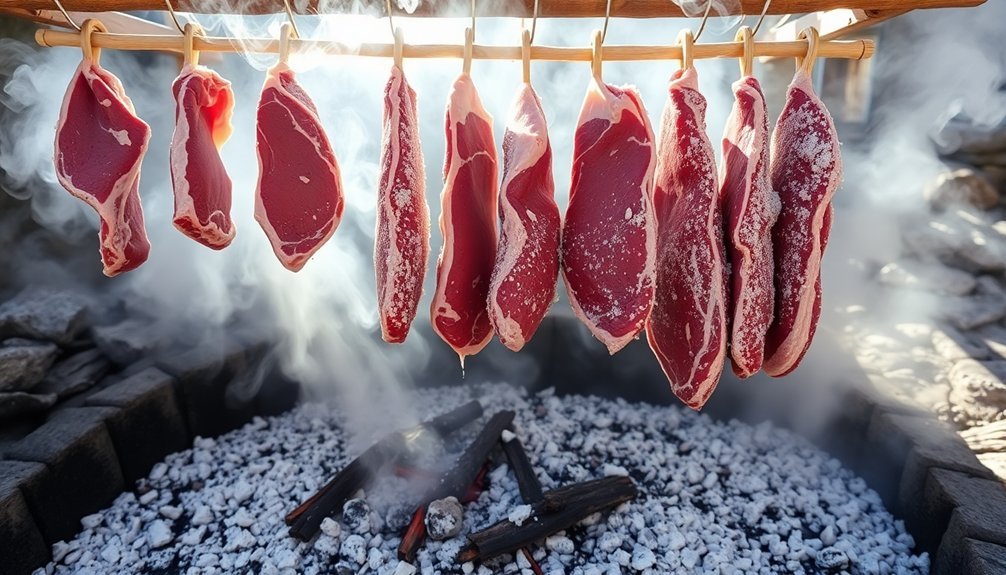
Once dried, you might want to apply additional preservation methods like smoking or salting. Some prefer to add a protective coating of honey before the ash application.
The key is ensuring your meat is completely moisture-free before preservation. Remember to hang the meat if needed to remove any remaining liquid, as moisture is your biggest enemy in the preservation process.
Traditional Storage Container Options
Successful preservation of wood ash-treated meat depends heavily on choosing appropriate storage containers. Stoneware and ceramic containers provide excellent non-reactive properties, making them ideal for storing ash-preserved meat.
You'll want to select a container large enough to hold both your meat and the surrounding wood ash while ensuring an airtight seal to prevent moisture and oxygen from compromising your preservation efforts.
Root cellars and burial holes offer natural temperature control, maintaining ideal conditions between 45F and 55F. If you don't have access to a root cellar, you can create a designated storage area near your traditional cooking space, where you'll have easy access to fresh wood ash and can monitor your preserved meat regularly.
- A thick-walled ceramic crock with deep sides and a heavy lid, nestled in the corner of your cool cellar
- A traditional earthenware pot with intricate patterns, sealed tight and stored beneath dried herbs
- A buried stoneware vessel, marked by a small cairn of stones, protected from the elements
Remember to keep your storage containers clean, dry, and away from direct sunlight.
Check your preserved meat periodically for any signs of spoilage, and don't hesitate to reuse containers after thorough cleaning.
Wood Ash Application Techniques
To create an effective wood ash barrier, you'll need to start with a thick bottom layer of sifted hardwood ash in your storage container.
Place your prepared meat pieces on top of this base layer, ensuring they don't touch each other or the container's sides.
Cover the meat completely with another generous layer of ash, making sure there are no gaps or exposed areas where air could reach the meat.
Layering Ash and Meat
Layering wood ash and meat requires careful attention to technique for best preservation. You'll want to start by placing your cured and thoroughly dried meat into a clean cloth bag, which prevents direct contact between the ash and your meat while still allowing the preservation benefits. The cloth barrier is vital as it lets you easily remove the meat later while keeping it clean.
- Picture a large earthenware crock with a thick base layer of clean hardwood ash, creating a protective bed for your meat.
- Visualize carefully nestling your cloth-wrapped meat into the center of the container, leaving enough space around all sides.
- Imagine gently pouring dry, fine ash around and over the meat until it's completely buried, like a protective blanket.
When you're layering, make certain you've filled all air pockets around the meat with ash.
You'll need to place your container in a cool, dark location that's protected from moisture. If you're using traditional methods, you can even create a storage space in the ground, but you'll need to verify it's well-lined and protected from environmental elements.
Proper Ash Coverage Methods
Proper ash coverage begins with selecting and preparing the right type of wood ash for meat preservation. You'll want to choose ash from woods like hickory, which can add flavor while providing preservative properties. Before application, sift the ash thoroughly to achieve uniform particle size and remove any debris or lingering hot coals.
To protect your meat from direct ash contact, you'll need to wrap it in a muslin sack or cloth bag first. Apply a fine, even layer of ash around the wrapped meat, ensuring complete coverage to effectively deter insects and pests. The layer should be deep enough to prevent flies and mites from reaching the meat but not so thick that it becomes difficult to handle.
Don't rely on ash alone – combine it with other preservation methods like smoking and salting for best results.
When you're working with ash, you'll need to wear protective gear, including a mask and skin covering, as ash is highly alkaline and can cause irritation. Keep the application area well-ventilated, and make sure the ash is completely cool before use to prevent any safety hazards.
Storage Location Requirements
Success in wood ash meat preservation hinges heavily on selecting the right storage location. You'll need to find a cool, dark space with consistent temperatures around 50 degrees F, away from any direct sunlight that could compromise the meat's quality.
Make sure you're storing your preserved meat at least 50 feet from water sources like wells, farm ditches, or animal watering areas – and if possible, increase this distance to 100 feet for extra safety.
Choose a well-ventilated indoor location that's protected from drafts and weather conditions. You'll want to place your stoneware or earthenware container on a stable surface, away from areas prone to moisture or humidity.
Remember, your storage area must be clean and pest-free to maintain the preservation process effectively.
- Picture a root cellar with sturdy stone walls, where cool air naturally circulates and temperature remains steady
- Envision a dedicated pantry corner, elevated on wooden shelving, far from any water pipes or windows
- Think of a basement storage room with natural clay walls, equipped with simple ventilation and no direct light exposure
The container itself should have a tight-fitting lid to prevent contamination and maintain the right preservation environment throughout the storage period.
Monitoring and Maintenance
Through the entire preservation process, you'll need to maintain consistent monitoring of both the wood ash and stored meat to confirm safe, effective preservation. Check regularly that your ash remains completely dry and free from any contaminants that could compromise the meat.
You'll want to verify that your wood ash comes from natural, untreated wood sources to avoid introducing harmful chemicals into your preserved meat.
Make sure your meat stays fully covered with about 1-1.5 inches of sifted ash. You'll need to remove any large charcoal pieces before application to confirm even coverage.
Don't use plastic containers or wrapping, as they'll trap moisture and promote decay. Instead, opt for a sturdy stoneware pot and check it regularly for cracks or damage.
During storage, conduct periodic inspections for any signs of spoilage, pest activity, or moisture intrusion. If you notice any concerning changes, remove the affected portions immediately to prevent contamination from spreading.
Remember to maintain a cool, dark storage environment throughout the preservation period, as these conditions help inhibit microbial growth and extend the meat's shelf life.
Signs of Successful Preservation
When checking your wood ash-preserved meat, you'll need to recognize several key indicators that signal effective preservation.
Watch for physical changes like a dry surface, firmer texture, and a slightly darker color without any visible mold or fungi. You'll notice the meat maintaining its weight while becoming denser through the preservation process.
The preservation's success is also evident in the meat's developing flavors and aromas. You'll detect a rich, savory profile that becomes more concentrated over time, without any off-putting smells that might indicate spoilage. If you've used smoking as part of the process, you'll notice an appealing smoky undertone.
Look for these visual cues that confirm proper preservation:
- A completely dry, mold-free surface with no moisture beads
- No signs of insect activity or pest damage around the ash-covered areas
- An even, slightly darkened coloration throughout the meat
Your preserved meat should remain edible for several months when stored in a cool, dry place.
The wood ash method proves particularly valuable if you don't have access to modern refrigeration, effectively extending the meat's shelf life while maintaining its quality.
Common Preservation Mistakes
Understanding the pitfalls of wood ash preservation can help you avoid compromising your meat's quality.
Using the wrong type of ash can be detrimental – avoid ash from pressure-treated wood, plastics, or softwoods. Instead, stick to hardwood ash from maple or oak, and guarantee it's free from debris.
You'll need to carefully control your storage conditions. Choose a cool, dark location and use properly sealed containers – not cardboard.
Make sure your storage area stays dry and maintains a consistent temperature to prevent spoilage.
When applying ash, you must sift it properly and maintain an even coverage of 1 to 1.5 inches around the meat.
Don't let meat pieces touch each other or the container walls. If you're preserving hard cheese, remember that soft and medium varieties won't work with this method.
Before preservation, check that your meat's in the right condition. It shouldn't be too thin or moist, and it must be free of bruises and blemishes.
Some meats might need additional preparation, like salting or smoking. Always guarantee the meat's surface makes direct contact with the ash to effectively prevent microbial growth.
Cultural Preservation Methods
In accordance with ancient traditions, meat preservation methods have evolved across diverse cultures for over 40,000 years. From the Cherokee people's use of hickory ash to African farmers' wood ash preservation techniques, these time-tested methods have proven effective across generations.
You'll find that many cultures developed preservation techniques based on locally available materials and environmental conditions. Ancient societies didn't have modern refrigeration, so they created ingenious ways to keep meat edible for longer periods.
You can see this resourcefulness in practices like:
- Burying food in snow or underground during freezing temperatures
- Storing meat in earthenware crocks filled with hardwood ash
- Soaking meat in soured wine or beer for pickling
These cultural methods weren't just about preservation – they often enhanced flavor too. The Cherokee's hickory ash method, for instance, both preserved and flavored their meat.
In Africa, the traditional biltong process combines vinegar soaking with sun-drying, while European brining methods use saltwater to tenderize while preserving.
You'll notice that many of these techniques are still relevant today, proving that our ancestors' wisdom continues to hold value in modern food preservation.
Long Term Storage Solutions

Through careful selection of storage materials and conditions, you'll find that wood ash preservation can keep food safe for months or even years.
You'll need to choose stoneware or earthenware containers, as plastic materials can promote decay. The storage location should be cool and dark, making a cellar or basement ideal for maintaining consistent temperatures.
When storing your preserved meat, verify you're using dry, sifted wood ash that's free from harmful chemicals and large particles.
You'll want to create layers, placing about 1 to 1.5 inches of ash below and above the meat. Don't let meat pieces touch each other, as this can lead to moisture transfer and spoilage. The container should be covered but doesn't require an airtight seal.
The wood ash works by absorbing moisture and creating an environment that's hostile to microorganisms.
You'll notice the meat may develop a new surface layer from the ash, which you can simply remove before eating. This preservation method also effectively deters pests, including both insects and mammals, making it an excellent choice for long-term storage without modern refrigeration.
Frequently Asked Questions
Can Wood Ash Preservation Affect the Taste of Different Meat Seasonings?
You'll find that wood ash doesn't alter your seasonings' flavors but actually helps lock them in. It acts as a protective barrier, keeping your pre-applied seasonings intense and fresh throughout the preservation process.
Is It Possible to Mix Ashes From Different Hardwood Species?
Yes, you can mix ashes from different hardwood species, but you'll need to guarantee they're all from pure hardwoods like oak, maple, or hickory. Don't include any softwoods or treated wood ashes.
How Do Varying Humidity Levels Impact the Preservation Timeline?
You'll find higher humidity slows preservation, potentially doubling your timeline, while low humidity speeds it up. Aim for 60-80% humidity to maintain an ideal 2-3 month preservation period for best results.
Can Preserved Meat Be Reused for Making Broths or Soups?
While you can use preserved meat for broths, it's not recommended due to safety risks. You'll need to thoroughly heat it first, and you're better off using fresh meat or properly canned/frozen alternatives.
Does the Size of Ash Particles Influence the Preservation Effectiveness?
Yes, the size of your ash particles greatly impacts preservation effectiveness. You'll get better results with finer particles since they provide greater surface area coverage and create a more effective sterile environment for preservation.
In Summary
When you've mastered the wood ash preservation method, you'll have a reliable way to store meat without modern conveniences. Remember to always use hardwood ash, maintain proper pH levels, and follow safety guidelines to prevent spoilage. Don't forget to regularly check your preserved meat for any signs of deterioration. With practice, you'll join the ranks of those who keep this traditional preservation technique alive.

Leave a Reply