
Air-drying shrimp at home gives you complete control over quality while preserving essential nutrients like vitamins B12, E, and A, plus heart-healthy omega-3 fatty acids. You'll create a versatile ingredient that's perfect for enhancing flavors in tacos, salads, and stir-fries, all while saving money by buying fresh shrimp in bulk when it's on sale. Home drying guarantees your shrimp stays free from unnecessary preservatives, and you can store it for up to a year when properly vacuum-sealed. With just basic equipment and proper temperature control, you'll master this cost-effective preservation method that opens up exciting culinary possibilities.
Benefits of Home Dried Shrimp

Diving into the benefits of home-dried shrimp reveals an impressive array of nutritional and practical advantages. When you dry shrimp at home, you'll get a protein powerhouse that's 89% protein while containing just 1 calorie per gram. Sun drying remains the most traditional and effective preservation method.
You're also preserving essential nutrients like vitamins B12, E, A, and C, along with minerals such as selenium, zinc, and iodine.
By creating your own dried shrimp, you'll have a versatile ingredient that supports multiple health goals. Whether you're trying to lose weight or boost your immune system, home-dried shrimp deliver with their high protein content and selenium-rich profile.
You'll also get heart-healthy omega-3s and metabolism-supporting iodine in every serving.
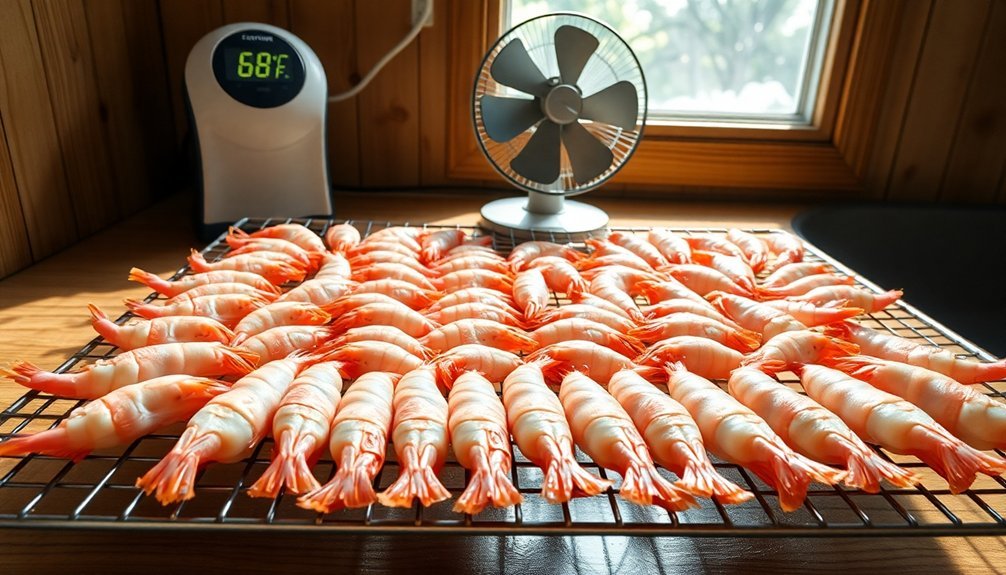
You can control the preservation process when you dry shrimp at home, ensuring proper storage conditions and monitoring freshness indicators. Your dried shrimp should maintain a pleasant, salty-sweet aroma and bright orange or pink color.
Plus, you'll have a convenient ingredient that you can use in various ways – from topping salads to creating homemade shrimp paste.
Store your dried shrimp in an airtight container in a cool, dark place, and they'll last longer than fresh shrimp.
Quality Control at Your Fingertips
Taking control of quality in home-dried shrimp starts with careful selection and precise monitoring throughout the process. You'll need to remove unsuitable shrimp and thoroughly clean your batch to eliminate surface dust. If you're using head-on shrimp, wash them carefully to remove ice and damaged pieces. Spreading shrimp in an even 5 cm thick layer ensures optimal drying results.
| Process Step | Quality Control Measure |
|---|---|
| Selection | Remove damaged/unsuitable shrimp |
| Preparation | Clean, devein, and maintain salt concentration |
| Drying | Monitor temperature at 65°C, 10% humidity |
| Storage | Use sealed/vacuum packaging |
Your drying conditions require careful attention. You'll want to maintain a temperature of 65°C with 10% humidity for 6-8 hours. Monitor water activity levels until they reach .85 or lower to prevent pathogen growth. Once dried, rotate your shrimp in a screen drum to separate shells and heads from the meat.
Don't forget to keep your equipment clean and sanitized. You'll need to boil the shrimp at 212°F for three minutes as a critical control point. Store your finished product in sealed packages to prevent moisture regain. While refrigeration isn't always necessary, it's an option for longer storage periods.
Safe Food Preservation Methods
When preserving food at home, you'll need to master four primary methods: canning, pickling, drying, and freezing. Each technique offers unique benefits for maintaining food safety and quality over extended periods.
Canning requires you to place food in specialized jars with two-piece lids, heating them to destroy harmful microorganisms and create a vacuum seal. You'll need to follow USDA guidelines precisely to guarantee safety. University extension programs provide essential workshops and resources for proper canning techniques.
With pickling, you'll create an acidic environment using vinegar, bringing the pH below 4.6 to prevent bacterial growth. The process includes heating to 212°F and storing in a cool, dry place.
Drying works by removing moisture to levels that inhibit microbial growth. You'll need to store dried foods in airtight containers to prevent moisture reabsorption. This method can affect texture and nutrients if not done correctly.
For freezing, you'll want to maintain temperatures at or below 0°F to slow microorganism activity. Don't forget to blanch vegetables before freezing to deactivate enzymes that cause spoilage. Always use proper packaging like airtight containers or freezer bags to maintain quality.
Expanding Your Culinary Horizons
Through the art of air-drying shrimp, you'll reveal a world of culinary possibilities that extend far beyond traditional cooking methods. When you pat your shrimp dry, you're setting the stage for enhanced flavors and textures that'll transform your dishes. The removal of excess moisture allows seasonings to stick better and guarantees even cooking, resulting in that coveted crispy exterior.
You'll find yourself exploring diverse culinary traditions as you incorporate your air-dried shrimp into various dishes. Whether you're creating zesty tacos, fresh Mediterranean salads, or Asian-inspired stir-fries, the versatility of air-dried shrimp knows no bounds. You can experiment with different spice blends and marinades, knowing they'll penetrate the shrimp more effectively.
The efficient cooking process means you'll spend less time in the kitchen while achieving better results. Your air fryer will cook the shrimp quickly and evenly, usually in just 5-8 minutes.
The final presentation will impress your guests with its golden-brown color and crispy texture. Add fresh herbs and lemon wedges as garnish, and you'll have a dish that's as visually appealing as it's delicious.
Storing Dried Shrimp Properly
Proper storage techniques can make or break the quality of your dried shrimp. After you've invested time in air-drying your shrimp at home, you'll want to store them correctly to maintain their flavor, texture, and longevity.
Keep your dried shrimp in a cool, dry place away from direct sunlight and strong odors, as they can absorb surrounding smells. You'll need airtight containers or bags to protect them from moisture and contamination.
While unopened packages don't require refrigeration, it's best to store them in the fridge once opened, where they'll stay fresh for up to a week.
For long-term storage, freezing is your best option. Place your dried shrimp in freezer-safe containers or zip-top bags, removing as much air as possible. You can freeze them for up to 8 months, and it's smart to divide them into smaller portions for convenience.
When you're ready to use frozen dried shrimp, thaw them overnight in your refrigerator.
Always check for signs of spoilage before using your dried shrimp, and stick to the expiration dates. Buy only what you'll use within a reasonable time to guarantee the best quality and flavor.
Health and Nutritional Value
A nutritional powerhouse, dried shrimp packs an impressive array of health benefits into its tiny size. With 90% protein content per 3-ounce serving and only 99 calories per 100g, it's an excellent choice for health-conscious individuals.
You'll get essential vitamins B12, E, A, and C, along with minerals like selenium, iodine, and zinc, all while consuming zero carbohydrates.
If you're looking to improve your overall health, dried shrimp offers multiple advantages. The omega-3 fatty acids support heart and brain health, while the high selenium content strengthens your immune system.
You'll also benefit from improved bone density thanks to its calcium and magnesium content.
- Supports weight loss goals with high protein and low calories
- Promotes heart health through omega-3 fatty acids and healthy cholesterol
- Helps maintain blood sugar levels with zero carbohydrates
- Boosts immune system with antioxidants and essential minerals
The antioxidant astaxanthin helps remove harmful toxins from your body, while the combination of copper and zinc contributes to healthier hair.
You'll also find that dried shrimp's potassium content helps with water retention and overall vigor.
Cost-Effective Home Production

You'll get the best value by purchasing fresh shrimp in bulk when prices are low and processing them yourself at home.
Your investment in basic drying equipment can quickly pay off through significant savings compared to store-bought dried shrimp.
Save on Bulk Purchases
Making dried shrimp at home can considerably reduce your food costs when purchasing raw shrimp in bulk. By processing larger quantities of fresh shrimp yourself, you'll save money while ensuring a steady supply of this versatile ingredient. You can take advantage of seasonal sales or wholesale prices, then preserve the shrimp through air-drying using basic home equipment like your oven or a food dehydrator.
The cost benefits extend beyond the initial purchase savings. You won't need expensive industrial equipment or specialized infrastructure, and you can manage the entire process using your existing home appliances. The energy costs for drying are minimal compared to commercial operations, and you'll have complete control over production quantities and timing.
- Store your dried shrimp for up to a year when properly vacuum-sealed
- Create shrimp powder for easy incorporation into various dishes
- Adjust batch sizes according to your specific needs and storage capacity
- Switch between different drying methods based on weather and convenience
This approach gives you flexibility in production while maintaining quality control, and you'll benefit from significant cost savings compared to buying pre-dried shrimp from retailers.
Control Processing Costs
Controlling processing costs starts with smart energy management during the drying process. You'll find that air-drying shrimp or using a heat pump dryer can cut your energy costs considerably.
Heat pump dryers are particularly efficient, saving up to 70% in operating costs compared to traditional drying methods by recycling low-temperature air into high-temperature heat energy.
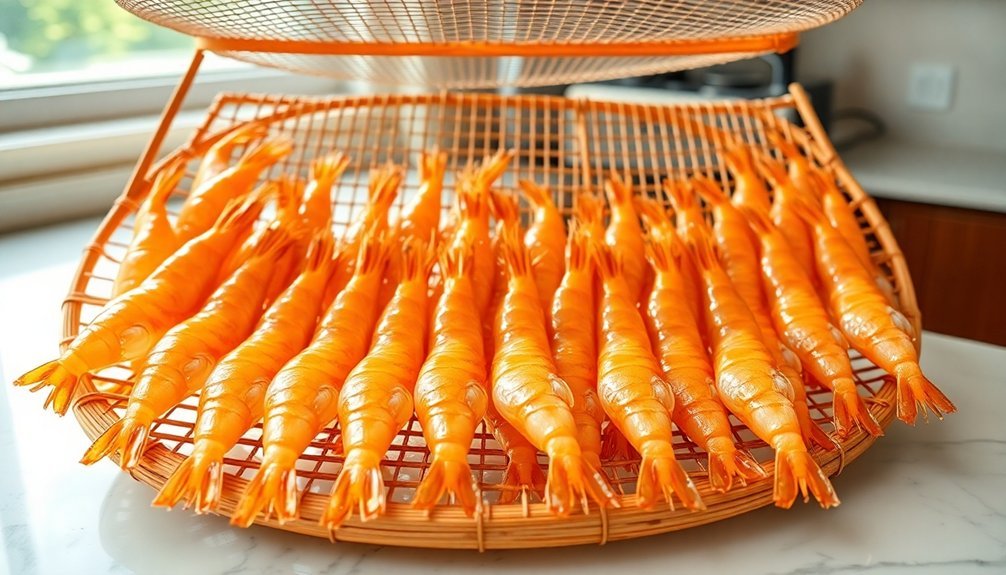
Equipment costs stay low when you choose air-drying methods. You'll only need basic items like mesh trays or drying racks, avoiding the expense of industrial-scale equipment.
If you opt for a heat pump dryer, you'll benefit from its durable stainless steel construction and simple installation, which reduces long-term maintenance costs.
You can optimize labor costs by keeping the process simple. While preparing shrimp requires some manual work like washing and peeling, you'll save time with automated temperature controls if using a heat pump dryer.
Even with traditional air-drying, you can manage the process efficiently at home while maintaining quality. Your dried shrimp will retain their color, shape, and nutrients when you follow proper drying procedures, and careful packaging will prevent moisture reabsorption.
Essential Equipment and Tools
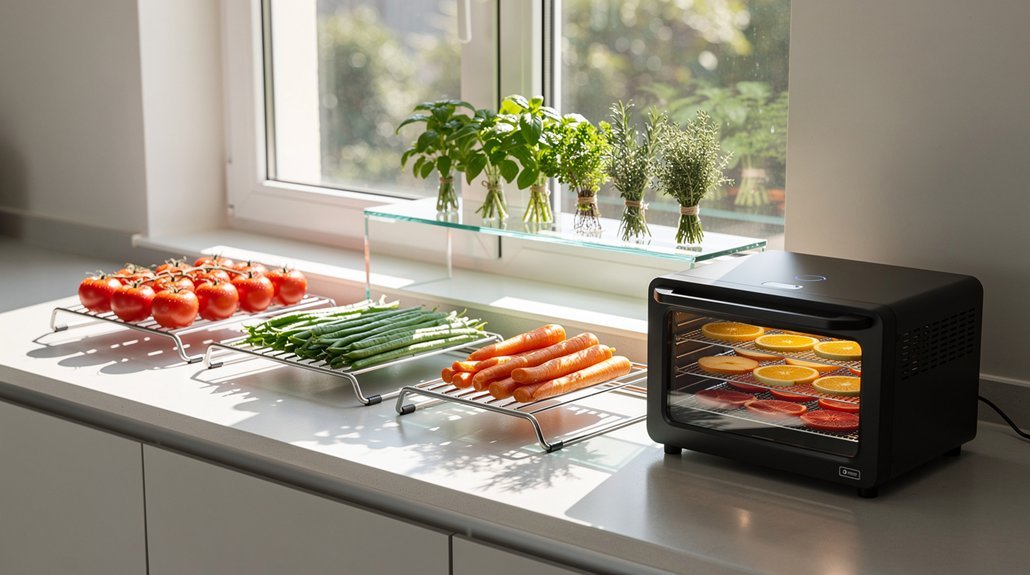
Three key pieces of equipment form the foundation of air-drying shrimp at home: a food dehydrator or oven, proper storage containers, and essential processing tools.
You'll need a dehydrator with temperature controls between 120-145°F or an oven capable of precise temperature settings. Multiple trays or sheet pans are vital for laying out shrimp in single layers, ensuring proper air circulation during the drying process.
For storage, you'll want to invest in a vacuum sealer and airtight containers to maintain freshness. Don't forget to include desiccant packs and labels to track storage dates.
The processing tools you'll need include a large brining container, strainer, pot for simmering, and a colander for draining.
- A food dehydrator like Excalibur or Cosori offers better control than an oven, with built-in timers and multiple trays.
- Storage equipment must include vacuum-sealed bags or airtight containers to protect against moisture and extend shelf life.
- Basic kitchen tools such as strainers and colanders are essential for proper preparation and handling.
- A spice grinder or blender comes in handy if you plan to make shrimp powder from your dried product.
Frequently Asked Questions
How Long Should I Air-Dry Shrimp Before They're Ready to Use?
You'll need to dry shrimp until they're brittle and break apart easily, typically 2-3 days for sun drying or 6-8 hours with a dehydrator. Keep turning them for even drying results.
What Size Shrimp Works Best for Home Air-Drying?
You'll get the best results using medium to large shrimp (31-60 per pound) for air-drying at home. They're not too small to dry out completely, yet not so large they take excessive time.
Can I Air-Dry Frozen Shrimp, or Must They Be Fresh?
You'll need fresh shrimp for air-drying, not frozen. Frozen shrimp have already been processed with water content changes, which will affect the drying process and final texture of your dried shrimp.
Should I Remove the Shell Before or After Drying?
You'll get better results by keeping the shells on during drying. They protect the shrimp and help retain flavor. You can remove them after drying, though they'll be more brittle and may break.
What Are Signs That Air-Dried Shrimp Have Gone Bad?
Watch for any strong ammonia smells, discoloration, or slimy texture in your dried shrimp. If you notice mold growth, yellowing, or they're unusually soft and mushy, don't consume them. Trust your nose!
In Summary
Air-drying shrimp at home isn't just about saving money – you're taking control of your food quality while preserving essential nutrients. You'll appreciate how your homemade dried shrimp adds authentic flavor to traditional dishes and creates new culinary possibilities. With the right equipment and proper storage techniques, you're ensuring a safe, sustainable way to enjoy this versatile ingredient whenever you need it.
Leave a Reply