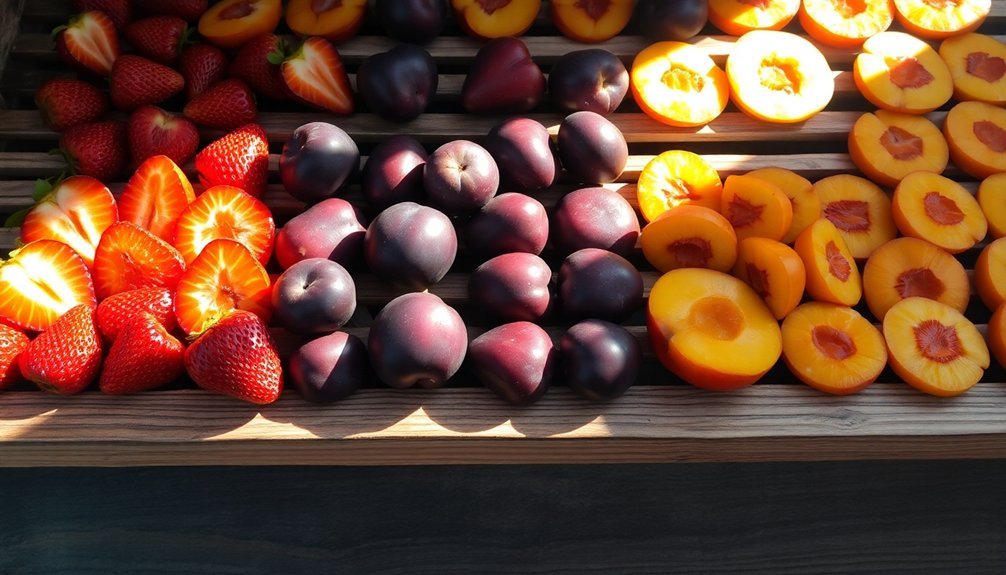
To maintain vibrant colors in your sun-dried fruits, start by pretreating them with citric acid solution (1/4 cup per quart of water) or a natural lemon juice dip. Position your drying racks in peak morning hours between 10 AM and 2 PM, facing south for maximum exposure. Use UV-filtering screens or cheesecloth to prevent color bleaching while allowing proper drying. Keep temperatures between 140-150°F and rotate fruits regularly for even coloration. Add reflective surfaces like aluminum foil to enhance drying efficiency, and implement protective shade management when needed. Monitor humidity levels and use clear containers for storage. These essential techniques just scratch the surface of perfect fruit preservation.
Pretreatment With Citric Acid Solutions
For the best results in preserving fruit colors, preparing the right citric acid solution is essential. You'll need to mix 1/4 cup of citric acid with each quart of cold water, or if you're working with specific fruit pulp, use 2 grams per kilogram.
Since citric acid is three times more effective than ascorbic acid, you won't need as much to achieve the same results.
You should soak your prepared fruit for 15 to 30 minutes, making sure all surfaces are thoroughly coated. For apples, use 1 tablespoon of pure crystalline citric acid per cup of cold water, while peaches, apricots, nectarines, and pears need 1.5 teaspoons per cup. Osmotic dehydration will naturally occur during this soaking process, which helps protect the fruit's pigments.
Don't over-soak, as this can extend drying time.
This pretreatment method effectively prevents browning and preserves your fruit's natural color without adding any unwanted flavors. While it's less potent than ascorbic acid by volume, it's more effective than lemon juice and doesn't require crushing tablets.
You'll find it's particularly effective for fruits like apples, peaches, and pears, helping maintain both their texture and appearance while extending shelf life.
Optimal Sunlight Exposure Techniques
Take advantage of peak morning hours between 9 AM and noon to start your fruit drying, as this period offers strong UV rays while maintaining cooler temperatures that help preserve vibrant colors.
You'll want to balance direct sunlight with strategic shade placement, moving fruits to partial shade during the intense afternoon hours to prevent color bleaching.
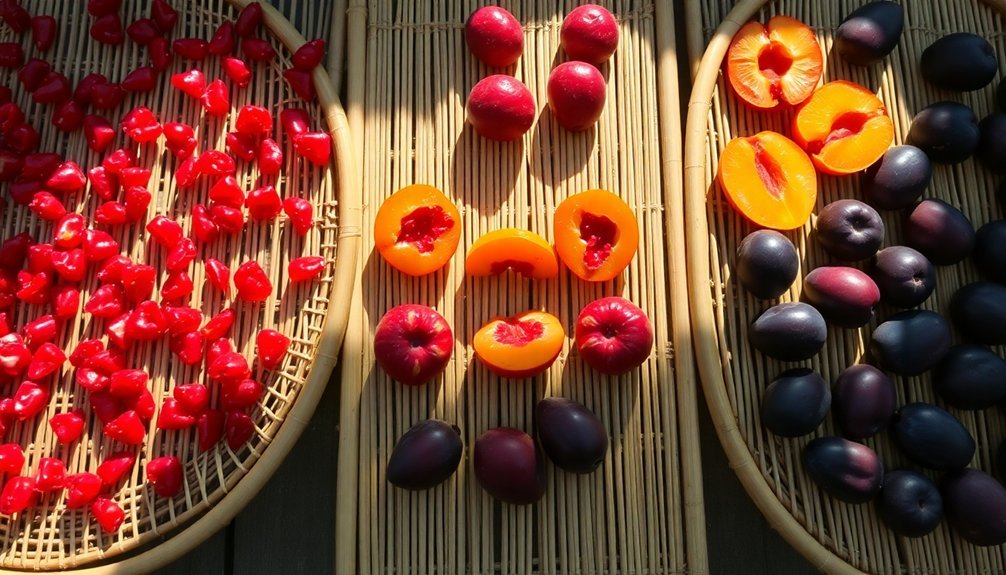
If you're working with particularly colorful fruits like strawberries or cherries, use a UV-filtering screen during midday to protect their rich hues while still allowing effective drying to occur.
Pre-treating your fruits with lemon juice dips helps maintain their natural colors during the drying process.
Morning Drying Peak Hours
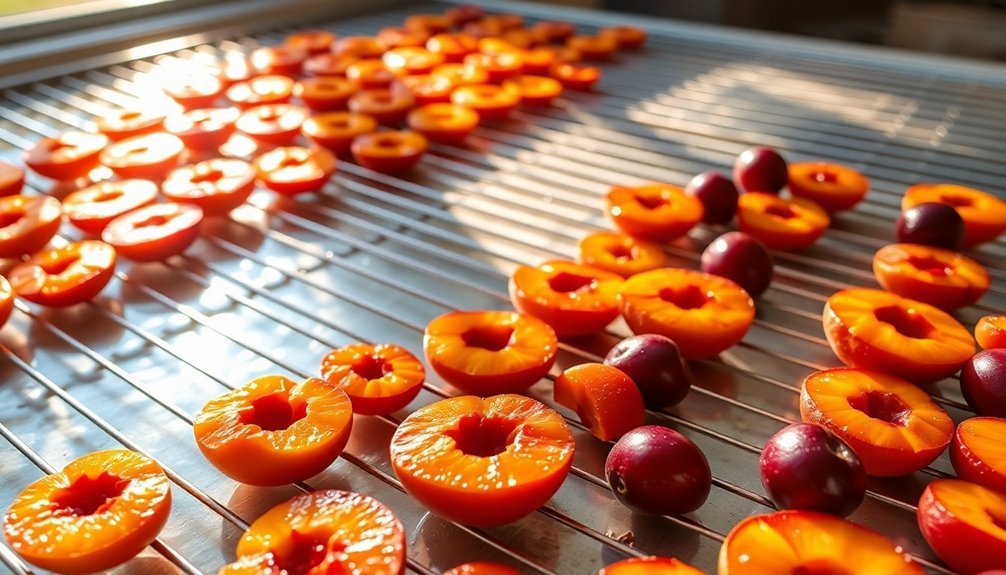
Successful sun-drying relies heavily on maximizing morning exposure during peak sunlight hours. You'll want to start your drying process early in the morning to take full advantage of the day's solar energy. The most effective drying window occurs between 10 a.m. and 2 p.m., when the sun's intensity is at its strongest. Even earlier morning hours can be productive, especially on clear days with low humidity. Make sure to soak in lemon juice any fruits you're planning to dry to prevent unwanted browning.
To achieve ideal results during peak morning hours:
- Position your drying racks facing south with a 6-8 inch elevation at one end, allowing for maximum sun exposure and improved airflow.
- Monitor the temperature inside your solar dryer, which should be 20-30 degrees warmer than the outside air, ensuring temperatures stay between 70-90°F.
- Use reflective surfaces like aluminum foil or mirrors to intensify the sun's rays during these essential morning hours.
You'll want to avoid extending your drying session into the late afternoon when solar intensity diminishes.
Always check weather forecasts to plan your drying schedule, ensuring you'll have several consecutive days of ideal conditions.
Remember to protect your produce with cheesecloth to keep birds and insects away during the drying process.
UV Shade Balance Tips
Building on the morning peak hours concept, mastering UV shade balance throughout the day will help you achieve perfect sun-dried fruit colors.
You'll want to position your drying racks in open areas that receive consistent sunlight, preferably on south-facing slopes if you're in Texas or similar regions. To maximize exposure while protecting your fruits, use cheesecloth or screens that shield from harsh rays without completely blocking UV light.
For ideal results, you'll need to monitor UV levels with a meter and adjust your setup accordingly. When UV readings are particularly high, implement shade cloth that provides 20-40% coverage to prevent color degradation and over-drying.
You can boost drying efficiency by placing reflective surfaces like aluminum foil around your setup, which can increase sun exposure by up to 25%.
Don't forget to rotate your fruits regularly to guarantee even coloration. For delicate fruits prone to sunburn, like tomatoes and peppers, use indirect sunlight or partial shade during peak hours.
Keep your racks elevated to promote air circulation, and position them to catch prevailing breezes for consistent drying conditions throughout the day.
Reflective Surface Setup
Creating an effective reflective surface setup amplifies the sun's drying power while preserving your fruit's vibrant colors. You'll need basic materials like aluminum foil, mirrors, baking trays, and supporting bricks to construct a system that maximizes sunlight exposure and drying efficiency.
Position your reflective surfaces vertically, facing the sun, and secure them with bricks and skewers for stability. You'll boost drying efficiency by up to 25% when you properly angle the surfaces to concentrate sunlight onto your drying trays. Remember to rotate the trays regularly for even drying and protect your setup from wind interference.
- Place your primary reflector at a 45-degree angle using bricks as support.
- Position secondary reflectors on both sides to create a focused light tunnel.
- Adjust the skewers throughout the day to follow the sun's movement.
For best results, set up your drying station in an area with minimal shadows and consistent sunlight exposure.
You'll want to monitor UV levels and maintain steady drying temperatures by making small adjustments to the reflective surfaces. Using non-stick baking paper on your trays prevents sticking and guarantees your dried fruits maintain their appealing colors.
Natural Antioxidant Dips
You'll find natural antioxidant dips are excellent alternatives to chemical treatments for preserving fruit colors during sun-drying.
Your citrus-based solutions, like lemon juice dips, can work alongside herb-infused baths containing rosemary or thyme to prevent browning.
For enhanced protection, you can combine these with berry extract treatments, which offer both color preservation and subtle flavor enhancement to your dried fruits.
Citrus-Based Dipping Solutions
Before drying your fruit, a citrus-based dipping solution offers a natural way to preserve color and prevent browning. You'll need to mix equal parts lemon juice and cold water, or use 1 to 1½ cups of lemon juice per quart of water.
While not as effective as ascorbic acid solutions, citrus-based dips add pleasant flavor notes to your dried fruit.
For best results with your citrus solution, follow these key steps:
- Immediately soak your freshly cut fruit pieces for 10-30 minutes
- Gently turn the fruit pieces to guarantee complete coverage
- Drain thoroughly to prevent extended drying times
You can use citrus-based solutions on most light-colored fruits like apples, pears, and peaches. Berries and cherries don't typically need this treatment.
If you're using bottled lemon juice, mix ½ cup with 2 quarts of water. Remember to refresh your solution after every two uses to maintain its effectiveness.
While commercial anti-oxidant treatments might offer better long-term results, your citrus solution provides a natural, cost-effective alternative that's readily available in your kitchen.
Herb-Infused Antioxidant Baths
Natural herbs infused in antioxidant baths offer a dual benefit of preventing fruit discoloration while adding subtle flavor notes to your dried produce.
You'll want to start with a base solution of either ascorbic acid (1 teaspoon per gallon of cold water) or lemon juice (½ cup per 2 quarts of water) as your primary antioxidant agent.
For the most effective results, you'll need to soak your cut fruit for 10 minutes in your chosen solution. If you're using ascorbic acid, you can treat approximately 10 quarts of cut fruit per quart of solution.
While citric acid solutions aren't as effective as ascorbic acid, they're still viable options when combined with herbs.
Before dehydrating, drain your treated fruit thoroughly using a slotted spoon and arrange it in single layers on your dehydrator trays.
You'll need to monitor the drying process closely, which can take anywhere from 6 to 36 hours depending on your fruit type and slice thickness.
Once dried, store your fruit in airtight containers away from direct sunlight to maintain its enhanced color and herbal flavoring.
Berry Extract Treatments
Berry extract dips provide powerful antioxidant protection while preserving the vibrant colors of sun-dried fruits.
You'll find several effective dipping solutions, each offering unique benefits for your fruit preservation process. Ascorbic acid dips are particularly effective, requiring just one teaspoon of powder mixed with two cups of water for a solution you can use twice before replenishing.
For a natural approach, fruit juice dips using vitamin C-rich options like lemon or orange juice work well. You'll need to soak your cut fruit for 3-5 minutes, ensuring thorough coverage before placing it on your drying trays.
Salt-water-and-vinegar solutions offer temporary color protection during preparation, while honey dips add sweetness and help retain color.
Try these three visualization techniques for perfect dipping:
- Lower fruit slowly into the solution, ensuring each piece is fully submerged
- Gently stir the pieces with a wooden spoon to prevent clustering
- Remove fruit with a slotted spoon, allowing excess solution to drip away
Strategic Food Rotation Methods
Maintaining proper food rotation stands as a cornerstone of successful sun-dried fruit production. You'll need to implement a strict FIFO system to guarantee your sun-dried fruits maintain their vibrant colors and peak quality. Place new batches behind existing stock, and clearly label each batch with production dates and tracking numbers.
You should check your storage areas daily, monitoring temperature and humidity levels to prevent color degradation. It's vital to organize your dried fruits in clear containers or bins, making it easy to spot any signs of spoilage or color changes.
When you're rotating stock, move older batches to the front while placing fresh products at the back.
Don't forget to integrate your food rotation system into your daily operations. You'll want to keep detailed records of batch numbers and production dates, which helps you track product quality and respond quickly to any issues.
Make sure you're training your staff to recognize signs of quality degradation, such as color fading or texture changes. By maintaining organized storage areas and consistent rotation practices, you'll maximize the shelf life of your sun-dried fruits while preserving their appealing colors.
Temperature Control During Drying
Proper temperature control directly impacts the quality and color preservation of your sun-dried fruits, building upon effective rotation practices.
You'll need to maintain temperatures between 140°F and 150°F when using ovens or dehydrators to prevent cooking instead of drying. Going above 150°F can cause case hardening, trapping moisture inside and potentially compromising your fruit's vibrant colors.
For ideal temperature management, you'll want to:
- Place a thermometer in your drying environment and check it hourly
- Keep oven doors cracked 2-4 inches to release moisture
- Bring outdoor-drying fruits inside at night to prevent condensation
If you're using sun drying methods, verify temperatures reach at least 85°F with humidity below 60%. Using reflective surfaces like aluminum can help boost drying temperatures naturally.
For dehydrator users, follow your manufacturer's guidelines while maintaining temperatures around 140°F for consistent results. Remember that higher temperatures don't mean faster drying – they'll actually cook your fruit instead of drying it, affecting both color and quality.
Monitor your chosen drying method continuously to maintain stable temperatures throughout the process.
Protective UV Management Systems

Safeguarding your fruits from harmful UV rays requires implementing effective protective systems during the sun-drying process.
You'll want to start by using appropriate shading methods – black-cloth or white-cloth shades can greatly reduce direct UV exposure while maintaining the drying efficiency. These covers help preserve total phenols and protect your fruits from harsh rays while still allowing indirect sunlight to do its work.
When using reflective surfaces like aluminum foil to enhance drying, you'll need to carefully manage UV exposure. While these materials can boost drying efficiency by up to 25%, it's vital to position them strategically and monitor UV levels with a UV index meter.
Don't overdo it – moderation is key to prevent overheating and UV damage.
You'll find better UV protection by choosing the right drying technology. Consider using improved solar dryers or indirect systems that separate the solar collectors from your food.
For light-colored fruits, apply an ascorbic acid pretreatment to prevent UV-induced browning. This natural solution works better than sulfuring and helps maintain your fruit's color and nutritional value throughout the drying process.
Frequently Asked Questions
Can Different Fruits Be Dried Together on the Same Drying Rack?
You can dry different fruits together on the same rack, but you'll need to monitor them closely since drying times vary. Make sure they don't touch and consider their individual pretreatment requirements first.
How Do Regional Humidity Levels Affect Optimal Drying Times?
You'll find that high humidity considerably extends drying times, while low humidity speeds up the process. In areas with humidity above 60%, you'll need up to twice as long to dry your fruits properly.
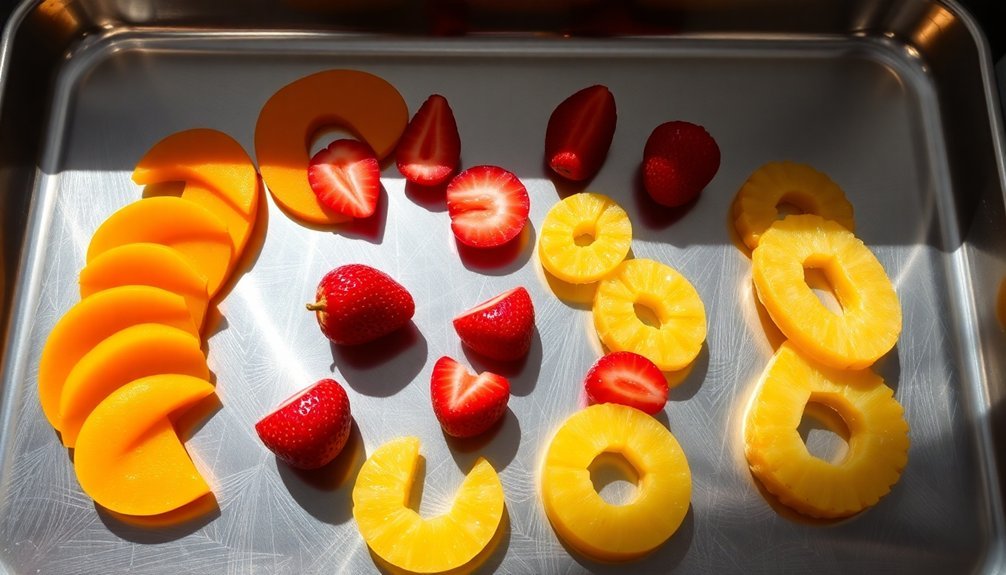
Which Fruits Retain Their Natural Colors Best Without Any Pretreatment?
You'll find that pineapples, berries, citrus fruits, and cherries naturally keep their colors best. They're rich in natural preservatives like vitamin C and anthocyanins, so you won't need any pretreatment to maintain vibrancy.
Does Moonlight Exposure Affect the Color Quality of Drying Fruits?
You won't find any direct evidence that moonlight affects the color of drying fruits. While moonlight can impact plant growth and metabolism, it doesn't play a significant role in fruit color preservation during drying.
Why Do Some Dried Fruits Develop White Crystalline Spots During Storage?
You'll notice white spots on your dried fruits when sugar crystallizes due to moisture changes or high humidity. It's often harmless and happens when there's inadequate drying or improper storage conditions.
In Summary
You'll find these seven methods make a significant difference in preserving vibrant fruit colors during sun-drying. By combining citric acid pretreatment, controlled UV exposure, and strategic rotation, you're ensuring the best possible results. Remember to monitor temperatures and use reflective surfaces for even drying. When you follow these techniques consistently, you'll produce sun-dried fruits that maintain their appealing, natural colors and market value.


Leave a Reply