
The key to timing your herb bundle drying lies in mastering seven essential factors. You'll want to keep bundles between ½ to 1.5 inches thick, maintain room temperatures around 70°F, and guarantee proper air circulation with upside-down hanging. Watch your humidity levels closely, as high moisture extends drying time. Consider seasonal adjustments – summer brings 5-7 day drying periods while winter can take two weeks. Match your methods to specific herbs, with low-moisture varieties like thyme drying faster than basil or mint. Don't forget to test bundle tightness and limit direct sunlight exposure. These fundamentals will guide you toward perfectly dried herbs.
The Bundle Size Factor
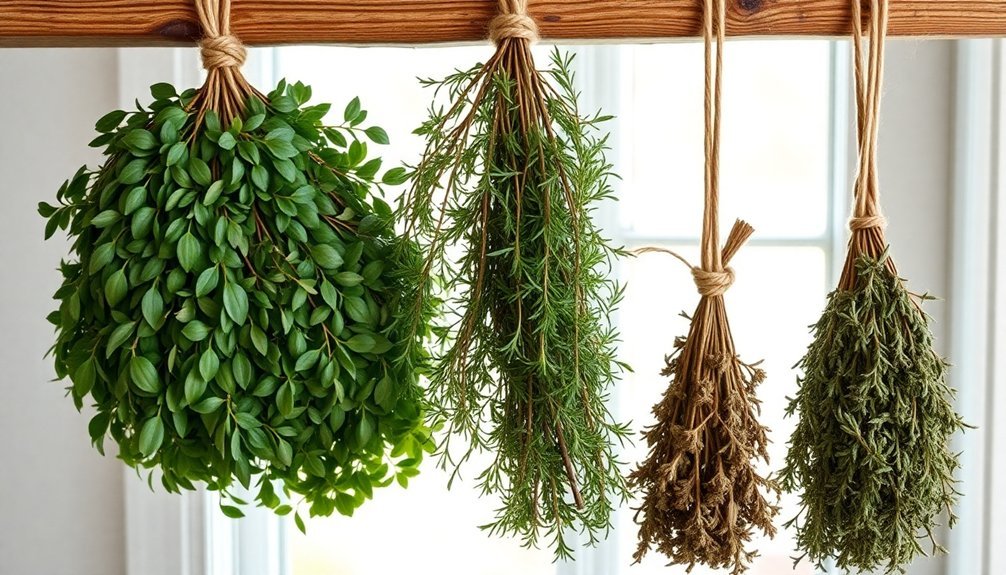
How you bundle your herbs can make or break the drying process. To achieve ideal results, you'll need to take into account both moisture content and bundle size carefully. For herbs with high moisture content, you'll want to create thinner bundles to prevent mold growth and guarantee even drying. Conversely, you can make slightly larger bundles with drier herbs. Mid-morning harvesting is optimal for collecting herbs rich in essential oils.
Your bundles should measure between ½ to 1.5 inches in diameter, with smaller sizes being ideal for better air circulation. When securing your bundles, use rubber bands or twist-ties that can be adjusted as the herbs shrink during drying. You'll need to verify the ties are tight enough to keep the bundle intact but adaptable enough to accommodate the natural shrinkage that occurs.
The size of your bundles directly affects drying time. You can expect smaller bundles to dry within 3-7 days, while larger ones might take up to two weeks. If you're aiming for efficiency, stick to smaller bundles – they'll not only dry faster but also reduce the risk of mold and guarantee more consistent results throughout the bundle.
Room Temperature and Humidity
Keeping track of room temperature and humidity levels is essential for successful herb drying. You'll want a warm, dimly lit room away from direct sunlight to maintain the herbs' color and flavor. While higher temperatures can speed up the process, they might compromise quality, so aim for consistency in your drying environment. Early morning harvesting ensures the highest concentration of essential oils in your herbs before drying.
| Condition | Impact on Herb Drying |
|---|---|
| High Humidity | Slows drying, risks mold |
| Low Humidity | Accelerates drying, better results |
| Direct Sunlight | Degrades color and flavor |
| Consistent Temp | Guarantees even drying |
| Air Circulation | Reduces humidity, prevents mold |
You'll need to monitor your herbs regularly and make adjustments if you notice uneven drying or signs of mold. If you're in a humid environment, consider using a fan on low speed to improve air circulation. Different herbs will respond differently to your drying conditions – sturdy herbs like sage and thyme are more forgiving, while delicate ones like basil and mint need closer attention. For high-humidity areas, you might need to increase the temperature slightly or use a dehydrator set to 125°F to achieve ideal results.
Optimal Air Circulation Points
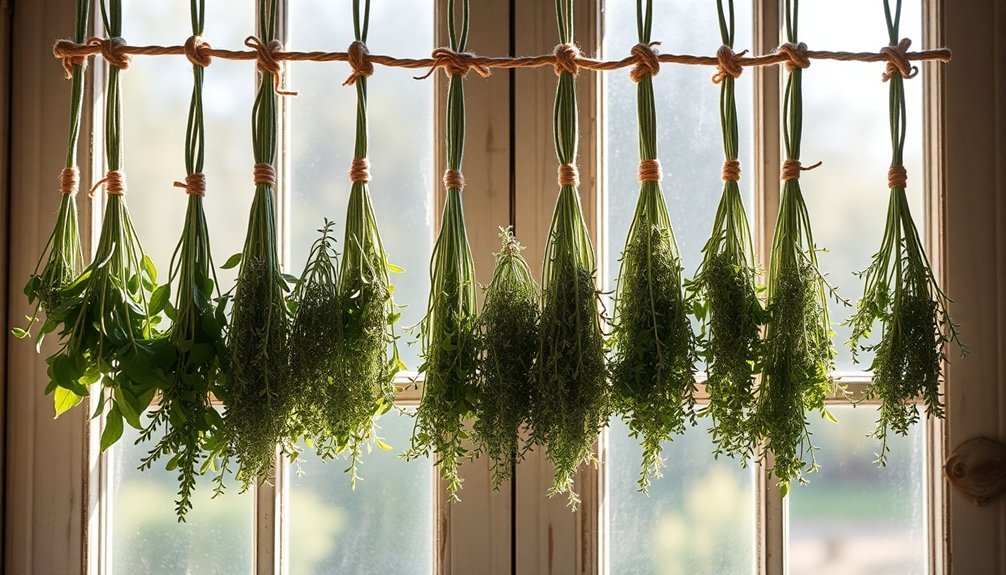
Perfect air circulation points can make or break your herb-drying success. You'll need to choose a location that's dark, dry, and well-ventilated while avoiding moisture-prone areas near sinks or stoves.
Basements, dark closets, or covered porches offer ideal conditions for your drying station. The best time to start drying is after morning dew evaporates.
Set up your herbs by hanging bundles upside down, guaranteeing they're properly spaced apart. You can maximize your drying space by using a rack, hooks, or even a ladder system.
Don't stack bundles on top of each other, as this will prevent proper airflow and lead to uneven drying.
To protect your herbs while maintaining circulation, cover bundles with perforated paper bags or mesh laundry bags. If you're dealing with high humidity, set up a fan to enhance airflow.
For smaller quantities, use a cooling rack with a baking sheet underneath, or spread herbs on food-safe screens.
You can also explore alternative drying methods like using a parked car with cracked windows or creating a custom herb dryer.
Whatever method you choose, guarantee there's consistent airflow by positioning your herbs in well-ventilated spaces with open windows or gentle breezes.
Seasonal Drying Time Variations
You'll notice significant differences in drying times between summer and winter, with summer's low humidity allowing herbs to dry in just 5-7 days.
Winter's cooler temperatures and higher indoor humidity can extend drying times up to two weeks, even with proper air circulation.
To adapt to these seasonal changes, you'll need to adjust your bundle sizes – making them smaller in winter to prevent mold and slightly larger in summer when conditions are more favorable.
Summer's Quick Drying Cycles
When summer's warmth arrives, herb drying times can drop dramatically compared to other seasons. You'll find that higher temperatures and lower humidity create ideal conditions for quick-drying your herbs, especially if you've got good air circulation in your drying space.
For the best results, you'll want to harvest your herbs in the morning after the dew has evaporated but before the day's heat peaks. Using a salad spinner or paper towels to remove excess moisture will jumpstart the drying process.
If you're working with heartier herbs like oregano, rosemary, or thyme, you can simply bundle them and hang them in a well-ventilated indoor space away from direct sunlight.
For delicate herbs like basil, mint, or parsley, you'll need to act quickly to prevent molding. You've got several efficient options: use a dehydrator set between 95°F and 115°F for 1-4 hours, dry them in your oven at its lowest setting, or use your microwave in 1-minute intervals.
Don't forget to monitor the process closely – you'll know your herbs are ready when the leaves crumble easily but aren't completely brittle.
Winter's Extended Drying Period
Unlike summer's rapid drying process, winter months present unique challenges for herb preservation. Your drying times will extend considerably due to higher humidity levels and lower temperatures, often requiring up to four weeks for complete dehydration.
You'll need to focus on maintaining proper air circulation and choosing the right indoor location with adequate ventilation to prevent mold growth while ensuring even drying.
To successfully dry your herbs during winter months:
- Set up your drying area away from direct sunlight but in a well-ventilated space, using screens or drying racks to maximize air flow around your herb bundles.
- Keep bundles small and loosely tied to allow proper air circulation between stems and leaves.
- Check your herbs regularly for any signs of mold, especially during the first week when moisture content is highest.
- Consider using a dehydrator if you need to speed up the process, as it provides controlled temperature and consistent airflow.
- Monitor the dryness level by testing if leaves crumble easily and stems snap cleanly when bent.
Remember to store your dried herbs in airtight containers once they're completely dry, and label them with the date to track their shelf life.
Herb Type Drying Periods
You'll find notable differences in drying times between low-moisture herbs like thyme and rosemary, which typically dry within 2-4 days, and high-moisture herbs such as basil and mint that need 7-10 days to dry completely.
Weather conditions can greatly impact these timeframes, with humid days extending the process and dry, warm days shortening it.
Your drying success depends on matching the method to both the herb type and current weather conditions, as tender herbs need faster drying to prevent mold while woody herbs can withstand longer drying periods.
Low-Moisture Herbs (2-4 Days)
Low-moisture herbs like oregano, rosemary, and thyme offer the quickest drying times, typically taking just 2-4 days under ideal conditions.
You'll get the best results by harvesting these herbs on a sunny morning after the dew has evaporated, cutting stems just above a leaf node while leaving 4-6 inches for regrowth. Remove the lower leaves and gather 5-8 stems into small, loose bundles secured with twine.
To guarantee proper drying, you'll need a warm space between 70-80°F with good air circulation. Hang your bundles upside down in a dark area, and if you're collecting seeds, consider using paper bags with holes to catch any falling fragments.
You can speed up the process by placing the herbs in a sunny car or other low-humidity environment.
- Check your herbs daily for any signs of moisture or mold
- Confirm bundles aren't too tightly packed to allow even drying
- Look for a crunchy texture and brittle stems as signs of readiness
- Store dried herbs immediately in airtight containers away from light
- Consider using paper bags with ventilation holes for seed collection
High-Moisture Herbs (7-10 Days)
High-moisture herbs like basil, mint, and parsley demand extra attention and time during the drying process. When you're preparing these herbs, start by thoroughly rinsing the stems in cool water and removing any damaged leaves or insects.
You'll need to shake off excess moisture and pat the herbs dry with paper towels or use a salad spinner for best results.
For air-drying, create small bundles to guarantee even drying, and hang them in a warm, dust-free area away from direct sunlight. Don't forget to cover the bundles with perforated paper bags to protect them from dust while maintaining airflow.
Keep your herbs away from moisture-heavy areas like sinks and stoves.
If you're using a dehydrator, set the temperature between 95-115°F, or up to 125°F in humid climates. Place herbs in a single layer on the trays, with tougher herbs on the bottom racks.
You'll know they're ready when the leaves crumble easily and stems snap when bent. Once dried, let them cool completely before storing in airtight containers.
The entire process typically takes 7-10 days for air-drying, though dehydrators can complete the job in 1-4 hours.
Seasonal Drying Time Variables
Throughout the changing seasons, drying times for herbs can vary considerably based on environmental conditions and the herb's natural moisture content.
You'll find that summer drying typically moves faster due to warmer temperatures and lower humidity, while spring and fall require more patience. To optimize your drying success, always harvest in mid-morning after the dew has evaporated but before the intense afternoon heat sets in.
When bundle-drying your herbs, consider these seasonal timing adjustments to achieve the best results:
- Summer bundles dry fastest, often completing in 7-10 days, but you'll need to check them more frequently to prevent over-drying and loss of essential oils.
- Spring harvests typically take 10-14 days to dry properly due to higher moisture levels in both plants and air.
- Fall drying periods extend to 12-16 days as temperatures cool and humidity fluctuates.
- Dense herbs like sage and bay leaves need additional time in any season, often requiring up to two weeks for complete drying.
- Thinner-leaved herbs like thyme and oregano dry more quickly, usually taking 5-8 days regardless of season when bundled appropriately.
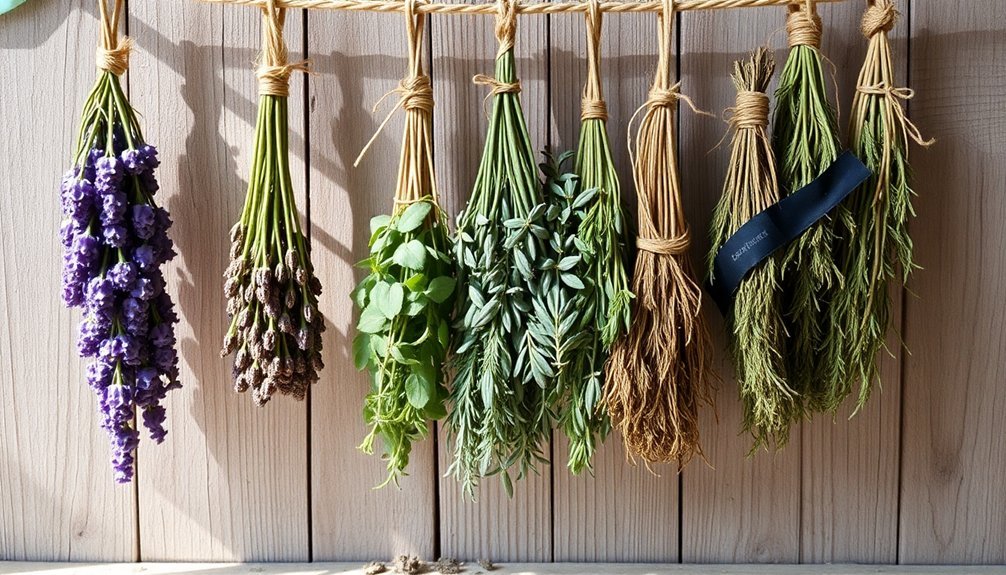
Bundle Tightness Assessment
When preparing herb bundles for drying, proper tightness is essential for ideal results. You'll need to strike a balance between securing the herbs firmly and allowing enough space for air circulation. If you tie your bundles too tightly, you'll risk trapping moisture that can lead to mold growth, especially with tender-leaf herbs.
To assess bundle tightness, start by gathering your herbs into small bunches. You'll want to secure them with twine or rope just tight enough to keep the stems together while leaving room for air to flow between them.
For larger, stalky herbs like rosemary and sage, you can make slightly bigger bundles, but make sure they're not so dense that air can't circulate freely. When working with more delicate herbs like basil or lemon balm, create looser, smaller bundles and consider placing them in perforated paper bags.
Test the tightness by gently shaking the bundle – the herbs should stay secure but still have slight movement. You'll know you've achieved the right tightness when you can slip a finger between the stems and the twine isn't cutting into the plant material.
Light Exposure Duration
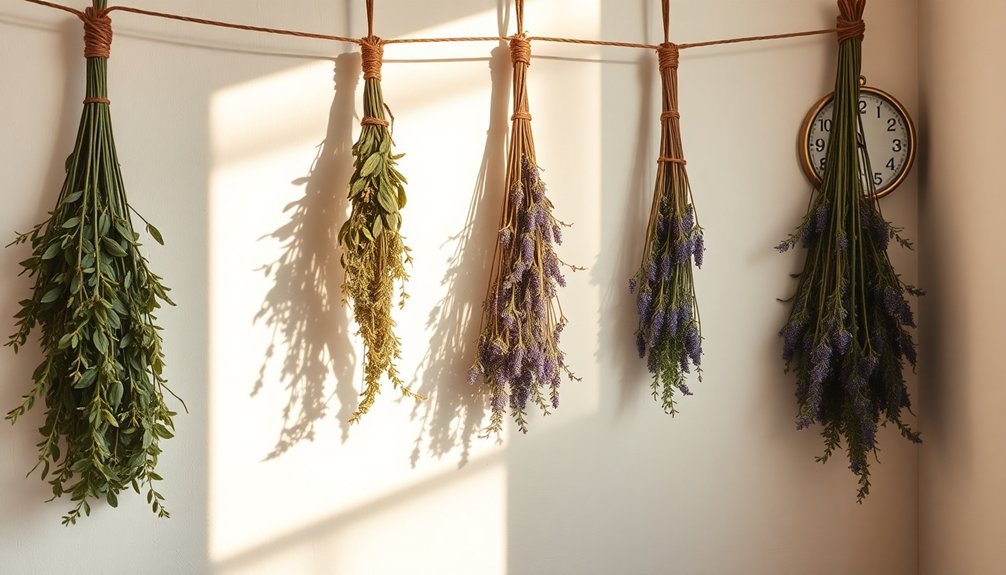
Managing your herbs' exposure to light plays an essential role in successful bundle drying. You'll want to keep your herbs away from direct sunlight, as it can quickly fade their colors and diminish their essential oils and flavors. Instead, choose a dimly lit room or dark closet with good ventilation for the best drying conditions.
During the 1-3 week drying period, you'll need to monitor your herbs regularly to verify they're not getting unwanted light exposure. If you can't avoid some sunlight, cover your bundles with a light cloth for protection. A basement or low-traffic room with minimal natural light works perfectly for maintaining herb quality throughout the drying process.
- Create a dedicated drying space in a shaded area with good air circulation
- Use mesh or paper bags to protect herbs when complete darkness isn't possible
- Check your herbs daily to verify they haven't shifted into direct sunlight
- Label your bundles clearly since visibility will be limited in darker spaces
- Position drying racks away from windows and artificial light sources that generate heat
If you need supplemental lighting for workspace visibility, keep it minimal and indirect to preserve your herbs' potency and color.
Frequently Asked Questions
Can I Mix Different Herbs in the Same Drying Bundle?
Yes, you can mix different herbs in one bundle. Be sure to choose herbs with similar drying times and sturdy stems. You'll want to pair tender-leaf herbs with firmer ones for support.
Should I Remove Flower Buds Before Bundling Herbs for Drying?
Yes, you'll want to remove flower buds before bundling herbs for drying. They can make your dried herbs taste bitter. Plus, removing buds helps direct the plant's energy to leaf growth for better flavor.
How Do I Prevent Herbs From Dropping Leaves While Hanging?
You'll prevent leaf drop by handling bundles gently, securing them with proper tension, and placing paper bags with holes around them while drying. Don't make bundles too large, and avoid touching them unnecessarily.
Does Using Colored Twine Affect the Drying Process?
No, the color of your twine won't affect how your herbs dry. What's important is the material you're using – focus on choosing breathable twine that allows good air circulation around your herb bundles.
Can Herbs Continue Drying if Exposed to Occasional Cooking Steam?
You shouldn't expose drying herbs to cooking steam as it'll slow down the process and risk mold growth. It's best to move your herbs to a different location, away from kitchen moisture and steam.
In Summary
You'll get the best results by combining these key timing factors rather than focusing on just one. Monitor your herb bundles daily, adjust their placement based on seasonal changes, and remember that each herb type responds differently. When you've mastered these timing elements, you'll consistently produce well-dried herbs that retain their flavor, color, and medicinal properties for months to come.


Leave a Reply