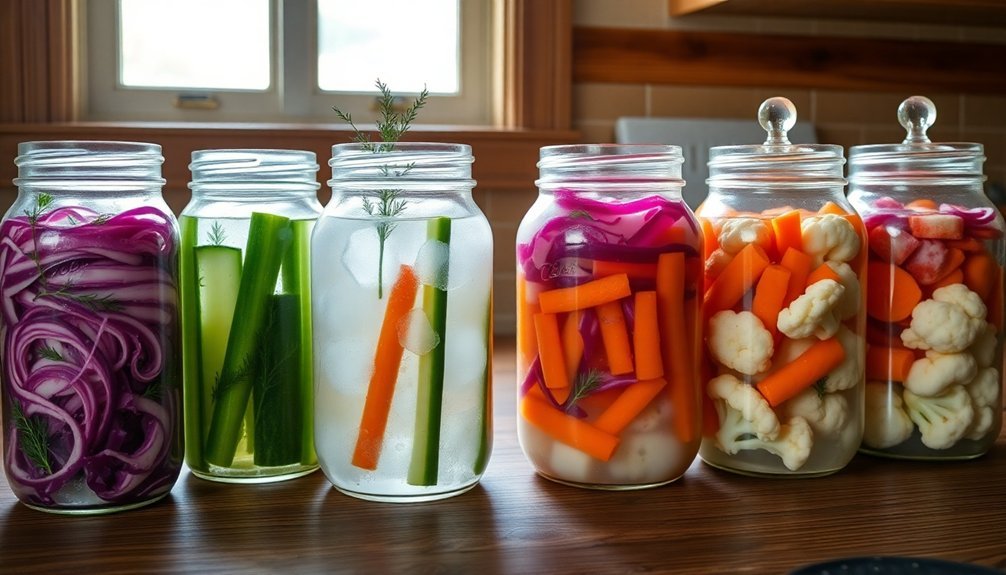
Mason jar fermenting is simpler than you'd think with these foolproof methods. Start with clean, wide-mouth jars and fresh vegetables cut into uniform pieces. Mix a 2% salt brine (2 tablespoons non-iodized salt per quart of water) and pack your vegetables tightly, ensuring they stay submerged. You can use the water bag method, glass weights, or cabbage leaves to keep everything under the brine. Ferment at room temperature (65-75°F) for 4-14 days, burping the jars daily to release gases. Store your finished ferments in the refrigerator to slow the process. These basic techniques will open up a world of fermentation possibilities.
Getting Started With Mason Jars
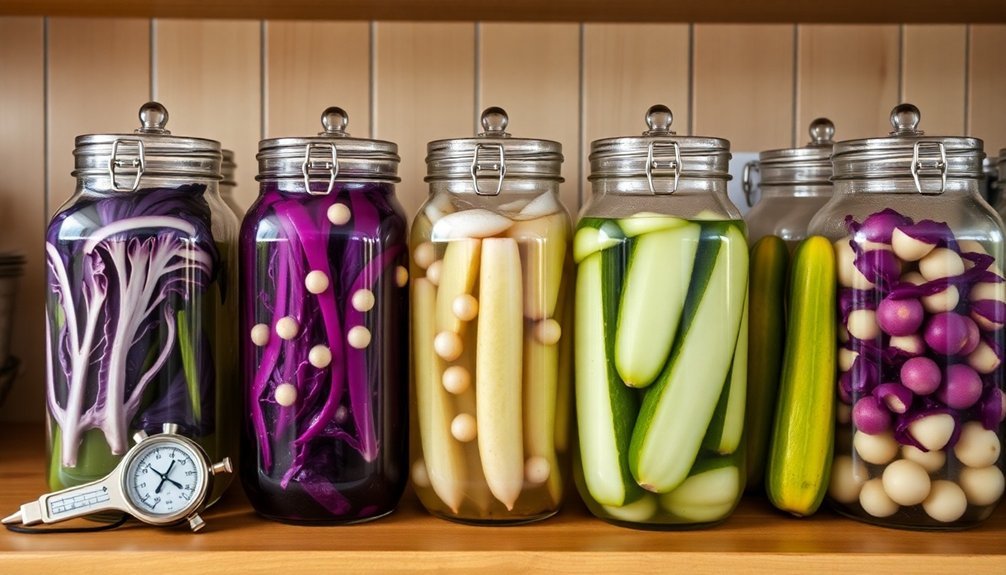
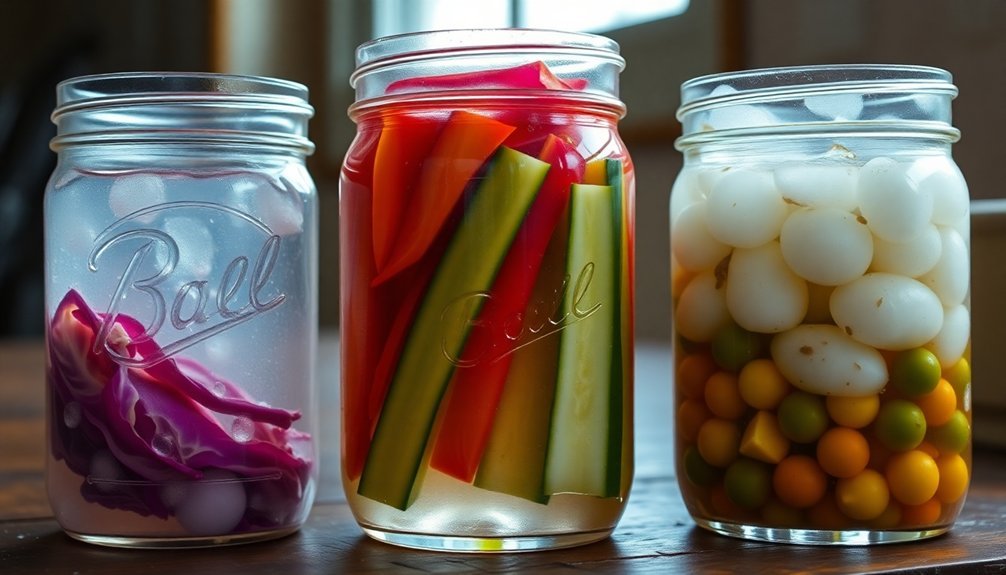
For successful fermentation, selecting the right Mason jar and preparing it properly are essential first steps. You'll want to choose glass jars specifically designed for fermentation, with Ball mason jars and Weck jars being top choices. While both options work well, Weck jars offer the advantage of glass lids that won't rust, whereas Ball mason jars may require rust-free lid alternatives.
Before you begin fermenting, you'll need to sterilize your jars and all equipment thoroughly. Using a canning funnel will help you fill the jars cleanly and efficiently. Always remember to fill jars ¾ full to allow adequate space for the fermentation process.
When selecting your jar size, consider both the amount you'll want to ferment and the space needed for the fermentation process itself. Wide-mouth jars often make it easier to pack vegetables and clean the containers afterward.
You'll also need to gather essential tools like wooden spoons for packing vegetables and fermentation weights to keep ingredients submerged. If you're using traditional Ball mason jars, consider complementing them with cloth lids secured by rubber bands for proper airflow, or invest in specialized fermentation lids with airlocks for more controlled fermentation.
Preparing Your Vegetables
Start your vegetable prep by thoroughly cleaning and removing any tough stems, leaves, or damaged parts from your chosen vegetables.
You'll want to cut your vegetables into uniform sizes, ensuring they'll ferment evenly and fit neatly in your mason jar. Depending on the vegetable type, aim for 2-5% salt ratio to achieve optimal fermentation results.
Finally, measure your salt carefully to achieve the right brine concentration, typically using 1-3 tablespoons of pure sea salt per 4 cups of water.
Clean and Chop Correctly
Proper vegetable preparation sets the foundation for successful fermentation. Start by thoroughly washing your vegetables to remove any dirt or debris.
When you're ready to chop, cut your vegetables into uniform, bite-sized pieces or sticks that will fit easily in your mason jar. Make sure to position the cut edges downward to prevent floating during fermentation.
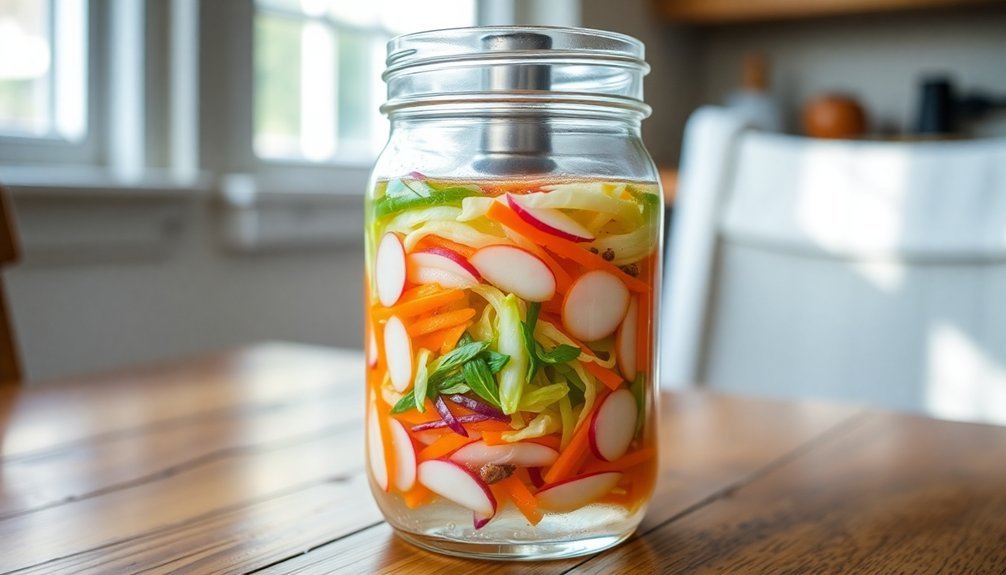
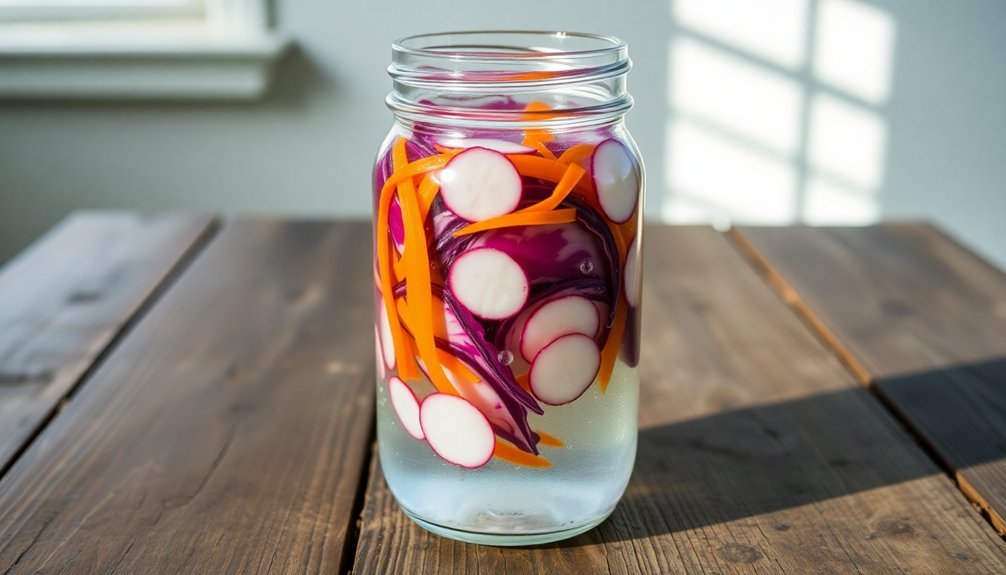
Select vegetables that ferment well, such as cabbage, broccoli, radishes, and carrots. A temperature of 15 to 25°C is ideal for fermenting most vegetables.
As you layer them in your jar, press down firmly to pack as many vegetables as possible, leaving space only at the jar's shoulder. You'll want to remove trapped air bubbles by running a thin plastic spatula around the jar's sides.
Next, you'll need to either dry salt your vegetables directly to draw out their natural juices or prepare a brine solution using 1-3 tablespoons of salt per 4 cups of water.
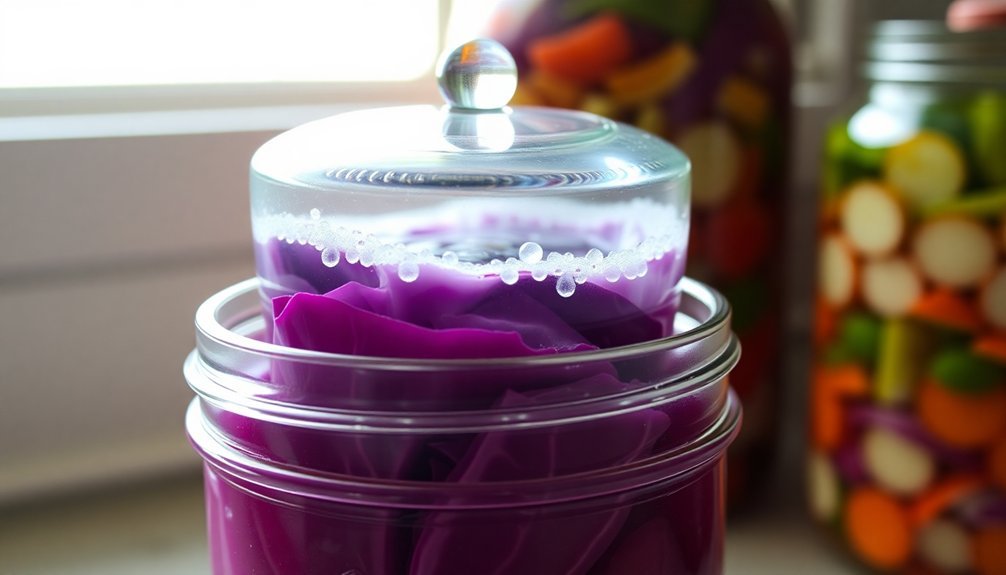
Whichever method you choose, make certain your vegetables remain fully submerged under the liquid. This submersion is essential for proper fermentation, so consider using a cabbage leaf or other weight to keep everything below the brine level.
Perfect Salt Balance
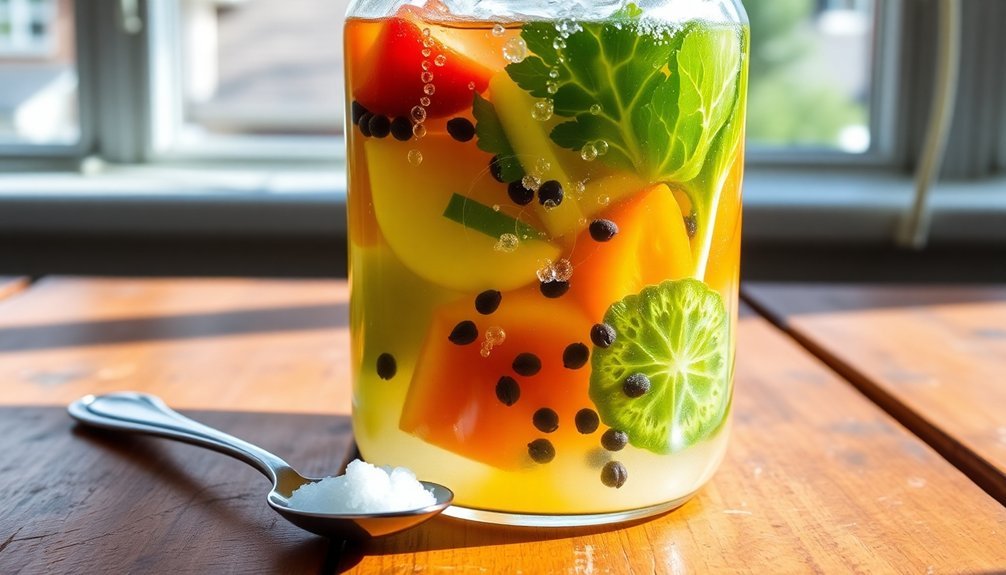
Getting the salt balance right can make or break your fermentation project. For most vegetables, you'll want to aim for a 2% salt concentration, which translates to 1-3 tablespoons of salt per quart of water. This creates the perfect environment for beneficial bacteria while keeping harmful microorganisms at bay.
When measuring salt, you've got two options: by weight or volume. Using a scale provides more accuracy, but measuring spoons work well for home fermentation. Remember that the amount of salt affects fermentation speed – less salt means faster fermentation, but also higher risks of spoilage. Salt helps maintain the crunch and texture of your vegetables throughout the fermentation process.
Choose your salt carefully, as not all varieties are suitable for fermentation.
- Use non-iodized salt without anti-caking agents
- Kosher salt and sea salt are excellent choices
- Pink Himalayan and Redmond's Real Salt work great
- Table salt isn't recommended due to additives
- Consider salt's grain size when measuring by volume
If you're making a brine, dissolve your salt completely in water before adding vegetables. For dry salting methods like sauerkraut, mix the salt thoroughly with your chopped vegetables until they release their natural juices.
Remove Tough Parts First
Before diving into fermentation, you'll need to clean up your vegetables by removing any tough or unwanted parts. Start by cutting off any damaged sections that could lead to spoilage during fermentation.
You'll also want to discard leaves that have touched the soil, as they can introduce harmful bacteria into your ferment.
Remove woody stems and cores that won't ferment well, as these tough parts can create texture issues in your final product. If you're fermenting vegetables like celery, strip away the fibrous strings that tend to remain tough even after fermentation.
For certain vegetables, you'll need to remove seeds that might add unwanted bitterness to your ferment. Using distilled water when cleaning your vegetables helps prevent unwanted minerals from interfering with the fermentation process.
Keep the skins intact when possible, as they contain beneficial lactic acid bacteria that help with fermentation. Only prepare your vegetables right before you're ready to start fermenting to maintain freshness.
When cleaning, give them a gentle rinse to preserve the natural bacteria on the surface. Remember that properly prepared vegetables will ferment more evenly and create a better end product.
This careful preparation guarantees your mason jar ferments will have the ideal texture and flavor.
Making The Perfect Brine
Creating a perfect brine serves as the foundation for successful fermentation in Mason jars. You'll need 2 tablespoons of non-iodized salt per quart of water, using either spring, filtered, or well water. If you're using tap water, boil it for 10 minutes or let it sit overnight to remove chlorine, which can interfere with fermentation.
Make sure you've dissolved all the salt completely in your water before adding vegetables. Using no sugar or vinegar makes this method both cost-effective and traditional.
The brine temperature should stay between 65°F and 75°F during fermentation, which typically takes 4 to 14 days. You'll need to keep your vegetables fully submerged using fermenting weights like Pickle Pebbles.
Here's what you'll need for perfect brining:
- Non-reactive container (glass Mason jar)
- Non-iodized, coarse salt
- Chlorine-free water
- Fermenting weights
- Fermenting lid or two-piece canning lid
Monitor your ferment daily by checking for cloudiness and bubbles, and remember to "burp" your jars to release built-up gases.
Once fermentation reaches your desired taste, store your jars in the refrigerator to slow down the process.
The quality of your ingredients directly impacts your final product, so always start with fresh vegetables and clean equipment.
The Water Bag Weight Method
To create an effective water bag weight, you'll need a quart-sized freezer bag filled with water or brine to keep your ferments submerged.
Place the open bag directly on top of your vegetables, pressing it down onto the surface and around the edges before filling it with liquid until it reaches the jar's top.
Before using your bag weight, always check for potential leaks by filling it with water and examining the seals carefully, especially if you're reusing an older bag. Using brine instead of plain water in the bag ensures that accidental leaks won't dilute your fermentation if the bag develops a small tear.
Making the Bag Weight
A water bag weight serves as both a weight and an airlock for your fermented vegetables. To create this effective fermentation tool, you'll need a quart-sized freezer bag that's sturdy enough to prevent leaks.
Fill your fermentation jar about ¾ full with your vegetable mixture, leaving adequate space for the water bag weight. Leave 1-2 inches of headspace between the vegetables and jar rim for proper fermentation.
Place your clean freezer bag into the jar, carefully pressing it onto the surface of your ferment and around the edges. Fill the bag with water until it reaches the jar's top level. If you're concerned about potential leaks, use brine instead of water in the bag. Once filled, seal the bag securely.
- Press the bag down firmly to eliminate air pockets between the ferment and bag.
- Check daily for trapped air bubbles and release them by adjusting the bag.
- Remove and rinse the bag if needed to maintain cleanliness.
- Fill the bag enough to weigh down the ferment but not so tight it can't release gas.
- Replace the bag carefully after cleaning to maintain the anaerobic environment.
This simple yet effective method works for any size ferment, from half-pint jars to larger containers, while helping minimize fermentation odors.
Proper Bag Placement
Once you've prepared your water bag weight, proper placement guarantees successful fermentation. Fill your Mason jar about ¾ full with your vegetable mixture, leaving the top quarter for the bag placement.
Press the freezer-style bag onto the surface of your ferment, ensuring it makes contact with both the vegetables and the jar's edges.
Fill the bag with water until it reaches the jar's rim level. As you position the bag, press down firmly on your ferment to remove any trapped air pockets and verify that all vegetables are fully submerged in the brine.
You'll need to monitor the setup regularly, adjusting the bag when you notice any air bubbles or changes in brine level.
If you're concerned about potential leaks, fill the bag with brine instead of water – this way, any leakage won't dilute your ferment.
Keep an eye on the brine level throughout fermentation, as some evaporation may occur. When you notice vegetables rising above the liquid, simply press the bag down to resubmerge them.
Remember to maintain adequate headspace in your jar to accommodate the expanding brine during fermentation.
Avoiding Bag Leaks
Successful fermentation depends heavily on preventing bag leaks during the water bag weight process. Using heavy-duty freezer bags provides better protection against tears and punctures, while testing them over the sink before use confirms they're leak-free.
For added security, consider filling your bags with brine instead of water – this way, if a small leak occurs, you won't dilute your ferment or disrupt the salinity balance.
Daily monitoring plays a vital role in maintaining your ferment's integrity. Check for air pockets, adjust the bag as needed, and verify proper pressure is maintained to keep your vegetables submerged.
Key steps to prevent bag leaks:
- Choose thick, freezer-grade bags over regular storage bags
- Test bags for leaks before use by filling them with water over the sink
- Match your bag's brine concentration to your ferment if using brine instead of water
- Inspect bags daily for signs of wear, bulging, or trapped air
- Clean and dry bags thoroughly before use to maintain sterility
Regular maintenance and proper preparation will substantially reduce the risk of leaks, confirming your fermentation process stays on track and contamination-free.
Using Glass Fermentation Weights
The effectiveness of glass fermentation weights makes them essential tools for mason jar fermentation. These non-porous, food-safe weights typically weigh between 170-200 grams and are perfectly sized at 2.6-2.7 inches to fit wide-mouth mason jars.
When you're fermenting vegetables, they'll keep your produce safely submerged under the brine, preventing unwanted air contact that can lead to spoilage.
You'll find these weights are incredibly practical, featuring easy-grip handles that make placement and removal straightforward. They're also built to last – the tempered glass construction resists cracking and can withstand repeated use.
You can easily clean them in your dishwasher or with hot water between batches.
When you're shopping for glass weights, look for sets that are tested for lead and cadmium, ensuring food safety. You can expect to pay around $19.99 for a set of four.
If you can't access glass weights, you've got alternatives: try using a smaller mason jar nested inside your fermentation jar, or consider ceramic weights or fermentation springs. Just remember that whatever material you choose must be non-reactive and food-safe to maintain the quality of your ferments.
The Cartouche Coverage Technique
To create an effective cartouche coverage, you'll need to cut a piece of flexible plastic to fit snugly inside your mason jar, extending slightly wider than the jar's mouth.
Press the plastic directly onto the surface of your ferment, ensuring there are no air pockets trapped underneath.
This protective barrier maximizes anaerobic conditions by preventing oxygen exposure and helps maintain an ideal environment for fermentation.
Cut-to-Fit Plastic Steps
Mastering cartouche coverage starts with understanding this essential fermentation technique. When you're using a mason jar for fermentation, proper coverage prevents mold growth and maintains an anaerobic environment that's essential for successful ferments.
To create an effective cartouche coverage with cut-to-fit plastic, you'll need parchment paper, scissors, and your mason jar.
- Measure and cut your parchment paper slightly larger than the jar's opening.
- Press the paper firmly against the ferment's surface.
- You'll want to make sure there aren't any air pockets trapped underneath, using a sharp tool if needed to release any bubbles.
- Add a layer of brine over the cartouche for extra protection.
- Check for and eliminate any air pockets.
- Consider adding weights on top for additional security.
The cartouche method works exceptionally well with both small and large batch ferments. It's compatible with airlock systems and reduces the need for frequent burping.
When properly applied, you'll create ideal conditions for consistent fermentation while minimizing the risk of contamination.
Preventing Surface Exposure
Successfully preventing surface exposure during fermentation hinges on the cartouche coverage technique, which creates a protective barrier against unwanted oxygen exposure. You'll need to place a piece of plastic directly on the ferment's surface, sealing it tightly against the edges of your mason jar.
| Action Step | Key Consideration |
|---|---|
| Daily Inspection | Check for air pockets and press down with clean utensils |
| Surface Coverage | Confirm plastic covers entire surface without gaps |
| Pressure Control | Release built-up gases regularly to prevent jar explosion |
| Environment | Maintain stable temperature and humidity levels |
For dry ferments like herbal rubs and super spicy mixtures, this technique proves particularly effective. You'll want to monitor your ferment daily, watching for signs of mold or Kahm yeast formation. If you spot any unwanted growth, remove it immediately with a sterilized spoon.
While the cartouche method works well, you can also consider alternative approaches such as weight-based submersion or airlock systems. Whatever method you choose, remember to maintain cleanliness throughout the process and keep your ferment away from direct sunlight. Regular monitoring and proper maintenance will guarantee your fermentation project stays healthy and successful.
Maximizing Anaerobic Protection
The cartouche coverage technique stands as a powerful defense in creating ideal anaerobic conditions for your fermentation projects. By placing a piece of plastic directly against the surface of your ferment, you'll create a barrier that effectively blocks oxygen from reaching your carefully prepared ingredients.
This method works particularly well when combined with other anaerobic protection strategies to maximize your fermentation success.
To properly implement the cartouche coverage technique in your mason jar ferments, follow these essential steps:
- Cut a piece of food-grade plastic slightly larger than your jar's diameter, ensuring it can press firmly against the entire surface
- Press the plastic down until it makes complete contact with the ferment, removing any air pockets
- Secure the edges against the jar's sides to prevent oxygen from sneaking underneath
- Leave minimal headspace above the plastic to reduce oxygen exposure
- Check daily for any lifting or separation from the ferment's surface
This technique complements other anaerobic protection methods like water-sealed crocks and burping procedures. You'll know it's working when you see bubble formation beneath the plastic and detect the characteristic fermentation aromas without any signs of spoilage.
Daily Monitoring and Maintenance
Keeping up with your fermenting projects requires consistent daily attention to guarantee maximum results. You'll need to monitor temperature closely, ensuring it stays between 60°F and 80°F, and position your jars away from heat sources to maintain stability.
Check your ferments twice daily to release built-up gases. Don't tighten the lids completely, especially during warm weather, and use an airlock when possible.
Watch the brine levels as they'll naturally rise and fall throughout the day. If the brine drops below your vegetables, add more using a 3% salt solution (1 teaspoon salt per cup of water).
You'll need to manage surface growth by removing any mold or Kahm yeast with a clean spoon. Clean the jar neck with a boiled water-dipped cloth to eliminate lingering particles.
If overflow occurs, disassemble and clean your fermentation device with hot soapy water before reassembling.
Press down on your ferments regularly to remove air pockets, and keep enough headspace to prevent overflow. Place your jars on a plate with a paper towel to catch any spills, and remember to burp them twice daily during active fermentation.
Signs of Successful Fermentation
Regular monitoring helps you spot the clear signs of successful fermentation in your mason jar projects. You'll notice bubbles forming throughout the jar as carbon dioxide is produced, along with a developing sour aroma that indicates proper fermentation progress.
When you check your ferments, look for consistent temperature patterns and proper fermentation speed specific to what you're making.
The most reliable indicators of successful fermentation include:
- Active bubbling and visible gas production throughout the jar
- Pleasant, tangy aroma without any off-putting smells
- Proper submersion of vegetables in brine with no air pockets
- Consistent temperature maintenance during the process
- Development of expected flavors and textures over time
Your ferment is progressing well when you need to regularly burp the jar to release built-up gases. The presence of healthy yeast and proper anaerobic conditions will guarantee successful fermentation.
Remember to taste test periodically – you'll notice the flavors becoming increasingly complex and tangy. Once your ferment reaches the desired flavor profile, it's ready for cold storage, though the fermentation process will continue slowly, developing more nuanced flavors over time.
Common Problems and Solutions
Successful fermentation projects can face several common challenges that require prompt attention and solutions.
When you notice overflow, immediately clean the fermentation kit, refill the airlock with clean water, and adjust the headspace by pushing down the weights to release trapped air bubbles.
If you're dealing with mold issues, strengthen your salt brine and guarantee you're maintaining anaerobic conditions. Keep your ferments submerged using glass weights, and store them in a cool, dark location.
You'll need to check your ferments daily and "burp" them to release excess gas buildup.
When brine levels drop, prepare a supplementary 3% salt solution (1 teaspoon salt per cup of water) to top off your jars. Don't forget to inspect your jars for cracks before use and sterilize them with boiling water.
You'll want to leave at least 1/2 inch of headspace to accommodate expansion.
For equipment maintenance, wash your fermentation kit and weights with hot soapy water after each use. Use plastic or glass lids to prevent rust, and guarantee they're properly sized and secured to maintain an airtight seal while allowing gases to escape through the airlock.
Storing Your Fermented Vegetables
Once you've mastered the fermentation process and troubleshooting, proper storage becomes your next focus. You'll want to keep your ferments in a cool environment between 32-50°F, making your refrigerator, basement, or root cellar ideal locations.
While cool temperatures slow fermentation, they don't stop it completely, so your vegetables will continue developing flavor over time.
To maintain the quality of your fermented vegetables, follow these essential storage practices:
- Always keep vegetables submerged under the brine, using weights or cabbage leaves if needed.
- Check brine levels regularly and top off with saltwater solution when necessary.
- Use airtight containers with non-corrosive lids to prevent contamination.
- Store away from direct sunlight to avoid over-fermentation.
- Monitor for signs of mold during regular inspections.
Your properly stored fermented vegetables can last a year or more in the refrigerator. When combining batches into larger containers, guarantee you maintain adequate brine levels.
If you're planning for extended storage, freezing is an option that completely stops the fermentation process. Just remember to use multiple layers of protection to prevent freezer burn when choosing this method.
Basic Vegetable Fermentation Recipes
A solid foundation in basic fermentation recipes opens the door to endless creative possibilities. You'll find two fundamental methods to get started: the brining method and the dry salting method.
For the brining method, you'll need to create a salt solution using 5 grams of salt per 100 grams of water. Simply dissolve the salt in room-temperature water, then pour it over your prepared vegetables in a mason jar.
Make sure you're leaving about 1/2 inch of headspace at the top.
The dry salting method lets vegetables create their own brine. Just cut up your chosen vegetables, add salt directly to them, and wait for the natural juices to release. Once there's enough liquid, you'll need to keep the vegetables submerged using weights.
For either method, you'll want to use kosher or sea salt without additives. You can enhance flavors by adding seasonings like garlic cloves, peppercorns, or red pepper flakes.
Don't forget to use an airlock lid or "burp" your jars daily to release built-up gases. Always keep your vegetables fully submerged to prevent mold growth and maintain a clean fermentation environment.
Frequently Asked Questions
Can I Reuse the Brine From a Previous Successful Ferment?
Yes, you can reuse ferment brine! Store it in a clean jar for up to six months, but use it within two weeks for best probiotic benefits. Just check for mold or off-odors first.
Why Do Some Vegetables Float More Than Others During Fermentation?
You'll notice vegetables float differently because of their unique cellular structures and densities. Some veggies contain more air pockets, while others have higher water content, directly affecting their buoyancy during fermentation.
How Long Can Finished Ferments Stay Good in the Refrigerator?
Your ferments can stay good for up to a year in the fridge when stored properly. While vegetables last longest, fruits should be eaten within a month. You'll notice they'll get softer over time.
Can I Mix Different Vegetables in the Same Fermentation Jar?
Yes, you can mix different vegetables in the same jar! Try combining cauliflower, carrots, celery, and cabbage together. Just be mindful that some vegetables, like beetroot, might stain others during fermentation.
Does the Size of Vegetable Pieces Affect Fermentation Time?
Yes, the size of your vegetable pieces directly affects fermentation time. You'll find smaller pieces ferment faster due to more surface area, while larger chunks take longer but may retain better texture during fermentation.
In Summary
Now you've learned the essentials of mason jar fermentation, you're ready to start your own probiotic-rich creations. Don't let minor setbacks discourage you – remember that fermentation is both an art and science. Keep experimenting with different vegetables and spice combinations until you find your favorites. With these foolproof methods, you'll soon be confidently fermenting vegetables and sharing your flavorful creations with friends and family.


Leave a Reply