You'll get the best sun-dried apples by maintaining temperatures between 85-95°F, which creates ideal moisture evaporation without case hardening. Start with firm varieties like Granny Smith or Fuji, and slice them uniformly between ⅛ to ¼ inch thick. Place your slices on elevated drying trays for proper air circulation, and cover them with mesh to protect from insects. Pre-treat the slices with lemon juice or Vitamin C powder to prevent browning, and rotate them daily for even drying. Keep humidity below 60% and check weather forecasts to plan your drying schedule. The following tips will help you master the art of perfect sun-dried apples.
Weather Essentials for Drying Success
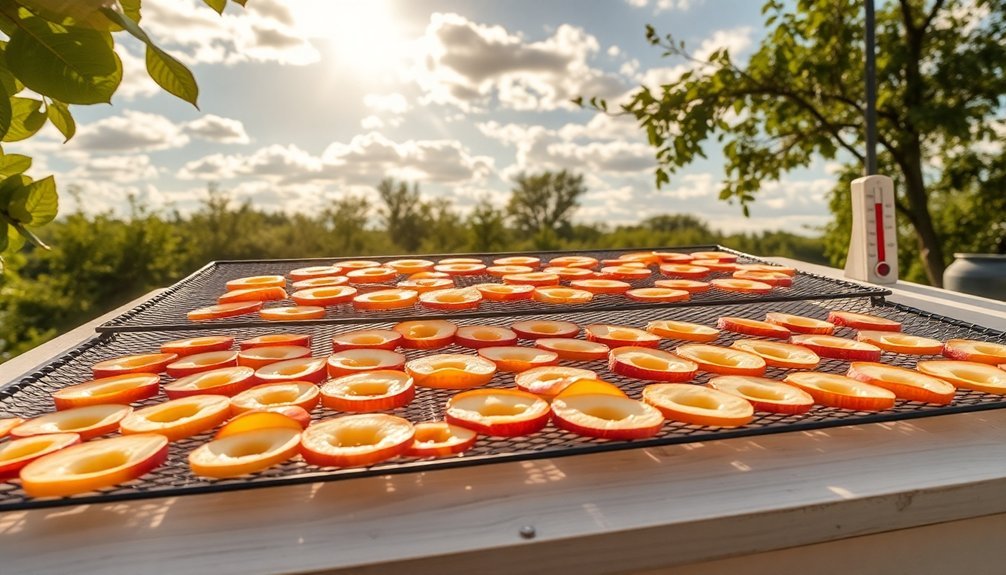
Before starting your apple-drying project, you'll need ideal weather conditions to achieve the best results. The temperature should stay between 85-95°F throughout the drying process, as this range promotes optimal moisture evaporation without causing case hardening, where the outside hardens too quickly and traps moisture inside.
You'll want to check your local weather forecast for several consecutive days of reliable sunshine, as consistent conditions are essential for successful drying. The humidity level must remain below 60%, as higher moisture in the air will slow down the drying process and potentially lead to mold growth. If you live in a high-humidity area, you might need to think about using a dehydrator instead. Sudden temperature changes during the drying process can significantly impact the quality of your dried apples.
Choose a location that offers both direct sunlight and good air circulation. You can protect your drying apples from insects by covering them with cheesecloth or netting, but make sure these protective barriers don't restrict airflow.
Keep a close eye on the weather forecast during the drying period, as unexpected rain can ruin your efforts. Remember, you'll need to monitor the apples regularly, as the drying process speeds up near the end.
Equipment and Space Requirements
A successful apple-drying project requires minimal but essential equipment to get started. You'll need drying trays or screens to lay out your apple slices in a single layer, along with cheesecloth or insect netting to protect them from birds and insects.
While you don't need a dehydrator, you'll benefit from using blocks or stands to elevate your trays for better air circulation, and a reflective sheet of aluminum or tin to increase drying temperature. For optimal results, ensure the temperature stays above 86°F.
You'll need to set up your drying station on a concrete driveway or any dry, flat surface with good air circulation. Make certain you have enough space to arrange your apple slices without overlapping, and access to a shaded area or indoor space to protect the trays at night.
Set up your trays securely, making sure they're stable and allowing air to move freely around the apple slices.
Consider using a cooling rack on a rimmed cookie sheet for effective drying. Keep your setup in an area that's protected from pests and animals, and maintain a moisture-free environment.
You'll want to check and rotate your apple slices regularly to guarantee even drying.
Selecting and Preparing Apples
To get the best results from sun-drying, you'll want firm apple varieties like Granny Smith, Honeycrisp, or Fuji that maintain their intense flavors throughout the drying process.
Cut your apples into uniform ⅛ to ½-inch slices using a mandolin, ensuring even drying across all pieces. Peeling is optional but removing the skin will speed up the drying process.
Before arranging your slices on the drying rack, dip them in a mixture of Vitamin C powder and water or lemon juice solution to prevent browning and preserve their appealing color.
Best Apple Varieties
When choosing apples for sun-drying, selecting the right variety makes a significant difference in your final product's taste and texture. You'll find that sweet varieties like Fuji and Gala concentrate their sugars during dehydration, while tart options like Gravenstein and Granny Smith maintain their distinctive zesty profiles.
| Variety | Characteristics |
|---|---|
| Fuji | Year-round availability, crisp texture, naturally sweet |
| Gravenstein | Intense tart flavor, best in July-August, dries excellently |
| Gala | Sweet profile, needs browning prevention, enhances sweetness when dried |
| Granny Smith | Less prone to browning, tart flavor, available year-round |
For the sweetest dried apple snacks, you'll want to use Fuji or Gala apples. If you're looking for a more complex flavor, try Williams Pride, which is considered the gold standard for dried apples. You'll need to pretreat most varieties with lemon water to prevent browning, though Granny Smith apples are naturally more resistant. Remember that while ripe apples might be too soft for fresh eating, they're perfect for drying since their intense flavor remains after dehydration.
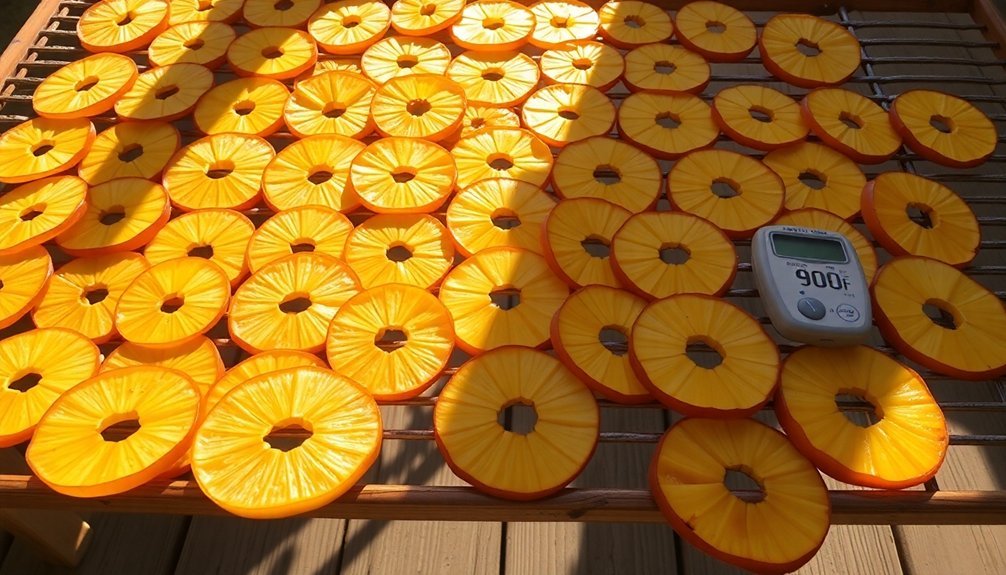
Slice Thickness Matters
Every successful batch of sun-dried apples starts with proper slice thickness. When you're preparing your apples for sun drying, aim for uniform slices to guarantee even drying throughout your batch. For the best results, you'll want to choose between three main thickness options based on your desired outcome.
If you're looking for crispy apple chips, cut your slices thin at ⅛ inch (3mm). These will dry faster but require careful handling to prevent breakage. For a pleasant balance between crispy and chewy, go with medium slices at 3/16 inch (4.5mm). If you prefer a chewier dried apple, cut your slices to ¼ inch (6mm), but remember they'll take longer to dry completely.
You'll get the most consistent results using a mandoline slicer, though a sharp knife works too. Place your slices in a single layer on your drying trays, and don't let them overlap. It's helpful to line your trays with parchment paper or teflex sheets to prevent sticking, especially with thinner slices.
Before storing, make sure to condition your dried apples by loosely packing them in an airtight container to distribute any remaining moisture evenly.
Prevent Apple Discoloration
Maintaining bright, appetizing apple slices during the drying process starts with proper discoloration prevention. You'll want to treat your apple slices immediately after cutting them to prevent browning and guarantee they retain their natural color throughout the drying process.
The salt water solution offers the most effective and neutral-tasting treatment. Mix 1/8 teaspoon of salt per cup of cold water, soak your slices for 5 minutes, and rinse them afterward to remove any trace of salt. For a sweeter approach, you can use a honey solution, combining 1 tablespoon of honey with 1 cup of water.
Here are your most reliable pre-drying treatments, ranked by effectiveness:
- Salt water solution (5-minute soak) – Best for maintaining natural apple flavor
- Honey-water mixture (5-minute soak) – Adds subtle sweetness while preventing browning
- Citric acid sprinkle (1/2 teaspoon per serving) – Ideal for apples intended for pies or other baked goods
While drying, keep your treated slices in a single layer and minimize their exposure to direct sunlight during the preparation phase.
You'll achieve the best results by treating the slices immediately before placing them on your drying racks.
Setting Up Your Drying Station
To enhance air circulation and protect your apples, you can elevate the drying rack using heat-resistant supports or hang it from ceiling hooks.
Cover the entire setup with mesh screening to keep pests out, and check your apples regularly to guarantee they're drying properly.
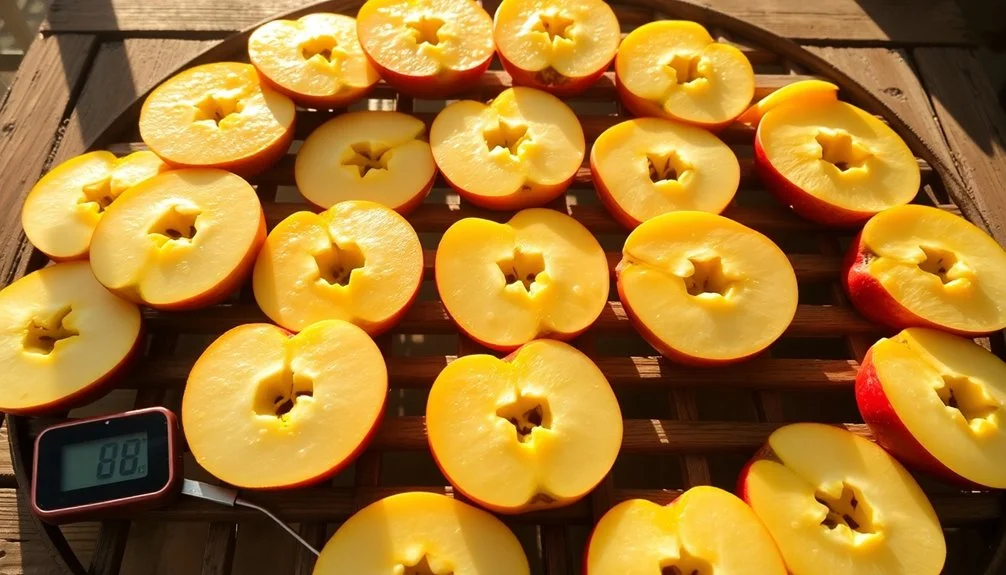
Temperature Monitoring and Management
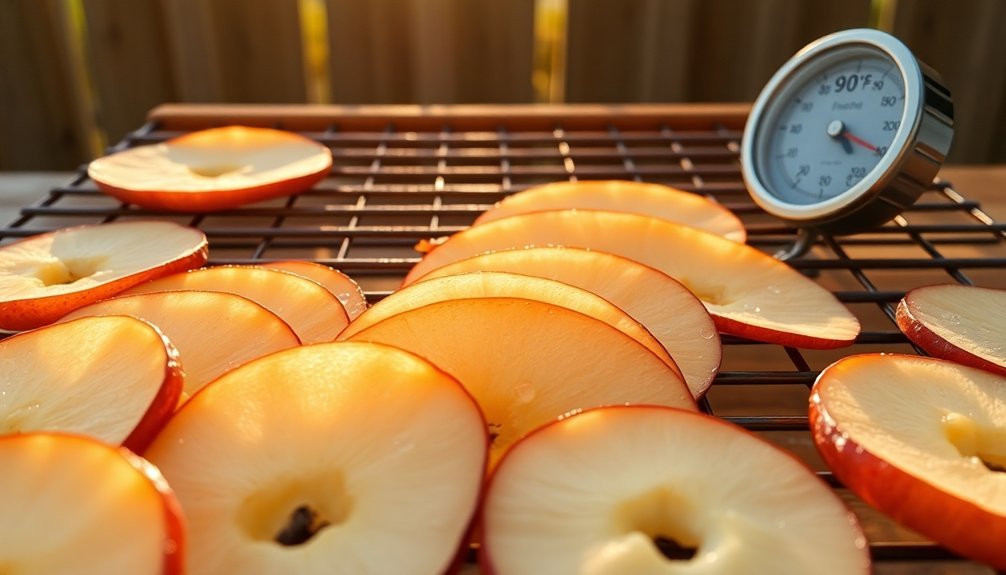
Successful sun-drying of apples requires careful attention to temperature, with the ideal range falling between 85°F and 95°F. You'll need to monitor these temperatures consistently throughout the drying process to prevent case hardening and guarantee proper moisture evaporation from the center of your apple slices.
To maintain ideal drying conditions, you'll want to check your thermometer readings regularly and adjust your setup accordingly. If temperatures climb too high, you risk damaging the fruit's quality and nutritional content. Conversely, if temperatures drop too low, especially with high humidity, you're creating an environment where harmful microorganisms can thrive.
Here are critical signs that your temperature management needs adjustment:
- Dark or brown spots appearing on the apples indicate excessive heat exposure.
- Moisture collecting on the surface suggests inadequate temperature or poor air circulation.
- Hard outer layer with soft center points to case hardening from temperatures above 95°F.
Remember that consistent temperature control is key to achieving high-quality dried apples.
You'll want to guarantee proper air circulation and consider using adjustable covers to regulate heat exposure throughout the day as sun conditions change.
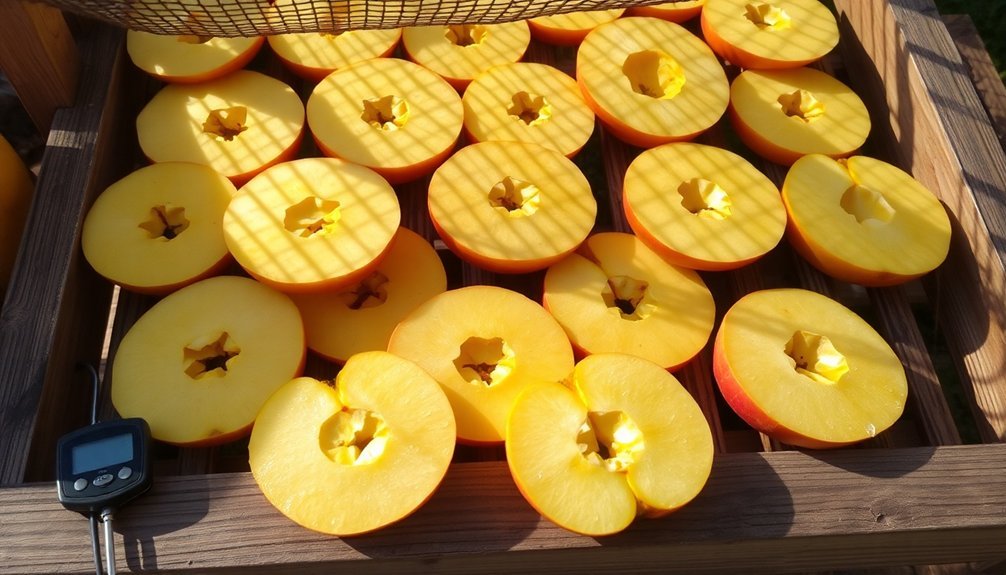
Daily Maintenance and Care
Begin each day by checking the temperature of your drying area, ensuring it'll reach ideal levels for sun-drying as the day progresses.
You'll need to rotate your apple slices at least once daily, typically during midday, to achieve uniform drying and prevent any moisture buildup.
Keep a close eye on your setup throughout the day, watching for any signs of pest activity and adjusting your protective netting as needed to maintain a secure drying environment.
Morning Temperature Checks
Each morning, checking the temperature and weather conditions marks a critical first step in sun-drying apples. You'll want to verify the temperature falls within the perfect range of 85°F to 95°F, while keeping humidity levels below 60%. These conditions create the ideal environment for effective drying while preventing mold growth.
Begin your morning inspection by checking your drying setup, making certain the apple slices aren't overlapping and have proper air circulation. If you're using rooftop spaces or elevated areas, they'll provide better exposure to sunlight and airflow. Remember to remove any protective coverings you placed over the apples overnight.
For successful morning temperature checks, follow these key steps:
- Check local weather forecasts to anticipate temperature changes and potential weather disruptions.
- Use a thermometer near your drying area to confirm actual temperatures match perfect conditions.
- Monitor humidity levels using a hygrometer, especially if you're in a coastal or mountainous region.
If conditions aren't ideal, consider moving your drying operation to a controlled environment like a dry house or shed with a woodstove, where you can maintain consistent temperatures throughout the day.
Rotating Apple Slices Daily
The daily rotation of apple slices stands as one of the most essential steps in sun-drying fruit. You'll need to rotate your slices at least once a day, ideally during the warmest hours, to guarantee even drying and prevent moisture from getting trapped underneath.
Set up your drying station with wire racks or trays that promote proper air circulation. You'll want to arrange the apple slices in a single layer, making sure they don't overlap. When it's time to rotate, handle the slices gently to avoid breaking them – a turntable or rotating tray can make this task easier.
Keep an eye on weather conditions, as they'll affect your rotation schedule. If humidity's high, you might need to rotate more frequently. When temperatures climb above 95°F, consider rotating during cooler hours or using partial shade.
Don't forget to bring your slices indoors if rain threatens or humidity spikes. Regular rotation helps prevent mold growth, maintains consistent texture, and can actually speed up the drying process.
You'll know you're doing it right when your apple slices dry evenly and develop that perfect, uniform texture you're aiming for.
Pest Prevention Measures
Protecting your drying apple slices from pests demands vigilant daily attention. You'll need to implement multiple protective measures to keep insects and other unwanted visitors away from your drying fruit.
Using physical barriers, like fine mesh screens or apple maggot control bags modified for your drying setup, can effectively prevent insects from reaching your apple slices.
Apply organic deterrents like kaolin clay (Surround®) as a protective powder coating on your drying screens or racks. This natural substance creates an uncomfortable surface for insects while remaining food-safe.
For enhanced protection during the drying process, consider these essential steps:
- Place sticky traps around your drying area to catch flying insects before they reach your apples.
- Position your drying racks in areas with good air circulation to discourage pest activity.
- Inspect your drying setup twice daily for any signs of pest presence.
If you notice any pest activity, immediately remove affected slices and consider using organic insecticides like pyrethrin-based products, but only as a last resort.
Remember that maintaining cleanliness in your drying area is vital for preventing pest problems before they start.
Testing for Proper Dryness
Determining proper dryness in your apple slices requires multiple testing methods to confirm ideal results. You'll need to perform both tactile and visual tests to verify your apples have reached the best dryness level.
Remove a sample slice from your drying setup and let it cool completely. The apple should feel leathery and suede-like but remain pliable. When you squeeze several pieces together, they should separate easily once you release pressure. Cut and press a piece – you shouldn't see any moisture emerge.
Visually inspect your dried apple slices for consistency in color and texture. Press them between your fingers and check for moisture beads – there shouldn't be any. Look carefully for signs of mold or uneven drying, which could indicate problems in your process.
For precise results, you can calculate the final weight using the raw weight and desired solids percentage. Aim for 80% solids (20% water content) in your dried apples.
Remember that drying times typically range from 6 to 12 hours when sun-drying at 85°F or above, with humidity below 60%. Check your apples more frequently during the final drying stages, as they'll dry faster then.
Storage and Preservation Methods
Successfully storing your dried apples requires careful attention to both container selection and storage conditions. You'll want to use glass jars with airtight lids or quality plastic containers to prevent moisture from compromising your dried fruit. Remember to choose smaller containers when possible, as frequent opening can introduce unwanted moisture.
Store your dehydrated apples in a cool, dark place away from direct sunlight. A pantry, cupboard, or dry basement works well, as long as you maintain consistent temperature and humidity levels.
For ideal preservation, you'll need to:
- Label and date all containers clearly
- Check periodically for signs of moisture or condensation
- Shake containers occasionally to redistribute any residual moisture
Your properly stored dried apples can last 6-12 months, but you can extend their shelf life even further by using a vacuum sealer or freezing them.
Consider conditioning your apples before final storage by loosely packing them in jars and monitoring for moisture development over a week. If you notice any signs of mold or spoilage, don't take chances – discard the affected batch immediately.
Frequently Asked Questions
Can I Sun-Dry Apples During Winter Months With Greenhouse Assistance?
You shouldn't sun-dry apples in winter, even with a greenhouse. Winter's limited sunlight and cold temperatures won't maintain the needed 85-95°F consistently. It's better to use an electric dehydrator during cold months.
Will Pesticide Residue Affect the Drying Process of Unwashed Apples?
You'll find that pesticide residues won't affect your drying process, but they'll remain concentrated in the dried apples. It's best to wash and peel your apples first to reduce harmful chemical exposure.
Does Altitude Impact the Required Drying Time for Sun-Dried Apples?
Yes, altitude will affect your apple drying time. You'll find faster drying at higher elevations due to lower air pressure and humidity. Keep in mind that temperature drops with altitude, so monitor conditions carefully.
Can I Mix Different Apple Varieties on the Same Drying Rack?
Yes, you can mix different apple varieties on the same drying rack. Just make sure you slice them to uniform thickness. While drying times may vary slightly, it won't greatly affect the process or final quality.
Do Certain Apple Varieties Retain More Nutrients After Sun Drying?
You won't find significant nutrient retention differences between apple varieties during sun drying. It's your drying method, pre-treatment choices, and handling practices that'll have the biggest impact on preserving nutrients.
In Summary
You'll find that sun-dried apples are a rewarding way to preserve your harvest when you hit that 85-95°F sweet spot. While the process requires patience and attention to weather conditions, your efforts will result in delicious, naturally preserved fruit that can last for months. Keep practicing these techniques, and you'll soon master the art of sun-drying apples in your own backyard.


Leave a Reply