Your root cellar needs consistent attention throughout the year to maintain ideal storage conditions. You'll start with spring cleaning in March, removing spoiled produce and sanitizing surfaces. Summer months focus on garden planning and early harvests, while August and September require careful crop gathering and curing. Fall brings the main storage setup, where you'll organize produce by type and monitor temperature levels. Winter demands regular checks on ventilation, humidity (85-95%), and temperature (32-40°F). You'll also need to rotate stored items and watch for pest activity. A well-maintained root cellar can transform your food preservation strategy.
Planning Your Root Cellar Storage
A well-planned root cellar provides a natural cold storage solution that'll keep your harvest fresh throughout the year. Regular monitoring with thermometers and hygrometers ensures optimal storage conditions. To get started, you'll need to determine the right size for your needs. For most families, an 8-by-10-foot space works well, though if you're storing less, a 5-by-8-foot area can hold up to 30 bushels of produce.
Choose your location carefully by looking for a shady spot on the north side of your house, preferably built into a hill. You'll want to avoid areas with high water tables and guarantee proper drainage.
When designing your space, incorporate ventilation through windows or adjustable exhaust pipes to maintain ideal humidity levels.
For insulation, install 2-inch rigid sheets of urethane or Styrofoam on the roof, covered with 6-mil polyethylene. Add 2 to 4 feet of earth on top and plant grass for stability.
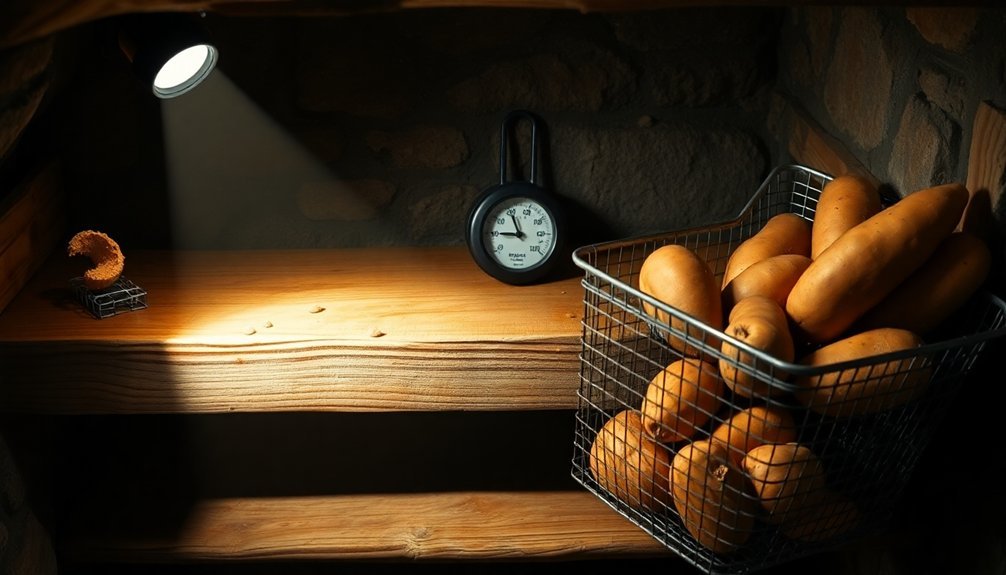
Inside, build your shelving with rot-resistant woods like cedar, avoiding treated lumber that could contaminate your produce. Install shelves with 1 to 2-inch cleats at the back for air circulation, and lay gravel on the floor for drainage.
If needed, supplement insulation with hay bales or leaves during extreme weather.
Spring Cleaning and Organization
As you begin your spring cleaning tasks, start by removing any old or spoiled produce from your root cellar to prevent the spread of mold and bacteria.
You'll need to thoroughly sanitize all surfaces, including shelves, walls, and floors, using appropriate cleaning solutions and lime washing treatments. Working from top down ensures you won't have to re-clean lower areas as dust and debris fall.
Once the space is clean, restore ideal storage conditions by checking ventilation systems, adjusting humidity levels, and organizing storage containers for better air circulation.
Clear Out Old Produce
Regular inspection and removal of old produce forms the foundation of effective root cellar maintenance.
You'll need to check each item carefully for signs of spoilage, including mold, rot, or disease. Remove any vegetables that have sprouted or deteriorated, and pay special attention to ethylene-producing items that might've hastened the ripening of nearby produce. Regular food inventory tracking helps minimize waste and ensures proper stock rotation.
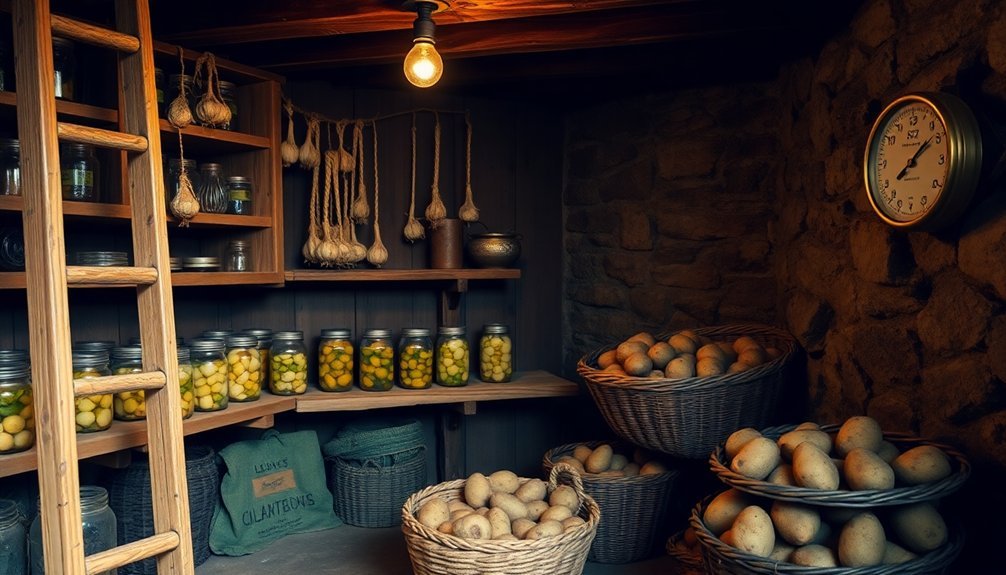
Once you've cleared out spoiled items, organize your remaining produce to guarantee proper air circulation. Use baskets or bins to keep vegetables separated and easily accessible.
It's crucial to store ethylene-sensitive and ethylene-producing vegetables apart to prevent premature ripening.
Before storing new produce, prepare it properly. Remove excess dirt, and cure items like onions, garlic, and squash in a warm, dry place.
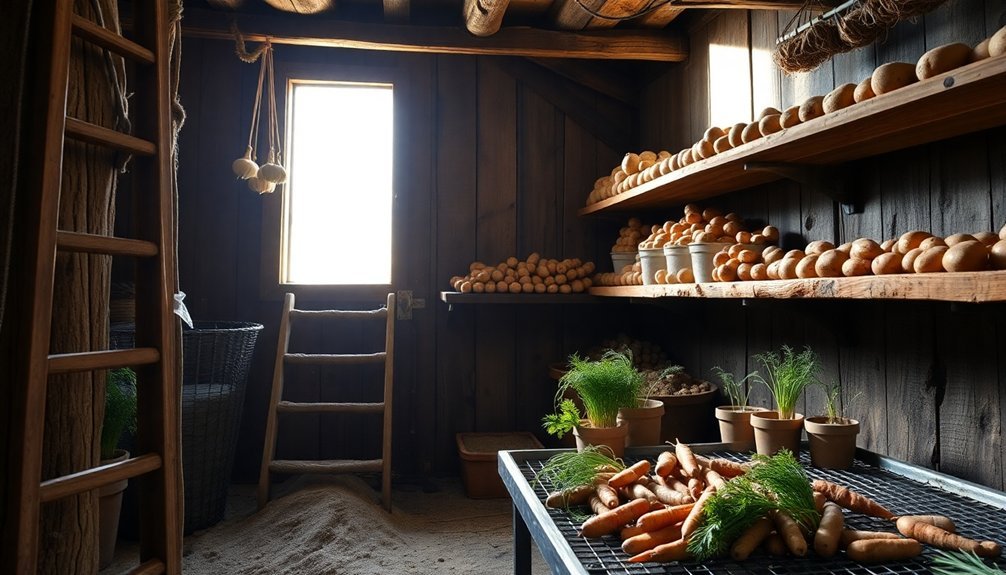
Select only undamaged specimens for storage, and don't forget to clip off leafy tops from root vegetables like carrots and beets.
Maintain ideal storage conditions by regularly checking temperature and humidity levels. Keep the temperature between 32-40°F and humidity at 85-95%.
You'll need to adjust ventilation as needed and sanitize the storage area regularly to prevent bacterial or fungal growth.
Deep Clean Storage Areas
Spring cleaning your root cellar requires a thorough deep clean and reorganization to prepare for the upcoming storage season.
Start by removing all items and purging anything that's spoiled or expired. If you find non-perishable goods nearing their expiration date, consider donating them to local food banks.
Once you've cleared the space, sanitize all surfaces with a mild disinfectant to eliminate bacteria and prevent cross-contamination. Clean the shelves, walls, and floors thoroughly, and make sure proper drainage to prevent moisture buildup.
If you're using natural materials like dirt or gravel for humidity control, check and refresh them as needed.
Check your ventilation system and make any necessary adjustments to maintain ideal temperature and humidity levels. You'll want to inspect insulation materials, whether you're using straw bales, foam board, or earth insulation, and repair or replace as needed.
Install small drainage holes in storage containers if they're lacking proper airflow.
As you return items to storage, organize them in easily accessible baskets or bins. Keep ethylene-producing vegetables separate from ethylene-sensitive ones, and space out produce to allow for proper air circulation.
Set up a rotation system to prevent spoilage and maintain freshness.
Restore Optimal Conditions
Throughout the spring season, restoring your root cellar to ideal conditions requires careful attention to both temperature and humidity levels.
You'll need to maintain temperatures between 32-40°F (0-4°C) and humidity levels of 85-95%. Check your insulation materials, such as straw bales or foam board, and repair or replace them as needed to maintain these prime conditions.
Monitor your ventilation system regularly to adjust temperature and humidity. If you notice fluctuations, make immediate adjustments to prevent produce spoilage. Use proper storage containers and arrange your vegetables in categories, ensuring adequate air circulation between items.
Don't forget to separate ethylene-producing vegetables from ethylene-sensitive ones to prevent premature ripening.
Inspect your root cellar's structural elements, addressing any damage or moisture issues promptly. Check that your drainage system effectively manages spring rains, and verify that your wood materials remain sturdy and properly treated.
Clean and sanitize all surfaces, including shelves, walls, and floors, to prevent mold growth. Remove any spoiled items immediately and rotate your produce regularly to maintain even air distribution throughout the storage space.
Early Summer Garden Preparations
Planning your early summer garden requires careful attention to both timing and organization. You'll need to evaluate your available space, understand your climate conditions, and select plants that'll thrive in your specific environment. Group your chosen vegetables based on their water and sunlight needs, and implement companion planting strategies to maximize space while naturally deterring pests.
Start by preparing your soil several weeks before planting. Test your soil's composition and add necessary amendments to achieve ideal growing conditions. Loosen the soil to improve drainage and aeration, but don't work it when it's wet. You'll want to incorporate quality compost to enhance soil structure and fertility.
Begin your seeds indoors before the last frost date, using sterile starting mix and containers with proper drainage. While your seedlings grow, install your irrigation system and set up structural supports like trellises and stakes.
Don't forget to place these supports before transplanting to avoid disturbing root systems later. Consider using floating row covers to protect your young plants from pests and create a favorable microclimate. Monitor your irrigation setup regularly to guarantee consistent watering throughout the growing season.
Late Summer Harvest Schedules
You'll want to schedule your root vegetable harvests in late summer through early fall, with timing specific to each crop's frost tolerance and maturity dates.
For a smooth harvest process, plan multiple picking days where you'll focus on one vegetable type at a time, allowing proper post-harvest cooling and storage preparation.
Remember to gather your last-chance garden crops before the first hard frost hits, typically between October 7-14 in central Virginia, ensuring you've maximized your growing season's yield.
Timing Root Vegetables Right
Success in late summer root vegetable harvests depends on precise timing and planting schedules. You'll need to start planting beets and carrots no later than August 1 to guarantee they reach full size before frost.
For continuous harvests, you can plant quick-growing radishes throughout late summer, while turnips and rutabagas should go in during August or early September.
Watch your soil temperature and moisture levels carefully during this period. You'll want to keep the soil consistently moist to support root development.
If you're planning to store these vegetables through winter, timing becomes even more critical. Plant your root crops with enough time to reach maturity before your area's first frost date – for instance, if you're in Indianapolis, you'll need everything mature by mid-October.
When harvest time arrives, you've got options. You can pull medium-sized roots as needed or leave some vegetables in the ground under a protective layer of straw or mulch for extended harvesting.
For storage, you'll want to create the right environment – cool and moist – using materials like sand, peat moss, or sawdust to maintain freshness.
Staging Multiple Harvest Days
A well-organized late summer harvest requires three distinct staging periods spread across August and September.
You'll need to coordinate your harvest days based on crop maturity, storage requirements, and ideal weather conditions. Start by identifying which vegetables need immediate processing and which ones can wait, then group them according to their harvest and storage needs.
To maximize your root cellar's effectiveness, you'll want to schedule your harvests during the cooler morning hours after the dew has dried. This timing helps preserve crop quality and makes the sorting process more manageable.
Remember that certain vegetables, like onions and potatoes, need curing time before storage, so factor this into your staging schedule.
- Stage early August harvests for quick-maturing crops and any vegetables showing signs of readiness.
- Plan mid-August collection for main storage crops, allowing adequate time for proper curing.
- Schedule late August/early September harvests for cold-hardy vegetables and final storage crops.
- Reserve several mid-September days for gleaning and collecting any remaining root vegetables.
Focus on maintaining consistent harvest patterns and proper handling techniques during each stage to guarantee your produce stays fresh throughout storage.
Last-Chance Garden Pickings
The final weeks of summer offer critical opportunities to gather the last round of garden produce before fall sets in.
You'll want to focus your harvesting efforts during early morning hours when vegetables are at their crispest and most hydrated state.
For your root vegetables, you've got until August 1st to plant carrots, beets, and turnips if you're aiming for full-sized roots by fall.
Don't forget about your leafy greens – they're perfect for August planting as they perform better in cooler temperatures.
If you've planted summer squash or cucumbers in July, you'll need to harvest them every 2-3 days to maintain productivity.
Protect your final harvests from wildlife by maintaining proper fencing – at least 8 feet high for deer and 3 feet for smaller creatures like rabbits.
You can also use deterrents like hot pepper or garlic flakes around vulnerable areas.
If you're growing corn, consider an electric fence to keep raccoons at bay.
Store your harvested vegetables properly in a cool, dark place to maintain their quality.
For crops like broccoli, cabbage, and kale, you can wait a bit longer as they'll withstand light frost.
Fall Storage Setup
Preparing your root cellar for fall storage requires careful attention to both cleaning and organization. Before you bring in your harvest, thoroughly clean the space, repair any structural damage, and guarantee proper ventilation.
You'll want to check that your drainage system is working correctly and add necessary insulation using materials like straw bales or foam board.
Set up your storage area with well-spaced shelves and bins that allow for proper air circulation. It's vital to maintain temperatures between 32-40°F and humidity levels of 85-95%. Keep different types of produce separated to prevent cross-contamination and use dampened leaves or straw to maintain moisture levels.
- Assess your produce carefully – select only ripe, undamaged fruits and vegetables that are known for their storage qualities
- Cure storage crops like onions, garlic, and potatoes before placing them in storage
- Create zones within your cellar based on produce type and storage requirements
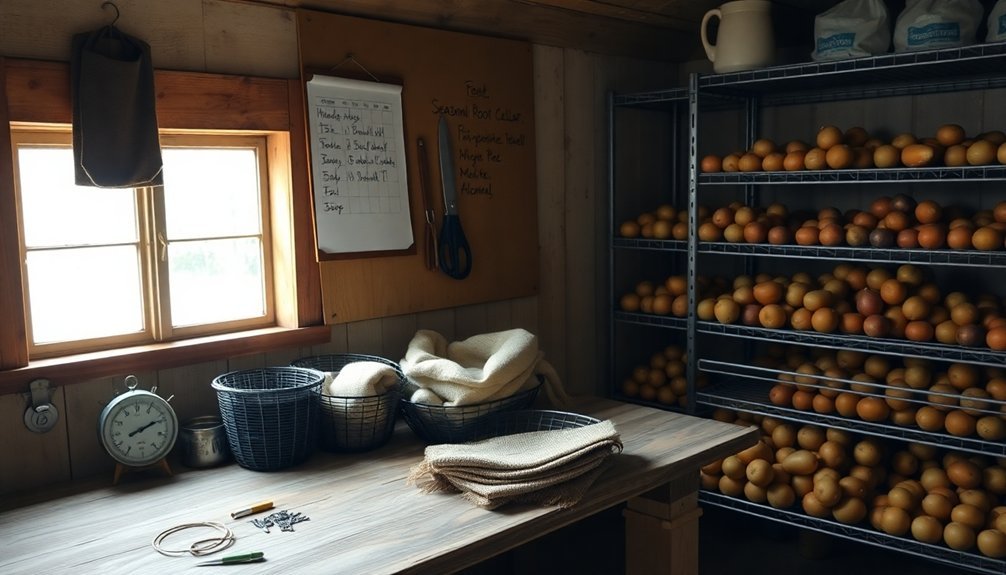
- Install monitoring tools to track temperature and humidity levels throughout the season
Remember to keep the space dark and check your stored items regularly for signs of spoilage. Remove any affected produce immediately to prevent spread to healthy items.
Winter Maintenance Essentials
Successful winter storage demands consistent monitoring and adjustment of your root cellar's essential systems. During cold months, you'll need to check temperatures daily, guaranteeing they stay between 32 and 40°F.
Monitor your ventilation system carefully, adjusting vents to prevent excessive chilling while maintaining proper airflow.
Watch your humidity levels closely and use sealed plastic containers or perforated bags to create micro-climates for moisture-sensitive vegetables. If you notice condensation building up, open your vents briefly during cold nights to regulate moisture levels and prevent ethylene gas accumulation.
You'll need to inspect your stored produce at least weekly for any signs of spoilage. Remove damaged items immediately to protect your healthy produce.
When temperatures drop severely, check your insulation's effectiveness and confirm your 6-mil polyethylene barrier remains intact over your insulation layers.
Don't forget to rotate your stored items, using older produce first to prevent waste. Keep the space dark and verify that your floor stays dry.
If you've properly insulated with foam boards or straw bales and maintained your 2-4 feet of earth cover, you'll have minimal temperature fluctuations to manage.
Monitoring and Pest Control
Regular monitoring guarantees your root cellar's long-term storage success. You'll need to check temperature and humidity levels daily using a digital thermometer with a hygrometer, ensuring temperatures stay between 32-40°F. For ideal storage, maintain humidity levels of 90-95% for root vegetables like beets and carrots, while keeping it at 80-90% for apples and potatoes.
Proper air circulation is essential to prevent ethylene gas buildup and maintain consistent temperatures. Install fans to move air throughout the space and use adjustable vents to control humidity levels. You'll want to circulate cool night air through windows or exhaust pipes when temperatures permit.
- Check stored vegetables weekly for signs of spoilage, including mold, discoloration, or sprouting.
- Keep ethylene-producing foods separate from root vegetables using sealed containers.
- Monitor air circulation patterns to prevent dead spots where moisture can accumulate.
- Document temperature and humidity fluctuations to identify and address potential issues quickly.
Store vegetables in perforated containers to reduce pest risks while maintaining airflow.
Regular cleaning prevents mold growth and removes decaying matter that might attract pests, ensuring your stored produce remains fresh throughout the storage period.
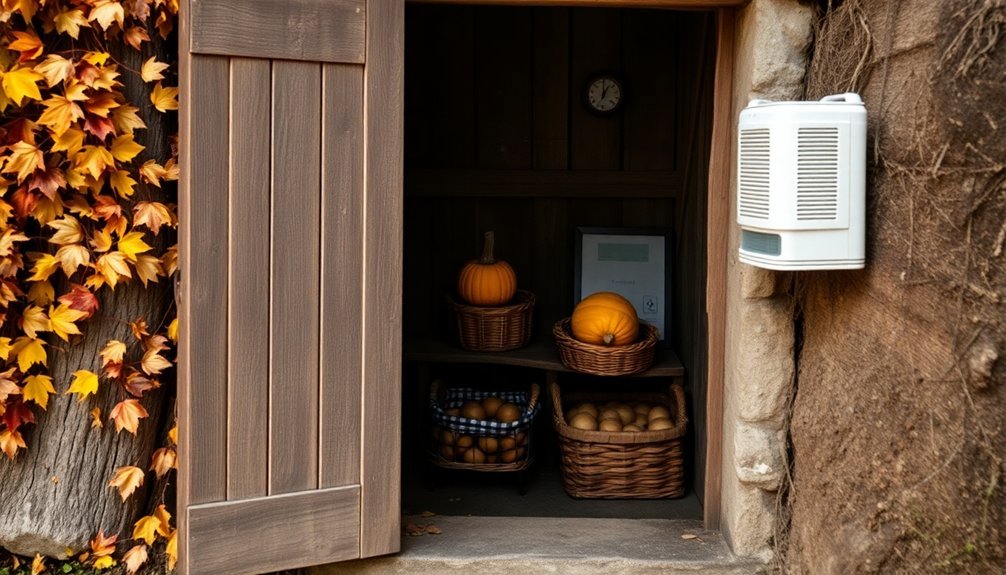
Root Cellar Ventilation Systems
A well-designed ventilation system forms the backbone of your root cellar's storage environment. To maintain ideal conditions, you'll need both intake and outlet vents positioned strategically: intake vents near the floor and outlet vents near the ceiling on opposite sides of your cellar.
| Ventilation Task | Frequency |
|---|---|
| Check vent screens for damage | Monthly |
| Clear debris from vents | Bi-weekly |
| Adjust vent openings | Daily/Seasonal |
| Monitor airflow effectiveness | Weekly |
You'll want to open your vents during cool nights and close them during warm days to maintain favorable temperatures. Don't forget to install screens on all vents to keep pests out while allowing proper air circulation. During winter months, seal your vents tightly using packed cloth, expanding foam, or rubber gaskets to maintain insulation.
For larger cellars, consider installing multiple vents to guarantee extensive air circulation. Your ventilation system should effectively manage humidity levels and prevent ethylene gas buildup, which can cause premature produce spoilage. Remember to extend outlet vent pipes if you notice warm air isn't being expelled efficiently. Regular maintenance of your ventilation system is vital for preserving the flavor and quality of your stored produce.
Frequently Asked Questions
Can I Store Fruits and Vegetables Together in the Same Root Cellar?
You shouldn't store most fruits and vegetables together in your root cellar. Fruits release ethylene gas that can spoil vegetables, and they need different humidity levels. Use separate containers or areas for best results.
How Do I Prevent Mold Growth on Wooden Storage Shelves?
You can prevent mold on wooden shelves by keeping humidity below 60%, ensuring proper ventilation, applying a wood sealant, regularly cleaning with a bleach solution, and maintaining space between items for airflow.
What's the Best Backup System During Power Outages Affecting Ventilation?
You'll want to install a gas-powered generator with automatic transfer switch as your primary backup, and maintain proper manual vent control as a secondary measure to guarantee continuous airflow during power outages.
Should I Wash Produce Before Storing or Leave Soil Attached?
You'll want to leave soil attached to root crops for better moisture retention, but wash above-ground produce and dry thoroughly. Don't wash berries until you're ready to eat them to prevent premature spoilage.
How Often Should Root Cellar Insulation Materials Be Replaced?
You'll need to replace your root cellar insulation every 15-30 years, depending on the material used. However, check it annually for damage, moisture, or pest issues that might require earlier replacement.
In Summary
You'll get the most from your root cellar by following these monthly maintenance tasks throughout the year. Keep your storage area clean, monitor temperature and humidity levels regularly, and stay ahead of potential pest problems. With proper planning and consistent care, you'll enjoy fresh, homegrown produce well beyond the harvest season. Start implementing these guidelines now to maximize your root cellar's effectiveness.


Leave a Reply