You'll need these seven essential fixes to keep your salt box in prime condition. Start by realigning magnetic closures or upgrading to stronger magnets for a secure seal. Prevent salt clumping by using moisture absorbers like rice or silica packets. Fix cracked wood joints with appropriate fillers, pressing firmly and allowing proper drying time. Replace rusty hinges with brass or stainless steel alternatives. Control moisture through proper ventilation and storage practices. Restore worn finishes using food-safe oils and waxes. Reinforce loose box bottoms to prevent salt leakage. These proven maintenance techniques will transform you into a salt box repair expert.
Fixing Stubborn Magnetic Closures
Struggling with a stubborn salt box lid that won't stay shut? Your magnetic closure likely needs attention.
First, check if your magnets are properly aligned by marking their positions on both the lid and base. Use a marker to transfer the alignment points, guaranteeing you've matched the correct poles for maximum magnetic force.
If alignment isn't the issue, inspect the magnets themselves. They might be too weak or have become loose over time. Replace them with appropriate rare earth magnets that match your salt box's size and weight. Your salt box should use food-safe wax finish to protect the wood and magnetic components.
When installing new magnets, clean the surfaces thoroughly and drill precise holes that allow the magnets to sit flush. Apply a suitable adhesive and let it cure completely before use.
For ongoing maintenance, regularly check for debris between the magnets and verify they haven't started to corrode. If you notice inconsistent closure, examine whether the lid's pin is interfering with the magnetic connection.
You'll want to test the closure multiple times after any adjustments. Remember to choose magnets with durable coatings, especially if your kitchen experiences high humidity.
If problems persist, consider adjusting the depth of the magnet holes or upgrading to stronger magnets.
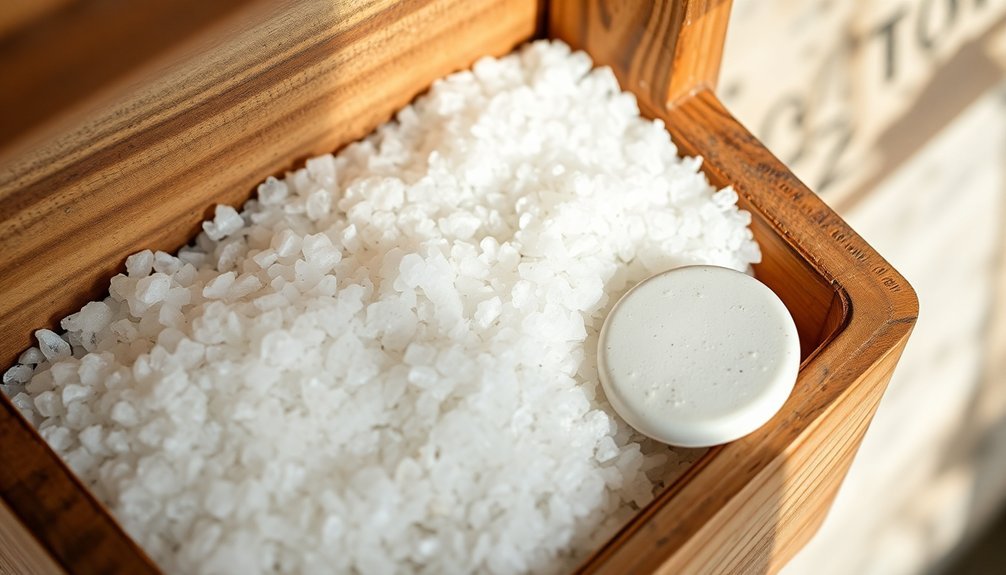
Preventing Salt From Clumping
While salt is a kitchen essential, keeping it from clumping requires strategic storage methods and moisture control. You'll find that proper storage containers make a notable difference – opt for glass or ceramic containers with airtight, moisture-proof caps. Keep your salt away from stoves, sinks, and other humid areas, preferably in a cool, dark pantry. Temperature fluctuations near cooking areas can cause moisture condensation inside containers.
To absorb excess moisture, you've got several effective options. Add uncooked rice, silica gel packets, or dried beans to your salt container. For a natural approach, try whole coffee beans or dried parsley leaves, which won't affect the salt's flavor notably.
| Method | Effectiveness | Replacement Needed |
|---|---|---|
| Rice | High | Every 3-4 months |
| Silica Packets | Very High | When saturated |
| Clay Disks | Medium | Reusable after drying |
During monsoon seasons, take extra precautions by using multiple moisture-absorbing methods. You might combine a clay disk with uncooked rice for maximum effectiveness. If your salt does clump, don't worry – a grinder can help break up the chunks, though it's better to prevent clumping in the first place through proper storage and moisture control.
Repairing Cracked Wood Joints
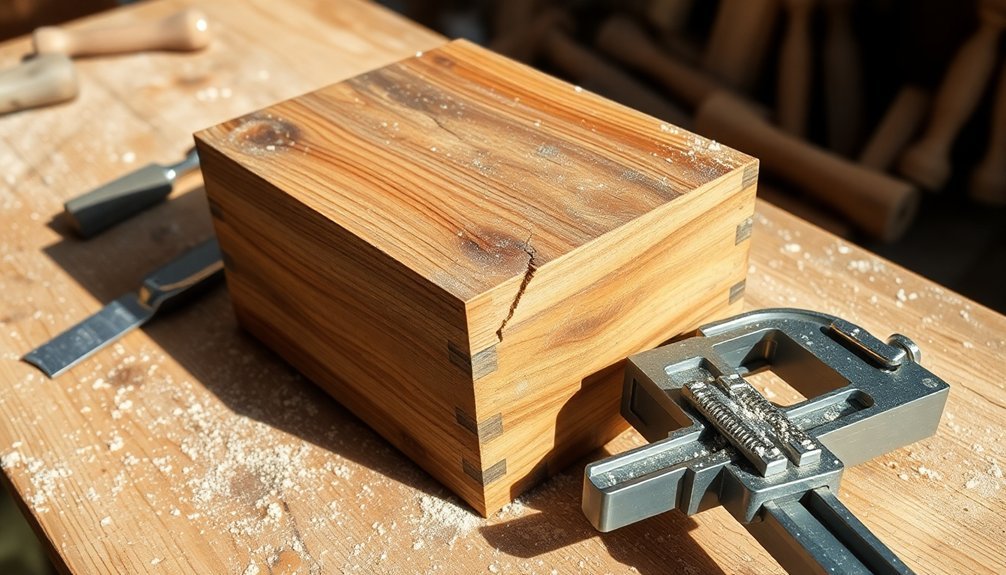
Before you fix any cracked wood joints in your salt box, take time to thoroughly inspect the damage and determine if you're dealing with a simple crack or a more serious structural issue.
You'll need to remove any dirt, old glue residue, or debris from the joint before starting your repair work. Using hot water or vinegar can help remove stubborn adhesive residue from wooden joints.
Once the joint is clean, carefully apply wood filler to small cracks, making sure to press it firmly into the damaged areas and smooth it level with the surrounding wood surface.
Assess Joint Damage First
Proper joint assessment forms the foundation of any successful wood repair project. When you're faced with a damaged salt box, you'll need to first identify the type of joint that's failing and understand its original purpose. Check if you're dealing with a miter, lap, dado, or other joint type, as this will determine your repair approach.
Begin your assessment by looking for obvious signs of damage. You'll want to inspect for gaps between components, misalignments, or loose fasteners. Check if there's adequate glue coverage or if the joint is suffering from glue starvation.
Pay special attention to any splitting, separation, or signs of wood movement due to humidity changes. Don't overlook the importance of examining cross-grain construction issues, as these can lead to future failures.
If you notice inaccurate cutting or poor surface preparation, these factors will influence your repair strategy. Once you've identified the specific problems, you can determine whether the joint needs simple reinforcement with adhesives and fasteners, or if it requires complete rebuilding.
Remember that proper assessment will save you time and guarantee a lasting repair that maintains your salt box's functionality.
Apply Wood Filler Correctly
Restoring cracked wood joints in your salt box starts with selecting and applying the right wood filler. For indoor salt boxes, choose a water-based filler that matches your wood's color. If your salt box stays outdoors, opt for a solvent-based exterior filler to withstand weather conditions.
Before applying the filler, clean the cracked joint thoroughly and remove any loose particles or old filler. Sand the area around the crack to expose bare wood, then wipe away dust with a damp cloth. Let the surface dry completely before proceeding.
Press the filler firmly into the crack using a putty knife – plastic for water-based fillers, metal for solvent-based ones. You'll want to overfill slightly since the material shrinks while drying. For deeper cracks, apply multiple layers, allowing each to dry before adding the next.
Once the filler's completely dry (check manufacturer's instructions for timing), sand the area until it's flush with the surrounding wood. Wipe the surface clean, then test your chosen stain on a small area to verify it matches.
Apply your finish only after you're satisfied with the color match.
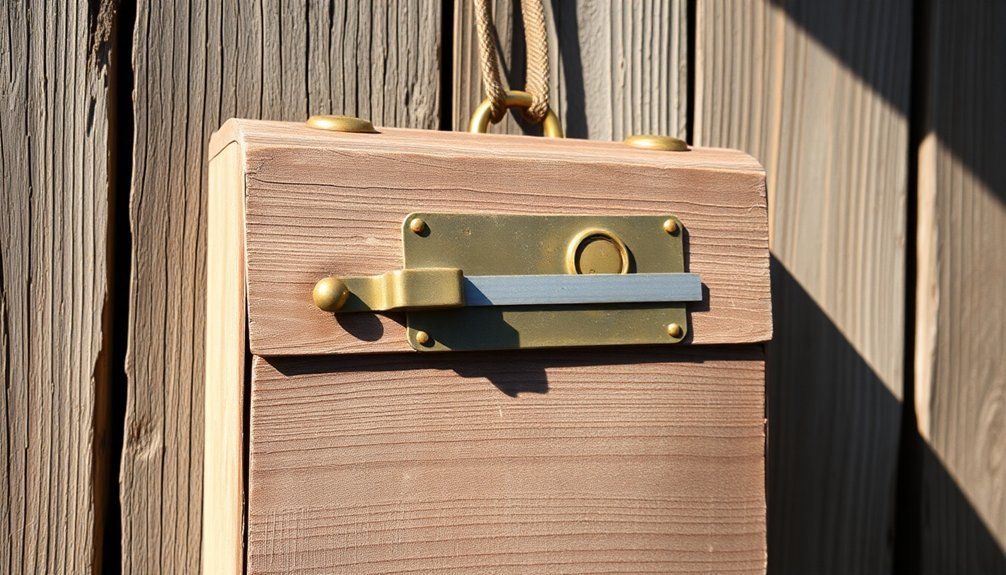
Dealing With Rusty Hinges
When you're tackling rusty hinges on your salt box, it's smart to start with prevention by applying mineral oil or beeswax before rust takes hold.
For quick emergency fixes, you'll want to use household items like cola or vinegar to dissolve existing rust and restore movement to the hinge.
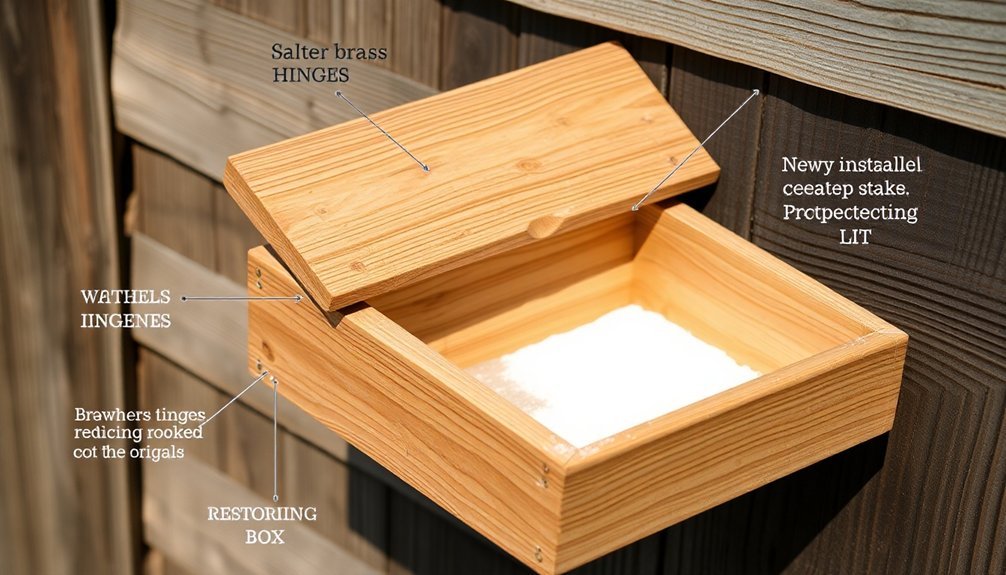
If your hinges are beyond repair, don't hesitate to upgrade to brass or stainless steel hardware that'll better withstand moisture and prevent future rusting.
Prevent Rust Before Starting
Your salt box hinges deserve protection before they ever touch corrosive materials. Start by thoroughly degreasing the hardware with denatured alcohol or soap and water to create a clean surface for treatment.
You'll need to select the right protective coating based on your specific environmental conditions. For coastal areas or regions with high humidity, opt for Rust-Oleum Stops Rust Spray Paint, which creates an excellent barrier against salt and moisture.
If you're looking for a clear finish, Krylon Clear Lacquer Spray provides durable protection while maintaining the hinge's original appearance. Alternatively, Valspar Anti-Rust Armor offers superior protection against corrosion.
Before applying any coating, consider your property's specific conditions. Take note of shaded areas and sun exposure, as these factors will affect your hardware's longevity.
You can use a vinegar and salt solution or citric acid mixture to prepare zinc-coated surfaces for treatment. For a more aggressive approach, gun blue provides rapid protection but requires careful handling.
Remember to treat all screws and hardware components consistently to guarantee uniform protection. Regular inspections and maintenance will help you spot potential issues before they become serious problems.
Quick Emergency Rust Fixes
Rusty salt box hinges don't have to spell disaster for your homestead storage. When you notice rust forming, you'll need to act quickly to prevent further damage. Start by removing the hinges carefully with a screwdriver, making sure to set aside all screws for later use. Place a drop cloth underneath to protect your floor from debris and rust particles.
You've got several effective options for rust removal. Use a wire brush or steel wool to scrub away surface rust, wearing protective gloves and goggles during the process. For stubborn rust, soak the hinges in vinegar or try an unconventional method using cola – the phosphoric and carbonic acids will help break down the rust. Let them soak for several hours, checking periodically for progress.
Once you've removed the rust, thoroughly clean the hinges with dish soap and dry them completely. Apply WD-40, silicone spray, or white lithium grease to all moving parts, working the lubricant in by moving the hinges back and forth.
When reattaching, align the hinges carefully and secure them firmly without overtightening. Wipe away any excess lubricant with a clean rag.
Replace With Better Hardware
Sometimes replacing old hinges entirely proves more cost-effective than attempting multiple repairs.
When you're ready to upgrade your salt box's hardware, gather your tools first: a screwdriver, new hinges, screws, hammer, and chisel. Clear your workspace and protect yourself with safety goggles and gloves before starting.
Begin by removing the old hinges from the bottom up. If you encounter stubborn, rusted screws, apply penetrating oil to loosen them. Once you've removed all screws, lift the door carefully and place it on a flat surface.
Before installing new hinges, you'll need to:
- Clean the attachment areas thoroughly with sandpaper or steel wool
- Fill any damaged spots with wood filler and let it dry completely
- Pre-drill pilot holes to prevent wood splitting
- Apply painter's tape if you plan to paint afterward
Position the new hinges exactly where the old ones were, using a pencil to mark screw holes. Install the hinges on the door first, then attach them to the frame.
Double-check all screws are tight and properly secured. This replacement should give your salt box many more years of reliable service.
Eliminating Moisture Build-Up
Moisture's relentless invasion into living spaces can wreak havoc on homestead structures and belongings. You'll find salt to be your natural ally in this battle, as it effectively absorbs excess moisture from the air. Place a kilogram of coarse salt in open containers throughout your space, and replace it when it turns black or becomes wet.
| Location | Solution | Benefit |
|---|---|---|
| Bathrooms | Install vents | Reduces shower steam |
| Kitchen | Cover moist foods | Prevents vapor emission |
| Walls | Seal openings | Blocks moisture entry |
| Storage areas | Use salt boxes | Absorbs ambient moisture |
You can maximize your moisture control by implementing proper ventilation strategies. Install air vents in high-moisture areas like bathrooms and kitchens, and guarantee adequate air circulation throughout your homestead. Don't forget to maintain positive air pressure in your spaces by sealing openings and controlling airflow.
Keep surfaces warm above the dew point to prevent condensation, and use condensation-resistant coatings where needed. For additional protection, you can place bowls of baking soda covered with thin cloth in areas prone to dampness, creating multiple moisture control points throughout your homestead.
Restoring Worn Finishes
While protecting your homestead from moisture is essential, your salt boxes themselves need proper care to maintain their functionality. When you notice your salt box's finish wearing thin, it's time for restoration to prevent damage to the wood underneath.
You'll want to choose a finish that's both protective and food-safe, as salt can be particularly corrosive. For the best results, start by cleaning the surface thoroughly and letting it dry completely.
Here are the most effective finishes you can use for your salt box:
- Mineral oil – non-toxic and food-safe, perfect for regular maintenance
- Natural waxes – water-resistant and easy to apply, like Big Mama's Butta
- Food-safe oils – such as coconut or olive oil for frequent touch-ups
- Multiple thin coats – build up protection gradually for best results
Apply your chosen finish in thin, even layers, allowing each coat to dry thoroughly before adding the next. If you notice peeling or chipping, sand the affected area gently before reapplication.
Don't forget to regularly inspect your finish for wear and reapply as needed, especially in high-use areas where salt contact is frequent.
Reinforcing Loose Box Bottoms
Loose box bottoms can quickly turn a functional salt box into a frustrating mess, requiring immediate attention to prevent salt from spilling everywhere. You'll need to strengthen the bottom with plywood, guaranteeing it's properly glued and fitted to create a lasting repair.
| Task | Method |
|---|---|
| Preparation | Cut plywood to fit flush with back and sides |
| Assembly | Apply glue carefully to minimize squeeze-out |
| Clamping | Use heavy weight with fat caul in back |
| Fitting | Guarantee back edge aligns perfectly |
| Support | Add splines near top for miter strength |
| Finishing | Paint exterior, shellac interior |
When reinforcing the bottom, you'll want to cut your plywood precisely to match the box dimensions. Apply glue directly to the box for immediate reinforcement, using clamps and cauls to maintain even pressure during drying. Don't forget to keep the assembly square throughout the process. For extra stability, you can add splines toward the top of the miter joints and use veneer in sawkerfs if needed. Remember to shellac the interior surfaces, excluding the bottom, to maintain food safety standards. The exterior of the plywood bottom can be painted to match your box's aesthetic.
Frequently Asked Questions
How Often Should I Replace the Salt in My Wooden Salt Box?
You should replace your salt box's contents every 3-6 months, or sooner if you notice clumping, moisture, or off-odors. Using a tight-fitting lid and keeping it away from heat will extend its freshness.
Can I Use Essential Oils to Naturally Disinfect My Salt Box?
You shouldn't use essential oils to disinfect your salt box, as oils can contaminate your salt and affect its preservation properties. Instead, clean it with dry cloth and let sunlight naturally disinfect it.
What's the Ideal Height Placement for a Wall-Mounted Salt Box?
You'll want to mount your salt box between waist and chest height, typically 3-4 feet from the floor. This guarantees easy access while cooking and prevents strain from reaching too high or low.
Should I Line My Salt Box With Food-Grade Silicon or Natural Material?
You'll want to choose food-grade silicon for your salt box lining. It offers superior moisture protection, prevents clumping, and is easier to clean. Plus, it's more durable and won't degrade like natural materials.
How Do Temperature Fluctuations Affect Wooden Salt Box Maintenance?
Temperature fluctuations can severely damage your wooden salt box. You'll need to store it at room temperature, away from heat sources, and maintain regular oiling to prevent warping, splitting, and cracking of the wood.
In Summary
You'll find these seven salt box repairs essential for maintaining your homestead's food preservation system. Whether you're fixing magnetic closures or preventing moisture damage, regular maintenance keeps your salt dry and accessible. Don't let a broken salt box disrupt your curing and preserving routines. With these simple fixes, you'll extend your box's life and guarantee your salt stays ready for use year-round.


Leave a Reply