Salt-box curing takes six weeks because salt penetrates meat at approximately one inch per week, and most cuts need thorough preservation throughout their thickness. You'll need this extended time frame to allow the salt to properly draw out moisture (18-25%) and transform the meat's proteins through osmosis. During this period, you must maintain temperatures between 32-40°F while the salt gradually moves inward, creating an environment that prevents harmful bacteria growth and develops complex flavors. The process can't be rushed, as proper curing requires both dehydration and complete protein transformation – factors that help explain why traditional curing methods have stood the test of time.
The Science Behind Salt Curing
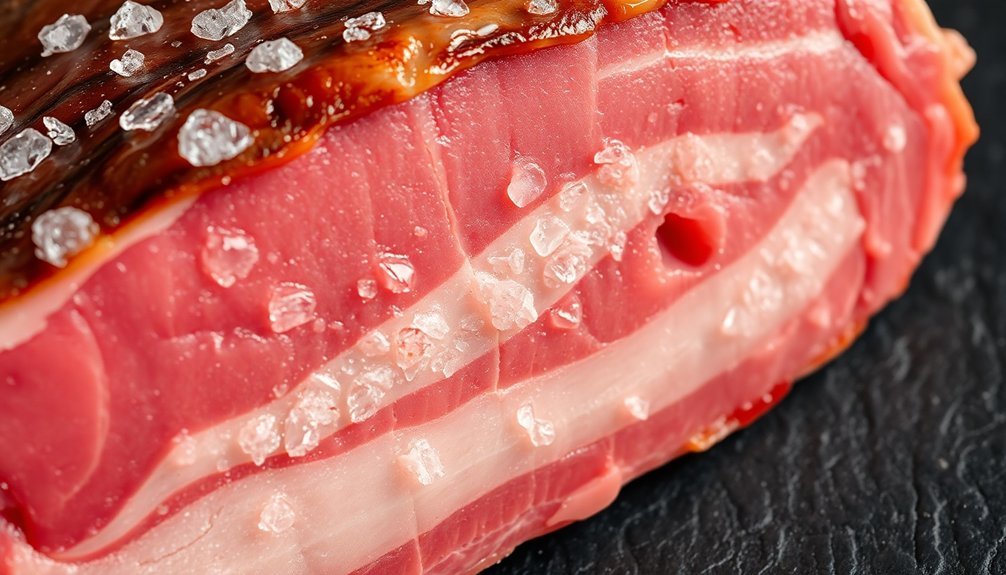
Every part of salt curing relies on a fascinating scientific process that transforms raw meat into a preserved delicacy. When you apply salt to meat, it triggers an immediate osmotic reaction where the salt creates pressure differences between the inside and outside of the meat's cells. This pressure forces water to rush out of the cells as your meat attempts to balance the concentration.
You'll notice your meat becoming firmer as it loses 18-25% of its original moisture content. This dehydration isn't just about texture – it's creating an environment where harmful bacteria like Listeria can't survive. The salt's also working to slow down oxidation, which means the fats in your meat won't turn rancid as quickly. Proper salt curing produces a tangy savory flavor that develops during the aging process.
When you add nitrites and nitrates to the curing process, you're providing extra protection against dangerous bacteria, particularly Clostridium botulinum. These compounds interact with the meat's amino acids to form nitric oxide, which helps maintain that characteristic bright color you see in cured meats.
As the process continues, beneficial molds like Penicillium may develop, contributing to the complex flavor profile of your finished product.
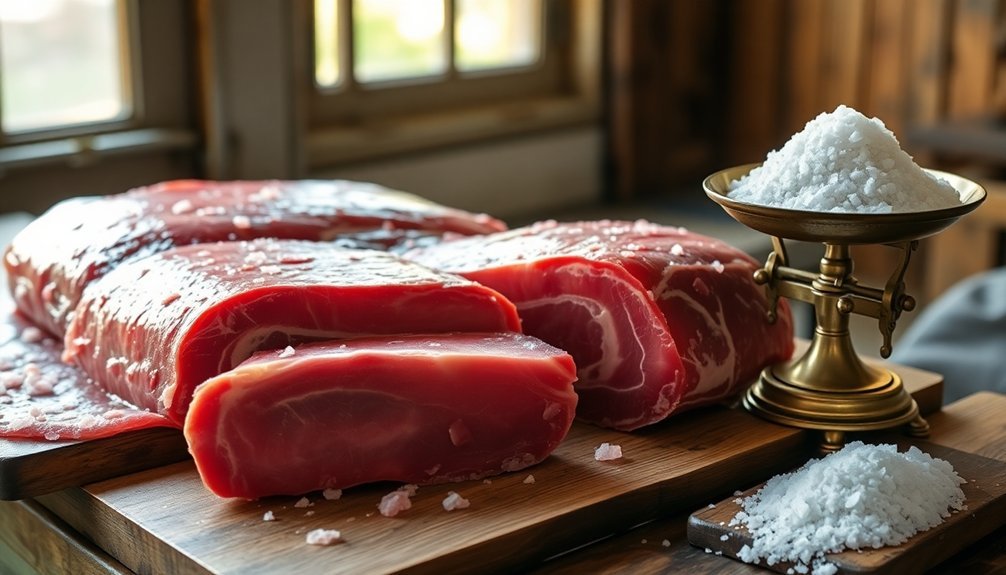
Traditional Salt Box Method
Building on these scientific principles, the traditional salt box method stands as one of the oldest and most straightforward approaches to meat preservation. You'll find that this technique requires nothing more than salt and patience, as you coat your meat evenly without the need for precise measurements or modern additives.
When you're ready to begin, you'll place your salted meat in a container and store it in a cool area between 32°- 40°F. The beneficial salt-tolerant bacteria will begin producing flavor-enhancing lactic acid during this time. The curing process will take anywhere from 5-14 days, depending on your meat's thickness. During this time, you'll notice your meat becoming increasingly firm as the salt draws out moisture, creating an inhospitable environment for bacteria.
Once the initial curing is complete, you'll need to rinse off excess salt and pat the meat dry with a lint-free towel. You'll then hang it in a cool, dark space for additional drying, which can extend from several days to weeks.
For certain products, you'll want to see about a 30% weight reduction. If you find the final product too salty, you can soak it in water for an hour before cooking. Remember, you must always cook your cured meat before eating it.
Critical Temperature Control Factors
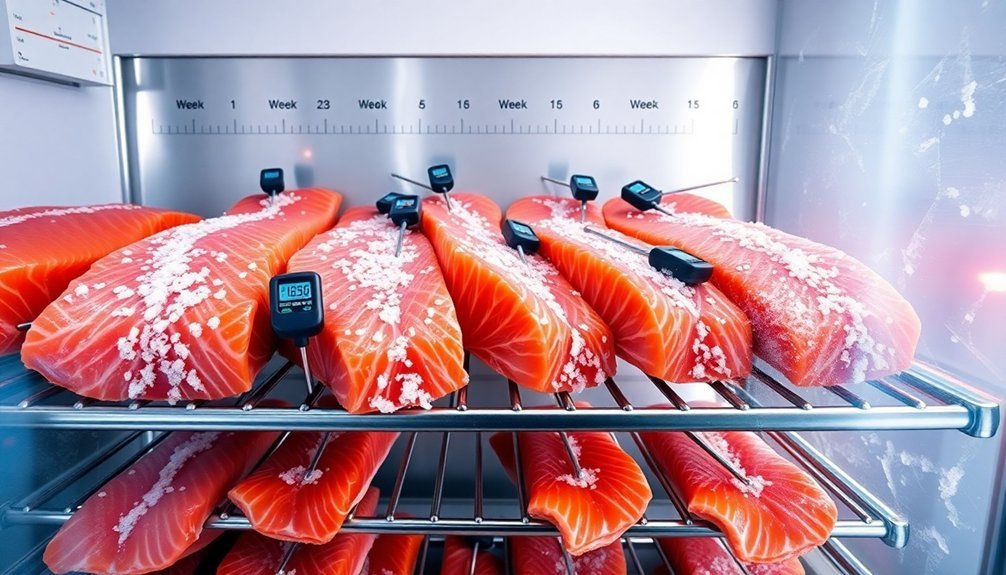
You'll need to maintain a consistent temperature between 32°F and 40°F throughout the salt-box curing process to prevent spoilage and guarantee proper preservation.
Your curing setup should include a reliable thermometer and a well-insulated storage space that's free from temperature fluctuations. Just as with concrete curing, digital data loggers can provide continuous monitoring of temperature conditions without requiring constant manual checks.
For safe storage, position your curing container on an elevated rack to allow proper drainage and air circulation, while keeping the meat away from direct contact with condensation or standing liquid.
Maintaining Optimal Cold Range
Maintaining precise temperature control stands as the cornerstone of successful salt-box curing. You'll need to keep your curing environment consistently between 32°F and 40°F (0°C to 5°C) throughout the entire six-week process. This temperature range is critical because it prevents harmful bacterial growth while allowing the cure to penetrate the meat effectively.
When you're starting the curing process, you must rapidly chill your meat to the ideal temperature range. For reference, a 150-pound hog carcass takes 12 to 15 hours to reach an internal temperature of 40°F. If you don't cool the meat quickly enough, you'll risk spoilage before the salt can properly penetrate to the center.
You'll want to monitor your temperature consistently, as fluctuations can disrupt the curing process and affect your final product's quality.
While some methods allow for slightly higher temperatures between 50-60°F, you're safer sticking to the standard cold range. Remember that proper temperature control doesn't just affect curing time – it's essential for preventing bone souring, controlling bacterial growth, and ensuring even salt absorption throughout your meat.
Safe Storage Setup Requirements
Four critical factors determine a safe storage setup for salt-box curing: humidity control, airflow, sanitation, and proper handling protocols.
You'll need to maintain humidity levels around 60% while ensuring proper ventilation to prevent bacterial growth. Don't let humidity exceed 78%, as this can lead to spoilage and compromise your curing process.
Your storage area must have adequate airflow and ventilation systems to keep the environment aerobic and facilitate even drying. You'll want to place your meats on wire racks or hang them from hooks to maximize air circulation.
Remember to regularly rotate your products and use non-corrosive containers that allow for proper drainage.
- Keep humidity at 60% and use breathable materials like cheesecloth to maintain a clean, dry environment
- Install proper ventilation systems and position items to allow for maximum air circulation
- Clean and sanitize all equipment regularly, including cutting boards and processing tools
- Store meats in non-corrosive containers with drainage, and avoid direct contact with contaminated surfaces
Maintaining these requirements isn't just about following rules—it's about ensuring your cured meats develop properly while preventing spoilage and contamination.
You'll need to monitor these conditions consistently throughout the six-week curing period.
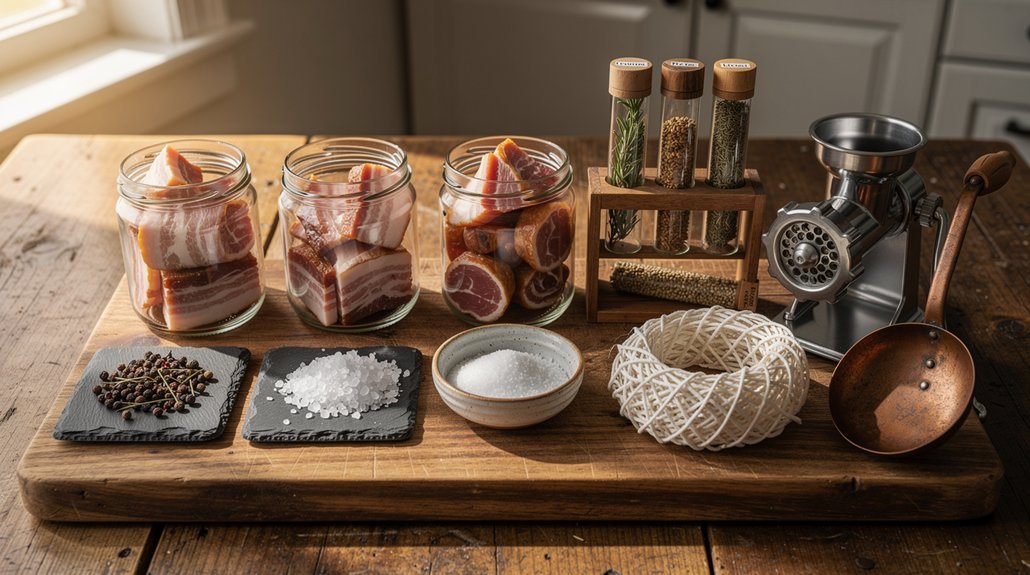
Essential Tools and Equipment
Properly equipped with the right tools, successful salt-box curing becomes a straightforward process.
You'll need a sturdy curing box made of hardwood like oak or maple, measuring approximately 10" wide, 20" long, and 24" high. This box should feature either a hinged top or a weighted mechanism to apply consistent pressure on your meat, along with a slat tray for even distribution of that pressure.
Your essential measuring tools should include a reliable scale for weighing salt (never measure by volume) and a salinometer to check brine concentrations.
You'll also need appropriate containers for mixing your curing ingredients, including kosher or coarse salt without iodine, curing salts, sugar, and spices.
Wire racks or hooks are vital for the drying phase after rinsing.
For maintaining proper environmental conditions, you'll need equipment to control temperature and humidity.
This might include a modified refrigerator or freezer as your curing chamber, complete with cooling mechanisms and humidity controls.
If you're working in colder environments, you may need ceramic bulbs or other heating elements to maintain the best temperature range of 32°-40°F.
Week by Week Progress
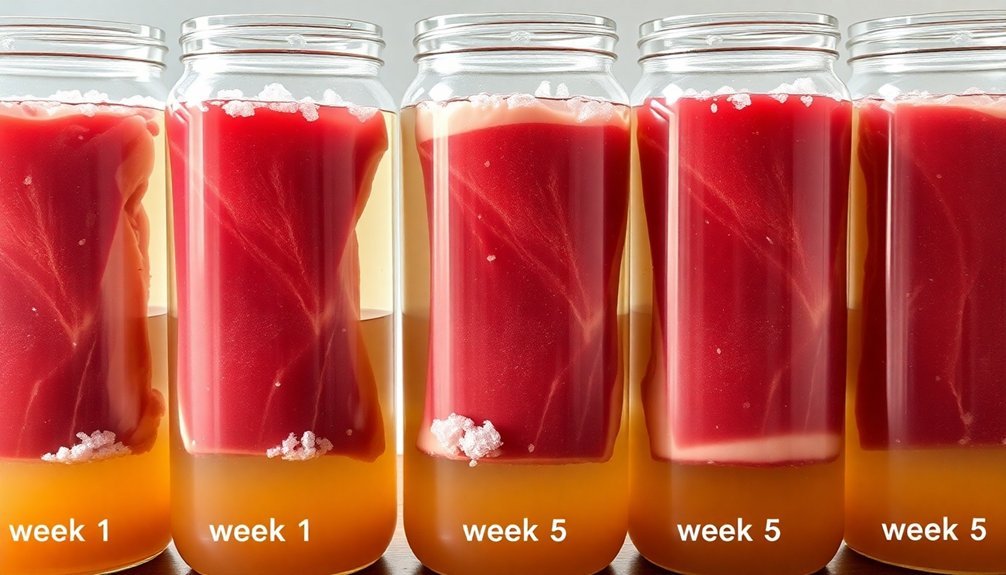
The salt-box curing process follows a predictable timeline that you can track week by week.
During the first week, you'll start by coating your meat with a salt-based cure mixture and storing it at 32°- 40°F, turning it every other day to guarantee even distribution.
The next two weeks focus on salt penetration and moisture reduction, with the cure moving inward at roughly an inch per week.
Weeks four and five are essential for reaching equilibrium, where you'll need to adjust curing times based on your meat's thickness – approximately one week per inch.
You'll want to rotate and stack your meat regularly during this period to prevent bone souring and guarantee even curing.
By week six, you're ready for the final steps of rinsing and drying.
- Initial curing involves salt drawing out moisture and creating an environment hostile to bacteria
- Salt penetration occurs at a consistent rate, moving inward about one inch weekly
- The equilibrium phase guarantees proper salt distribution throughout the meat
- Final stages include thorough rinsing and controlled drying to achieve the desired texture
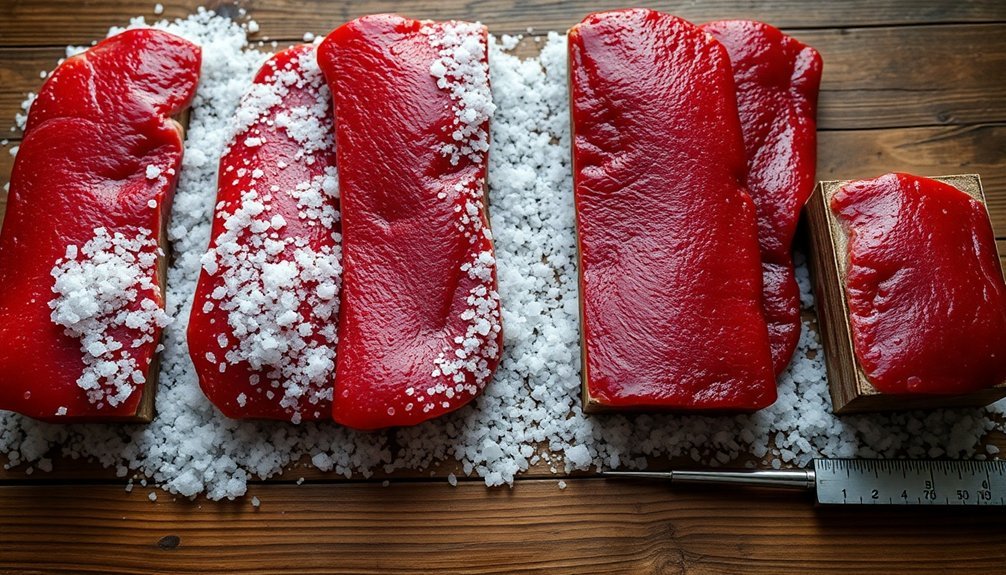
Salt Penetration and Preservation
When you cure meat in a salt box, the salt gradually works its way inward at roughly one inch per week through osmosis, drawing moisture out while creating an environment hostile to bacteria.
You'll notice the proteins in your meat begin to change as the salt ions penetrate the muscle fibers, causing the meat to become firmer and more concentrated in flavor.
The process continues until you've achieved a minimum 4% salt content throughout the meat, with muscles like the Semimembranosus absorbing salt more quickly than those protected by fat and skin.
Salt Absorption Over Time
Understanding salt absorption in meat curing requires knowledge of a fascinating molecular exchange process. When you apply salt to meat, it dissolves in the moisture layer on the surface, creating a concentrated solution. This triggers a two-way movement: salt moves inward while water moves outward, continuing until the meat reaches equilibrium.
The time needed for complete salt absorption varies greatly based on your meat's thickness and density. You'll need to allow about seven days per inch of thickness as a general rule, though specific cuts have different requirements:
- Thin slices of loin can be fully cured in 2-3 days
- Thicker cuts like coppa require 2-3 weeks
- Large bone-in hams need up to 2 months
- Most medium-sized cuts take 5-14 days using the salt box method
During this time, salt's preservative action takes effect as it binds with water molecules, making them unavailable to harmful bacteria.
You'll notice the meat becoming firmer as moisture leaves the tissue. This process can't be rushed, as proper salt distribution throughout the meat is essential for both preservation and flavor development.
Protein Structure Changes
Salt's penetration into meat triggers profound changes in protein structure at the molecular level. As salt content increases, you'll see significant alterations in both myofibrillar and sarcoplasmic proteins. The salt weakens muscle fibers and denatures proteins, which means they lose their original shape and function.
During the six-week curing period, you'll notice the meat's texture changing as proteins undergo denaturation and aggregation. The process is evident in DSC measurements, where you can observe the disappearance of actin denaturation peaks while sarcoplasmic protein peaks remain.
Salt's presence increases protein surface hydrophobicity and affects the solubility of myofibrillar proteins, contributing to the meat's final texture. These structural changes aren't just about texture – they're essential for preservation.
As proteins denature, they release bound water, which salt then displaces. This protein modification works alongside enzymatic activity, where naturally occurring enzymes break down proteins into smaller peptides and amino acids.
The combination of these processes not only helps preserve the meat but also develops its characteristic flavor and guarantees the proper transformation of muscle tissue into a stable, cured product.
Common Mistakes to Avoid
Success in salt-box curing hinges on avoiding several vital mistakes that can compromise your final product. The most significant error you'll face is over-salting, which often occurs when using traditional salt-box methods. Instead of fully covering your meat with salt, you should adopt equilibrium curing techniques using 2.5% to 3.5% salt based on the meat's weight for consistent results.
Timing is equally essential – rushing the process will lead to under-cured or potentially spoiled meat. Remember that a 5-7 inch thick cut requires extensive curing time, following the rule of 3.5 to 4 days per pound or 11 days per inch of thickness.
- Maintain strict temperature control in your curing environment to prevent bacterial growth.
- Verify proper airflow around the meat during the drying phase to prevent mold formation.
- Monitor weight and moisture loss regularly to track curing progress.
- Flip and drain the meat periodically to achieve even salt distribution.
Don't forget that fat content affects salt absorption rates differently than muscle tissue, so you'll need to adjust your curing times accordingly.
Proper hygiene throughout the process is non-negotiable to prevent contamination and guarantee food safety.
Testing for Complete Cure
Once you've followed proper curing protocols, determining when your meat has fully cured requires careful assessment through multiple indicators.
You'll need to evaluate both the thickness of your cut and the amount of time it's been curing. For standard cuts, allow 7 days per inch of thickness, though refrigerated curing can extend this timeline to eight weeks.
You can test for completeness by checking if your meat has lost approximately 35% of its original moisture. The meat should feel firm and rigid throughout, with no soft spots, especially around bone joints and connective tissues.
If you notice any crystalline patches or salt scabbing, you'll need to address these issues before proceeding.
When you believe the cure is complete, rinse the meat thoroughly to remove excess salt. If it's too salty, soak it in cold water for an hour.
After rinsing, pat the meat dry with a lint-free towel and hang it in a cool, dark space with good air circulation.
Watch for proper drying, as insufficient moisture loss can create an environment where harmful bacteria might survive.
Frequently Asked Questions
Can I Reuse the Salt From a Previous Salt-Box Curing Project?
You shouldn't reuse curing salt since it's likely contaminated from previous projects. Used salt can contain harmful bacteria, moisture, and food particles that'll compromise your new cure's safety and effectiveness.
How Do Different Meat Grades Affect the Six-Week Curing Timeline?
You'll find higher-grade meats with more marbling take longer to cure due to increased fat content. Lower grades cure faster, but you'll want to adjust your six-week timeline based on the meat's density and quality.
What Happens if Power Outages Interrupt Temperature Control During Curing?
You'll need to monitor your curing meat's temperature closely during outages. Keep ice packs ready and transfer meat to coolers if needed. Don't risk spoilage – maintain temperatures between 36-40°F throughout the curing process.
Does Altitude Affect the Duration of the Salt-Box Curing Process?
You won't notice significant altitude effects on salt-box curing times. While altitude may affect temperature and humidity, if you maintain proper environmental controls, the standard curing duration remains consistent at any elevation.
Can Vacuum Sealing Replace Traditional Salt-Box Curing Methods?
While you can use vacuum sealing to speed up curing, it won't fully replace traditional salt-box methods. You'll get faster results, but you might miss out on the complex flavors that slow curing develops.
In Summary
You'll find that six weeks is the ideal time needed for complete salt penetration and protein transformation in most meats. During this period, the salt gradually draws out moisture while preserving the meat's structure. Don't rush this process, as proper curing requires time for the salt to fully penetrate the meat fibers and create the chemical changes needed for safe, long-term preservation. Trust the traditional timeline for best results.

Leave a Reply