You can preserve fresh eggs using wood ash, a traditional method that's both natural and cost-effective. Start by selecting clean, unwashed eggs with intact shells to maintain their protective bloom. Pack the eggs small end down in sifted hardwood ash from untreated sources like oak or maple, using a sturdy, airtight container. Store your container in a cool, dark place like a root cellar, and expect about 80% of eggs to remain viable for up to eight months. While you might notice a slight ashy taste, the eggs will maintain their texture and nutritional value. The following steps will guarantee your success with this time-tested preservation technique.
The Ancient Practice
When our pioneer ancestors needed to preserve eggs, they turned to a remarkably effective method using wood ash. This practical preservation technique emerged naturally from their daily lives, as wood-burning stoves and fireplaces provided a constant supply of ash.
From the 18th through the 20th centuries, families relied on this method to maintain their egg supply during periods when hens weren't laying.
You'll find this method's historical significance rooted in its simplicity and accessibility. As a homesteader or farmer, you'd have had everything you needed right at your fingertips. The eggs needed to be arranged carefully to ensure they were covered by at least one inch of ash.
The process didn't require special equipment or complex preparations – just wood ash from your daily fires and a suitable container. What made this method particularly valuable was its effectiveness; you could expect about 80% of your eggs to remain viable for up to eight months.
While modern refrigeration has largely replaced these traditional preservation methods, you can appreciate how this technique helped your ancestors maintain food security.
They'd simply store their eggs in layers of wood ash during abundant production periods, ensuring they'd have eggs available when their hens naturally produced fewer eggs during winter months.
Why Choose Wood Ash
You'll find wood ash preservation to be one of the most natural and chemical-free methods for storing your fresh eggs.
The abundance of wood ash, especially if you're using a wood-burning stove or fireplace, makes it a readily available resource that won't strain your budget.
As a cost-effective storage solution, wood ash preservation lets you extend your eggs' shelf life without investing in expensive equipment or materials. Not only is wood ash preservation effective, but it can also turn your short-term egg storage into several years of viability.
Natural Chemical-Free Preservation
Homesteaders seeking natural food preservation methods will appreciate wood ash as a time-tested solution for preserving fresh eggs. This chemical-free method can keep your eggs fresh for up to 8 months, though you'll need to maintain proper storage conditions for the best results.
You'll find wood ash preservation offers several advantages over chemical methods. It's completely natural, deters pests, and doesn't require any specialized equipment. Consider using slaked lime method instead if you want guaranteed results, as it provides a 100% success rate for up to 2 years. You can even reuse the ash after you're done preserving your eggs. For enhanced effectiveness, you can combine it with other natural methods like coating eggs with fat or oil.
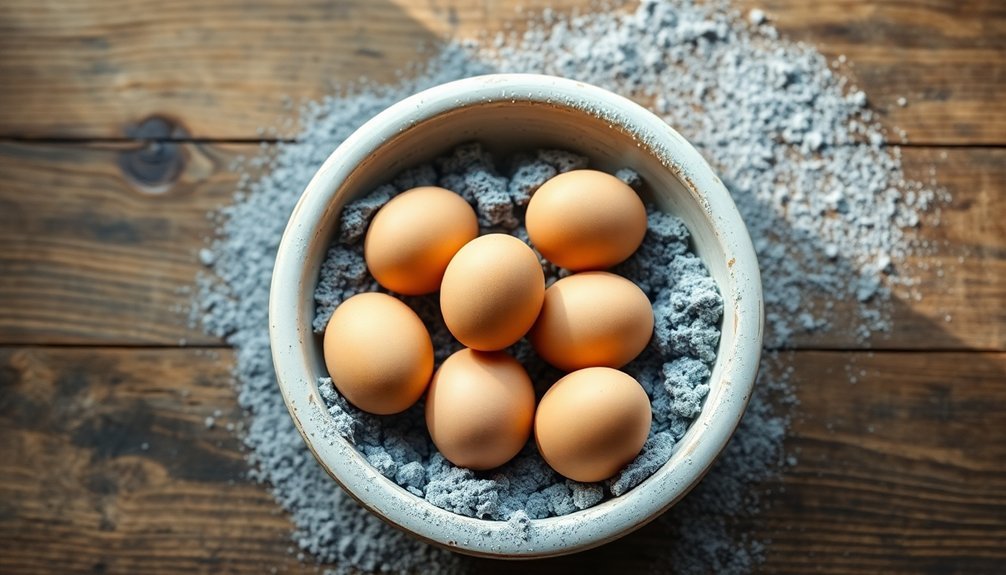
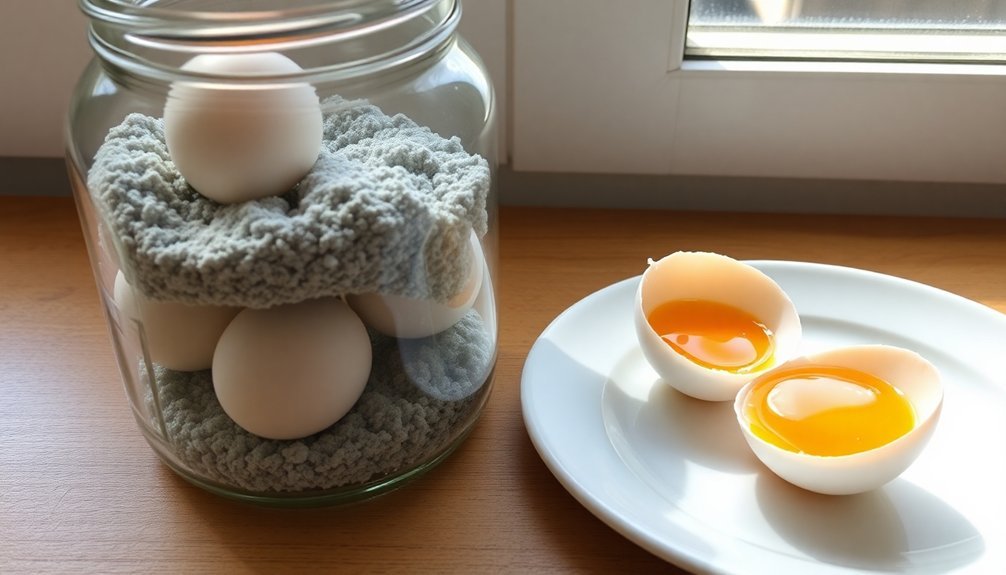
To use this method, you'll need to pack clean, unwashed eggs small end down in sifted wood ash. Make sure you're using fresh eggs with their protective bloom intact, as this method won't work well with commercially washed eggs.
Store your container in a cool, dark place and check periodically for any damage.
Keep in mind that wood ash preservation has a 60% success rate after 8 months, which is lower than some other methods like hydrated lime. Your eggs may develop an ashy flavor, but they'll remain safe to eat when properly stored.
Readily Available Resource
The abundance of wood ash makes it an ideal choice for egg preservation, especially if you heat your home with a wood stove or fireplace. You won't need to purchase any special materials or equipment, as wood ash is readily available as a by-product of your daily heating or cooking activities.
After you're done preserving eggs, you can repurpose the ash in your garden or provide it as a dust bath for your chickens.
This preservation method carries historical significance, with proven effectiveness across different cultures. From pioneers to Cherokee communities, wood ash has been trusted for generations to preserve not just eggs but other foods as well.
The technique's longevity speaks to its reliability and practicality.
Wood ash's physical properties make it perfect for storage purposes. It's lightweight when sifted, creates an effective moisture barrier, and allows for efficient layering of eggs in your storage container.
You'll also benefit from its natural pest-deterrent qualities, as the ash creates an environment that's inhospitable to insects and other unwanted visitors. This means you won't need additional pest control measures to protect your preserved eggs.
Cost-Effective Storage Solution
Choosing wood ash for egg preservation stands out as a remarkably cost-effective storage solution, especially when compared to modern preservation methods. You won't need to invest in expensive equipment or specialized containers, as this method requires only wood ash from your fireplace or wood-burning stove and a cool, dark storage space.
While the 60% success rate after 8 months isn't as high as some other preservation techniques, you'll find the trade-off between cost and effectiveness reasonable for small-scale storage. The method's simplicity is another cost-saving factor – you'll simply need to layer your unwashed eggs in ash, which naturally protects against pests and reduces bacterial contamination.
What makes this method particularly economical is its dual-purpose nature. After you've used the ash for egg preservation, you can repurpose it for gardening or animal care, maximizing your resource efficiency.
The ash's natural ability to control moisture and its alkaline properties help maintain a preservation-friendly environment without additional costs. You'll also save money on climate control, as the ash acts as a buffer against temperature fluctuations, requiring only a consistently cool, dark storage space.
Gathering Your Materials
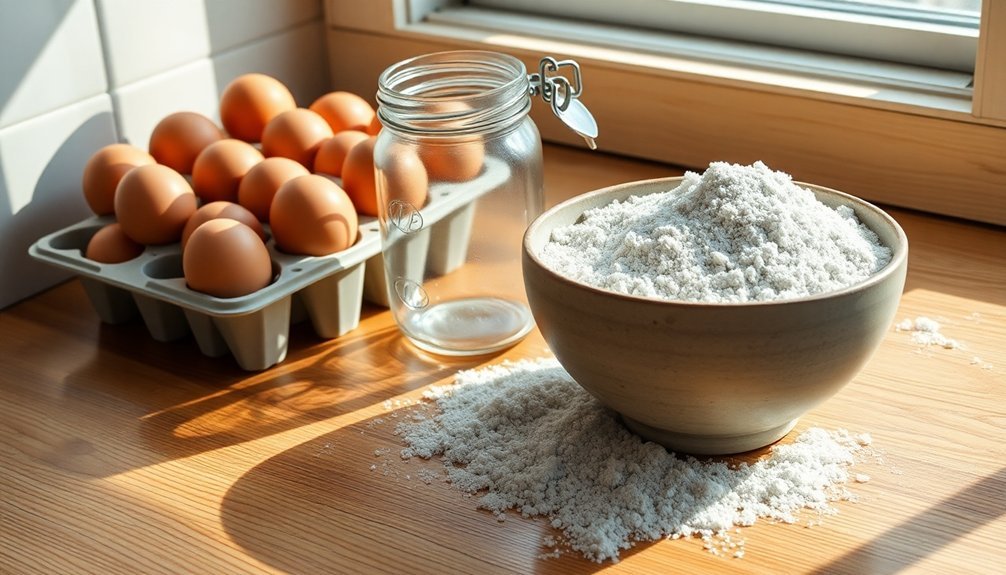
You'll want to start with hardwood ash from sources like oak, maple, or beech, as these provide the most effective preservation qualities for your eggs.
When selecting your storage container, choose a clean, sturdy plastic or ceramic vessel that's large enough to hold both your eggs and several inches of ash while maintaining an airtight seal.
The container must be completely dry and free from any residual moisture that could compromise the preservation process.
Essential Wood Ash Types
Gathering the right wood ash stands as your first vital step in egg preservation.
You'll want to focus on collecting ash from reliable sources like wood burning stoves, fireplaces, or campfires. It's essential to use only ash from dry, well-burned wood to guarantee proper preservation conditions for your eggs.
Never use ash from treated or painted wood, as these materials contain harmful chemicals that could contaminate your eggs. Instead, stick to natural, untreated wood sources.
If you're collecting from a woodstove, make sure the ash is completely cooled before handling to prevent accidents and guarantee the ash won't damage your eggs.
Once you've gathered your ash, you'll need to prepare it properly.
Sift the ash thoroughly to remove any large chunks or debris that could potentially crack your eggs during storage. The final product should have a fine, powdery consistency.
Your ash must be completely dry and free of moisture – any dampness can lead to spoilage.
Plan to collect enough ash to create at least a one-inch layer between each row of eggs you'll be preserving.
Storage Container Selection
The right storage container forms the backbone of successful egg preservation with wood ash. You'll need a vessel that's both sturdy and non-reactive to protect your eggs. Ceramic pots and food-grade plastic buckets work well, while you should avoid any containers made from corrosive materials.
Choose a container size that matches your preservation needs. A 2-quart jar works for small batches, while 5-gallon buckets accommodate larger quantities. Your container must be water-tight and include a secure lid to prevent moisture loss and air exposure. If you don't have a proper lid, you can create a seal using a layer of oil.
| Container Type | Best Uses | Key Features |
|---|---|---|
| Ceramic Pot | Long-term storage | Non-reactive, durable |
| Food-grade Bucket | Large quantities | Affordable, lightweight |
| Glass Jar | Small batches | Easy to monitor |
| Storage Keg | Bulk preservation | Maximum capacity |
Store your container in a cool, dark place where temperatures remain stable. Don't place it where eggs might freeze, and minimize container movement to prevent breakage. Remember to check periodically that your eggs remain fully covered with ash throughout the preservation period.
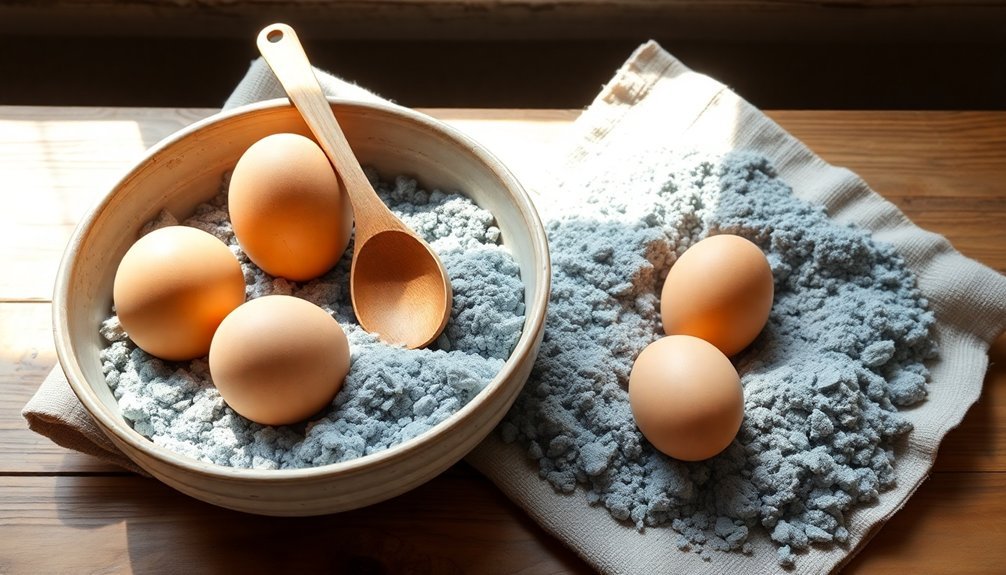
Preparing The Wood Ash Mix
Preparing wood ash for egg preservation requires careful attention to the source and quality of your materials.
You'll want to collect ash specifically from your wood-burning stove or fireplace, making certain to avoid any ash from treated or painted wood, as these can contain harmful chemicals that might affect your eggs.
Before you begin the preservation process, you'll need to properly prepare your wood ash.
First, make sure the ash has completely cooled down to avoid any risk of heat damage to the eggs or container.
Once cooled, sift the ash thoroughly to remove any large pieces, chunks, or debris that could prevent proper contact between the ash and egg surfaces.
This sifting process is essential as it creates a fine, uniform texture that will provide better coverage and preservation.
Store your prepared ash in a dry location until you're ready to use it.
When you begin layering, you'll need enough ash to create multiple one-inch-thick layers in your container.
Remember that each layer of eggs must be completely surrounded by ash, so prepare more than you think you'll need.
Step By Step Application Process
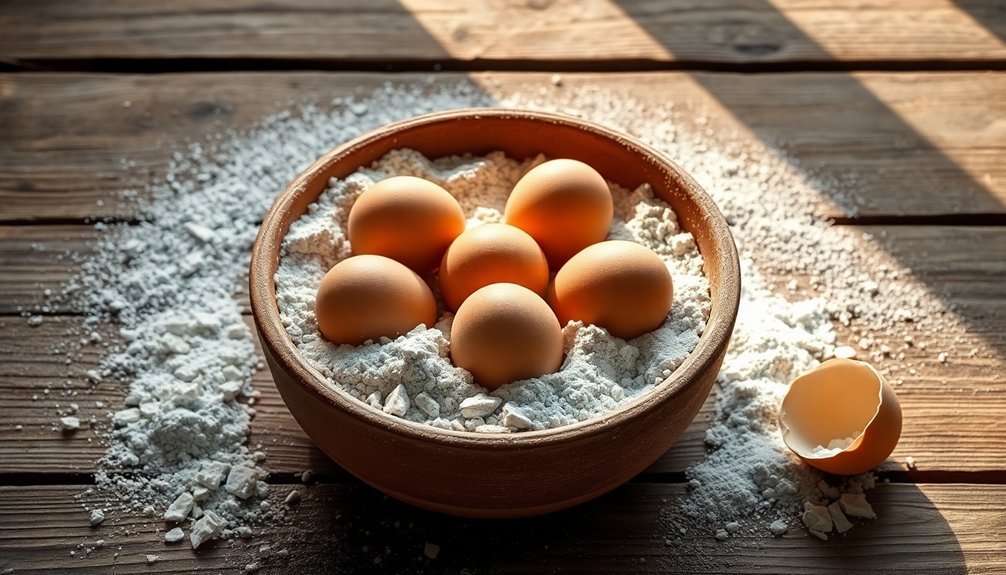
Successfully preserving eggs using wood ash requires following a precise sequence of steps. Start by selecting unwashed, fresh eggs with intact shells, and gently clean any dirty spots with a dry cloth. Don't use eggs with cracks or damage, as they won't preserve properly.
You'll need to choose between two application methods. The first involves burying your eggs in a container of wood ash, making sure they're not too deep. The second method requires you to create a paste by mixing wood ash with water. If you're using the paste method, dip each egg or use a brush to apply an even coating across the entire surface.
Let your coated eggs air dry completely before storing them. During storage, you'll need to conduct regular quality checks. Perform the float test to verify freshness – if an egg floats, it's spoiled and should be discarded. Watch for unusual odors or visible damage to the shells.
While this preservation method can extend egg shelf life up to 9-12 months with an 80% success rate, you'll need to expect that some eggs might develop an ashy taste, and about 20% may spoil after eight months.
Proper Storage Methods
Once you've properly coated and dried your eggs, their long-term survival depends on smart storage practices.
Choose a location that's consistently cool and dry, away from direct sunlight and heat sources. Don't place your container near heating units or water heaters, as temperature fluctuations can compromise the preservation process.
A root cellar provides perfect conditions, but any cool, stable environment will work. Place your container where it won't be disturbed by pets or family members, and make sure it's positioned securely to prevent accidental tipping.
You'll want to keep the wood ash dry throughout the storage period, so select a spot that's protected from moisture and humidity.
Check your stored eggs regularly for any signs of spoilage, especially if you can't maintain ideal storage conditions. You don't need an airtight container, but it can help keep the ash dry and clean.
Remember to handle the container carefully when retrieving eggs to avoid disturbing the ash covering other eggs. If you're storing multiple batches, label your containers with the date you started storage to track freshness more effectively.
Signs Of Successful Preservation
To guarantee your wood ash preservation method is working effectively, you'll need to monitor several key indicators. When checking your preserved eggs, they should sink to the bottom when placed in water and maintain their original shape without cracks. You shouldn't notice any mold or detect unpleasant odors from the shells.
Upon cracking the eggs, you'll find successfully preserved ones have clear, firm whites and intact yolks. While you might notice a slight ashy taste, the overall flavor and texture should remain normal when cooked. There shouldn't be any musty smells or unusual consistency changes.
Your eggs can last up to 6 months with about 20% spoilage rate, though this increases to 40% after 8 months. Don't wash the eggs before storage, as keeping the natural bloom intact helps extend preservation time. Ascertain they're covered with at least an inch of wood ash in a consistently cool, dark environment.
When you're ready to use the eggs, wash off the ash and either use them immediately or refrigerate them. They'll work perfectly in any recipe, just like fresh eggs, as long as they've been properly preserved.
Frequently Asked Questions
Can Wood Ash Preserved Eggs Still Be Used for Baking?
Yes, you'll find that wood ash preserved eggs work well for baking, though they might have a slightly ashy taste. You can use them in most recipes, including cakes, cookies, and bread.
Does the Wood Ash Method Affect the Taste of Eggs?
Yes, you'll notice a slightly ashy taste in your eggs when preserved with wood ash. The longer you store them, the more pronounced the flavor becomes, though it won't affect their texture noticeably.
What Happens if I Accidentally Use Softwood Ash Instead?
You'll likely experience poor preservation results if you use softwood ash. Your eggs could spoil faster, develop off-flavors, or become contaminated due to softwood's lower alkalinity and resin content. Try hardwood ash instead.
Can I Reuse the Wood Ash Paste for Multiple Batches?
You shouldn't reuse wood ash paste for multiple batches. It'll lose its preservative properties and could increase spoilage risk. If you must reuse it, make sure it's completely dry and sifted beforehand.
Should Eggs Be Room Temperature or Cold Before Applying Ash?
You can use either room temperature or cold eggs – both work effectively. However, room temperature eggs are slightly preferred as they help the wood ash paste adhere better to the shell's surface.
In Summary
You've now learned how to preserve your eggs using the time-tested wood ash method. By following these steps and maintaining proper storage conditions, you'll extend your eggs' shelf life for several months. Remember to check your preserved eggs regularly for any signs of spoilage. Whether you're preserving a small batch or preparing for long-term storage, this traditional technique will help you maintain fresh eggs year-round.


Leave a Reply