
You'll love exploring the seven best colonial fruit leather methods still popular today. Start by selecting ripe fruits like strawberries or apricots, then puree them using a blender for smoothness. You can dry the puree in an oven on low heat or use a dehydrator set to around 140°F for best results. Don't forget historical sun-drying, which requires shallow trays and protection from insects. Keep an eye on the texture throughout the drying process, and get creative with flavor combinations. Curious to discover these methods in more detail? There's plenty more to uncover about making your own fruit leather!
Selecting the Right Fruit
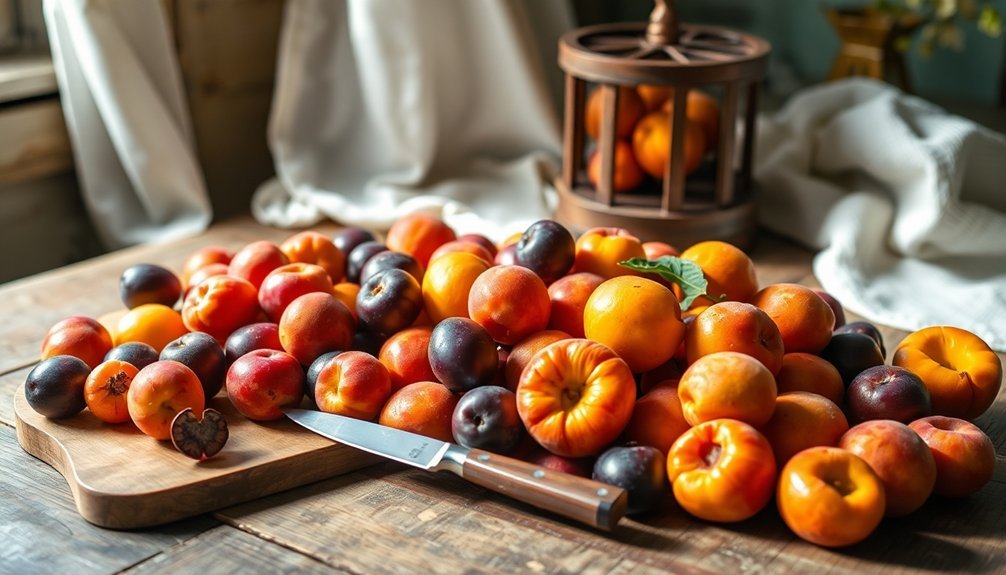
When you're preparing to make fruit leather, choosing the right fruit is essential for achieving the best flavor and texture. Start by selecting ripe or slightly overripe fruits; they'll offer the richest taste. Consider berries like strawberries, blueberries, and raspberries, or stone fruits such as apricots and peaches. Tropical fruits like mango and pineapple can also add a unique twist.
You can use fresh, canned, cooked, or even frozen fruits, but make sure to wash them in cool water before processing. Pay attention to the fruit's characteristics. High-water-content fruits like melons or grapes should be combined with drier fruits for ideal results. Avoid using citrus fruits like grapefruit and lemons, as their bitterness can affect the final product. Additionally, experimenting with different fruit combinations can lead to diverse flavors that enhance your fruit leather.
If you want a smooth leather, choose fruits high in pectin, like apples or plums, as they help prevent cracks. Finally, remove any peels, seeds, or blemishes from the fruit. For certain fruits like raspberries, you might want to strain out the seeds using a fine sieve.
Pureeing Techniques
Pureeing fruit is an essential step in making delicious fruit leather, and it can be done in various ways depending on your desired outcome. Start by preparing your fruit—use fresh, frozen, or canned fruit, making sure to strain canned options to remove excess liquid. If you're using frozen fruit, don't forget to thaw it first. Peel tough-skinned fruits and chop larger ones into bite-sized pieces for easier blending.
Next, you can choose to cook the fruit down in a saucepan with honey and lemon juice until it's soft and juicy, or you can blend it raw. For blending, an immersion blender or food processor works perfectly to achieve a smooth consistency. If you didn't cook the fruit, consider straining the puree to remove any seeds or unwanted particles.
Don't hesitate to add high-pectin fruits like apples or apricots to enhance the texture, and a squeeze of lemon juice for flavor. For additional taste, spices like cinnamon or nutmeg can be included. Adding cooked vegetables can also provide added nutrition and flavor to your puree.
Finally, verify your puree is smooth and even before spreading it out to dry, tapping the tray to eliminate air pockets.
Oven Drying Methods
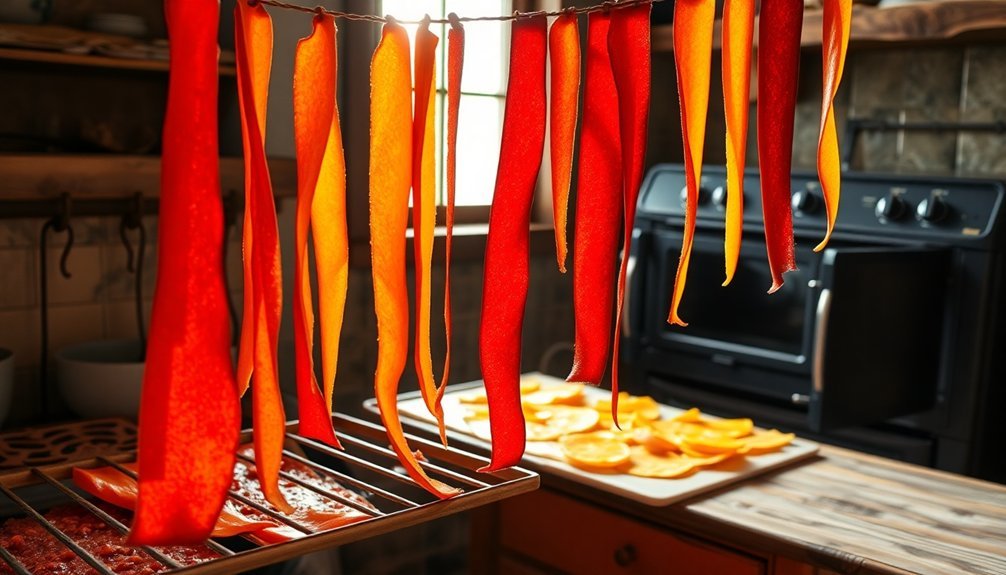
To achieve the perfect fruit leather, you'll want to utilize effective oven drying methods that guarantee even and thorough dehydration. Start by setting your oven to the lowest temperature, ideally around 170°F (80°C) or 140°F (60°C), using an oven thermometer for accuracy.
If your oven has a convection setting, turn it on to enhance airflow, which helps maintain a consistent temperature and prevents case hardening.
Next, prepare your baking sheet by lining it with parchment paper, silicone mat, or plastic wrap—never wax paper. Smooth out any wrinkles and use a rimmed baking sheet or a 13" x 15" baking pan. Spread a thin, even layer of fruit puree, about 1/8 to 1/4 inch thick, leaving a border around the edges.
Drying time can range from 6 to 18 hours, depending on your batch size and oven efficiency. Check for dryness by ensuring it's no longer sticky and separates easily from the lining. In addition, using this method provides nutritional benefits from fruits and vegetables, making it a healthier snack choice.
To speed up the drying, prop the oven door open with a wooden spoon. Once dry, let it cool completely before rolling and storing in an airtight container at room temperature.
Dehydrator Usage
Using a dehydrator can streamline the fruit leather-making process, offering precise temperature control and even drying conditions. Set your dehydrator to the fruit setting, around 140°F (60°C), but know that temperatures can vary slightly between 135°F (57°C) and 145°F (63°C).
Avoid higher temperatures like 150°F (65°C) or 170°F (75°F), as they might speed up drying but could compromise quality.
To prepare your dehydrator trays, line them with fruit leather trays, silicone mats, or parchment paper—steer clear of wax paper since it sticks to the leather. Use an offset spatula to spread the fruit puree evenly, aiming for a thickness of about ⅛ to ¼ inch (2-5 mm).
Drying time can range from 4 to 12 hours, so check for dryness around the 6-hour mark. The leather should feel dry and not sticky.
Once dried, let it cool completely before cutting into strips. Store your fruit leather in an airtight container in the fridge.
Historical Sun-Drying

When you think about sun-drying, you're tapping into ancient techniques that have preserved fruit for centuries.
This method not only enhances flavors but also offers a natural way to keep your harvests for longer.
Let's explore the practicalities of sun-drying and the benefits it brings to your fruit leather-making process.
Sun-Drying Techniques Overview
Sun-drying techniques have been a staple method for preserving fruit for centuries, allowing people to enjoy their harvest long after the growing season ends.
To start, you'll need shallow pans or trays with edges to prevent spillage. Line these trays with plastic wrap for easy removal of the fruit leather. Cover them with cheesecloth or nylon net to keep insects and debris away. Choose ripe or slightly overripe fruit for the best results, and guarantee the surface of the tray is smooth and even to avoid wrinkles.
For sun exposure, place the trays in a sunny spot and bring them indoors at night to protect from moisture. Drying time can range from 8 hours to 2 days, depending on temperature and humidity, so rotate the trays regularly for even drying.
To check for dryness, touch the center; it shouldn't leave an indentation. Using ascorbic acid or lemon juice can help prevent darkening in light-colored fruits.
After drying, test the leather—it should be translucent and slightly tacky. Peel it off the plastic wrap while warm, roll it up for storage, and keep it in a cool, dark place.
Benefits of Natural Drying
Have you ever wondered why natural drying methods, like sun-drying, have stood the test of time? One major reason is nutritional preservation. The drying process effectively conserves essential nutrients like fiber, iron, calcium, and phosphorous, ensuring your fruits remain nutritious and flavorful for longer. Unlike other preservation techniques, sun-drying minimizes nutrient degradation, making it a reliable choice.
Additionally, sun-dried fruits are a boon for your digestive health. They're packed with natural fibers that help cleanse your digestive system and keep things running smoothly, reducing issues like constipation. Plus, those fibers contribute to healthier skin by flushing out toxins.
If you're looking to manage your weight, sun-dried fruits can help with that too. Their fibrous content keeps you feeling full longer, making them a healthier alternative to sugary snacks. The natural sweetness means you can cut back on added sugars when making homemade fruit leathers.
Lastly, sun-drying extends shelf life by removing moisture, which prevents spoilage. With proper storage, dried fruits can last for months, making them a cost-effective option for your pantry.
Quality Control Measures
When making fruit leather, you need to focus on proper drying techniques to guarantee the right moisture content.
Look for visual quality indicators, like translucence and tackiness, to assess if your leather is ready.
Finally, safe storage practices will help maintain its quality and prevent spoilage.
Proper Drying Techniques
How can you verify your fruit leather dries properly and maintains its quality? Start by confirming you're drying it at the optimum temperature of 140°F. This helps prevent case hardening, which can trap moisture inside. Use an oven thermometer to maintain consistent temperature; fluctuations can lead to uneven drying. Lower humidity levels are ideal, so pick a dry day for your drying process.
If you're using a dehydrator, you'll greatly reduce drying time to about 6-8 hours compared to 18 hours in an oven. Remember to prop the oven door open for air circulation if you're using that method. Air circulation is essential, so consider placing a fan nearby to enhance airflow, which speeds up the drying process.
Monitor your fruit leather closely as it dries. Check the edges first, as they'll dry before the center. Touch the center to test for dryness; it shouldn't feel sticky or leave an indentation. Avoid over-drying to prevent cracking.
Visual Quality Indicators
To guarantee your fruit leather remains safe and enjoyable, regular visual inspections are essential. Start by checking for mold or fungal growth, which appears as fuzzy spots in various colors.
Pay special attention to areas exposed to moisture, as mold can develop quickly if your leather isn't properly dehydrated. Even small patches can render your product unsafe.
Next, examine the color. Fresh fruit leather should maintain its characteristic hue; any discoloration or dark spots indicate spoilage. A soft golden color is desirable, especially for apple leather treated with potassium metabisulphite.
Keep in mind that higher storage temperatures can intensify color changes.
Texture is another critical factor. Your fruit leather should be pliable but not sticky; excessive stickiness or a hard, brittle texture signals deterioration.
Properly stored leather retains its chewy texture, while irregularities may indicate spoilage.
Lastly, trust your senses. Off-odors or a rancid smell indicate spoilage, while your fruit leather should have a pleasant fruity aroma.
Regular visual inspections will help you catch early signs of deterioration, ensuring your fruit leather remains delicious and safe to enjoy.
Safe Storage Practices
Proper storage practices are essential for maintaining the quality and safety of your fruit leather. To keep it fresh and free from contamination, follow these guidelines:
| Storage Method | Tips |
|---|---|
| Airtight Containers | Protect against light and air. |
| Vacuum-Sealable Bags | Use with oxygen absorbers for longer shelf life. |
| Parchment Paper | Place between layers to prevent sticking. |
Before storing, verify your fruit leather is completely dehydrated and pliable. Use opaque containers to shield it from light, and keep it in a cool, dry place away from sunlight. Regularly check your stored fruit leather for any signs of spoilage, like unusual odors or texture changes. If you notice any, it's best to discard it immediately.
Remember to wash your hands and sanitize all equipment before preparation to avoid contamination. Adding lemon juice to your fruit puree can help inhibit bacterial growth. By following these safe storage practices, you'll maintain the delicious flavor and quality of your fruit leather for months.
Creative Flavor Variations
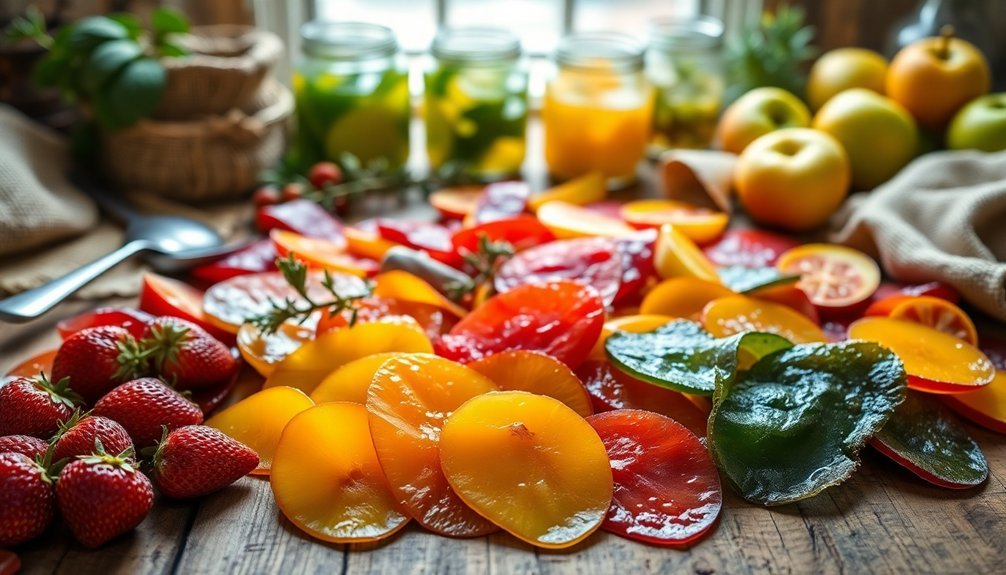
Experimenting with creative flavor variations can elevate your fruit leather from simple to sensational. Start by pairing fruits with herbs for a revitalizing twist. Try combining strawberry puree with cooked beets for a vibrant hue, or blend fresh peaches with basil leaves for a unique taste. You can also mix raspberry puree with pineapple sage for a delightful herbal note.
For a spicy kick, consider fruit and spice combinations. Blend apple sauce with pumpkin puree and a sprinkle of pumpkin pie spice, or puree grapes and add ground cayenne pepper for a surprising zing. If you're feeling adventurous, mix mango with a hint of habanero for a fiery treat.
Don't hesitate to create multi-fruit combinations as well. Marble peach and raspberry purees together for a beautiful visual and flavor profile, or combine blueberry puree with unsweetened applesauce for a classic taste.
For something truly innovative, layer different fruit purees to craft a rainbow effect.
With these creative flavor variations, you'll not only enhance your fruit leather but also surprise your taste buds with every bite!
Frequently Asked Questions
Can I Use Canned Fruit for Making Fruit Leather?
Yes, you can use canned fruit for making fruit leather. Just drain, rinse if necessary, and puree it. Then, spread it evenly and dry it using a dehydrator or oven for delicious results.
How Do I Store Leftover Fruit Puree?
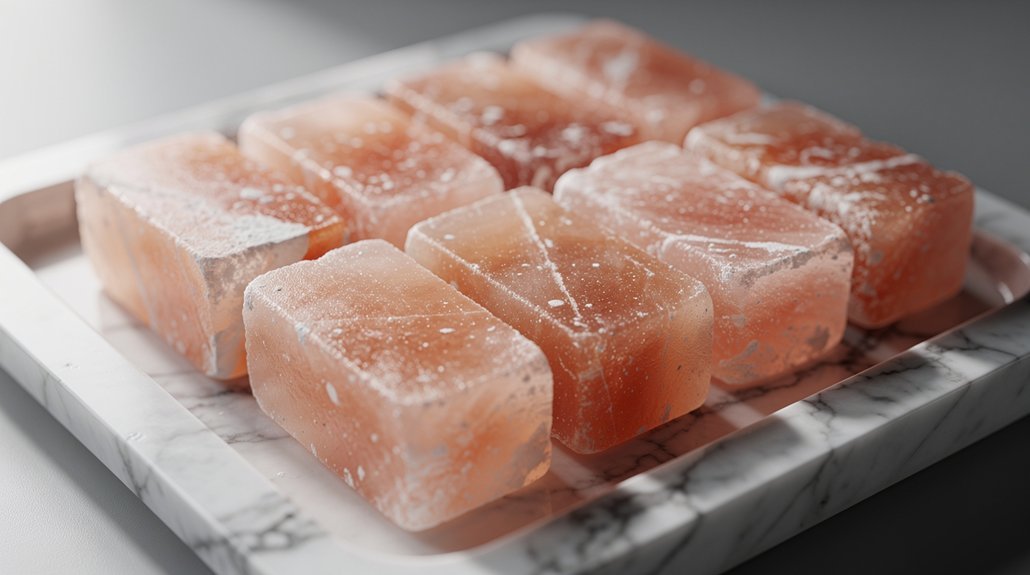
To store leftover fruit puree, keep it in a clean, covered container in the fridge for 2-3 days. For longer storage, freeze it in labeled bags or ice cube trays for up to six months.
What Are the Best Fruits for Beginners?
If you're starting out, try berries like strawberries and blueberries, stone fruits like peaches, or apples and pears. These fruits are easier to handle, flavorful, and versatile, making them perfect for beginners. Enjoy experimenting!
How Can I Tell if My Fruit Leather Is Over-Dried?
To tell if your fruit leather's over-dried, check for a brittle texture and shiny edges. Bend it; if it cracks, it's too dry. Touch the center; it shouldn't indent or feel tacky.
Can I Freeze Fruit Leather for Later Use?
Yes, you can freeze fruit leather for later use! Just make certain it's cool, wrap it properly, and store it in airtight containers. This way, you'll preserve its flavor and texture for up to a year.
In Summary
Incorporating these colonial fruit leather methods into your kitchen can bring a taste of history to your snacks. By selecting the right fruit and experimenting with pureeing techniques, you're sure to create delicious, healthy treats. Whether you choose oven drying, a dehydrator, or even sun-drying, each method offers a unique experience. Don't forget to get creative with flavor variations! So, gather your ingredients, and start making your own fruit leather today. You won't regret it!

Leave a Reply