To control moisture while drying perfect fruit leather, start by setting your dehydrator or oven to 140°F (57°C). Use high-quality trays, spreading the fruit puree into a thin, even layer of about 1/8 to 1/4 inch thick. Maintain consistent air circulation by propping the oven door open or using a fan, as this helps prevent moisture trapping. Test for dryness by checking for a slightly shiny surface that's non-sticky and bounces back when pressed. Properly store your fruit leather in a cool, dark place to extend shelf life. There's even more to explore about perfecting your fruit leather technique.
Optimum Drying Temperature
When it comes to making the perfect fruit leather, the drying temperature plays an important role in achieving the best results. For dehydrators, you'll want to set the temperature to 140°F (57°C). This optimum setting allows your fruit leather to dry evenly over about 6-8 hours, depending on how thick your puree is and how efficient your dehydrator is. Uniform slicing of fruits promotes even drying, ensuring that each piece reaches the desired consistency.
Rotating the trays from top to bottom helps guarantee every piece dries uniformly.
If you're using an oven, aim for the lowest possible temperature, ideally around 140°F (57°C) as well. Keep in mind that drying in an oven can take up to 18 hours, so patience is key.
To improve air circulation, prop the oven door open and consider using an external fan, but be cautious if there are small children around.
Maintaining this temperature is vital; higher heat can cause case hardening, trapping moisture inside and leading to mold.
Ultimately, sticking to the right temperature not only preserves the quality and nutritional profile of your fruit leather but also enhances its shelf life, guaranteeing a delicious treat every time.
Preparing Drying Trays
When you're preparing drying trays, choosing the right materials is essential for success. You'll want to line them properly to create a smooth surface that prevents sticking and guarantees even drying. Using high-quality food-grade silicone trays not only ensures safety and durability but also provides a nonstick surface for easier removal of your fruit leather.
Tray Materials Selection
Selecting the right tray materials for your fruit leather can make a significant difference in the drying process. High-quality food-grade silicone mats are a fantastic option as they're nonstick, reusable, and easy to clean, whether you hand wash them or toss them in the dishwasher.
Plus, they fit most square dehydrators and have a raised lip edge to prevent spills. It's essential to understand that uniform thickness contributes to even drying, which can be achieved with careful tray selection.
Plastic sheets designed for dehydrators are another choice, but confirm they fit your trays properly. While they can work with plastic wrap for added non-stick properties, remember they aren't suitable for oven use without extra lining and may need replacing over time.
Parchment paper is affordable and versatile; you can cut it to fit your trays. Just be certain to smooth it out to avoid wrinkles and apply a thin layer of oil if you're using it in the oven.
Lastly, Teflon or non-stick sheets can also be cut to size, providing a smooth surface for even drying. They're a great alternative to silicone mats and help keep the process mess-free.
Choose the right material to confirm your fruit leather dries perfectly!
Lining Techniques
After choosing the right tray materials, it's time to focus on lining techniques that guarantee a smooth drying process for your fruit leather.
If you're using a dehydrator, line the trays with paraflexx sheets, parchment paper, or silicone mats. Avoid wax paper, as it tends to stick.
For oven drying, opt for a 13" x 15" baking pan or cookie sheet with edges, and line it with parchment paper or plastic wrap.
Make certain the lining material is smooth and wrinkle-free. Carefully apply it to prevent air bubbles, which can lead to uneven drying.
If you're using plastic trays, consider specially designed plastic sheets or line them with plastic wrap to maintain a non-stick surface.
When pouring your fruit puree, leave about an inch of border around the edges of the tray to allow for expansion during drying.
Spread the puree evenly, aiming for a thickness of 1/8 to 1/4 inch. This will help guarantee that the center dries at the same rate as the edges, preventing any soggy spots.
With proper lining techniques, you're well on your way to perfect fruit leather!
Ensuring Smooth Surface
To achieve a smooth surface for your fruit leather, start by verifying your drying trays are prepared properly. For oven drying, opt for a 13" x 15" baking or cookie pan with edges. This size can hold about 2 cups of fruit puree without spilling. If you're using a dehydrator, stick to trays designed for fruit leather. Avoid trays with uneven surfaces, as they can lead to uneven drying.
Before you begin, clean the trays thoroughly to prevent contamination, and make certain they're dry. For oven drying, lining isn't necessary, but verify your oven is set correctly. If you're using dehydrator trays, consider placing non-stick silicone mats for easier fruit leather removal.
Next, puree your fruit until smooth, adjusting the consistency with water or juice if it's too thick. Spread the puree evenly across the tray, maintaining a thickness of 1/8 to 1/4 inch, and leave at least an inch of border around the edges. Check for thick spots and smooth them out.
Finally, rotate the trays halfway through drying for even results. With these steps, you'll guarantee a flawless fruit leather surface.
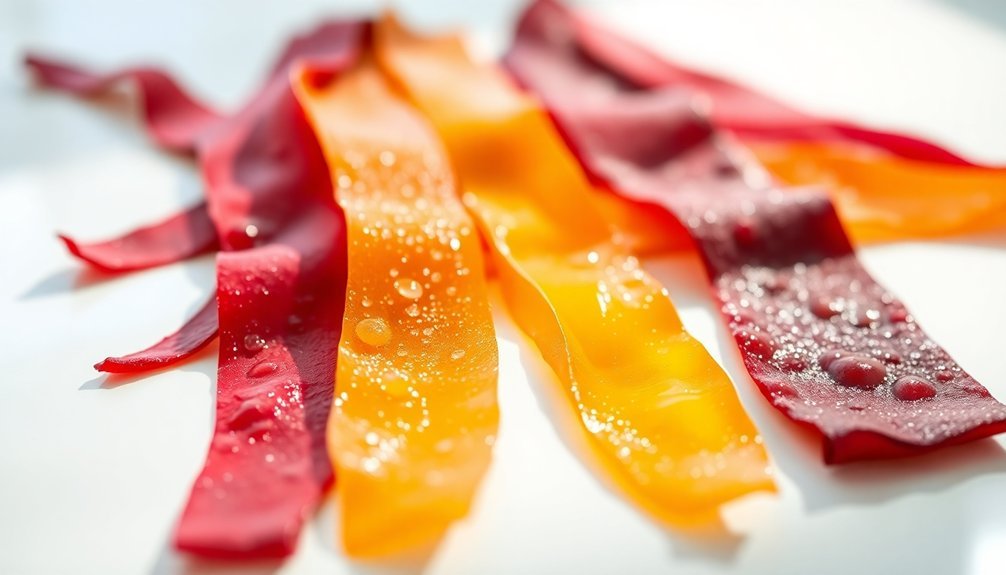
Spreading the Fruit Puree

Once you've prepared your fruit puree, it's time to spread it out evenly on your baking sheet.
Make certain to keep the edges thicker and the center thinner to guarantee proper drying.
Also, remember to leave some space between the puree and the edge of the sheet to prevent any overflow during the drying process.
Even Layer Application
As you prepare to spread the fruit puree, make certain your baking sheet is lined properly to facilitate an even application. Use parchment paper or a silicone mat, guaranteeing it covers the entire sheet without any gaps.
Avoid using wax paper, aluminum foil, or plastic wrap that isn't oven-safe. Once you've got your sheet ready, you can pour the fruit puree onto it.
To achieve that perfect layer, follow these steps:
- Spread Evenly: Use an offset spatula to spread the puree evenly across the sheet.
- Aim for Thickness: Keep the thickness between 1/8 to 1/4 inch (2-5 mm) for ideal drying.
- Shape it Right: Form the puree into a rectangle or square for even drying and easier rolling.
- Check for Uniformity: Before moving on to drying, ensure the layer is smooth and consistent.
Edge Thickness Adjustment
Achieving an even thickness throughout your fruit puree is essential for consistent drying and ideal texture. To control the thickness, start by using craft wood as spacers. Secure these wood pieces to your counter or cutting board with masking tape.
Pour your pureed fruit onto a lined surface and spread it evenly with an offset spatula. To guarantee uniformity, use a third piece of wood to help push and pull the mixture.
Make sure to tap the sides of the baking sheet gently to eliminate air bubbles and level the puree. Aim for a thickness of about 1/8 to 1/4 inch (2-5 mm) for the best results. For paper-thin fruit leather, go with 1/8" (3mm) side wood pieces; for traditional thickness, opt for 1/4" or 3/8".
Keep an eye on the thickness as you spread to avoid uneven drying. Lastly, be cautious not to pour the puree too close to the edge of the sheet, as this can lead to uneven results.
Following these steps will help you create perfectly even fruit leather every time.
Proper Border Spacing
Proper border spacing is essential for successfully spreading your fruit puree. Leaving a margin around the edges of your tray guarantees even drying and prevents the edges from becoming overly dry.
Here are some tips to help you achieve the perfect spread:
- Choose the Right Tray: Use a large Silpat or parchment-lined baking tray to prevent moisture absorption and guarantee easy peeling.
- Maintain a Uniform Thickness: Spread the puree in a thin, uniform layer of about 1/8 inch thick. This helps in proper dehydration and prevents the center from remaining tacky.
- Shape Matters: Aim for a rectangle shape, as it allows for even rolls when cutting the fruit leather. Tilt the tray or use an offset spatula for an even spread.
- Check for Holes: Guarantee there are no visible holes or spots under the puree. These gaps can lead to uneven drying, so fill them in as needed.
Drying Methods and Times
When you're ready to make perfect fruit leather, understanding the drying methods and times is crucial. You can choose between a dehydrator or an oven for this process.
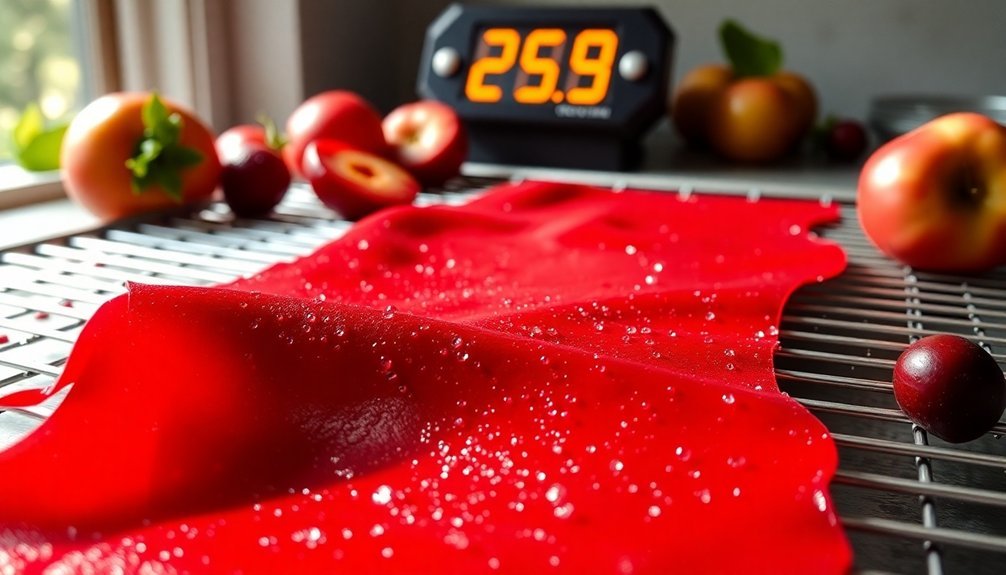
If you opt for a dehydrator, set it to 140°F (60°C) and expect drying times to range from 4 to 12 hours, with 6 to 8 hours being typical. Make sure to prepare your trays with plastic sheets or wrap. To check for dryness, touch the center—there shouldn't be any indentations or sticky spots.
If you prefer oven drying, preheat to either 140°F (60°C) or 170°F (80°C). Keep in mind that it may take up to 18 hours due to the lack of a built-in fan, making it less efficient and more energy-consuming. Use a lined cookie pan and guarantee good edge clearance.
Regardless of the method, spread your fruit puree evenly, about 1/8 to 1/4 inch thick, and let it cool completely before rolling.
Importance of Air Circulation
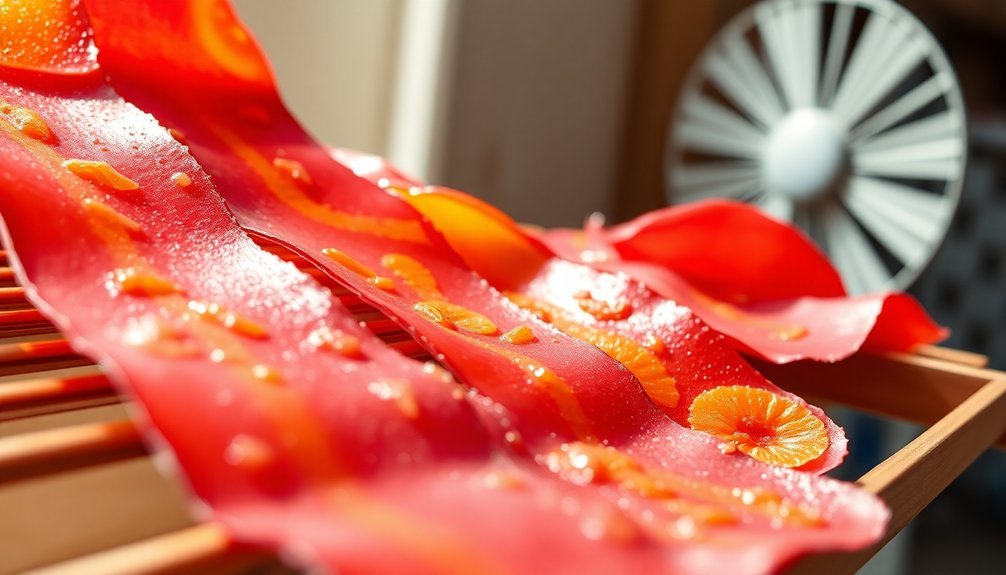
Drying fruit leather effectively relies heavily on air circulation, which plays a key role in the drying process. Whether you're using a dehydrator or an oven, maintaining proper air flow guarantees that moisture escapes efficiently, leading to a better final product.
Here are four key benefits of air circulation:
- Prevents Moisture Trapping: Consistent airflow in dehydrators prevents moisture from being trapped, allowing for faster drying at the ideal temperature of 140°F.
- Enhances Drying Efficiency: In ovens, propping the door open and using a fan improves air circulation, preventing case hardening and guaranteeing even drying throughout the fruit leather.
- Controls Humidity Impact: Low humidity levels enhance the drying process, while high humidity can slow it down. Proper air circulation helps combat these effects, making certain your fruit leather dries completely.
- Assures Even Drying: Keeping space between trays and avoiding materials that block airflow, like waxed paper, allows for better circulation, resulting in uniform drying and preventing dark spots.
Testing for Proper Dryness
You'll know your fruit leather is ready when it meets specific criteria for dryness. Begin with a visual inspection: look for a slight sheen, but make sure it's not sticky to the touch. Check for any wet spots or soft areas; the leather should be pliable and not indented when touched. Remember, the edges dry faster than the center, so focus on that area for dryness.
Next, perform a tactile test. Touch the center; it should bounce back without any indentation. There shouldn't be any sticky spots, as the leather needs to be flexible—not brittle. Over-drying can ruin your fruit leather, making it tough and hard.
Keep in mind that drying typically takes 6-8 hours in a dehydrator, while oven drying can stretch up to 18 hours. If you're sun drying, it may take 1-2 days, depending on the weather. Always maintain a temperature of 140°F for ideal drying.
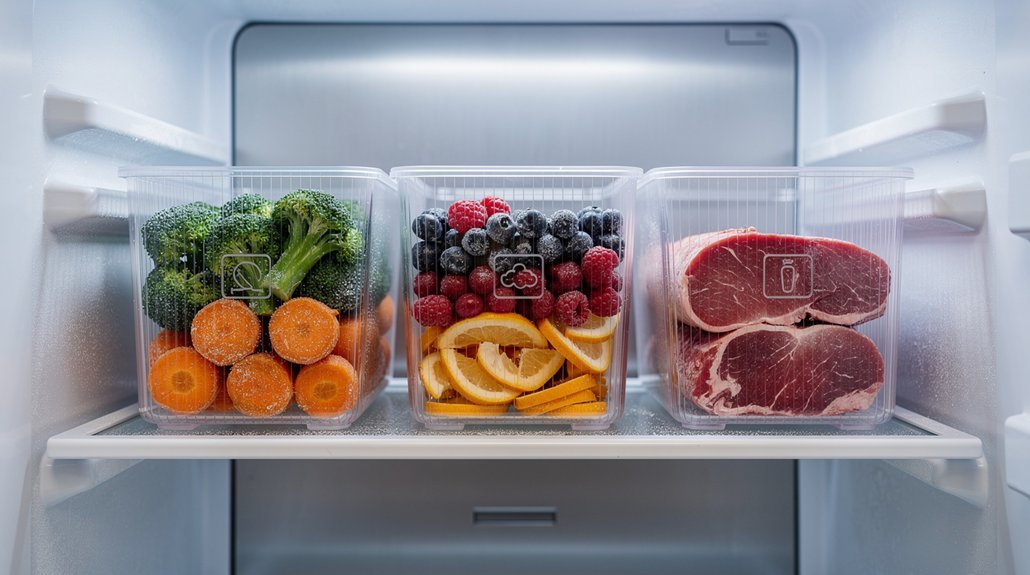
After drying, allow the leather to cool before rolling it tightly for storage. Store it in a cool, dark place, or freeze it for longer preservation.
Frequently Asked Questions
Can I Mix Different Fruits for Fruit Leather?
Absolutely, you can mix different fruits for fruit leather! Combining berries, stone fruits, and tropical varieties enhances flavor and texture. Just guarantee you balance moisture levels for the best results. Enjoy experimenting with your favorite combinations!
How Do I Store Fruit Leather After Drying?
After drying, store your fruit leather in airtight containers or zip-top bags. Keep it in a cool, dry place, or refrigerate for longer shelf life. Avoid humidity to prevent moisture absorption and spoilage.
Can I Use Frozen Fruit for Making Leather?
Yes, you can use frozen fruit for making fruit leather. Just thaw, drain excess liquid, and blend until smooth. You won't notice a difference in quality if prepared properly. Enjoy your delicious homemade treat!
What Can I Do With Leftover Fruit Puree?
You can add leftover fruit puree to baked goods, mix it with yogurt for snacks, or use it as a spread. It's also great in smoothies, oatmeal, and as a jelly alternative on sandwiches.
Is It Safe to Dry Fruit Leather at Higher Temperatures?
It's not safe to dry fruit leather at higher temperatures. Doing so can cause case hardening, trapping moisture inside, leading to mold and nutrient loss. Stick to around 140°F for best results and quality.
In Summary
To make perfect fruit leather, keep moisture control in mind throughout the drying process. By maintaining the right temperature, preparing your trays properly, and ensuring good air circulation, you'll achieve a delicious result. Remember to test for dryness before storing your fruit leather. With these tips, you'll enjoy a tasty, homemade treat that's packed with flavor and nutrients. So, get ready to enjoy your delicious creation and share it with friends and family!

Leave a Reply