
To create perfect fruit leather, you'll want to keep the drying temperature between 130°F and 150°F. Anything above 200°F can cause case hardening, trapping moisture inside. Use your oven's lowest setting, ideally around 170°F, or a dehydrator set to 135°F to 145°F. Make sure to slice your fruit puree evenly, between ⅛ and ¼ inch thick, for consistent drying. Regularly check for dryness; the texture should be flexible and dry to the touch. With these tips, you're well on your way to delicious fruit leather, and there's even more to learn about storage and flavor enhancement!
Ideal Temperature Range
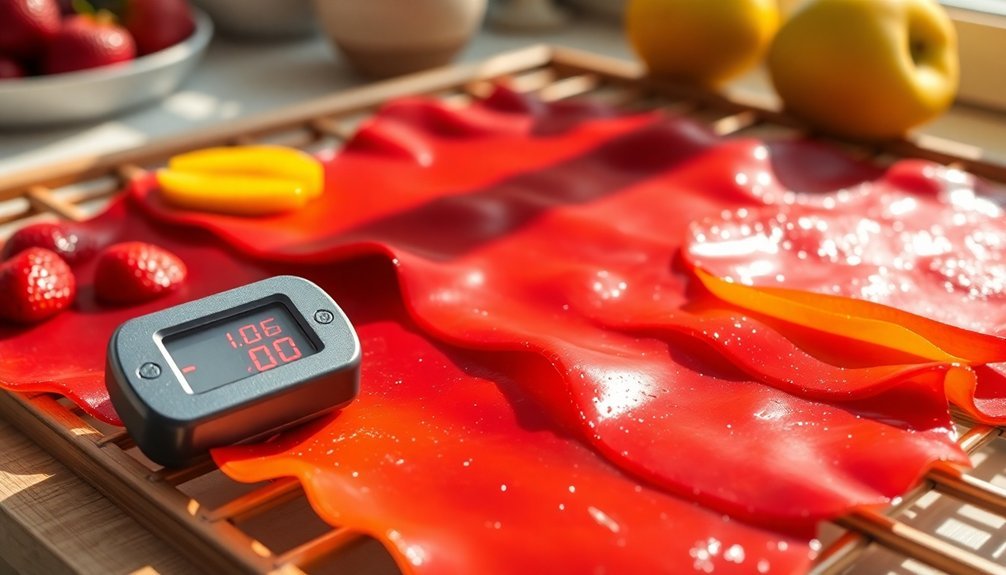
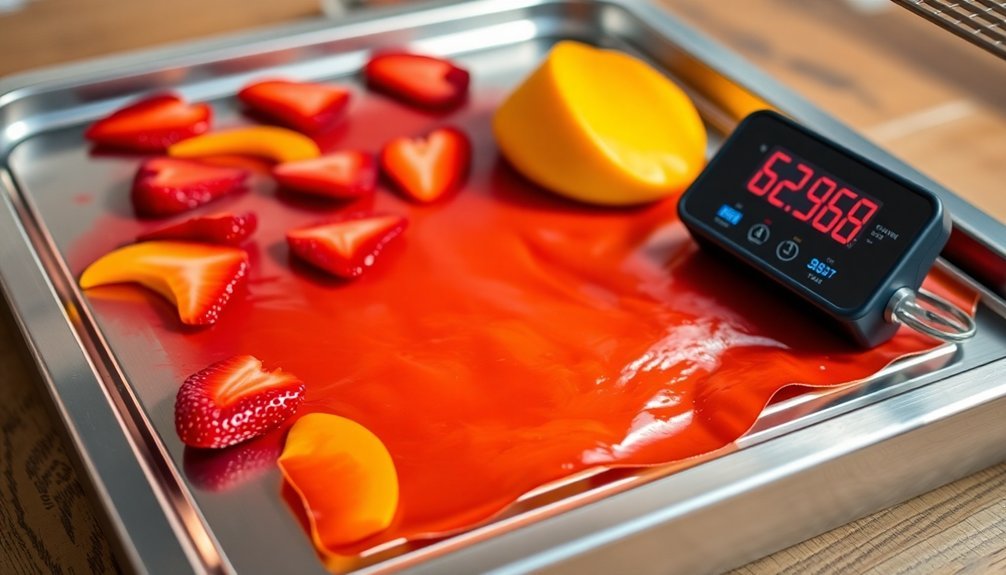
When drying fruit leather, maintaining the ideal temperature range is essential for achieving the best results. Aim for an optimum temperature of around 140°F (60°C), with a recommended range between 130°F and 150°F (54°C to 65°C).
Temperatures above 200°F (95°C) can lead to case hardening, where a crust forms on the outside, trapping inner moisture and potentially causing mold. To avoid this, keep your drying temperature below 150°F. This allows for even drying and helps you achieve the perfect consistency.
Remember, higher temperatures can cook the fruit leather rather than dry it, which isn't what you want. Good air circulation plays a significant role here. Open the oven door slightly to improve airflow, or use a fan outside the oven to enhance circulation.
Avoid drying fruit leather on rainy or humid days, as these conditions can slow the drying process. Lastly, use an oven thermometer to monitor the internal temperature closely. Check it every 15 minutes and make adjustments as needed to maintain that important low temperature for successful fruit leather drying. Additionally, using a dehydrator option can help achieve optimal results by allowing for faster drying at a consistent low temperature.
Oven and Dehydrator Settings
Achieving the right drying temperature is only part of the equation; the settings on your oven or dehydrator play a significant role in the process. Getting these settings right can make all the difference in your fruit leather's texture and flavor. Here are three key points to take into account:
- Oven Settings: Set your oven to the lowest temperature, ideally around 170°F, or 150°F if that's its minimum. Preheat it first, and if your oven has a convection setting, use it for better airflow. Prop the oven door open slightly to prevent moisture buildup. A great benefit of homemade fruit leathers is their minimal plastic waste, making them an eco-friendly alternative to store-bought snacks.
- Dehydrator Settings: For dehydrators, set it to the fruit setting, usually between 135-145°F. Preheat the unit, and if available, use the specific fruit leather setting. Rotate trays during the drying process for even results.
- Preparation Tips: Line your baking sheets or dehydrator trays with parchment paper or silicone mats. Avoid wax paper, as it sticks. Spread the fruit puree evenly and keep air circulation in mind to guarantee efficient drying.
Follow these guidelines, and you'll be well on your way to perfect fruit leather!
Drying Time and Thickness
Getting the drying time and thickness just right is essential for making perfect fruit leather. The ideal thickness for your fruit puree should be between ⅛ to ¼ inch (2-5 mm). This uniformity guarantees even drying and prevents lumpy textures or burning in thinner areas. Remember, thicker layers will take longer to dry, so keep that in mind as you prepare your fruit leather. Additionally, high water content fruits should be combined with drier fruits to achieve the best results.
Here's a quick reference table to help you gauge drying times based on your method and thickness:
| Method | Thickness | Drying Time |
|---|---|---|
| Dehydrator | ⅛ inch (2 mm) | 6-8 hours |
| Dehydrator | ¼ inch (5 mm) | 8-10 hours (or longer) |
| Oven | ⅛ inch (2 mm) | 5-6 hours |
| Oven | ¼ inch (5 mm) | 6-8 hours |
Make certain to check for dryness every 4-6 hours, especially in humid conditions, as they can extend your drying time. Uniform thickness is key to achieving that perfect texture in your fruit leather!
Preventing Common Issues
Preventing common issues while making fruit leather is essential to achieving a delicious and safe final product. Here are three key tips to keep in mind:
1. Ensure Proper Drying**: Make sure your fruit leather is dry enough** before storage. It should be flexible and dry to the touch.
Use a dehydrator set at 135°F (57°C) to prevent slow drying, which can lead to mold growth.
2. Store Correctly: Always store the leather in airtight containers to prevent exposure to air and contaminants.
Store it in a cool, dry place away from sunlight and heat. For extended shelf life, consider refrigerating or freezing your fruit leather.
3. Inspect for Spoilage: Regularly check your fruit leather for any signs of spoilage, such as discoloration, moisture, or unusual odors.
If you see any mold, discard the entire piece immediately to avoid foodborne illness.
Additional Tips for Success
Maximizing your success with fruit leather involves paying attention to details throughout the process. First, choose the right fruits. Fresh, canned, or frozen fruit works, but be sure to drain excess liquid from canned or thawed options. Opt for fruits high in pectin, like apples or pears, and mix low pectin fruits with applesauce to enhance texture. Avoid citrus and melons, as they don't yield good results.
When preparing your fruit puree, peel tougher-skinned fruits and remove seeds or pits. Blend the fruit until smooth, adding sweeteners or spices to enhance flavor. For light-colored fruits, a splash of lemon juice helps maintain color.
Setting up your dehydrator or oven correctly is essential. Lightly oil the fruit roll sheets and spread the puree evenly, making edges slightly thicker. Keep the dehydrator at 135°F or the oven at 140-150°F, and remember to rotate trays halfway through.
Finally, dry the leather for 8-20 hours, checking for a non-sticky texture. Store your finished fruit leather in an airtight container, evaluating each sheet for perfect doneness.
Following these tips will help you achieve delicious, chewy fruit leather every time!
Frequently Asked Questions
Can I Mix Different Fruits in One Batch?
Yes, you can mix different fruits in one batch! Choose compatible flavors, like berries and bananas, and prepare them well. Experiment with combinations to create delicious fruit leather that suits your taste perfectly!
How Can I Store Finished Fruit Leather?
To store finished fruit leather, keep it in a cool, dry place in airtight containers or zip-top bags. You can refrigerate or freeze it for longer shelf life, ensuring it's wrapped tightly to avoid moisture.
What Equipment Do I Need for Drying?
To dry fruit effectively, you'll need a dehydrator or an oven, tray liners like parchment paper, a blender for pureeing, and airtight storage containers for your finished product. Don't forget a thermometer to monitor temperature!
How Do I Know When Fruit Leather Is Done?
To know when your fruit leather is done, check for even coloring, slight translucency, and no wet spots. It should feel slightly tacky, peel easily, and be flexible without cracking or brittleness.
Can I Use Frozen Fruit for Fruit Leather?
Yes, you can use frozen fruit for fruit leather! Just thaw it first, drain excess water, and puree until smooth. Feel free to mix in sweeteners or spices for extra flavor before baking.
In Summary
By following these tips, you can create delicious fruit leather right at home. Remember to keep an eye on the temperature, adjust your oven or dehydrator settings as needed, and pay attention to thickness for even drying. If you encounter any common issues, don't worry—just tweak your process. With a bit of practice, you'll perfect your technique and enjoy tasty, healthy snacks. So grab your favorite fruits and start experimenting!


Leave a Reply