Three essential tips guarantee your meat canning success every time. First, you'll want to select high-quality, chilled cuts from active muscle areas like leg and shoulder, avoiding frozen meat and trimming excess fat before processing. Second, prepare your jars meticulously by checking for chips, cleaning rims with vinegar, and maintaining proper headspace to allow for meat expansion during processing. Third, master your pressure canner's operation by following precise venting procedures and maintaining consistent pressure throughout processing. These time-tested techniques form the foundation for safe preservation, but there's much more to discover about this rewarding process.
Quality Meat Selection Matters

A butcher's eye for quality meat makes all the difference in successful canning. You'll want to select meats that are free of additives, hormones, and antibiotics to guarantee the purest preservation possible. Choose chilled cuts rather than frozen ones, and don't hesitate to use a variety of options, from grass-fed beef to wild game. Fresh meat sources are ideal since they maintain optimal quality for canning.
When you're selecting cuts, focus on the areas that see more movement, like leg, shoulder, chest, and rump sections. These parts tend to be leaner and will become tender during the canning process. You'll find that cuts like flat-cut beef brisket, lamb shank, venison shoulder, and beef sirloin tip work particularly well.
Before you begin canning, trim your meat carefully. Remove excess fat, gristle, and any bone fragments. Cut the pieces uniformly across the grain into bite-sized portions that'll fit easily in your jars.
If you're working with wild game, soak it in brine water for an hour to reduce strong flavors, then rinse thoroughly. For poultry or rabbit, remove all feathers, pin feathers, or fur, and if you're keeping the skin, make sure it's spotlessly clean.
Perfect Your Jar Preparation
Proper jar preparation stands as the cornerstone of safe meat canning. You'll need to start with spotlessly clean jars that are free from any chips or cracks, especially around the rims. Wash your jars thoroughly and wipe them with a clean, damp cloth to guarantee they're ready for packing.
When you're filling the jars with meat, leave about an inch of headspace at the top and avoid packing too tightly. If you're using the raw pack method, you won't need to add liquid initially, as the meat will release its own juices. Modern pressure canners with safeguards make the canning process much less intimidating for beginners. You can add salt for flavor if desired – one teaspoon per quart or half a teaspoon per pint.
Before sealing, you'll need to meticulously clean the jar rims. Run your finger around each rim to check for any irregularities, and use a vinegar-moistened paper towel to clean the screw rims if necessary.
Once you've confirmed the rims are clean, apply the lids and rings firmly but don't overtighten them. Place your prepared jars on the rack in your pressure canner, making sure they don't touch the bottom, and process them according to the recommended times.
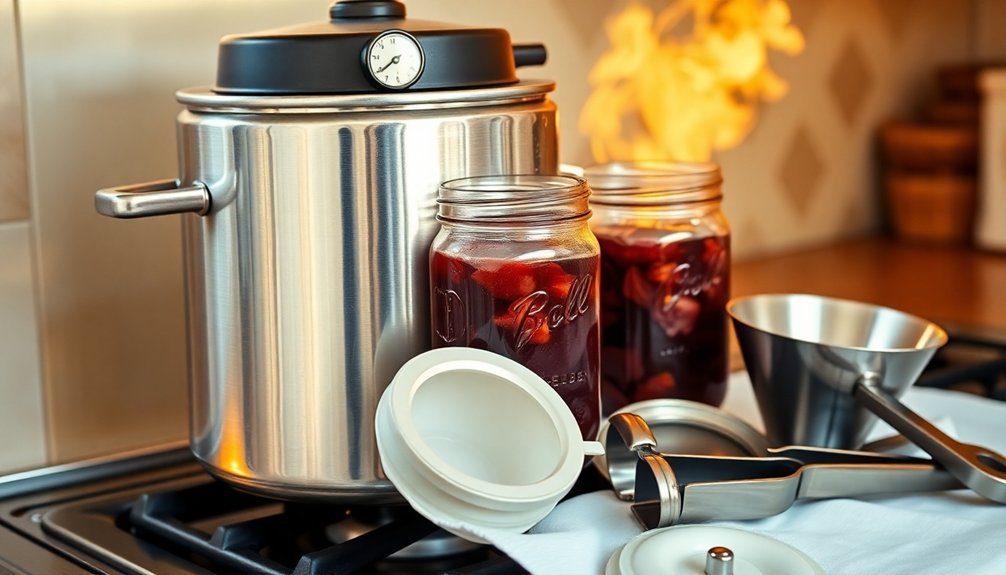
Master Pressure Canner Operations
Three key stages define successful pressure canner operation: preparation, pressurization, and cooling.
Begin by adding 2-3 inches of water to your canner and heating it to a simmer around 180°F. Place your filled jars on the rack inside, ensuring they don't touch the bottom, and secure the lid according to manufacturer's instructions. Low-acid foods like meats and vegetables must be processed at 240°F to ensure safety.
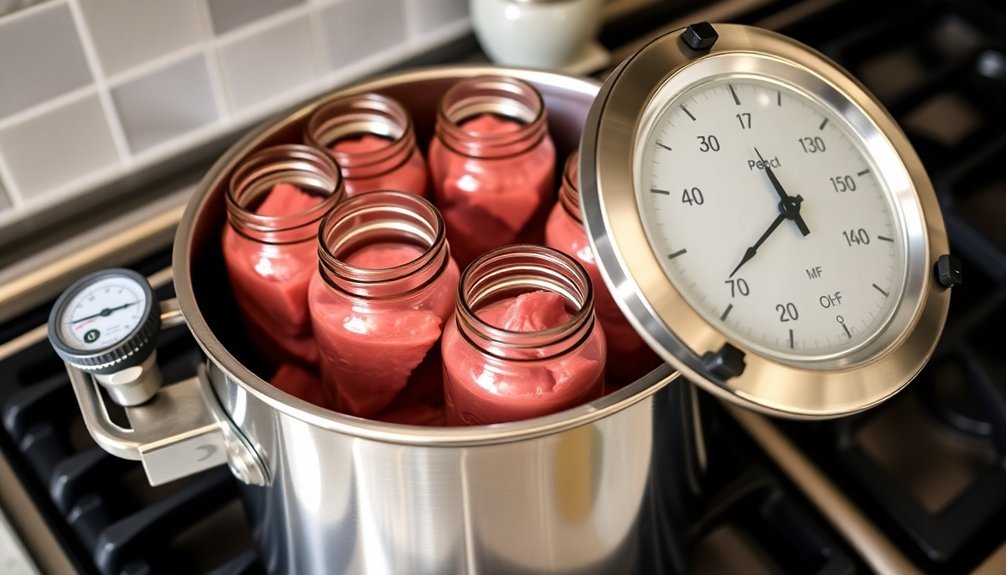
Next, you'll need to properly vent the canner. Turn the heat to high with the vent port open until steam flows freely, then let it vent for 10 minutes to remove all trapped air. Close the vent using the appropriate weight, and watch the pressure build to your required level – typically 10.5 psi for weighted gauge or 11 psi for dial gauge at sea level.
Once you've reached the correct pressure, start your timer. You'll need to maintain steady pressure throughout the entire processing time. If pressure drops, you must bring it back up and restart your timing.
After processing, turn off the heat and allow the canner to return to zero pressure naturally. Wait 30-45 minutes before removing the weight, then carefully remove your jars to cool undisturbed for 12-24 hours.
Frequently Asked Questions
How Long Can Properly Canned Meat Safely Last on the Shelf?
Your properly canned meat can safely last 2-5 years, and sometimes up to 10 years if you've stored it correctly. You'll want to keep it in a cool, dry place below 75°F for best results.
What Should I Do if My Jar Doesn't Seal Properly?
If your jar doesn't seal properly, remove the lid, clean the rim thoroughly, and add a new lid. You can reprocess it within 24 hours using the same time, or refrigerate and eat within a week.
Can I Reuse Previously Used Canning Lids?
You shouldn't reuse canning lids. The sealing compound becomes compromised after the first use, risking food safety. Even if they look fine, they won't create a reliable seal. Always use new lids.
Why Did My Meat Turn Dark or Discolored After Canning?
Your meat's darkening is likely due to oxidation from air exposure or overprocessing. You'll prevent this by properly removing air, using correct processing times, and avoiding reactive metals in your canning equipment.
Is It Safe to Add Garlic and Herbs When Canning Meat?
Yes, you can safely add garlic and herbs when canning meat. Add small amounts of garlic (up to 1 clove per jar) and your favorite herbs directly to jars before filling. It won't affect processing time.
In Summary
You'll find meat canning rewarding once you've mastered these three essential steps. Choose high-quality cuts, prepare your jars meticulously, and learn to operate your pressure canner with confidence. While the process requires attention to detail and patience, you're now equipped with time-tested methods that guarantee safe, delicious results. Don't forget to check your seals and store your jars properly for maximum preservation.


Leave a Reply