
You can start home canning with basic kitchen tools you likely already own. You'll need a large pot for water bath processing, Mason jars with new lids, a jar lifter, and a funnel for filling. Begin by gathering fresh produce and washing it thoroughly. Set up your workspace with distinct areas for cleaning, processing, and cooling jars. Fill clean jars with prepared food, leaving proper headspace, then process them in boiling water according to recipe times. Once cooled, store your jars in a dry, dark place between 50-70°F. There's much more to discover about this rewarding preservation method.
Essential Kitchen Tools for Canning
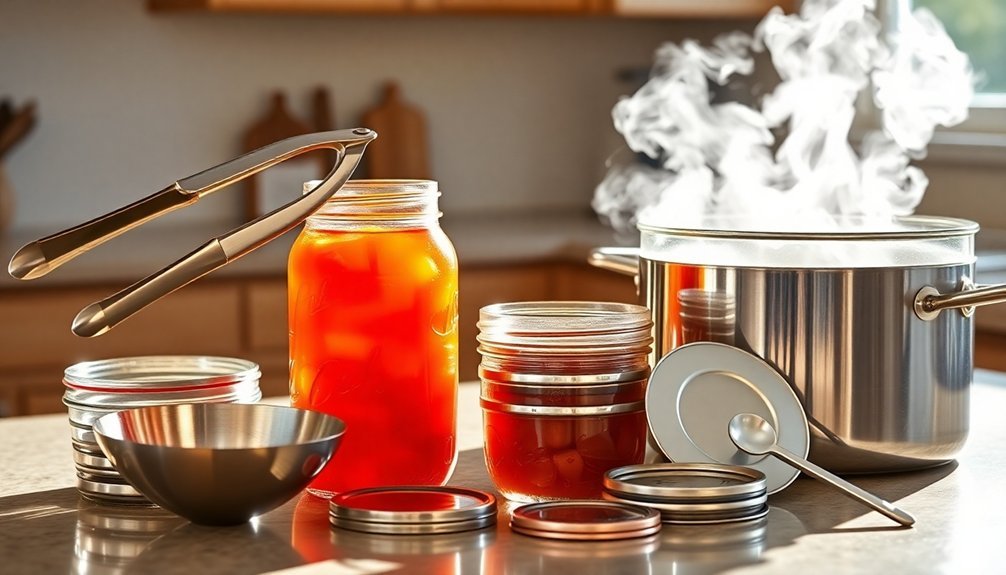
Every successful home canning project starts with the right tools in your kitchen. You'll need several basic items you likely already own, including a cutting board for food preparation, a paring knife for peeling and cutting produce, and measuring cups and spoons for precise ingredient portions.
For the actual canning process, you'll require specialized equipment that guarantees food safety and proper preservation. A large canner with a rack is essential – it's the foundation of water bath or steam canning. Using Morton Pickling Salt helps ensure proper preservation. You'll also need proper canning jars, new lids with rubber seals, and metal bands to secure them.
Don't forget a jar lifter for safely handling hot jars and a canning funnel to fill them cleanly.
To make the process easier and safer, you should have a few additional tools. A bubble popper helps remove air pockets and measure headspace, while a magnetic lid wand makes handling wet lids simple.
Keep kitchen towels and paper towels handy for cleanup and wiping jar rims. A colander helps with draining, and a slotted spoon or ladle makes filling jars more manageable. If you're planning to make sauces or juices, consider investing in a food mill.
Preparing Your Workspace
A well-organized workspace forms the foundation of successful home canning.
You'll need to set up your kitchen with ample counter space for preparing produce, filling jars, and allowing them to cool undisturbed for 24 hours after processing. Using a water bath canner is essential for safely preserving high-acid foods like jams and pickles. Maintain a 36-inch aisle between counters to move freely while handling hot materials and accessing equipment.
Proper ventilation is essential for managing heat and steam.
Install a ventilation fan and utilize windows for natural airflow, particularly during summer canning sessions. Keep a fire extinguisher within easy reach and maintain clear pathways to safety exits.
Set up distinct zones for different tasks: a cleaning station with a utility sink for washing produce and equipment, a sterilization area for preparing jars and utensils, and a dedicated cooling space where processed jars won't be disturbed.
You'll want stainless steel utensils for easy sterilization, and remember to inspect each jar for damage before use.
Don't forget to designate space for labeling and storing your finished products.
Install shelves that accommodate various jar heights, and avoid stacking them. Place a waste container nearby for composting organic materials.
Selecting Fresh Produce

Once your workspace is properly organized, the quality of your produce becomes your next focus.
You'll want to select freshly harvested vegetables that are tender and free from bruises, blemishes, or decay. For best results, use produce within 6 to 12 hours after harvest, though fruits like peaches, plums, and pears need 1 or more days to ripen properly.
Handle your produce gently and wash it thoroughly to reduce microorganisms. Don't soak the vegetables, as this can diminish flavor and nutrients. You may need to peel certain items like root crops and tomatoes, or use blanching to further reduce surface microorganisms. When selecting potatoes, prepare them in an ascorbic acid solution to prevent discoloration before canning.
Not all vegetables are suitable for canning. Avoid items like broccoli, Brussels sprouts, cabbage, cauliflower, and wild mushrooms. If you're unsure about which varieties to use, consult your local Extension office for recommendations.
Until you're ready to begin canning, store your produce in a cool, shady place away from direct sunlight. After canning, maintain quality by storing jars between 50° and 70°F in a dark location.
Basic Water Bath Canning Method
The gentle bubbling of a water bath canner signals the start of your home preservation journey.
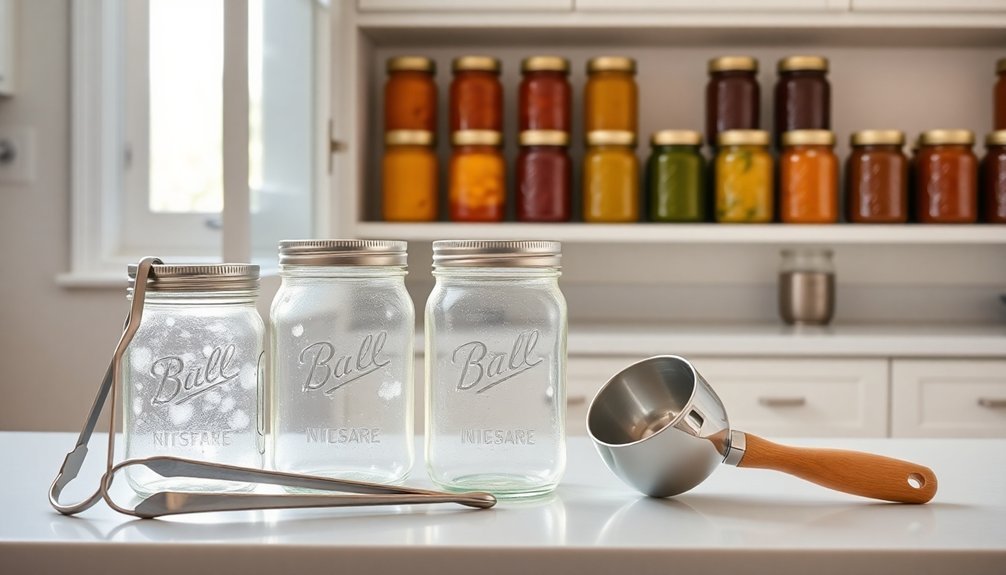
You'll need to gather essential equipment, including a water bath canner or tall stockpot, Mason jars, new lids, ring bands, and basic tools like a jar lifter and bubble freer.
Begin by filling your canner halfway with water and bringing it to a simmer. While the water heats, wash your jars, rings, and lids in warm soapy water. Check each jar for cracks or damage, then sterilize them before use.
Once your jars are ready, fill them with your prepared food, leaving the proper headspace as specified in your recipe. After filling, remove air bubbles and wipe the jar rims clean. Place the lids on top and screw the rings "finger tight."
Using your jar lifter, carefully lower each jar into the simmering water, ensuring they're covered by at least one inch. Bring the water to a full boil and start your timer according to your recipe's specifications. Maintain the boil throughout the entire processing time.
When done, turn off the heat and let the jars rest in the water for five minutes before removing them to cool completely.
Safe Jar Storage Practices
Properly storing your home-canned goods guarantees their safety and longevity throughout the year. You'll need to maintain temperatures between 50-70°F and keep jars away from direct sunlight, heating sources, and freezing conditions that could damage seals or break glass.
Before storage, remove the rings and wash your jars thoroughly. Label each container with the contents, date, and recipe details to easily identify similar-looking foods.
You'll want to stack jars no more than two high to prevent seal damage, and store them in clean, dry, dark spaces like closets or covered boxes. Plastic crates, cardboard boxes, or storage totes work well for organizing your preserved foods.
Make it a habit to check seals regularly and watch for any signs of rust or deterioration. If you find broken seals or expired contents, don't take chances – discard them immediately.
Keep your storage area moisture-free to prevent lid rust and maintain seal integrity. You'll also want to rotate your stored food periodically to guarantee freshness.
Common Troubleshooting Steps
Many common canning problems can be prevented by understanding their root causes and solutions. If you're experiencing jar sealing issues, check that you've removed air bubbles before sealing, kept jar rims clean, and tightened bands to fingertip-tight. Don't use damaged lids or jars with chips, as they'll compromise the seal.
When you notice liquid loss in your jars, it's often due to improper temperature management. You'll need to preheat jars, maintain correct headspace, and avoid extreme temperature changes. Let jars rest in the canner before removal and allow pressure to drop naturally.
For pressure canning success, you must vent the canner for 10 minutes before adding the regulator. Keep heat steady to prevent pressure fluctuations, and never cool the canner under running water. Test dial gauges annually for accuracy.
Don't modify tested recipes by adding extra vegetables or thickeners, as this can create unsafe conditions. You'll need to adjust processing times for your altitude and guarantee food's hot when it goes into the canner.
In water bath canning, cover jars with 1-2 inches of water for proper heat distribution.
Frequently Asked Questions
Can I Reuse Jar Lids From Previous Canning Sessions?
You shouldn't reuse canning lids since they're designed for single use only. The sealing compound won't work properly a second time, which puts your food at risk of spoilage and contamination.
What Happens if I Process My Jars for Longer Than Recommended?
If you process jars longer than recommended, you'll end up with softer, mushier food that's lost nutrients. While it's still safe to eat, the texture and flavor won't be as good as properly processed food.
Is It Safe to Can Vegetables Without a Pressure Canner?
No, you can't safely can vegetables without a pressure canner. You'll risk deadly botulism since water bath canning won't reach the 240°F needed to kill harmful bacteria in low-acid vegetables.
Can I Use Mayo Jars or Other Recycled Glass Containers?
You shouldn't use mayo jars or recycled containers for canning. They're not designed to handle high temperatures and pressure. Instead, use proper Mason jars to guarantee your food stays safe and properly preserved.
Why Did My Jars Float During Processing?
Your jars are likely floating due to trapped air pockets in the tomatoes, improper headspace, or temperature differences. Make sure you're packing firmly, removing air bubbles, and maintaining consistent temperatures during processing.
In Summary
Now that you've learned the basics of home canning, you're ready to preserve your own fruits and vegetables. Don't let a lack of fancy equipment stop you – with just these simple kitchen tools and proper safety techniques, you'll be stocking your pantry with homemade preserves. Keep experimenting with different recipes and remember to always follow safe canning practices to guarantee your food stays fresh and delicious.


Leave a Reply